


A beautifully executed manicure is a fantastic way to express your personal style, and colourful ombre nails are a timelessly chic and creative option. This gradient effect, where colours seamlessly blend into one another, might look complex, but it can be achieved at home with a few simple tools. Whether you prefer a subtle transition between similar shades or a bold, multi-coloured design, mastering the ombre technique will elevate your nail art skills. This guide will walk you through the process, from preparation to the final glossy finish.
Preparing Your Nails for the Ombre Effect
A flawless manicure starts with a well-prepared canvas. Before you even think about colours, ensure your nails are clean, shaped, and ready for polish. Proper preparation not only helps the final design look more professional but also extends its longevity.
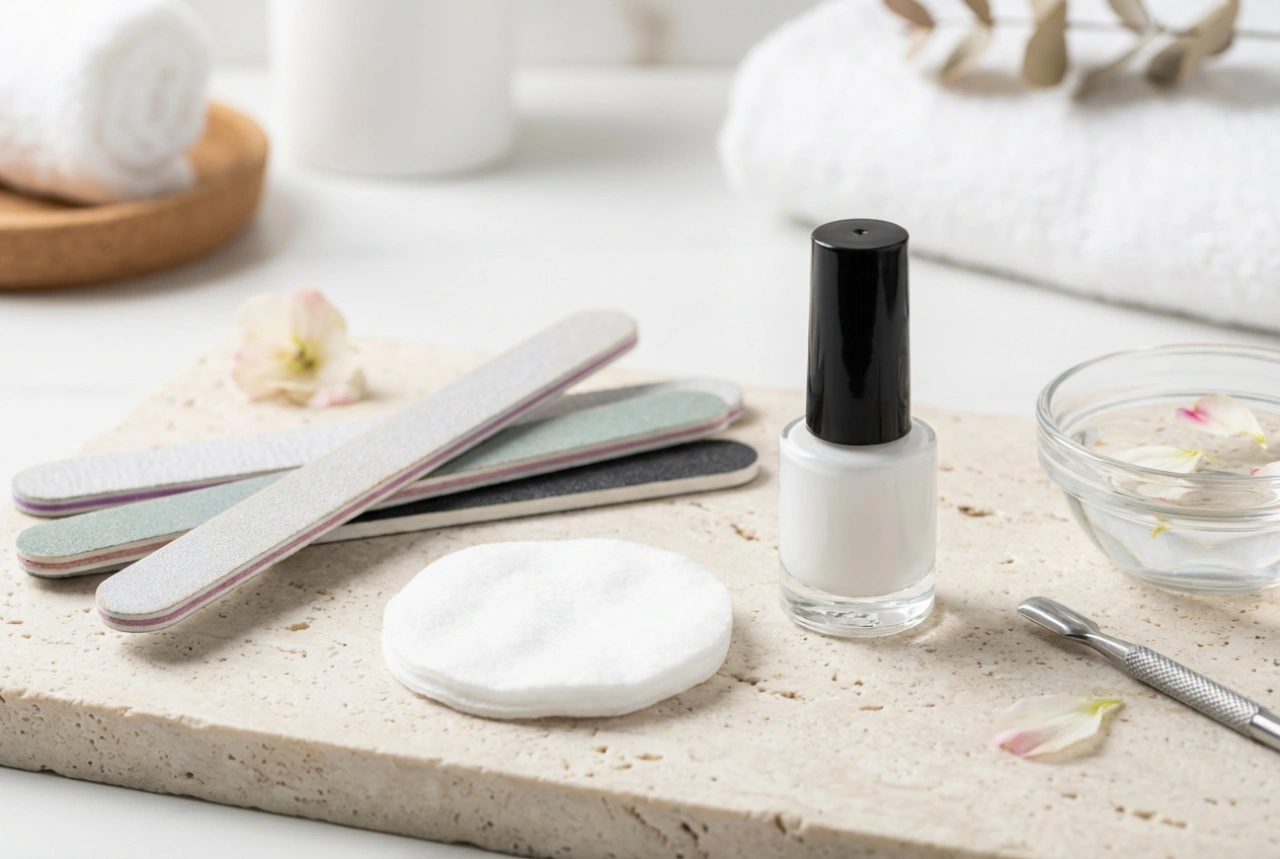
Step 1: Clean and Shape
Start by removing any old nail polish with a gentle remover. Wash your hands and nails to get rid of any oils or residue. Next, file your nails to your desired shape, whether that’s square, oval, or almond. Gently push back your cuticles, but avoid cutting them to prevent irritation. Finally, lightly buff the surface of your nails; this creates a slightly rougher texture that helps the polish adhere better.
Step 2: Apply a Base Coat
Never skip the base coat. Applying a thin layer of a quality base coat serves two main purposes. Firstly, it protects your natural nails from staining, which is especially important when using vibrant or dark colours. Secondly, it provides a smooth and even surface for the colour polishes to grip onto, leading to a longer-lasting manicure.
The Art of Blending: Choosing Colours and Using the Sponge
The core of the ombre look is the seamless blend of colours. The choice of shades and the application technique are what make this design so captivating. The most popular and effective home method involves using a simple makeup sponge.
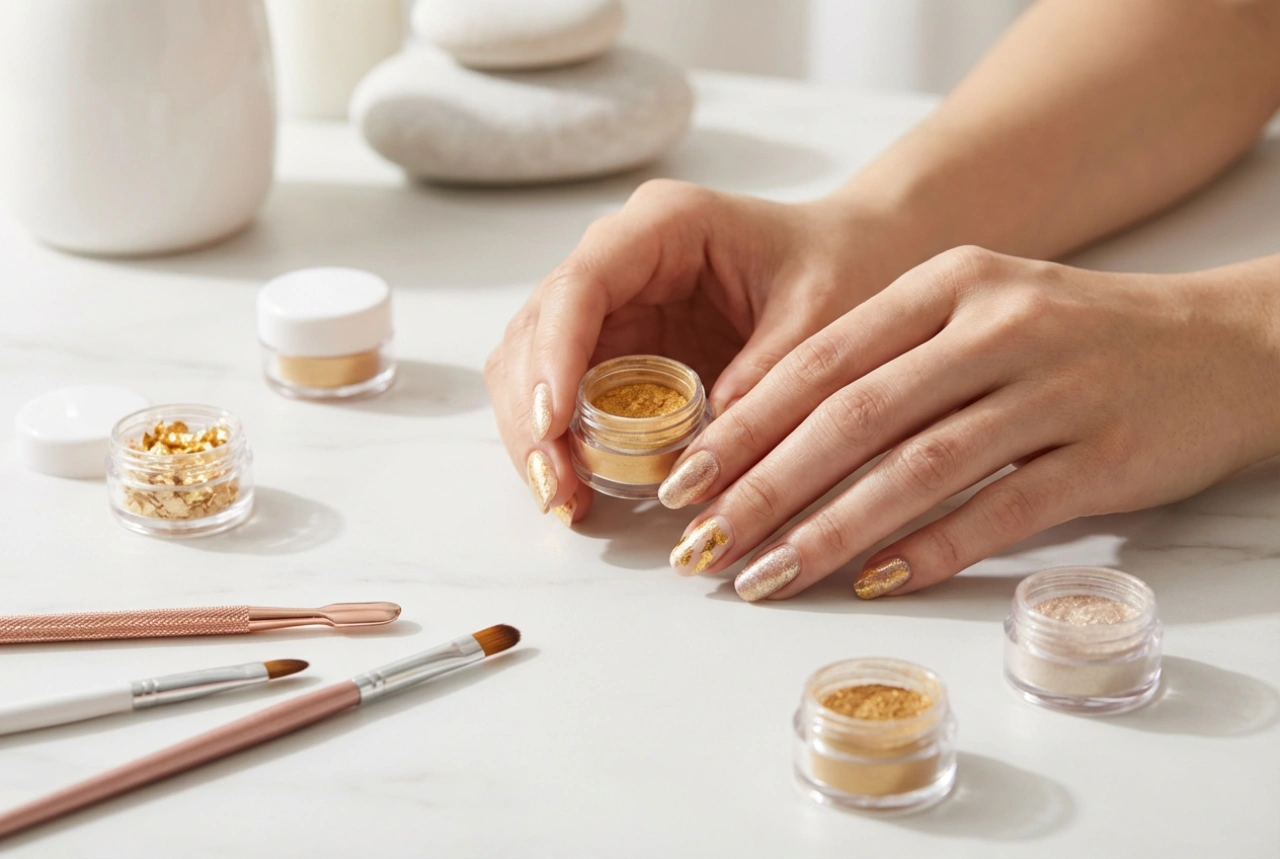
Choosing Your Colour Palette
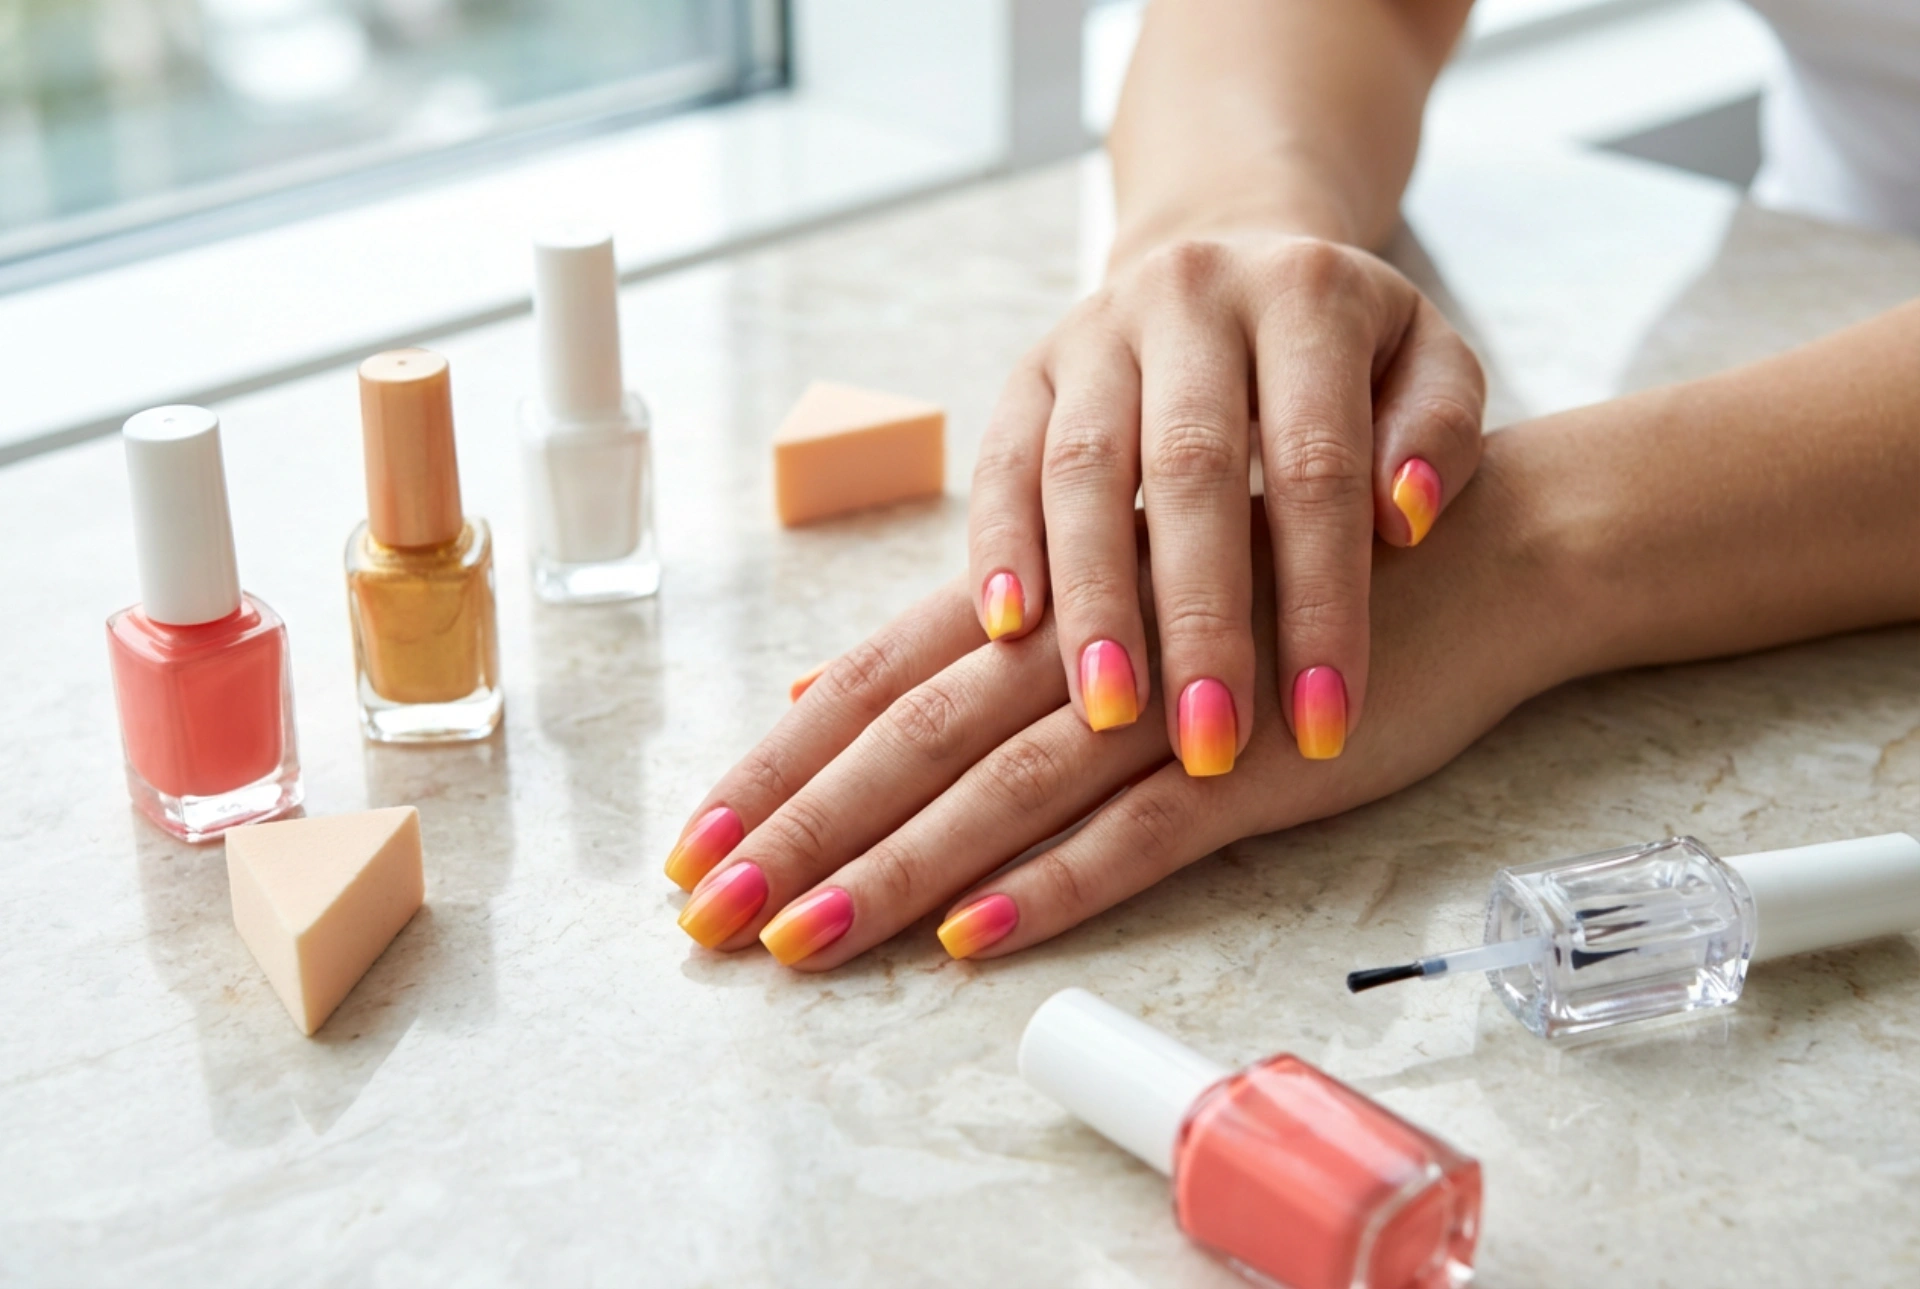
The possibilities are endless when it comes to colour combinations. For a classic, subtle look, choose two or three shades from the same colour family, such as light pink blending into a deeper rose. For a more dramatic effect, try contrasting colours like a sunset-inspired blend of yellow, orange, and red. You can also create a 'skittle' ombre, where each nail features a different colour combination. When starting, it's often easiest to work with two colours before moving on to more complex, multi-toned designs.
The Sponge Application Technique
This is where the magic happens. You will need a small piece of a disposable makeup sponge (a high-density one works best as it absorbs less polish).
- Paint stripes of your chosen colours directly onto the sponge. The colours should be side-by-side, slightly overlapping where you want them to blend. Be generous with the polish.
- Quickly, while the polish is still wet, dab the sponge directly onto your nail. Roll it slightly from side to side to ensure the entire nail is covered and the colours begin to merge.
- Don't worry if the first layer looks sheer. The key is to build up the opacity. Let the first layer dry for a minute or two.
- Reapply the polish to the sponge and repeat the dabbing process. Two to three layers are usually enough to achieve a vibrant, fully opaque gradient.
Achieving a Smooth and Lasting Finish
The application process can be a bit messy, but a clean finish is what separates an amateur look from a professional-quality manicure. The final steps involve cleaning up and sealing your design.
Cleaning Up the Edges
The sponge technique inevitably gets polish on the skin around your nails. The easiest way to clean this up is to use a small, flat brush or a cotton bud dipped in nail polish remover. Carefully trace around your cuticle line to create a sharp, clean edge. For an even easier cleanup next time, you can apply a liquid latex barrier or petroleum jelly to the skin around your nails before you start dabbing.
Sealing with a Top Coat
Once you are happy with the colour intensity and have cleaned up the edges, it’s time for the final touch. Apply a generous layer of a glossy top coat. This is a crucial step for several reasons: it smooths out any texture left by the sponge, it makes the colours pop, and it protects your design from chipping, ensuring your beautiful ombre nails last as long as possible. For an extra smooth finish, you might apply a second layer of top coat after the first has dried.