


The glamour of the 1920s is timeless, and no hairstyle captures its spirit quite like finger waves. These sleek, sculpted S-curves, often seen as a hallmark of bobbed hair, can be beautifully adapted for those with longer tresses. The process, a delicate art of moulding hair into a continuous, wave-like pattern, transforms long hair into a masterpiece of vintage elegance. With a little patience and the right technique, you can recreate this iconic look at home, bringing a touch of classic sophistication to your style. This guide will walk you through the process, from preparation to the final, polished finish.
Preparation: The Foundation for Flawless Waves
Achieving defined, long-lasting finger waves starts with proper preparation. Unlike many styles that begin with dry hair, finger waves are best created on hair that is thoroughly damp. It's best to start right after washing and towel-drying your hair, so it's pliable and ready to be moulded.
Before you begin sculpting, you'll need a few essential tools:
- A fine-toothed comb: This is crucial for creating clean partings and sharp, defined ridges.
- A strong-hold styling product: A firm-hold gel or a traditional setting lotion is non-negotiable. This product provides the 'slip' needed to shape the hair and the hold required to lock the waves in place as they dry. Be generous with the application; the hair should feel saturated but not dripping.
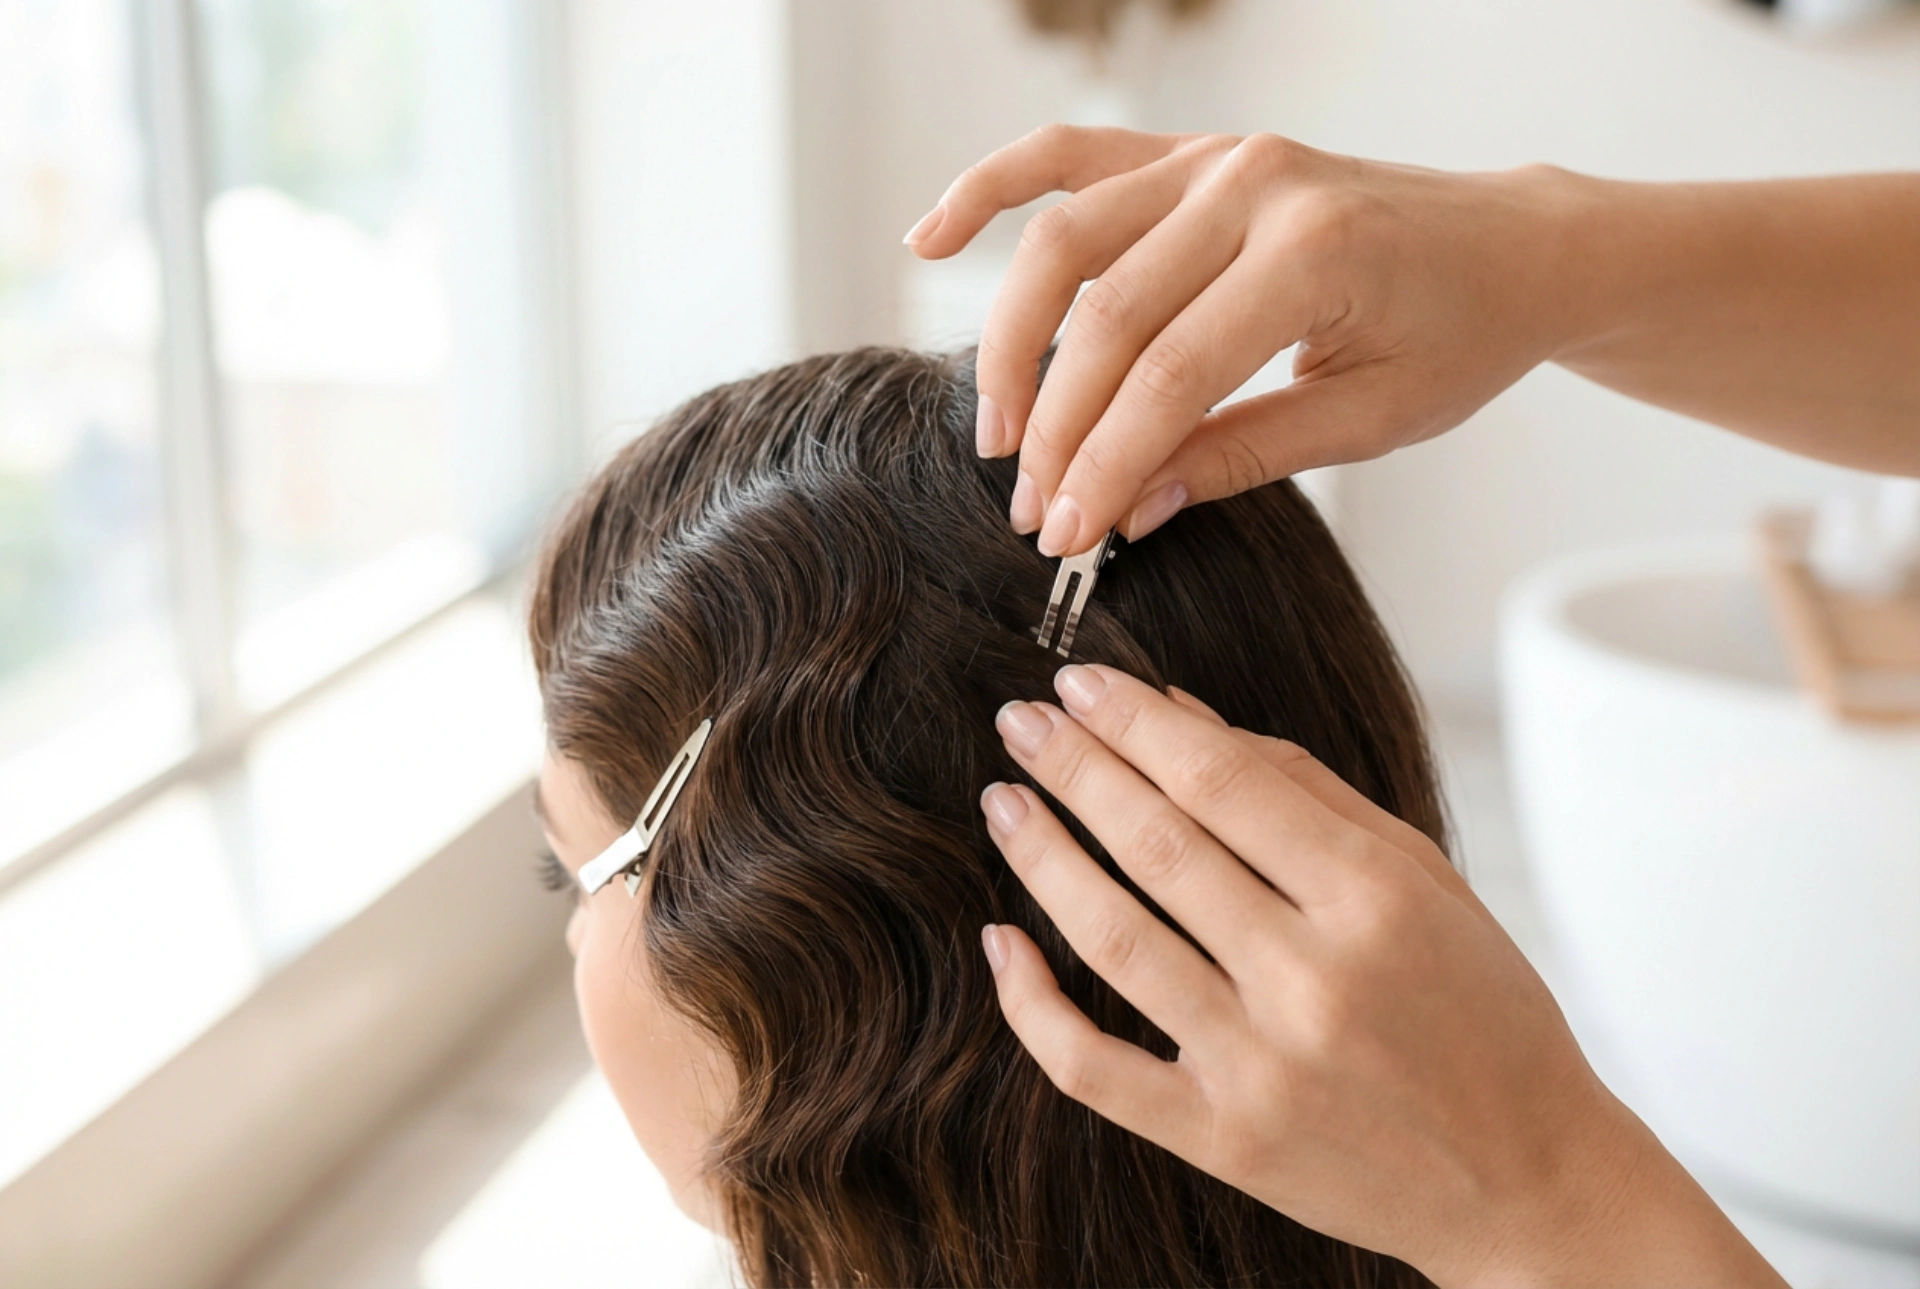
- Wave clips or long, flat clips: These are used to hold the ridges of the waves in place while the hair dries. Ensure they are long enough to secure the entire width of the wave.
Once you have your tools, comb the styling product through your damp hair from roots to ends to ensure even distribution. Then, create a deep side parting, as this is the classic foundation for a finger wave style.
The Core Technique: Sculpting the S-Wave
The essence of finger waves lies in the 'push and pinch' motion that creates the iconic S-shape. This technique is performed repeatedly to form a pattern of ridges and troughs. Begin at the hairline on the larger side of your parting.
Creating Your First Ridge
Place your fine-toothed comb flat against your head, about an inch down from the parting. With your index finger, press down firmly on the hair just above the comb. Now, push the comb sideways about an inch, causing the hair to form a bulge. This bulge is the beginning of your first ridge. Lay your middle finger flat along this newly formed ridge to hold it in place. While holding the ridge with your middle finger, take the comb and draw it in the opposite direction from just underneath your finger. This action creates the 'C' shape or trough of the wave. You have now formed your first 'S' shape. Secure this ridge by placing a wave clip along the line where your middle finger was holding it.
Continuing the Pattern on Long Hair
This is where the technique is adapted for longer hair. You will continue the same process down the entire length of your hair, working in horizontal sections. After creating the first wave across the top of your head, move down an inch and create the next ridge in the opposite direction. The key is to ensure the ridges and troughs align perfectly with the section above, creating a continuous, flowing pattern.
Work your way around your head, section by section, from front to back. For long hair, it is often easiest to focus on framing the face first, completing the waves from the parting down to ear level on all sides. Once the top section is clipped and secure, you can continue the pattern down the lengths. This requires careful attention to maintain the flow of the S-shape. Follow the direction of the wave above as you comb the hair into its new position, securing each ridge with a clip as you go.
Setting, Drying and Finishing Your Style
The drying process is perhaps the most critical step for ensuring your waves last. Any disturbance while the hair is drying can cause the pattern to lose its shape. The best method is to allow your hair to air-dry completely. This can take several hours, depending on your hair's thickness and length. To protect the style while it dries, you can cover it with a hairnet. This helps hold everything in place and minimises the risk of frizz.
Once your hair is bone-dry, it's time for the reveal. Carefully and gently remove each clip. Your hair will be stiff and set in the wave pattern. Do not brush your hair with a regular brush, as this will pull out the sculpted waves. Instead, you can either leave the waves as they are for a very defined, 'wet' look or gently soften them. To soften, you can lightly use your fingers to separate the ridges or use a very wide-toothed comb to gently comb through, following the direction of the wave. To complete the look and add extra longevity, apply a light mist of a firm-hold hairspray. For a truly vintage finish on long hair, consider gathering the ends into a low chignon or a neat bun at the nape of your neck.


