


Preparing your skin for a deep cleansing ritual is just as important as the cleansing itself. A well-prepared complexion responds better to treatments, making them more effective and gentler. One of the key steps in a professional-style home facial is the use of a softening mask. This preparatory product can transform your cleansing routine, ensuring your skin is perfectly primed for the removal of impurities without unnecessary irritation.
What is a Softening Mask and Why Use It?
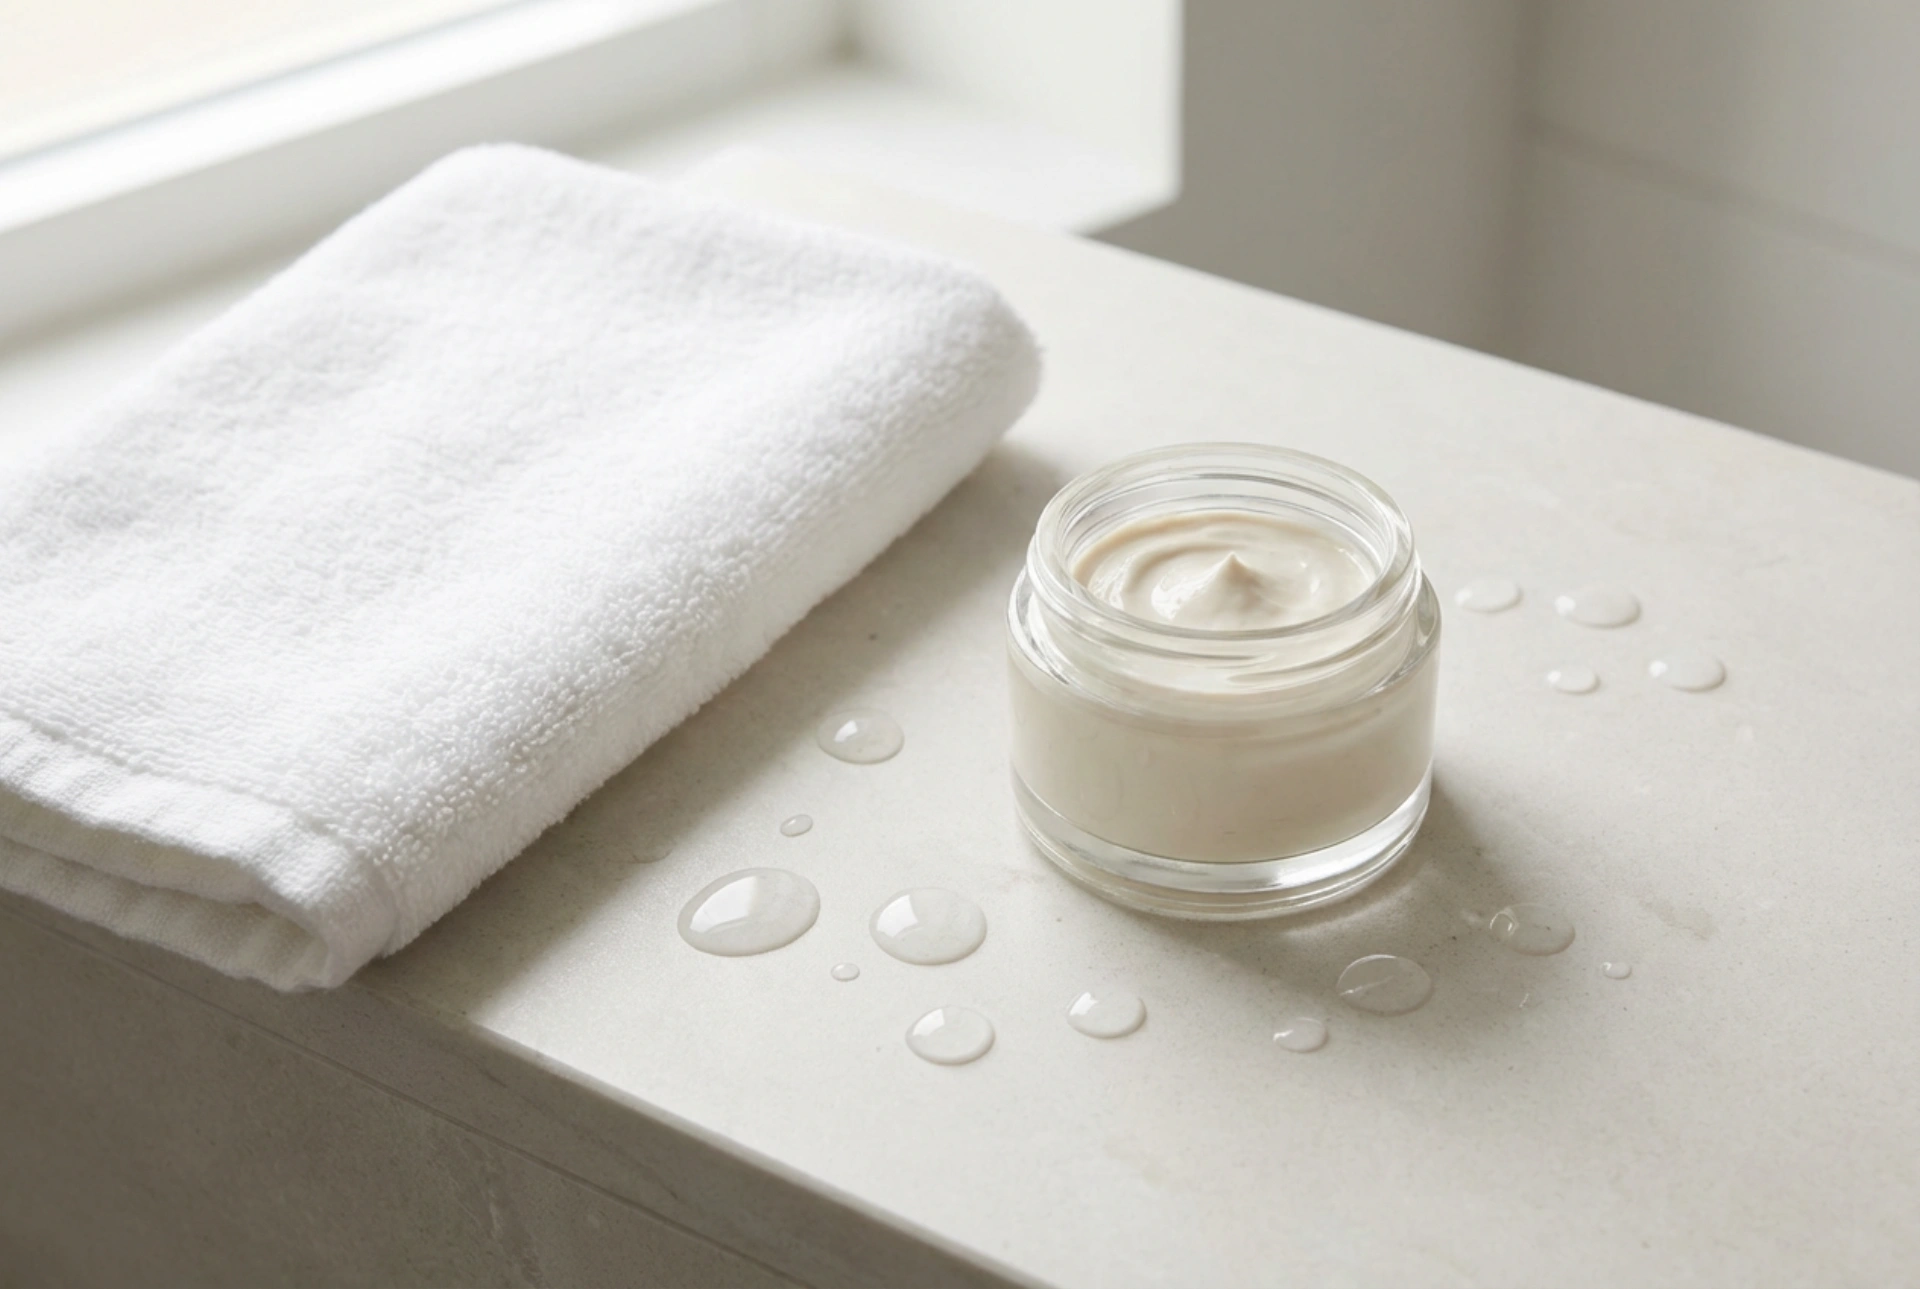
A softening mask, also known as a pre-cleansing or desincrustation mask, is a specialised cosmetic product designed to prepare the skin for deeper cleansing procedures. Its primary function is to soften the outer layer of the epidermis (the stratum corneum) and gently open up the pores. This makes it significantly easier to remove blackheads, whiteheads, and other impurities, whether you are using a cleansing tool or another purifying product like a clay mask. By loosening the contents of the pores, the mask minimises the pressure needed during cleansing, which in turn reduces the risk of redness, irritation, and potential damage to the skin barrier.
The Science of Softening
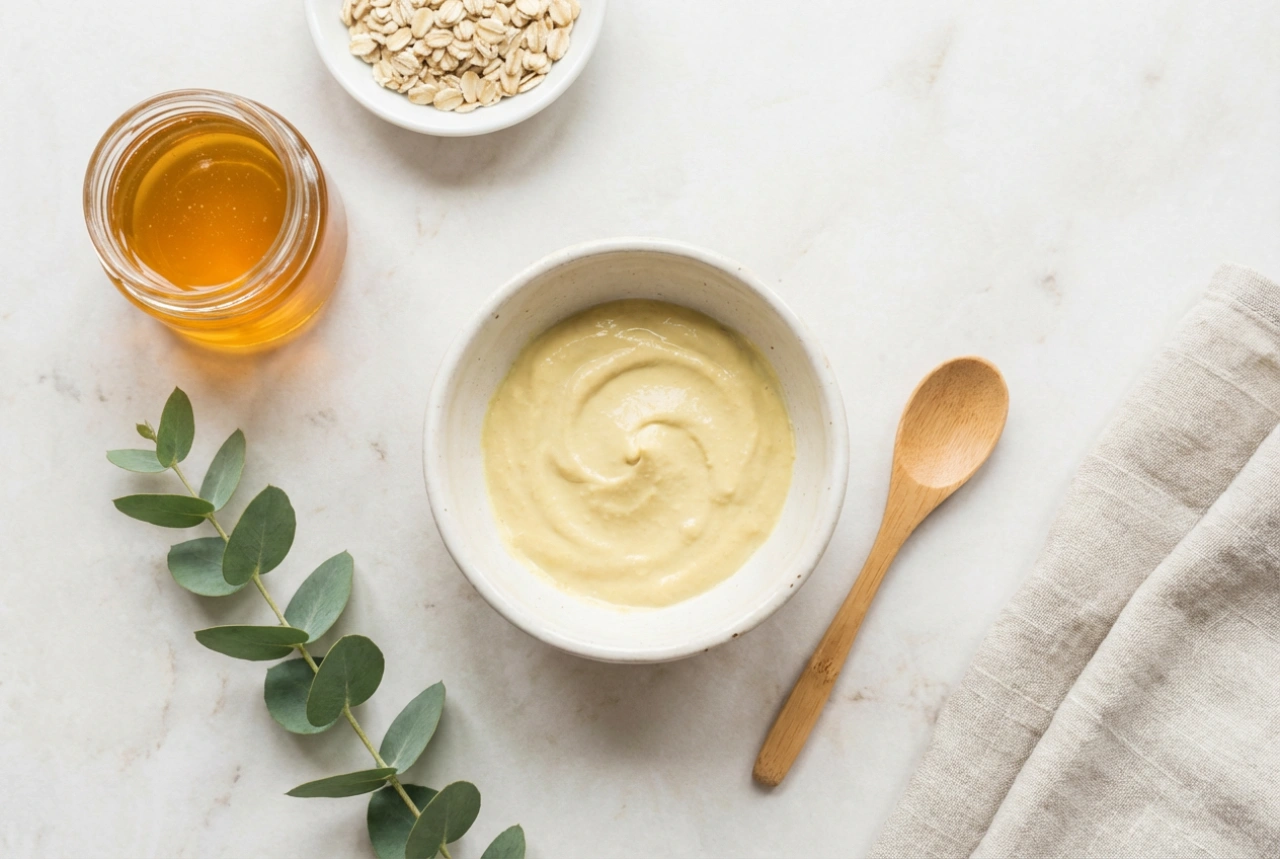
These masks typically achieve their effect through a combination of hydrating and mildly keratolytic ingredients. Common components you might find in such formulations include:
- Urea: At low concentrations, it is a fantastic humectant that also helps to soften the skin.
- Allantoin and Panthenol: These ingredients are known for their soothing and regenerative properties, ensuring the softening process is gentle.
- Plant Extracts: Extracts from plants like flaxseed, mallow, or linden can have mucilaginous properties that hydrate and soften the skin.
- Enzymes: Gentle fruit enzymes, such as papain or bromelain, can help to dissolve the dead skin cells that clog pores.
How to Prepare Your Skin for a Softening Mask
To get the most out of your softening mask, proper preparation is essential. Applying it to unclean skin will only hinder its effectiveness. Follow these simple steps to get your face ready.
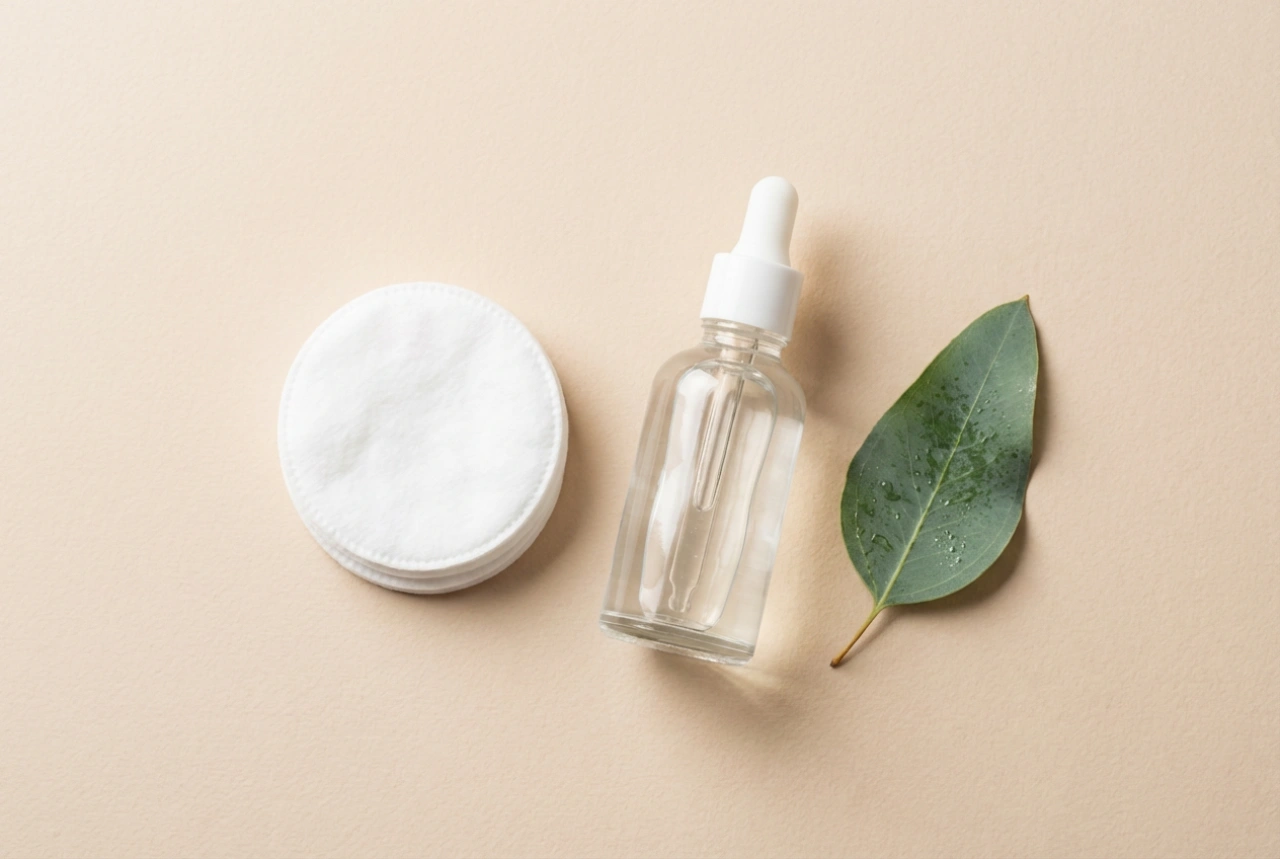
First, begin with a thorough double cleanse. Start by removing all traces of makeup, sunscreen, and daily grime with an oil-based cleanser or micellar water. Follow this with a water-based cleanser, such as a gentle gel or foam, to wash away any remaining residue. Pat your skin dry with a soft, clean towel. For an enhanced effect, you can perform a very gentle exfoliation with an enzymatic peel before applying the mask, but be careful not to over-exfoliate, as this could lead to sensitivity.
Correct Application and Timing
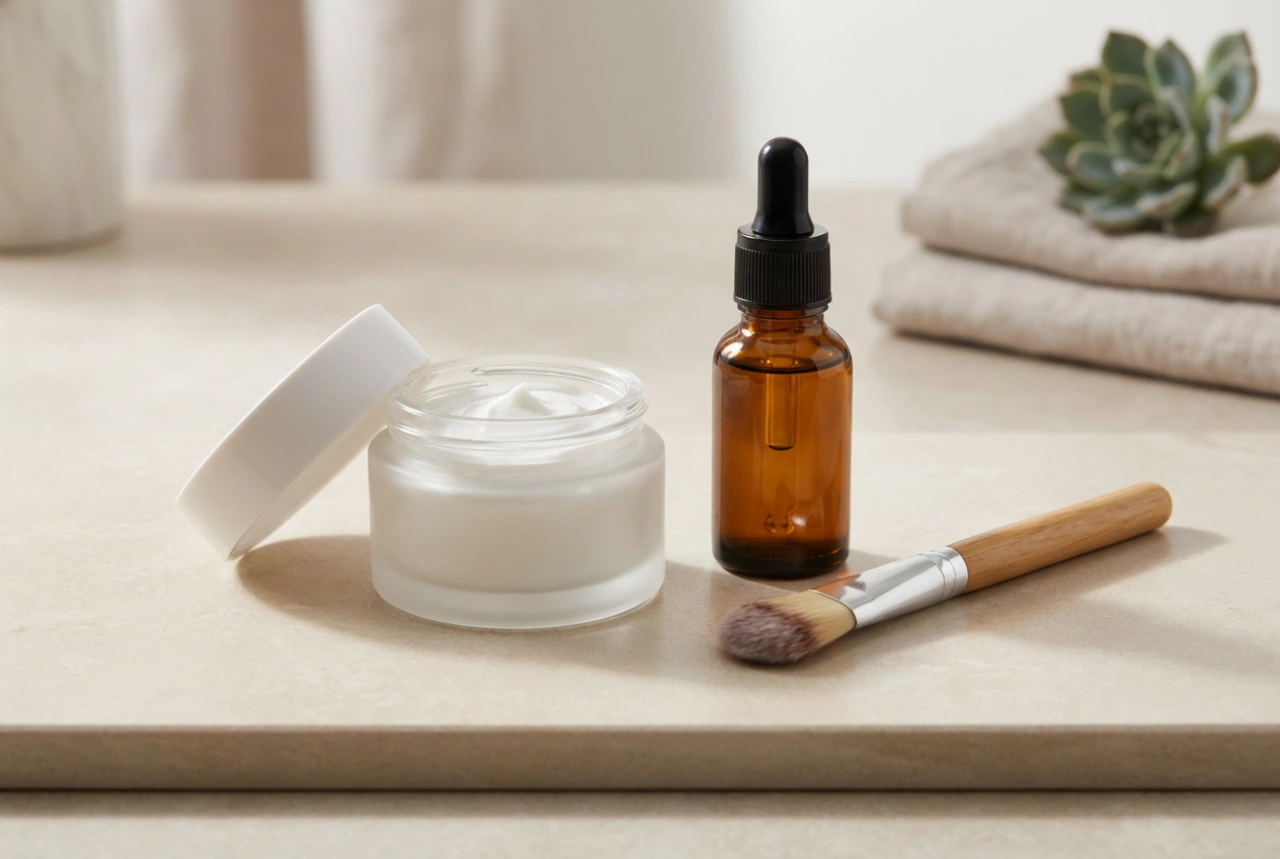
The application method and duration are crucial for the mask to work its magic. After cleansing, apply a thick, even layer of the softening mask to the areas you intend to deep-cleanse, typically the T-zone (forehead, nose, and chin), but it can be used on the entire face if needed. Avoid the delicate eye and lip areas.
Creating an Occlusive Layer
Many softening masks perform best under occlusion, which means creating a barrier that prevents the product from drying out and enhances its penetration. You can achieve this in a few ways:
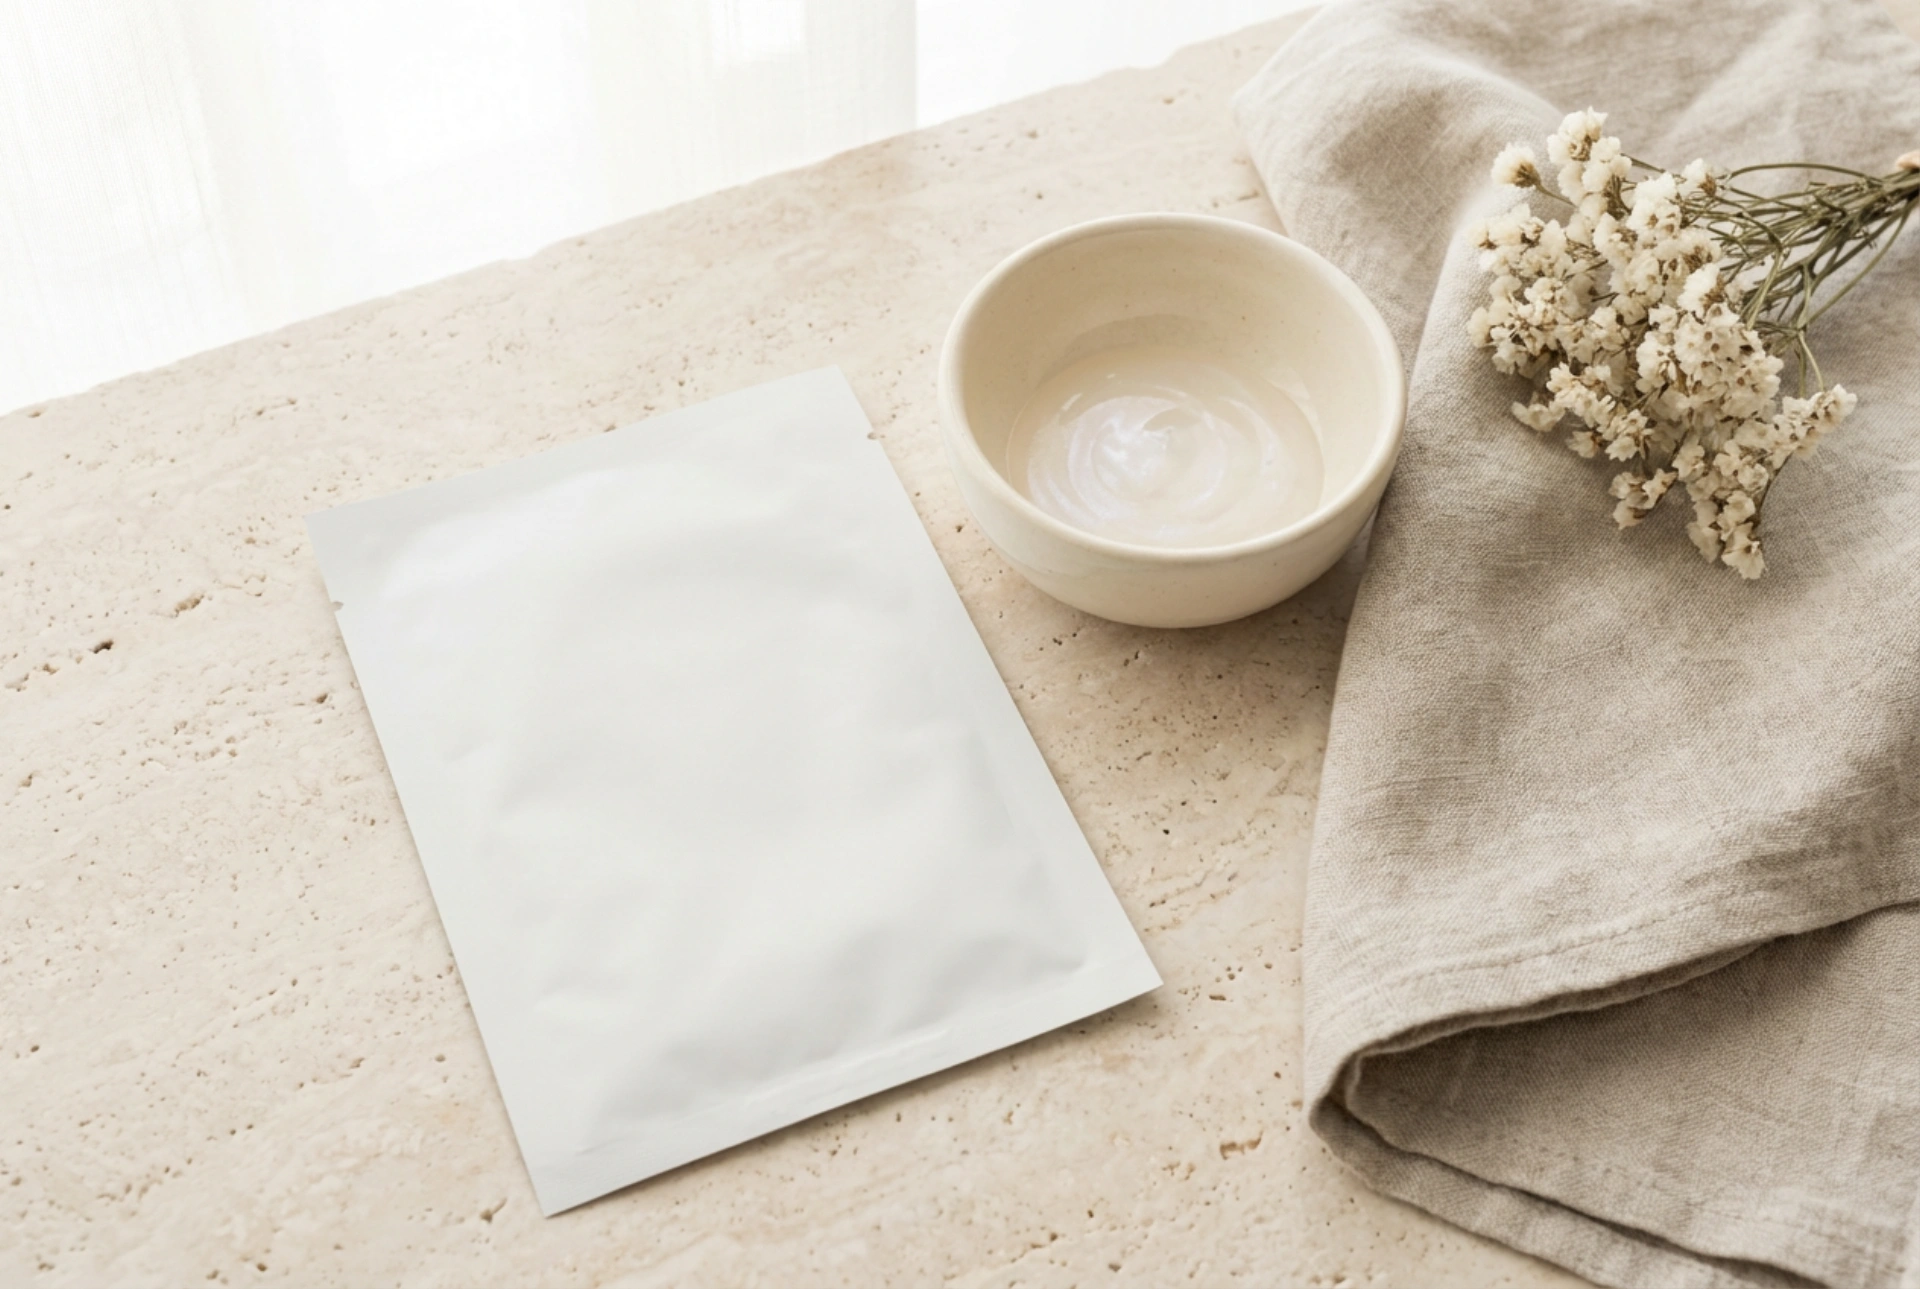
- Cosmetic Foil: You can place a sheet of cosmetic foil or simple cling film over the mask.
- A Damp Compress: A warm, damp washcloth or facial compress placed over the mask can also create a steamy, effective environment.
The ideal application time generally ranges from 15 to 20 minutes. However, this can vary depending on the specific product formulation and your skin's sensitivity. It is vital to always read the manufacturer's instructions on the packaging. During this time, the mask will work to hydrate and loosen the keratin in your skin, making pores more pliable.
What to Do After Using the Mask
Once the time is up, remove the mask. You can do this by gently scraping it off with a cosmetic spatula or wiping it away with a damp, warm towel. The skin is now in its optimal state for cleansing. This is the moment to proceed with your chosen method of impurity removal, such as using a clay-based mask, an ultrasonic skin scrubber, or gentle manual extraction with sanitised tools or fingers wrapped in tissue. You will notice that impurities are much easier to clear. After your cleansing step, it's important to restore balance. Apply a soothing, pH-balancing toner, followed by a calming and hydrating serum or moisturiser to replenish the skin and close the pores.