


Creating your own cosmetics at home offers a unique connection to your skincare routine. The sight of fresh, simple ingredients waiting to be mixed in a clean bowl is both calming and empowering. A homemade face mask, using ingredients often found in your kitchen, can be a wonderful way to pam meninas skin. However, to ensure the experience is both beneficial and safe, it's crucial to pay attention to preparation, proportions, and hygiene. This guide will walk you through the essential steps to craft effective and gentle homemade masks.
The Foundation: Hygiene and Preparation
Before you begin mixing, hygiene is paramount. Any contamination can introduce unwanted bacteria to your skin. Always start by thoroughly washing your hands. Ensure that any bowls, spoons, or brushes you plan to use are perfectly clean. It's best to use glass, ceramic, or stainless steel bowls rather than plastic, which can be porous. Use fresh ingredients for every mask; avoid using foodstuffs that are past their best. The most critical step before applying any new mixture to your face is a patch test. Apply a small amount of the mask to a discreet area of skin, like your inner arm or behind your ear. Wait for at least a few hours (or ideally 24) to see if any irritation occurs. This helps prevent an adverse reaction on your entire face.
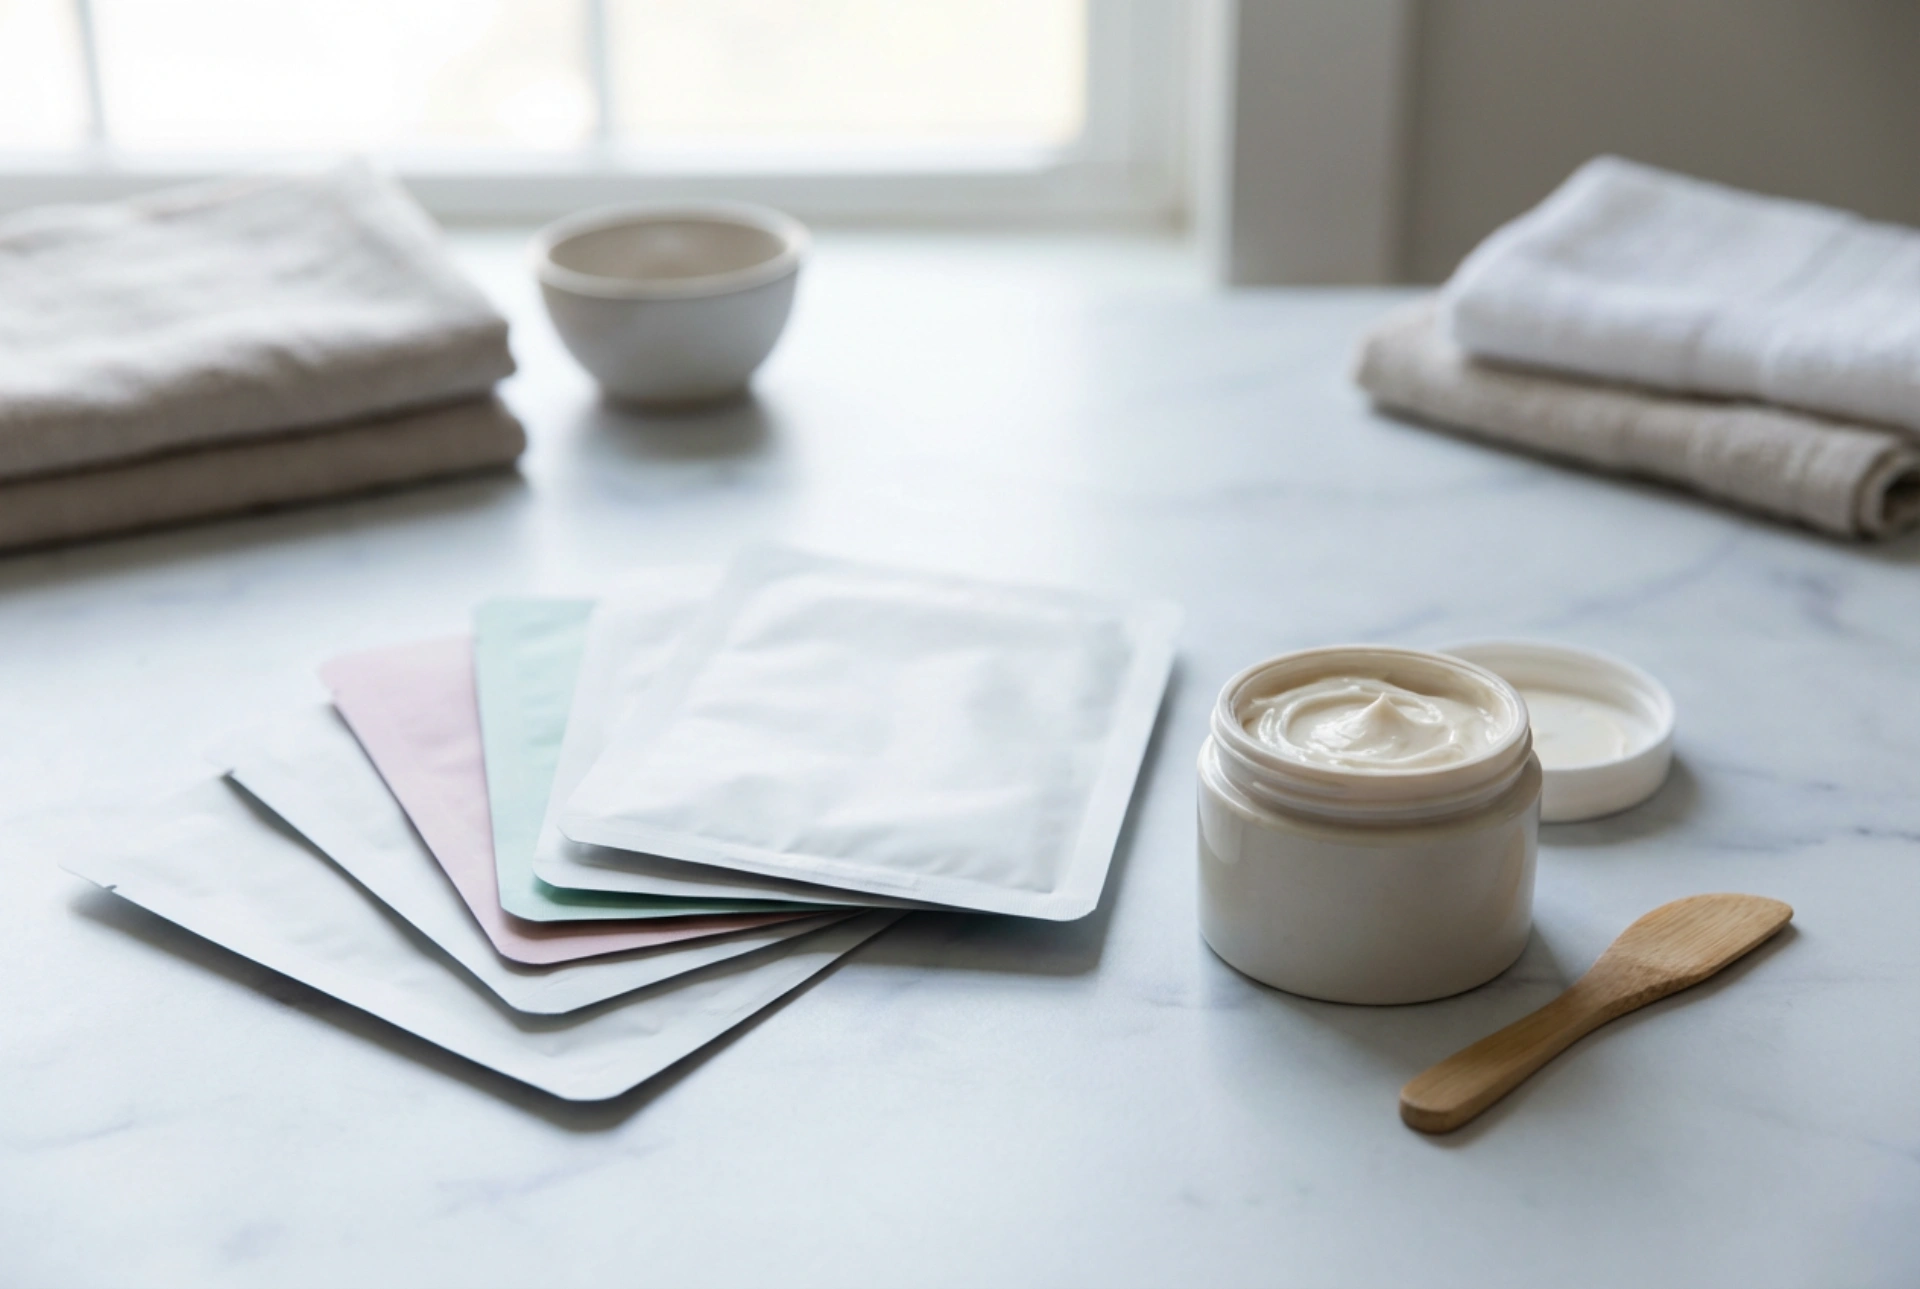
Choosing Your Core Ingredients
The beauty of homemade masks lies in their simplicity. You don't need a long list of exotic ingredients to create something effective. Focus on a few gentle, beneficial components that work for your skin's current needs.
For Skin That Feels Dry or in Need of Comfort
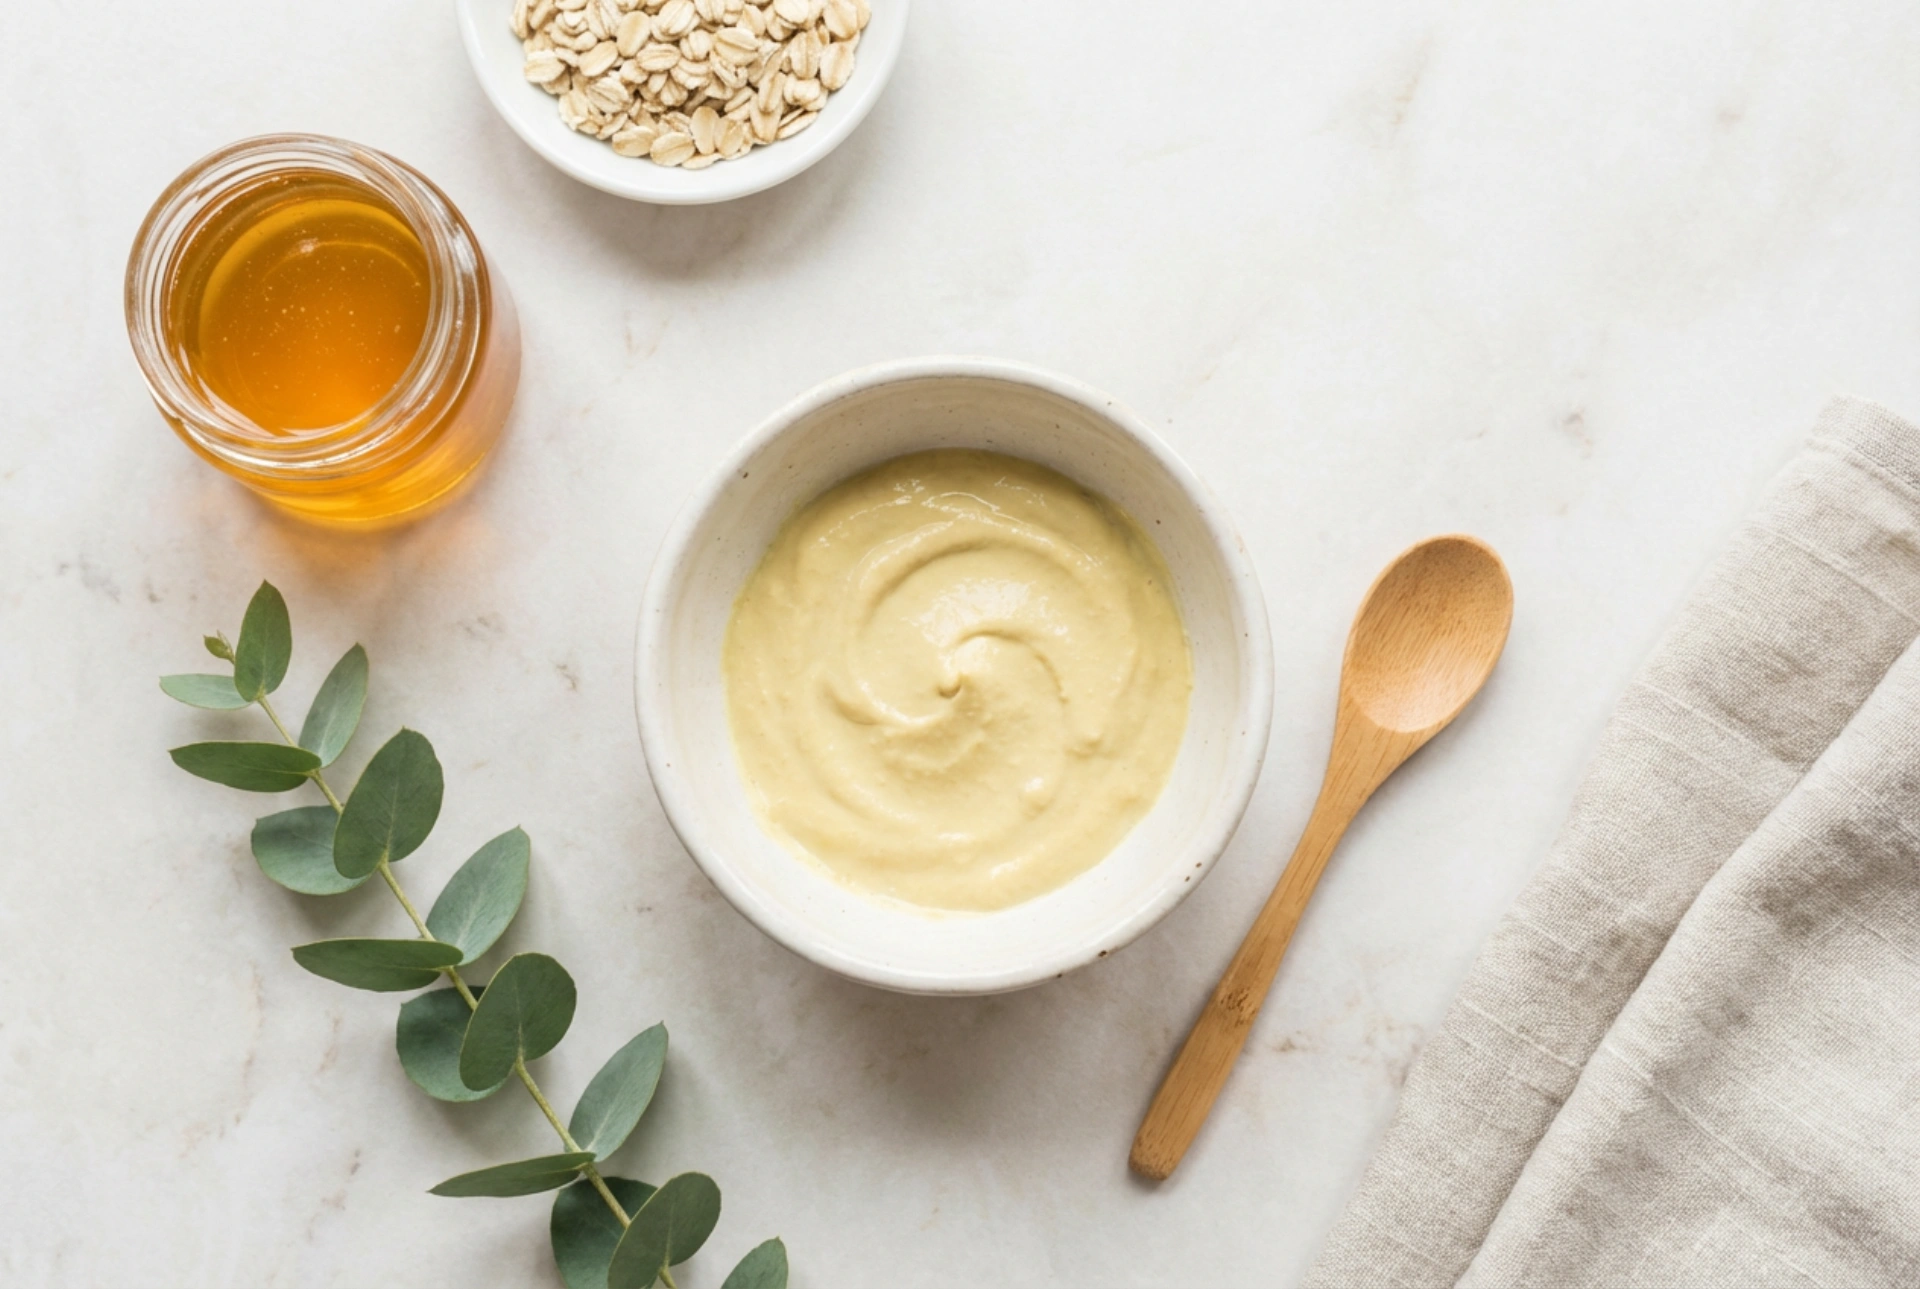
If your skin feels tight or looks dull, focus on hydrating and soothing ingredients. Finely ground oats (colloidal oatmeal is ideal) are wonderfully calming. Honey is a natural humectant, meaning it draws moisture to the skin. Plain, full-fat yoghurt contains lactic acid for gentle exfoliation and fats for nourishment. Mashed avocado or a few drops of a simple plant oil can also provide moisture and a feeling of softness.
For Skin Prone to Oiliness or Congestion
If you're dealing with excess shine, certain ingredients can help achieve a more balanced appearance. Cosmetic clays are excellent for drawing out impurities and absorbing excess oil. Plain yoghurt can also be beneficial here. Honey’s properties are suitable for most skin types, including oily skin. Mashed strawberries or a little lemon juice (heavily diluted and used with caution) can offer a brightening effect, but always patch test these acidic ingredients carefully.
Getting the Proportions Right
The texture of your mask is key to a pleasant and effective application. The goal is a smooth, spreadable paste that will adhere to your skin without dripping. A good rule of thumb is to follow a simple formula: Base + Liquid + Active.
- The Base (approx. 2 tablespoons): This is the main component of your mask, such as cosmetic clay or finely ground oats.
- The Liquid (approx. 1-2 tablespoons): This turns your powder base into a paste. Water, floral water (like rosewater), or plain yoghurt work well. Start with a smaller amount of liquid and add more gradually until you reach the desired consistency.
- The Active (approx. 1 teaspoon): This is your 'power' ingredient, like honey, mashed avocado, or a small amount of plant oil.
For example, a simple hydrating mask could be 2 tablespoons of ground oats, 1 tablespoon of yoghurt, and 1 teaspoon of honey. Mix the dry and wet ingredients thoroughly until smooth and free of lumps. Adjust as needed – if it's too thick, add a little more liquid; if it's too runny, add a pinch more base.
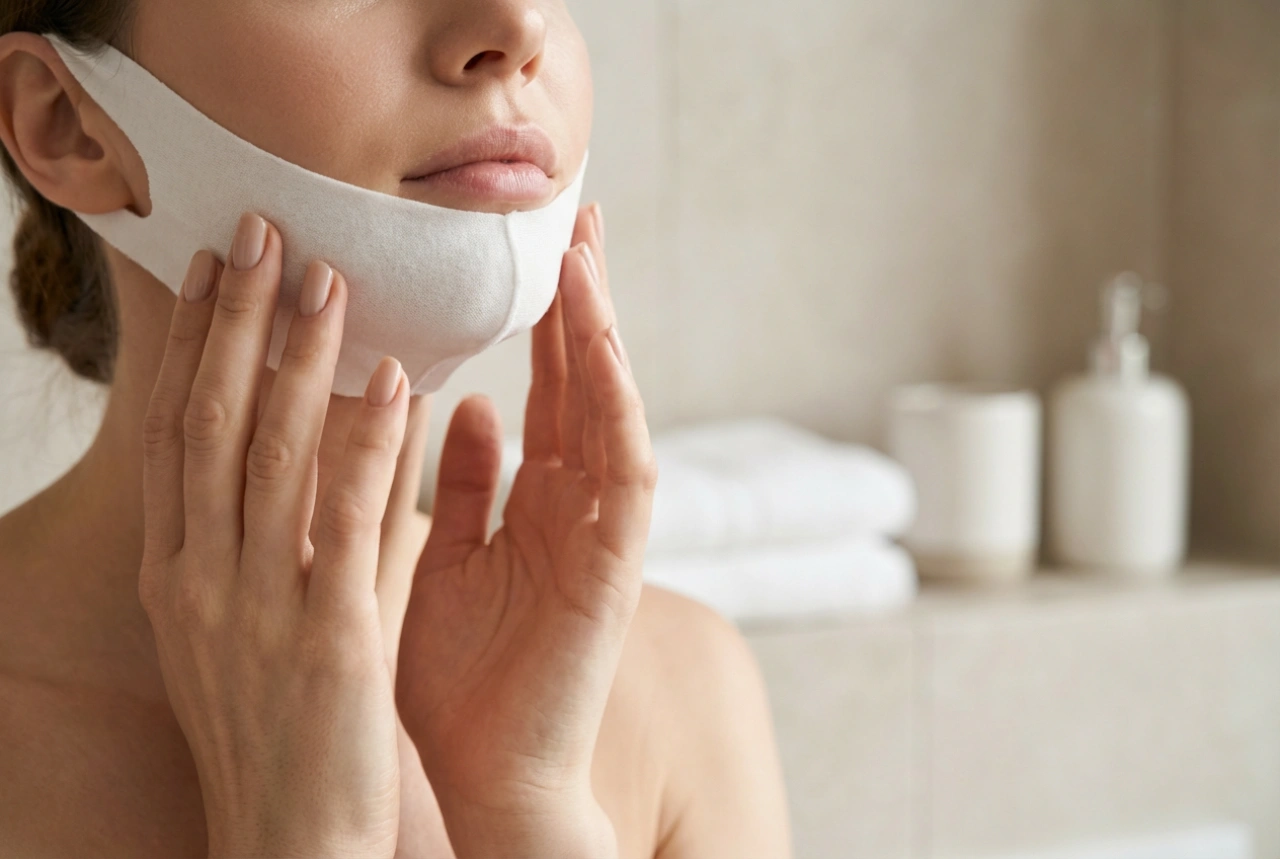
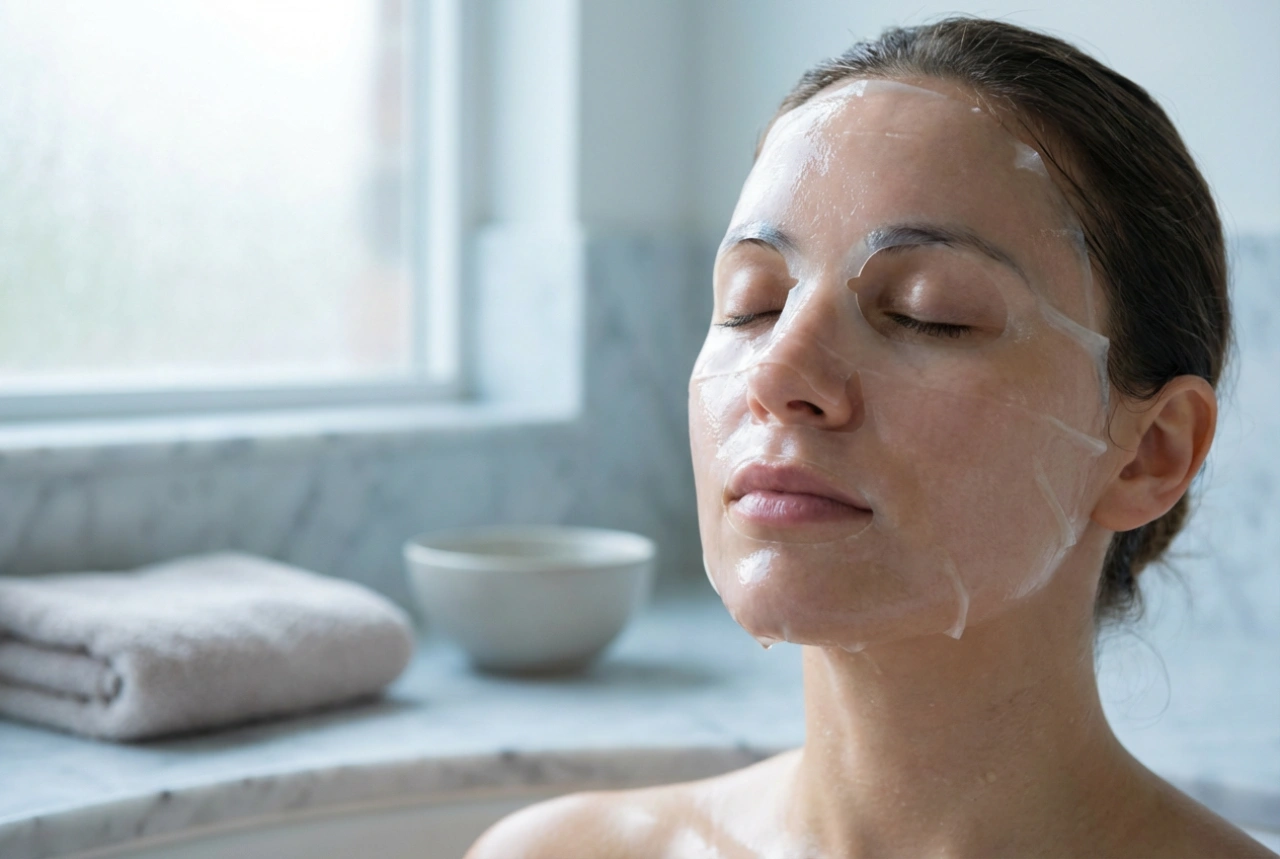
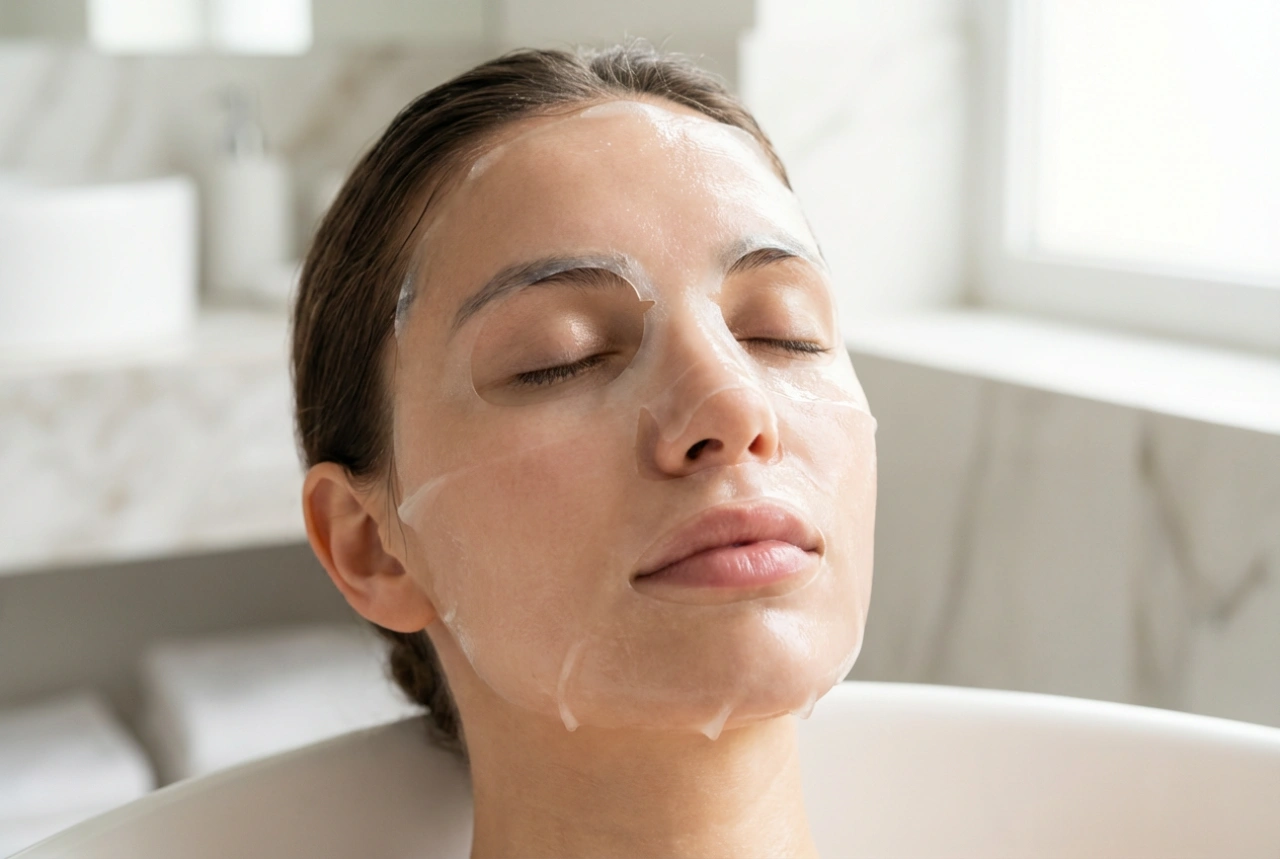
Application and Removal Ritual
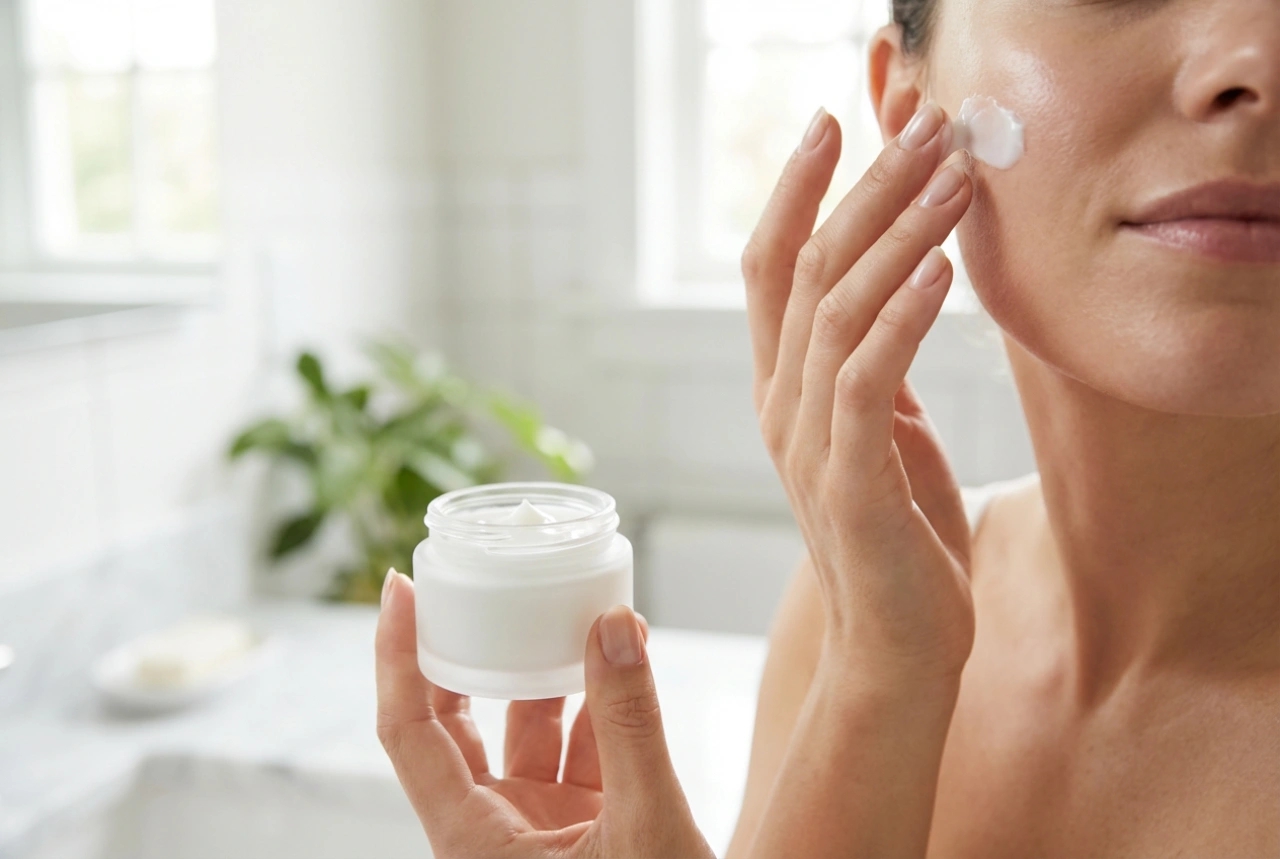
To get the most from your mask, proper application and removal are essential. Start with a clean face; use your regular cleanser to remove all makeup, dirt, and oil. Pat your skin dry. Using clean fingertips or a dedicated mask brush, apply an even layer of the mask over your face, avoiding the delicate eye and lip areas. Now, relax! Leave the mask on for about 10-15 minutes. It's important not to let it dry out completely, especially with clay masks, as this can be dehydrating and cause irritation. If it starts to feel tight and cracked, it’s time to remove it. To remove, splash your face with lukewarm water to soften the mask, then gently wipe it away with a soft, damp cloth. Avoid scrubbing. Once all traces of the mask are gone, pat your skin dry with a clean towel and follow up immediately with your favourite serum and moisturiser to lock in the benefits.