


Achieving beautifully smooth skin is a rewarding part of any personal care routine. While often associated with salon visits, Brazilian waxing can be performed in the comfort of your own home. However, this advanced form of hair removal requires careful preparation, a steady hand, and a strong focus on hygiene and aftercare to ensure the best possible results and protect delicate skin. This guide will walk you through the essential steps for a safe and effective at-home Brazilian wax.
Preparing for Your At-Home Brazilian Wax
Proper preparation is the foundation of a successful waxing session. Rushing this stage can lead to discomfort, irritation, or less-than-perfect results. Before you begin, ensure you have followed these preparatory steps.
Let Your Hair Grow
For wax to grip the hair effectively, it needs to be the right length. Aim for hair that is approximately 6mm long, or about the length of a grain of rice. If it's too short, the wax won't be able to adhere properly. If it's too long, the process can be more painful and less efficient. If necessary, carefully trim the hair to the ideal length before you start.
Exfoliate Gently
About 24 to 48 hours before you plan to wax, gently exfoliate the bikini area. Use a mild body scrub or an exfoliating mitt to slough away dead skin cells. This helps to prevent ingrown hairs by clearing the path for hair to be removed cleanly from the follicle. Avoid exfoliating immediately before waxing, as this can make the skin too sensitive.
Ensure Skin is Clean and Dry
Right before you start, cleanse the area thoroughly with a gentle, pH-balanced wash and pat it completely dry. Your skin must be free from any lotions, oils, or sweat. Any residue can prevent the wax from sticking to the hair, making removal ineffective. Some people find a light dusting of talc-free powder can help absorb excess moisture.
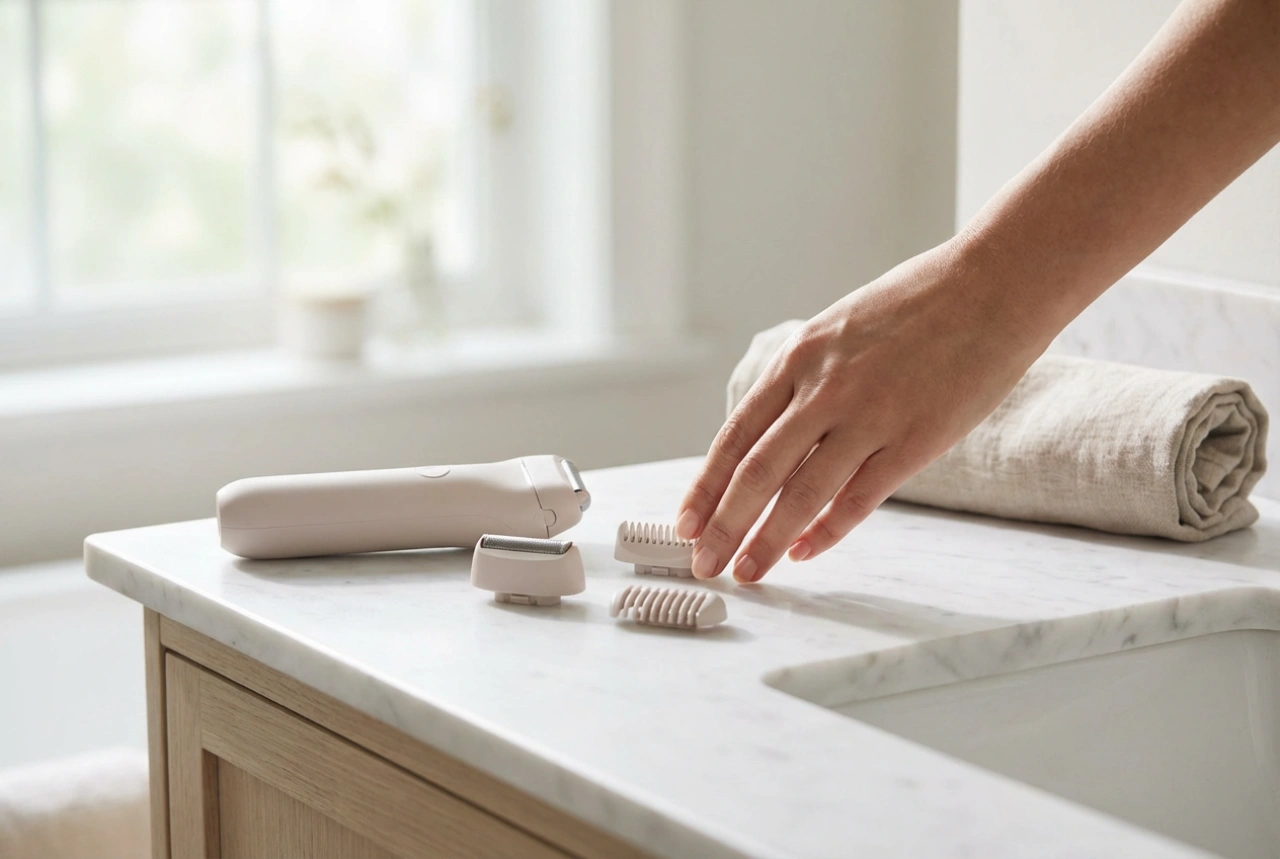
The At-Home Waxing Process: A Step-by-Step Guide
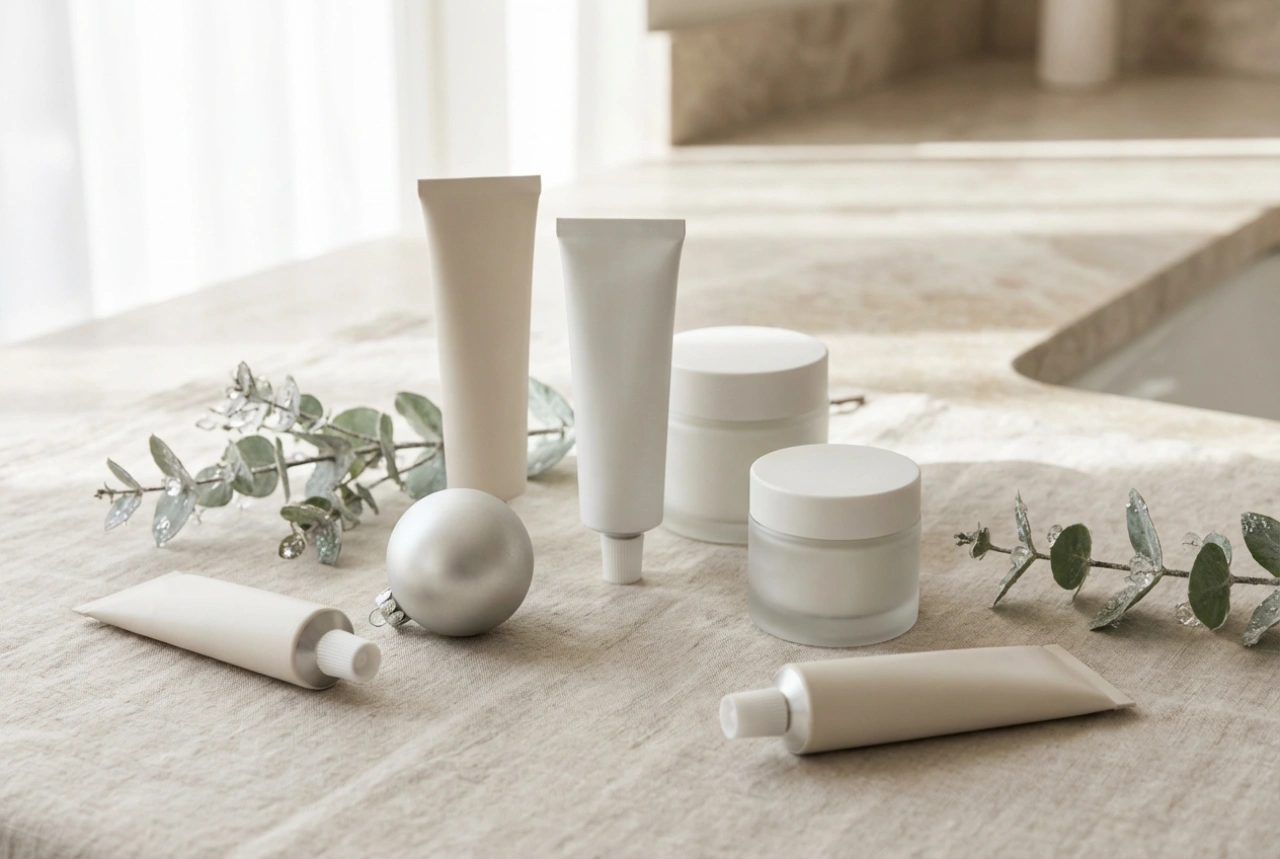
With your skin prepped, it's time to begin the waxing process. Work in a clean, well-lit, and comfortable space where you will not be disturbed. Have all your supplies—wax, heater, applicators, and post-wax oil—within easy reach.
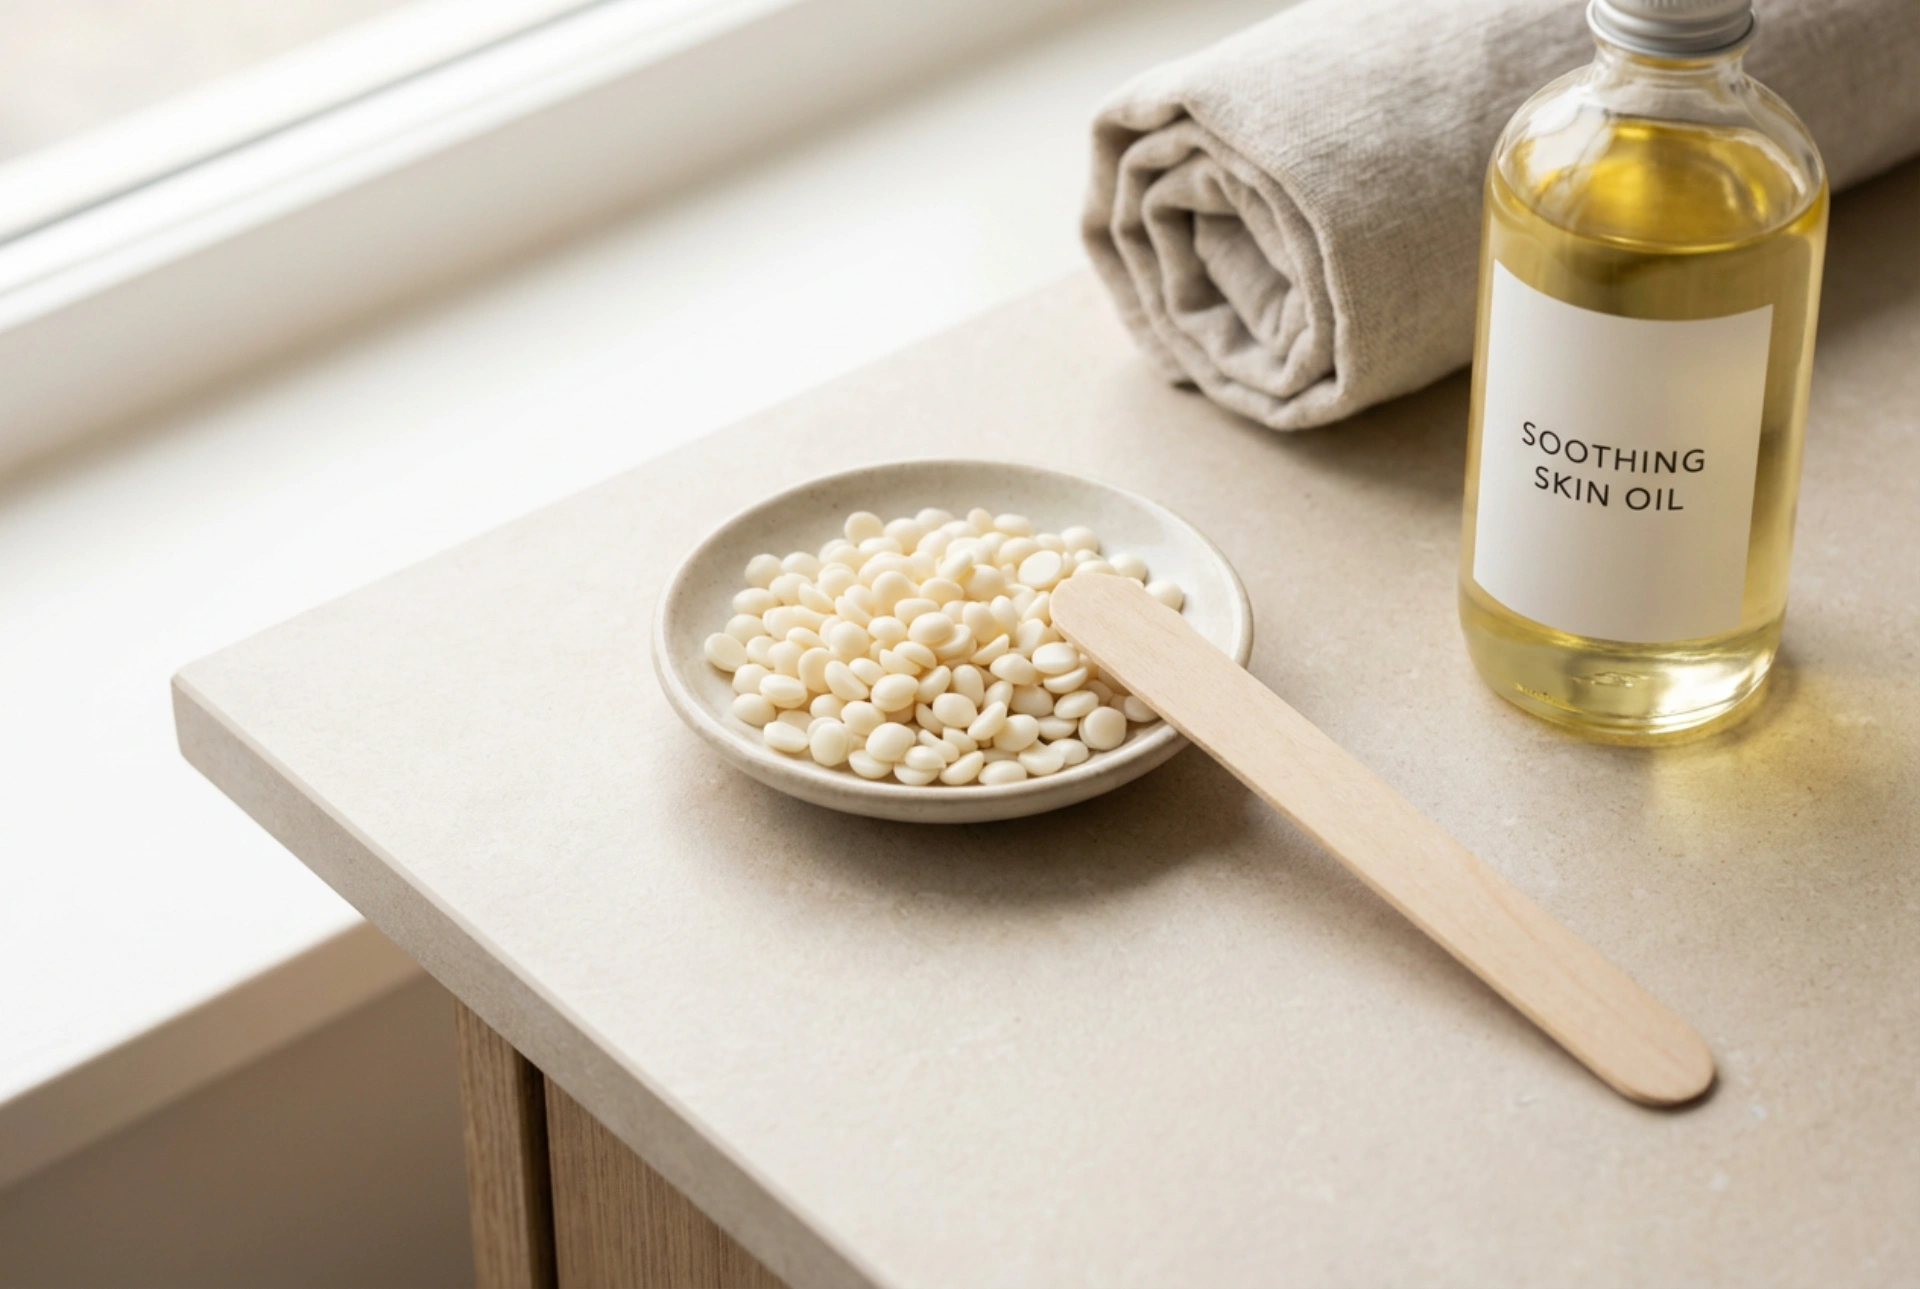
- Heat the Wax: Follow the manufacturer's instructions to heat your hard wax to the correct temperature and consistency. It should be like thick honey, not runny or watery. Test a small patch on your inner wrist to ensure it is not too hot.
- Work in Small Sections: Do not attempt to wax the entire area at once. Work in small, manageable patches, about two to three centimetres wide and a few centimetres long. This gives you more control and makes the process less overwhelming.
- Apply Against a Taut Surface: Hold your skin taut with one hand. This creates a firm, flat surface for the wax and minimises pain during removal. With the other hand, use a clean applicator to apply a layer of wax in the direction of hair growth.
- The Removal: Let the wax set for a moment until it is firm but still pliable. Grip the edge of the wax strip and pull it off quickly in the opposite direction of hair growth. Pull parallel to the skin, not straight up, to reduce discomfort and prevent hair breakage. Breathe out sharply as you pull.
Essential Hygiene Practices for Safe Waxing
Hygiene is non-negotiable when waxing at home, especially in such a sensitive area. Following strict cleanliness protocols is key to preventing irritation and potential skin issues.
- Clean Hands and Tools: Wash your hands thoroughly before you begin. If you plan to use tweezers to pluck any stray hairs, make sure they are properly sterilised with rubbing alcohol.
- No Double-Dipping: Never dip an applicator back into the wax pot after it has touched your skin. This is the primary way bacteria can be transferred into your wax, contaminating the entire pot. Use a fresh, clean applicator for every single application.
- Maintain a Clean Environment: Lay down a clean towel to work on. Ensure your wax pot and all your supplies are clean before you start the session.
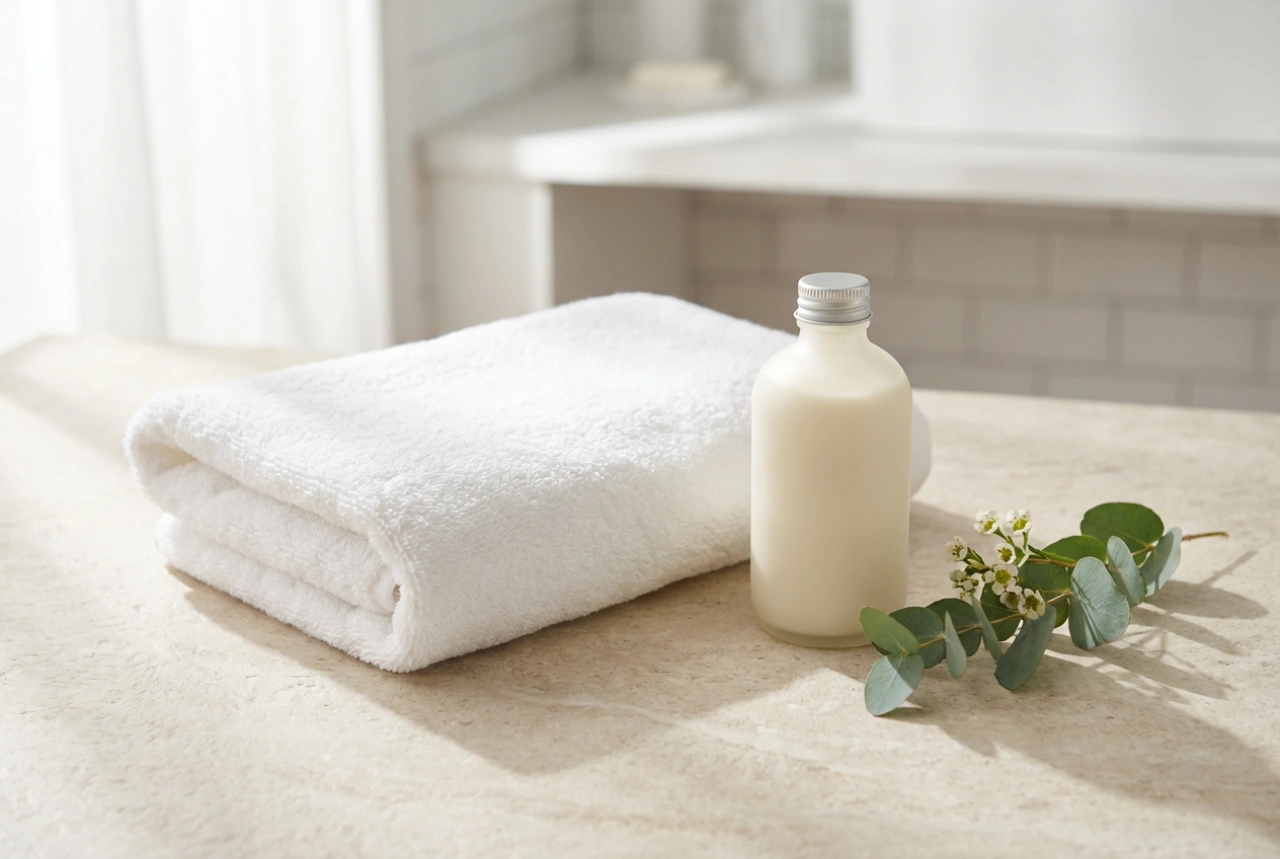
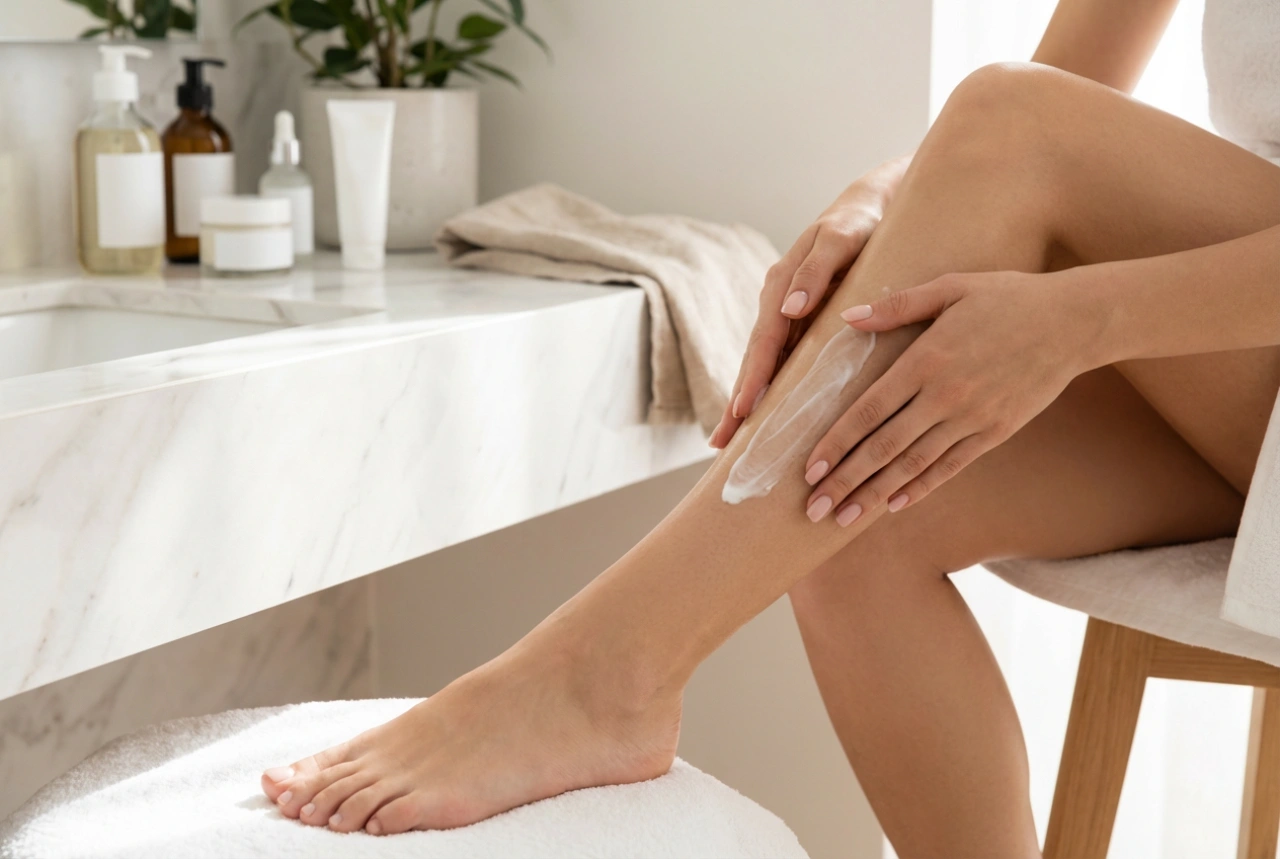
Post-Waxing Skin Care: Soothing and Maintenance
What you do after waxing is just as important as the preparation. The skin will be sensitive, so it needs gentle care to help it recover quickly and stay smooth.
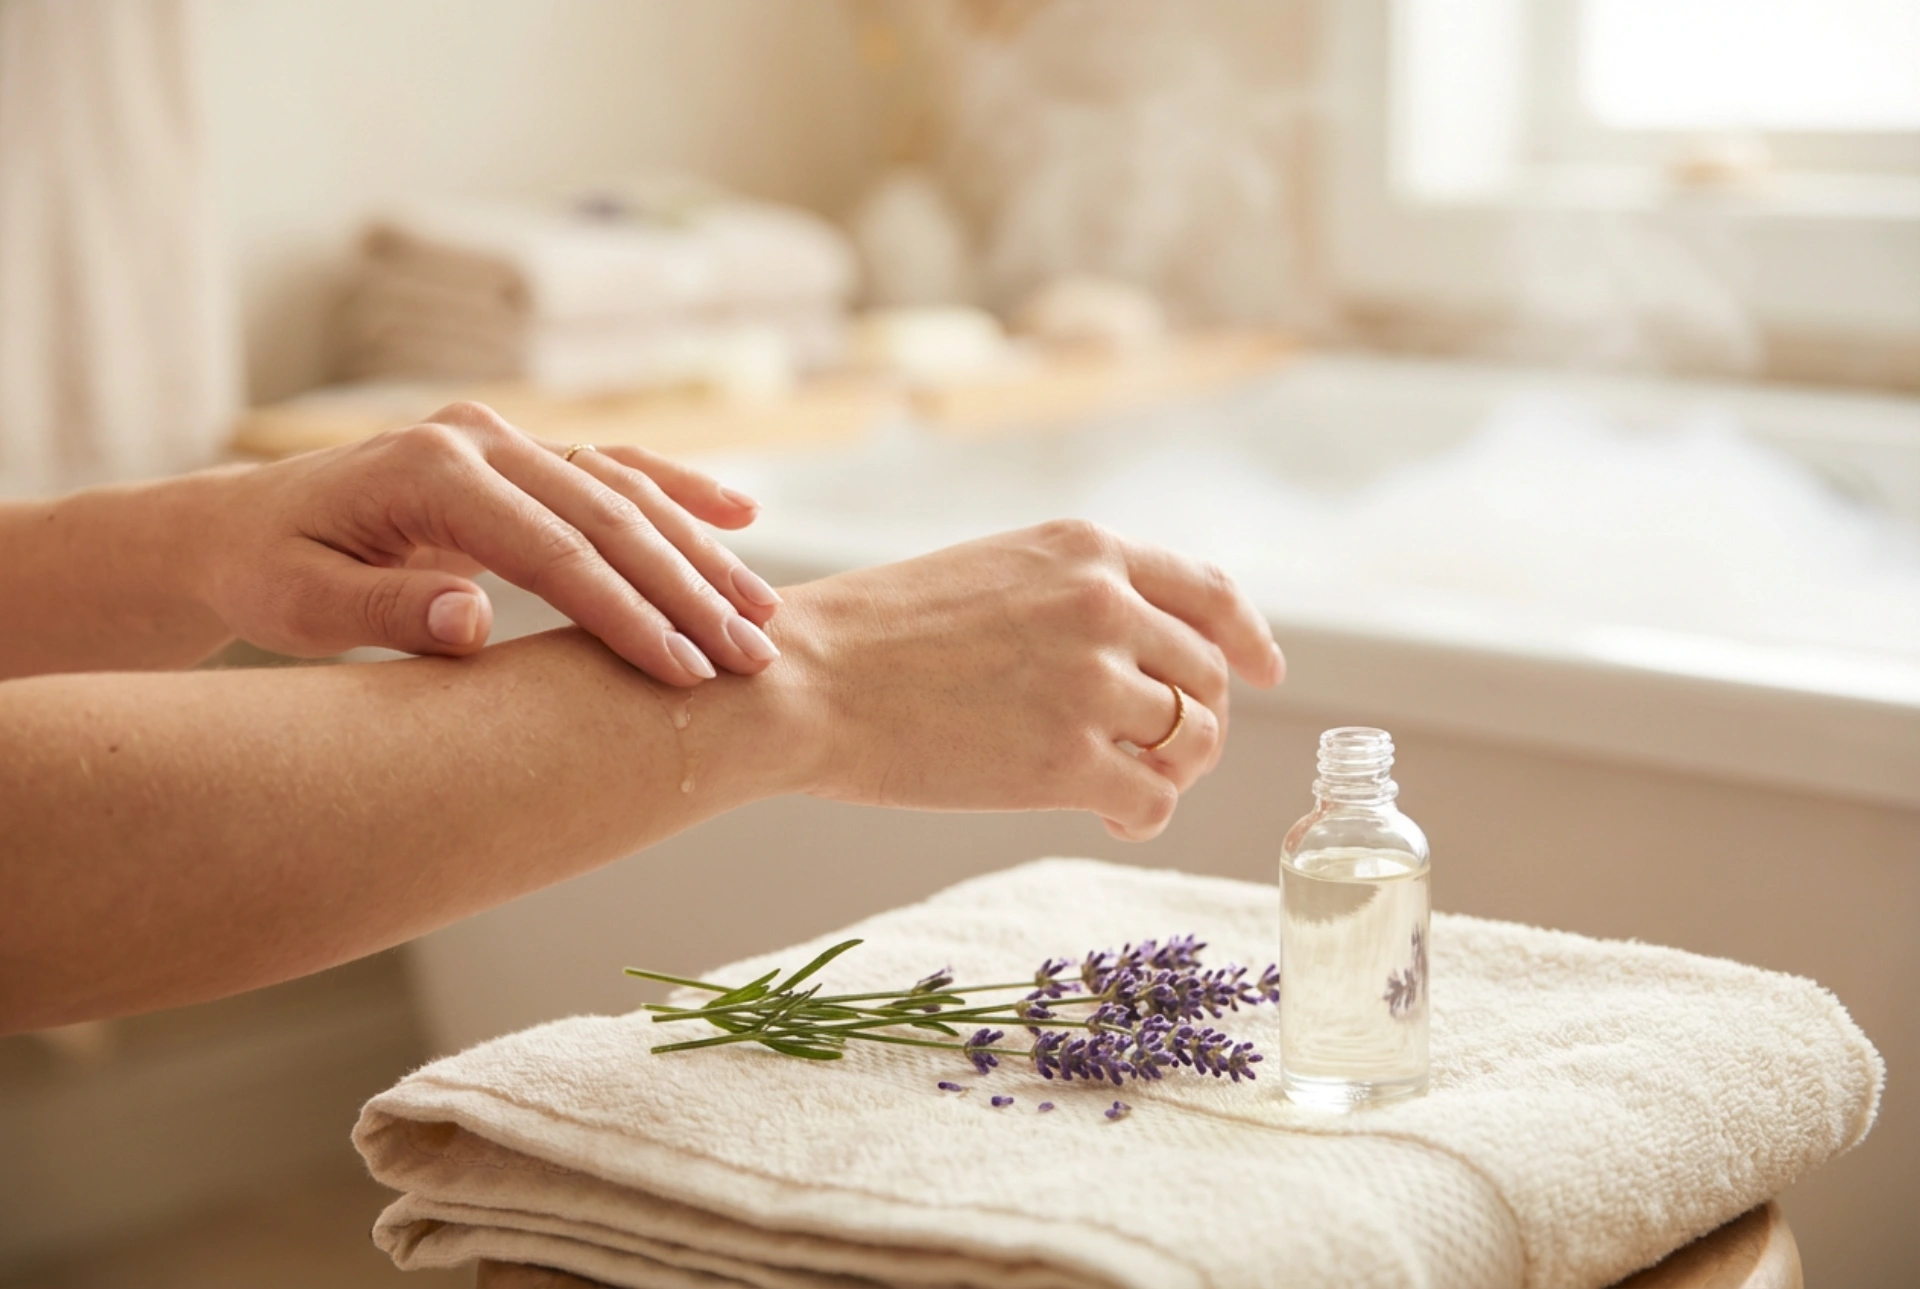
Immediate Aftercare
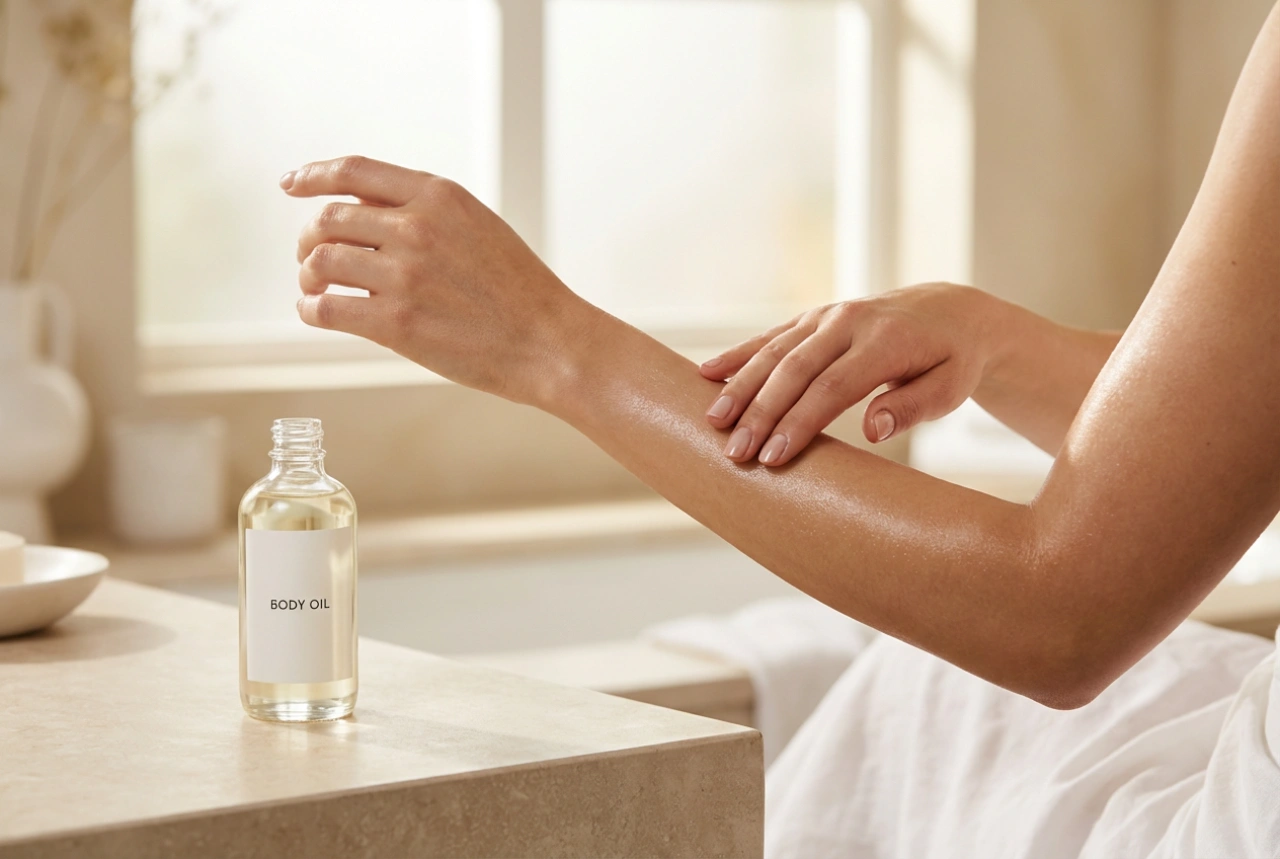
Once you've finished waxing, apply a specially formulated post-wax oil to remove any sticky residue and soothe the skin. Avoid products containing alcohol, which can sting and cause further irritation. For the first 24-48 hours, it's best to:
- Wear loose-fitting, breathable cotton underwear and clothing.
- Avoid hot baths, saunas, steam rooms, and swimming pools.
- Refrain from intense exercise that causes excessive sweating.
- Do not apply perfumed lotions or exfoliants to the area.
Long-Term Care and Preventing Ingrown Hairs
A few days after waxing, you can resume gentle exfoliation two to three times a week. This will help keep the skin clear and prevent ingrown hairs from forming as the hair begins to grow back. Alongside exfoliation, keep the skin well-hydrated by applying a simple, fragrance-free moisturiser daily. This keeps the skin soft and supple, allowing new hairs to grow through the surface easily.