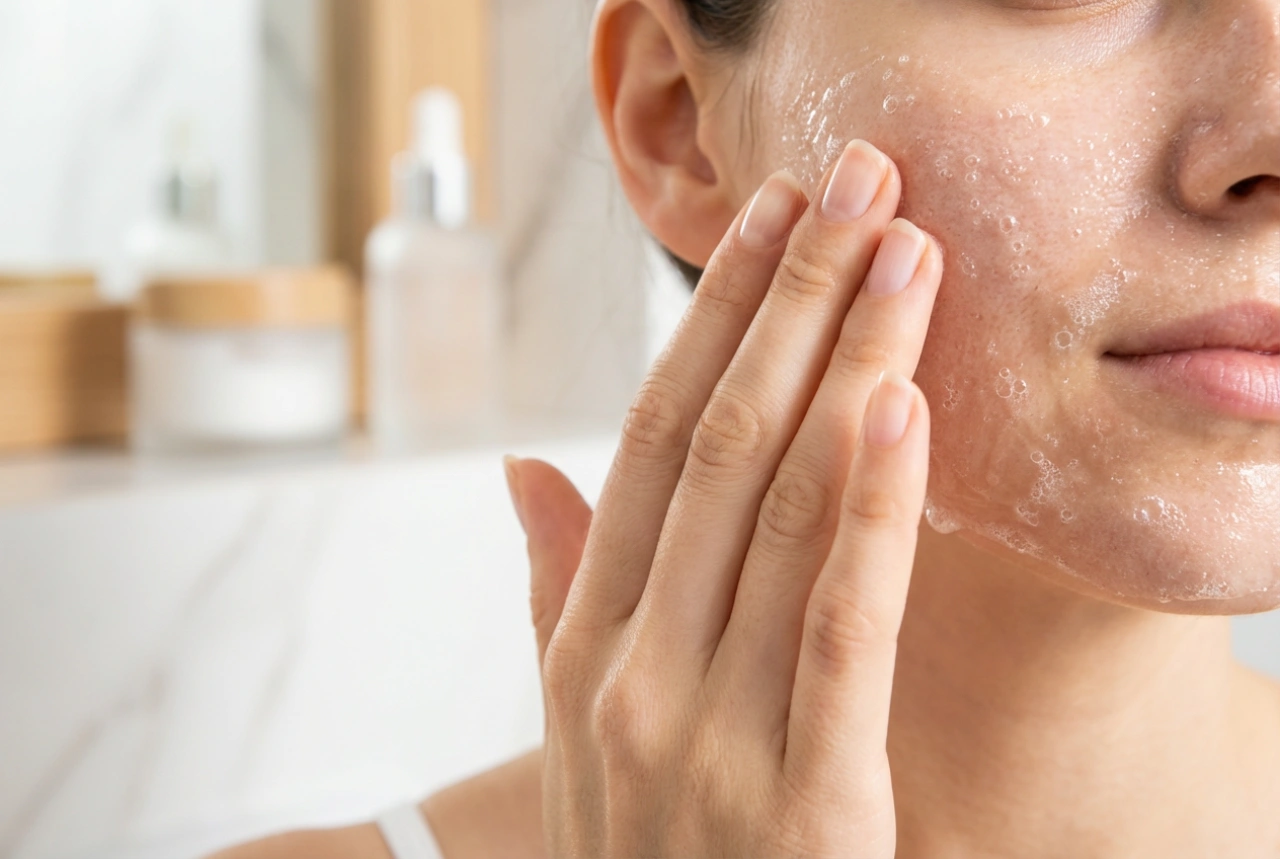


The skin around our eyes is incredibly delicate and thin, making it prone to sensitivity and the first signs of ageing. A gentle and effective makeup removal process is not just about cleanliness; it's a fundamental step in caring for this fragile area. Adopting the right technique can prevent redness, irritation, and unnecessary tugging, ensuring your eyes remain soothed and healthy. This simple evening ritual, when done correctly, can make a significant difference in your long-term skin health.
Preparing for a Gentle Cleanse
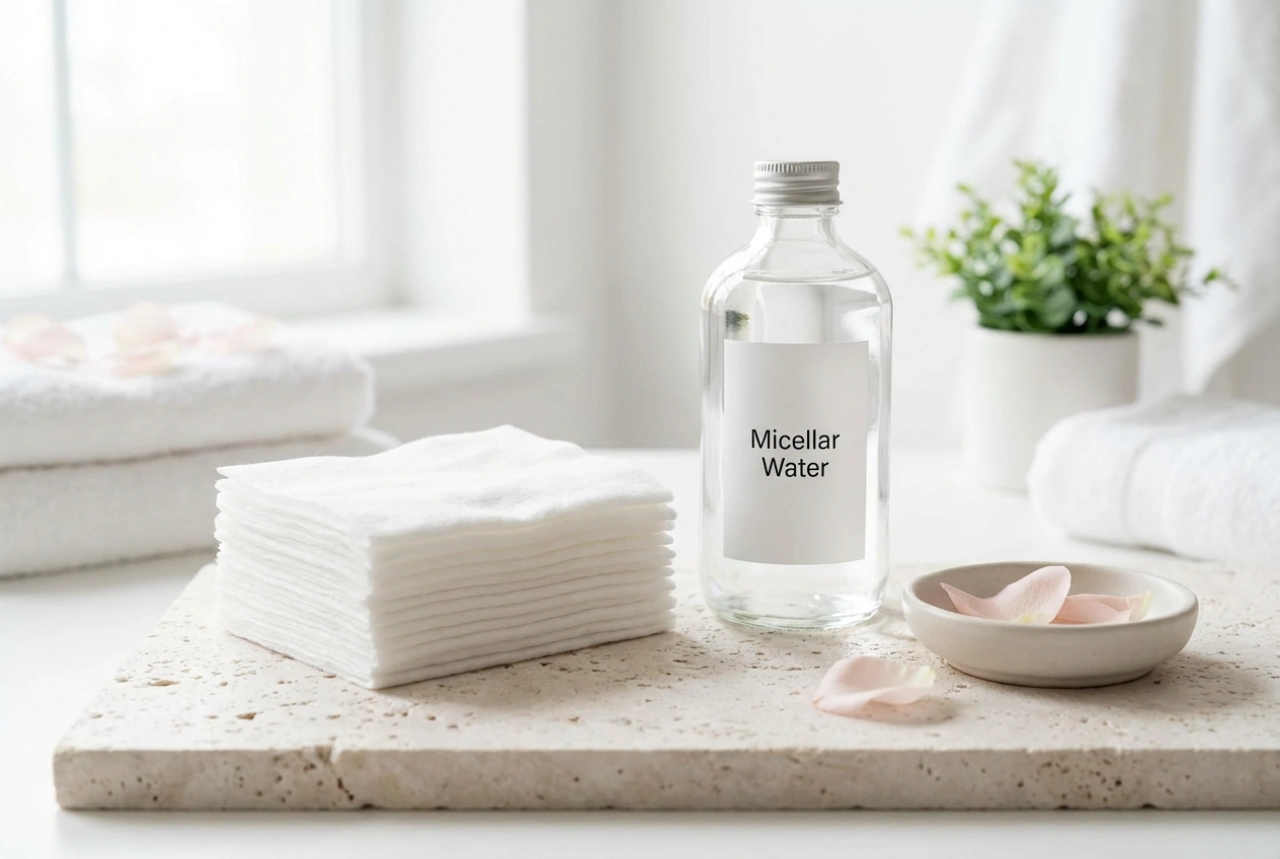
Selecting Your Makeup Remover
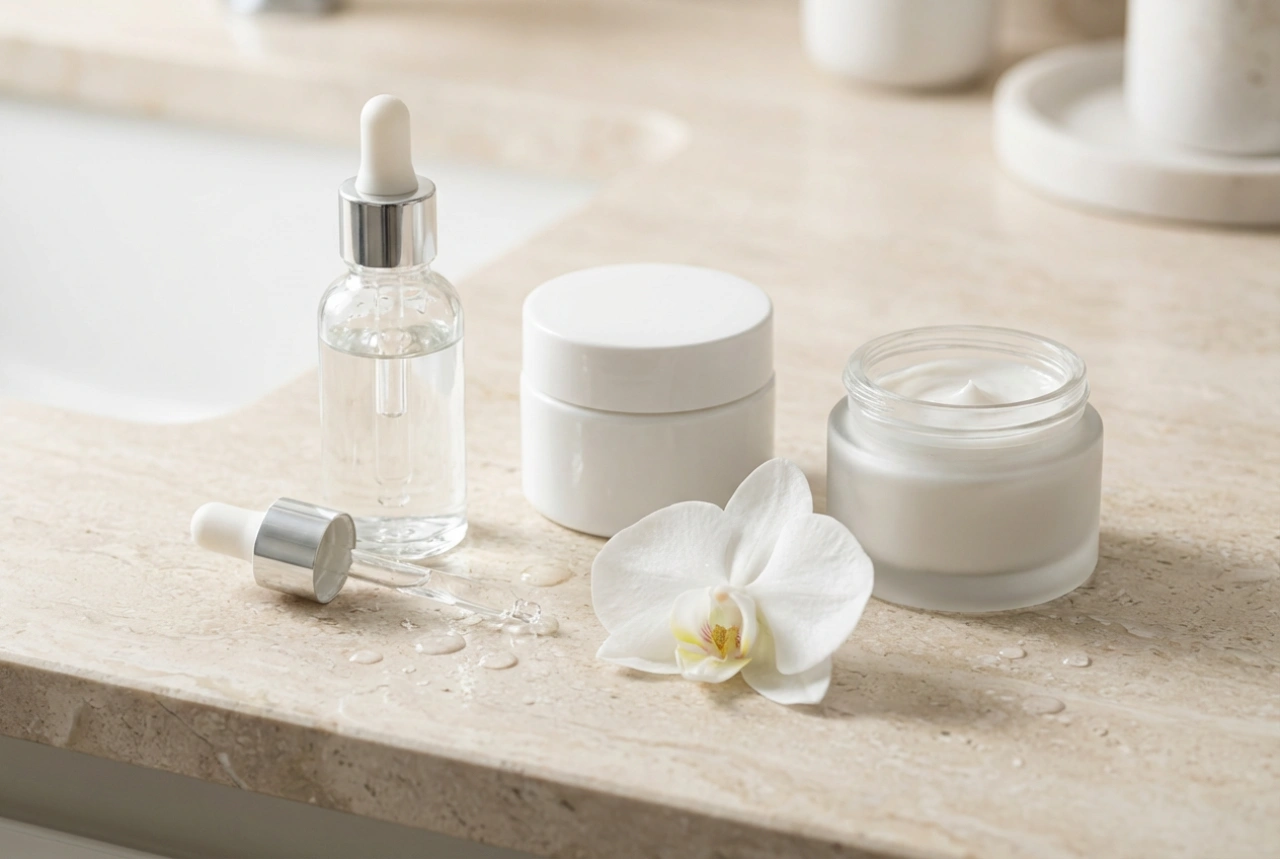
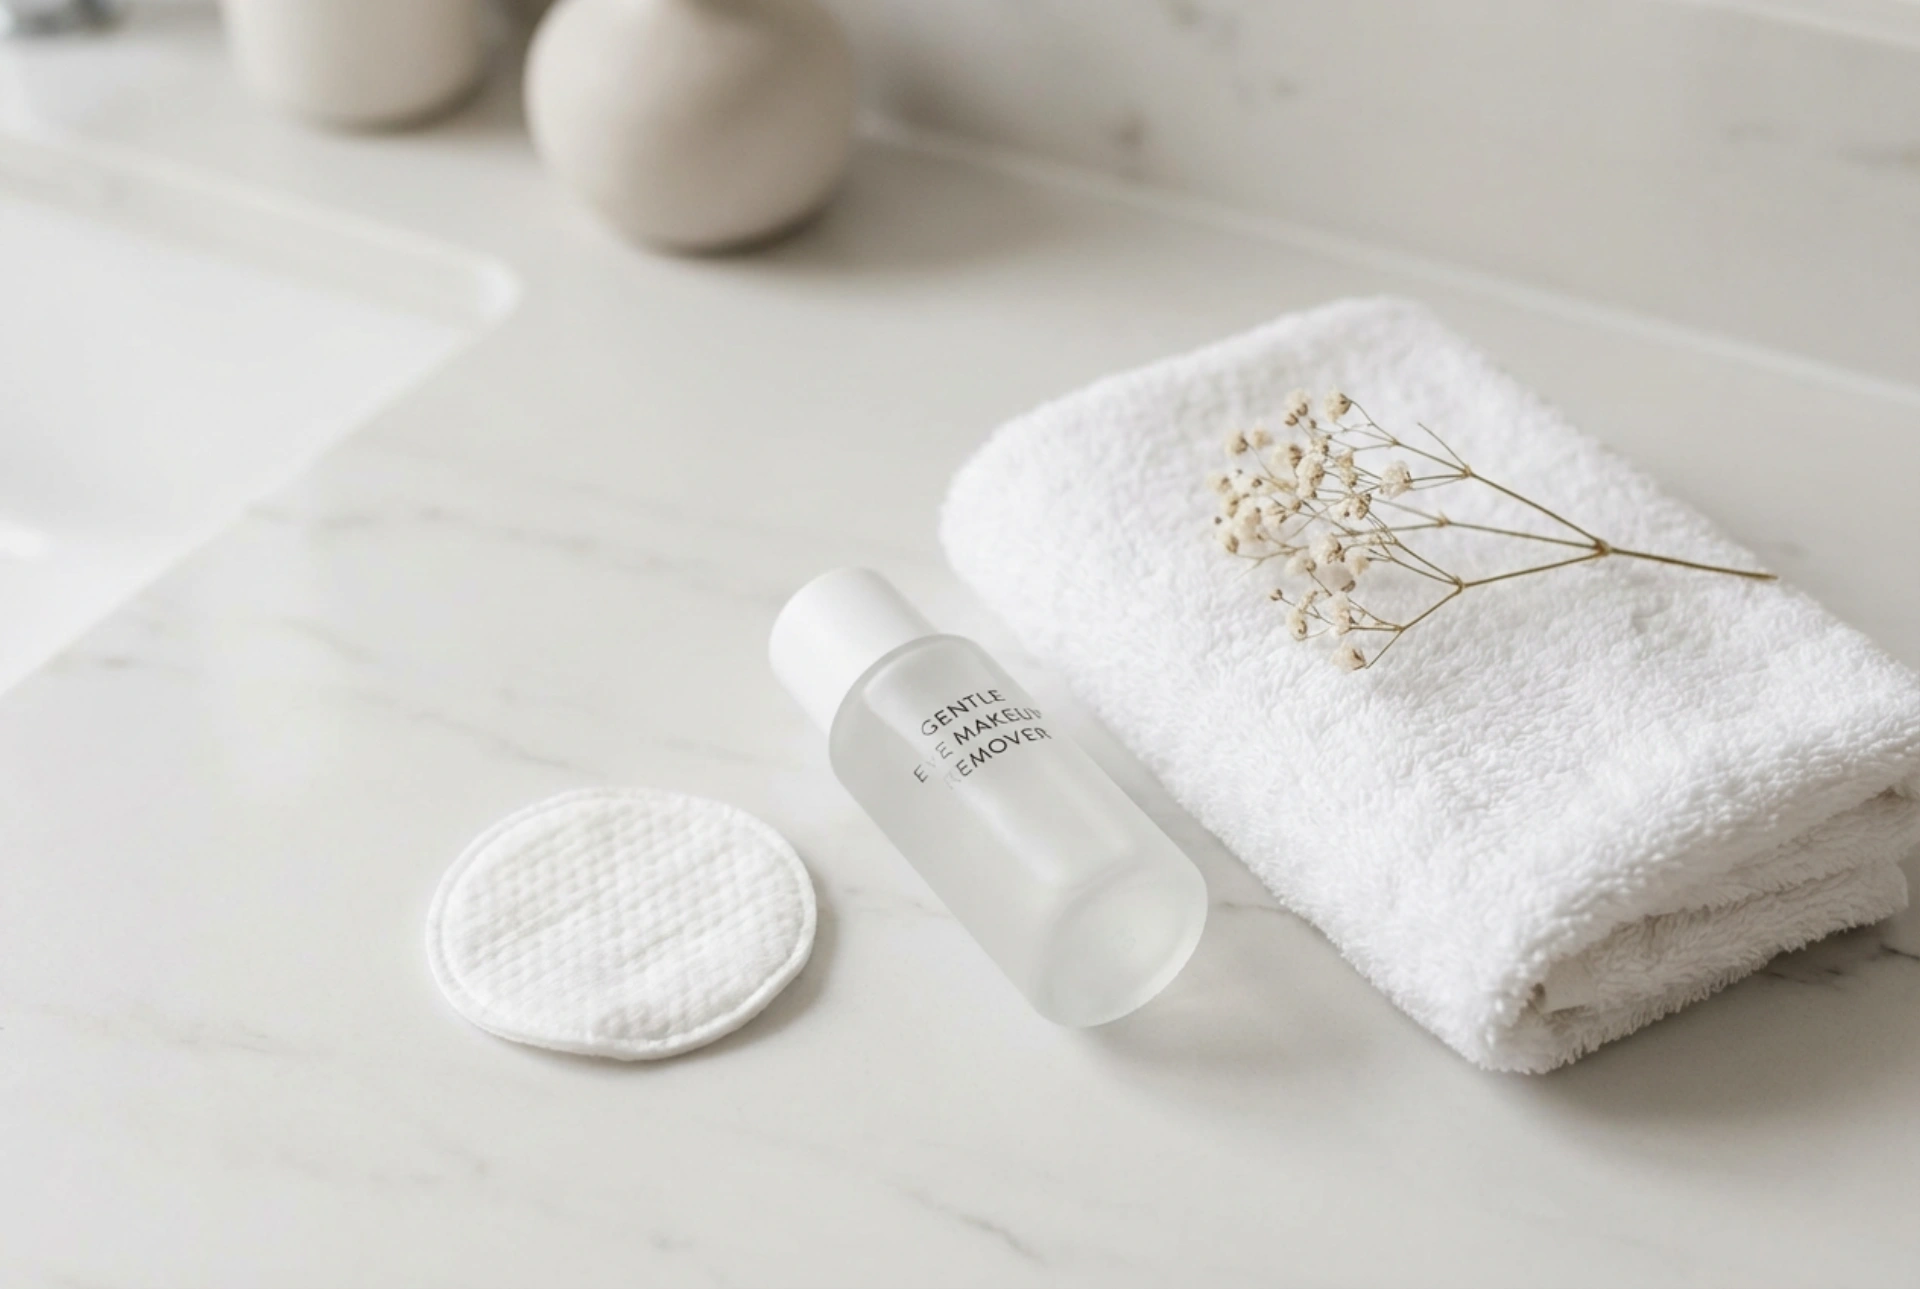
The foundation of a successful removal is the product itself. Look for removers specifically formulated for the eye area, which are often tested for gentleness. Bi-phase removers, which contain both oil and water components, are excellent for breaking down stubborn and waterproof makeup. For less heavy makeup, a gentle micellar water can suffice. The key is to choose a formula that doesn't require harsh rubbing to be effective.
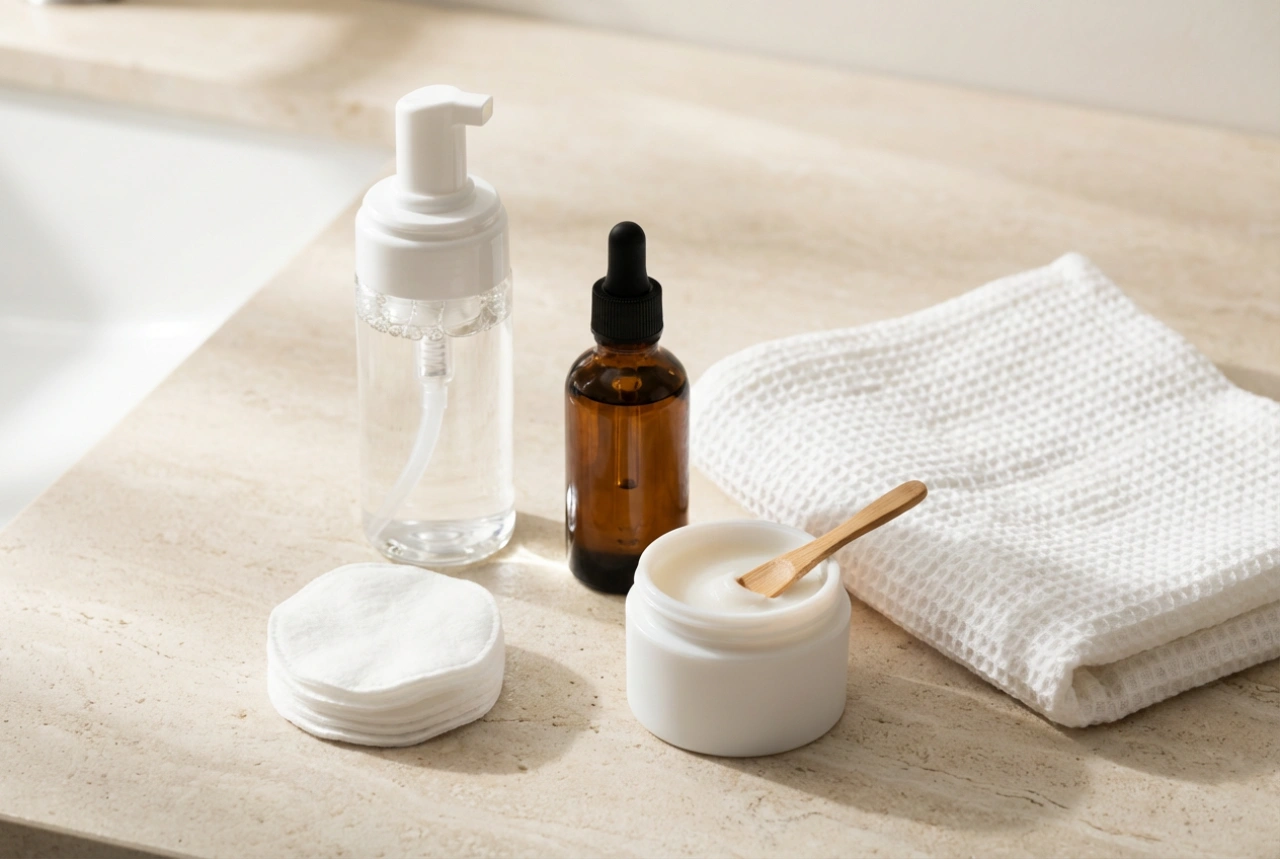
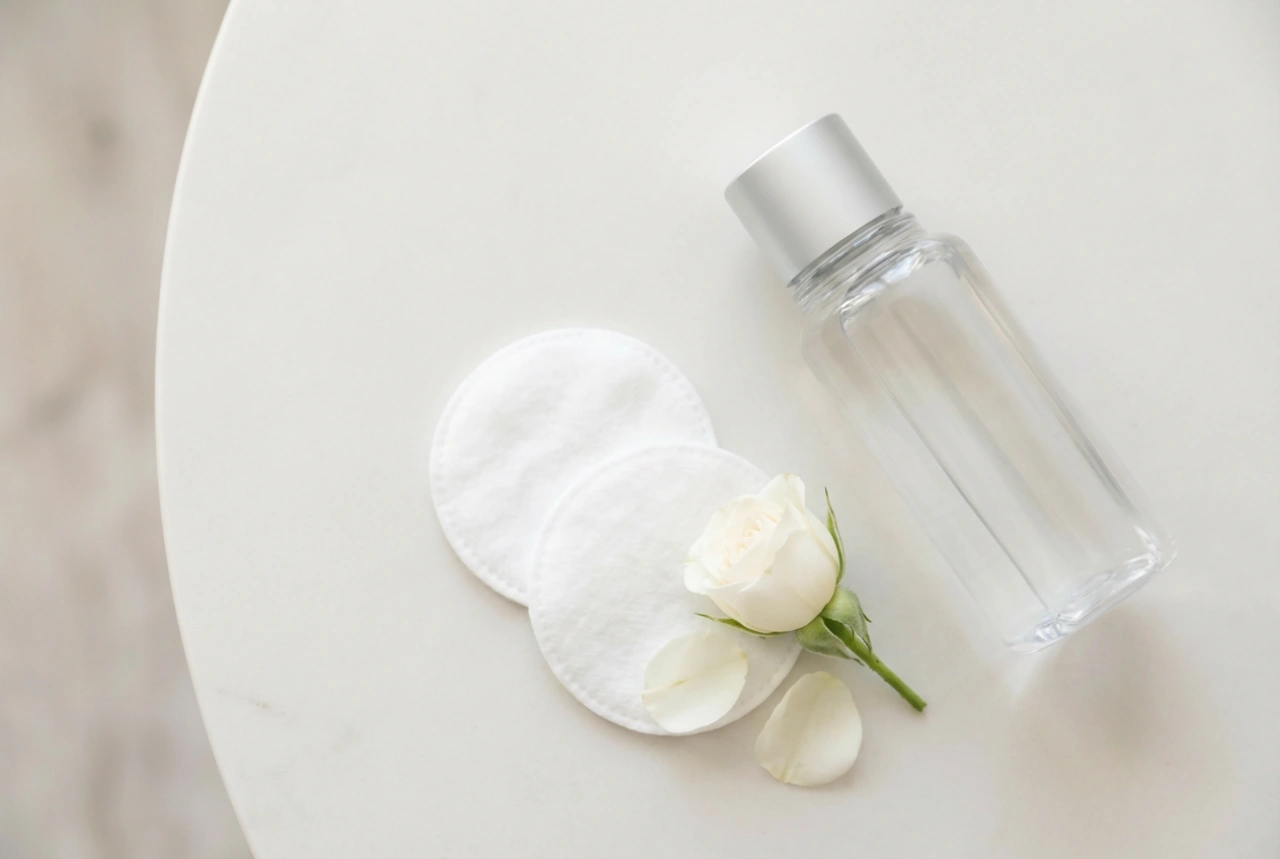
The Right Kind of Cotton Pad
Not all cotton pads are created equal. Opt for soft, high-quality pads that are tightly woven and lint-free. Rough or fluffy pads can leave behind fibres that may irritate the eyes and can feel abrasive on the skin. A good quality pad will absorb the right amount of product and glide smoothly over the skin, minimising friction.
The Correct Technique for Irritation-Free Removal
The 'Press and Hold' Method
This is the most crucial step to avoid rubbing and pulling. Instead of wiping immediately, follow this process:
- Saturate a cotton pad with your chosen remover. It should be wet, but not dripping.
- Close one eye and gently press the pad over your eyelid and lashes.
- Hold it in place for at least 20-30 seconds. This contact time allows the remover to dissolve the makeup—from eyeshadow to mascara and eyeliner—without any physical force.
The Gentle Wipe
After the 'press and hold' period, the makeup will have loosened significantly. Now, gently wipe the pad downwards, following the direction of your lash growth. Use a single, smooth motion. For the lower lash line, you can fold the pad and use a clean section to gently sweep from the outer corner inwards. Avoid any back-and-forth or scrubbing motions, as this is what causes irritation and can damage delicate lashes.
Dealing with Waterproof and Long-Wear Formulas
Waterproof mascara and eyeliner are designed to resist moisture, which means they can be more challenging to remove. The key here is patience. You will likely need a bi-phase (oil-based) remover for this task, as oil is effective at breaking down the long-wear polymers in these products. You may also need to extend the 'press and hold' time to 45-60 seconds to give the product enough time to work its magic. Never resort to aggressive rubbing, even if you are in a hurry. It is better to repeat the 'press and hold' step with a fresh pad if necessary.
The Final Touches: Ensuring a Perfect Cleanse
Detail-Oriented Cleaning
After the main removal, there can still be small traces of makeup, particularly along the tightline and lash roots. To address this, dip a cotton bud into your makeup remover and gently trace it along your lash line. This ensures every last bit of product is gone, preventing potential eye irritation overnight.
Rinsing and Aftercare
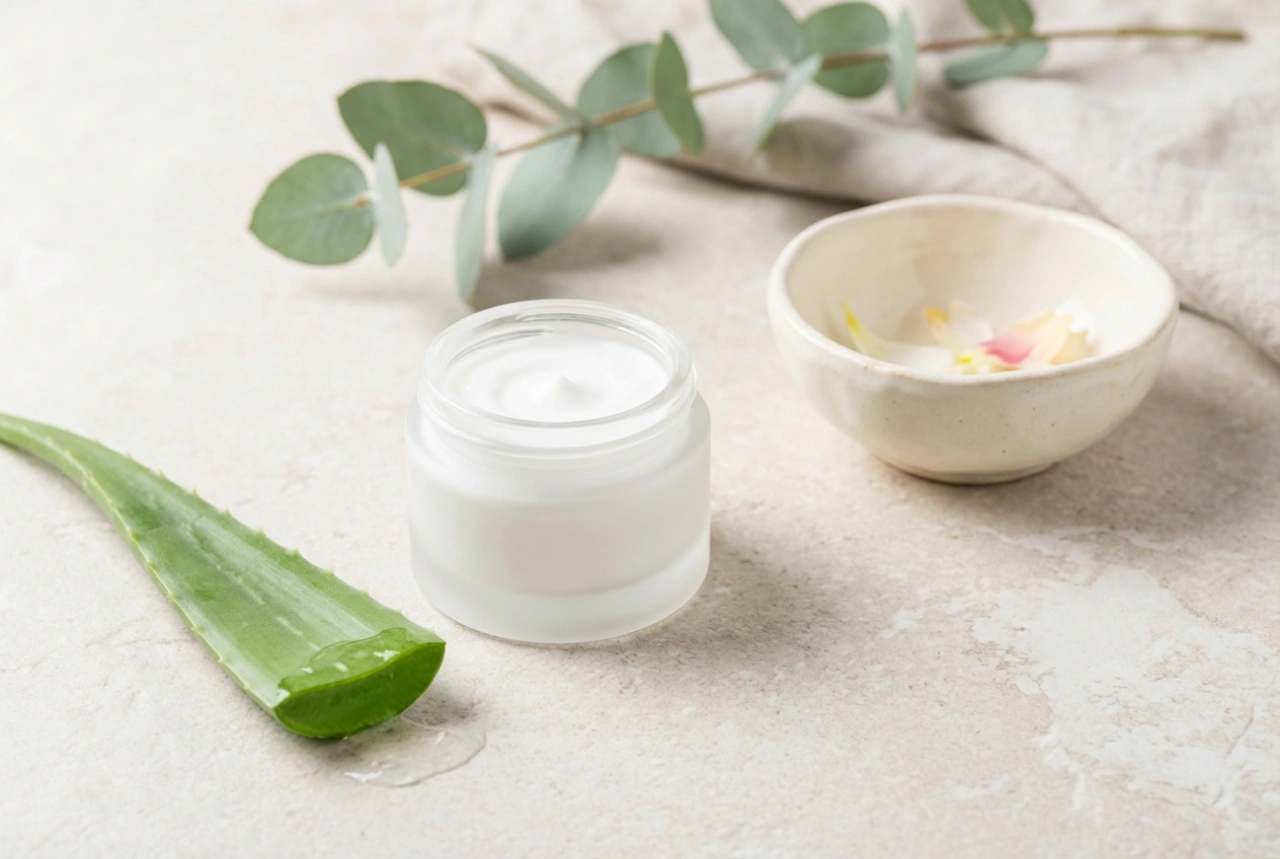
Many eye makeup removers, especially oil-based ones, can leave a slight film on the skin. It is a good practice to follow up with your regular gentle face cleanser to wash away any residue. Once your face is clean and dry, complete your routine by applying a hydrating eye cream. Pat it on gently with your ring finger to soothe the skin, replenish moisture, and support the delicate eye contour.