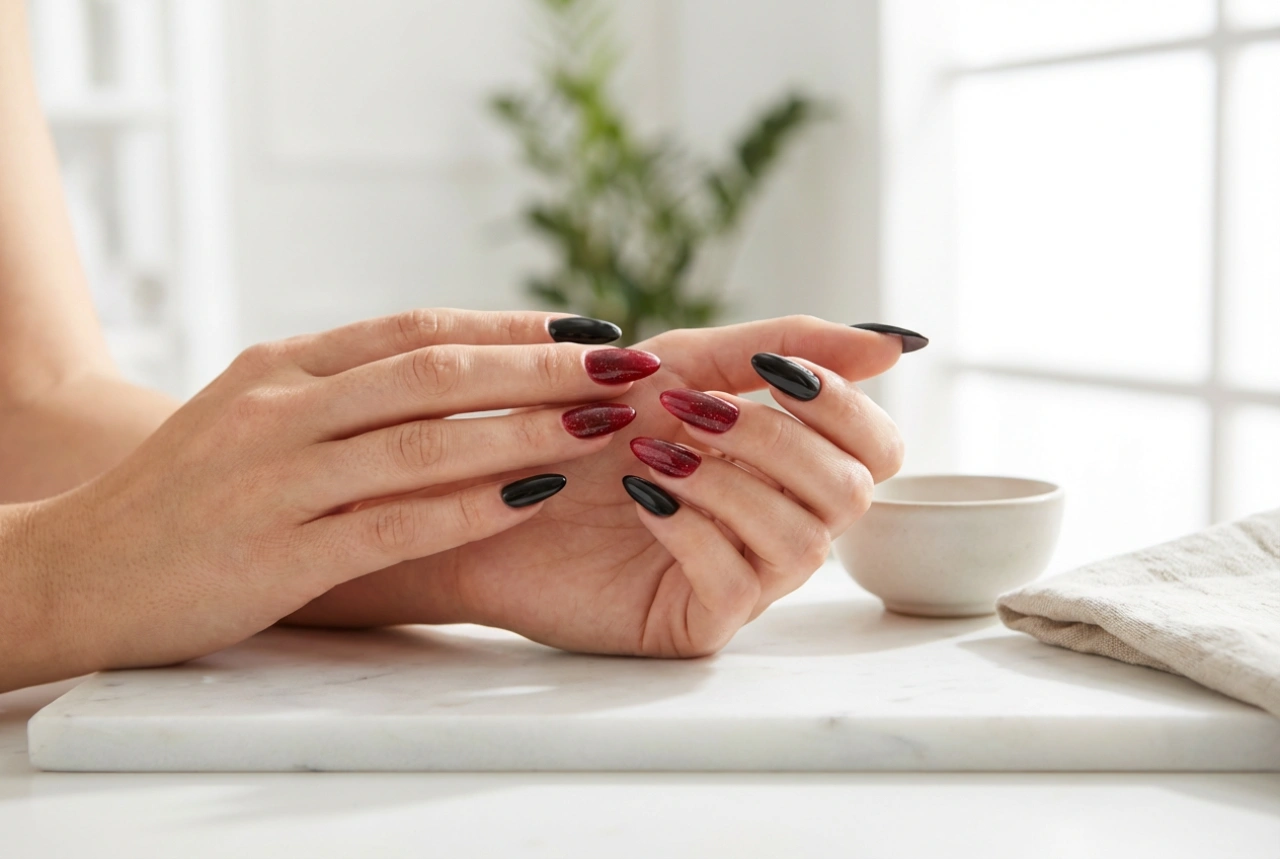


Achieving beautifully long and perfectly shaped nails is a goal for many beauty enthusiasts. One of the most popular and versatile methods for creating length is using nail forms. This technique allows for complete control over the final shape and structure, resulting in a durable and professional-looking manicure. Mastering this process requires patience and precision, but the results are well worth the effort. This guide will walk you through each essential stage, from preparing the natural nail to the final filing that perfects the extension.
Stage 1: Thorough Preparation of the Natural Nail Plate
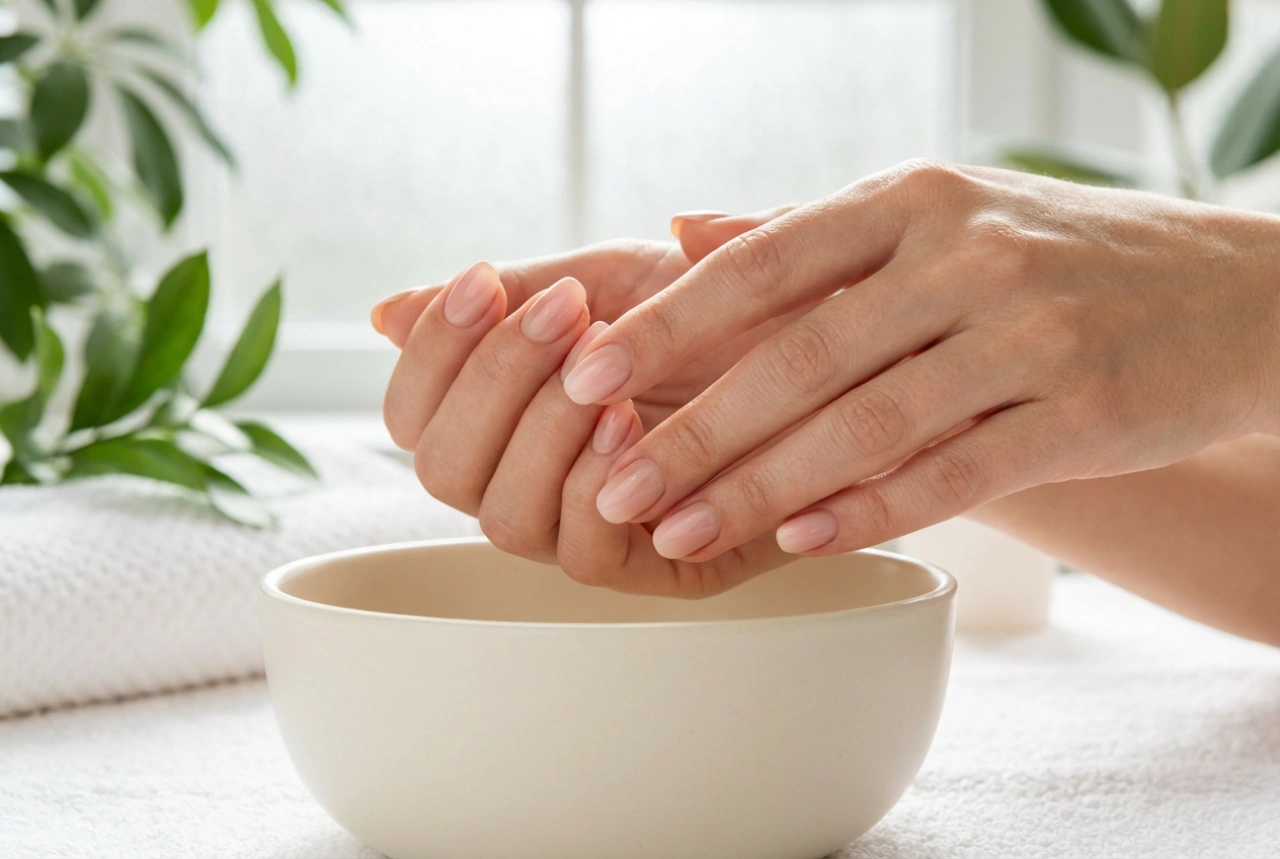
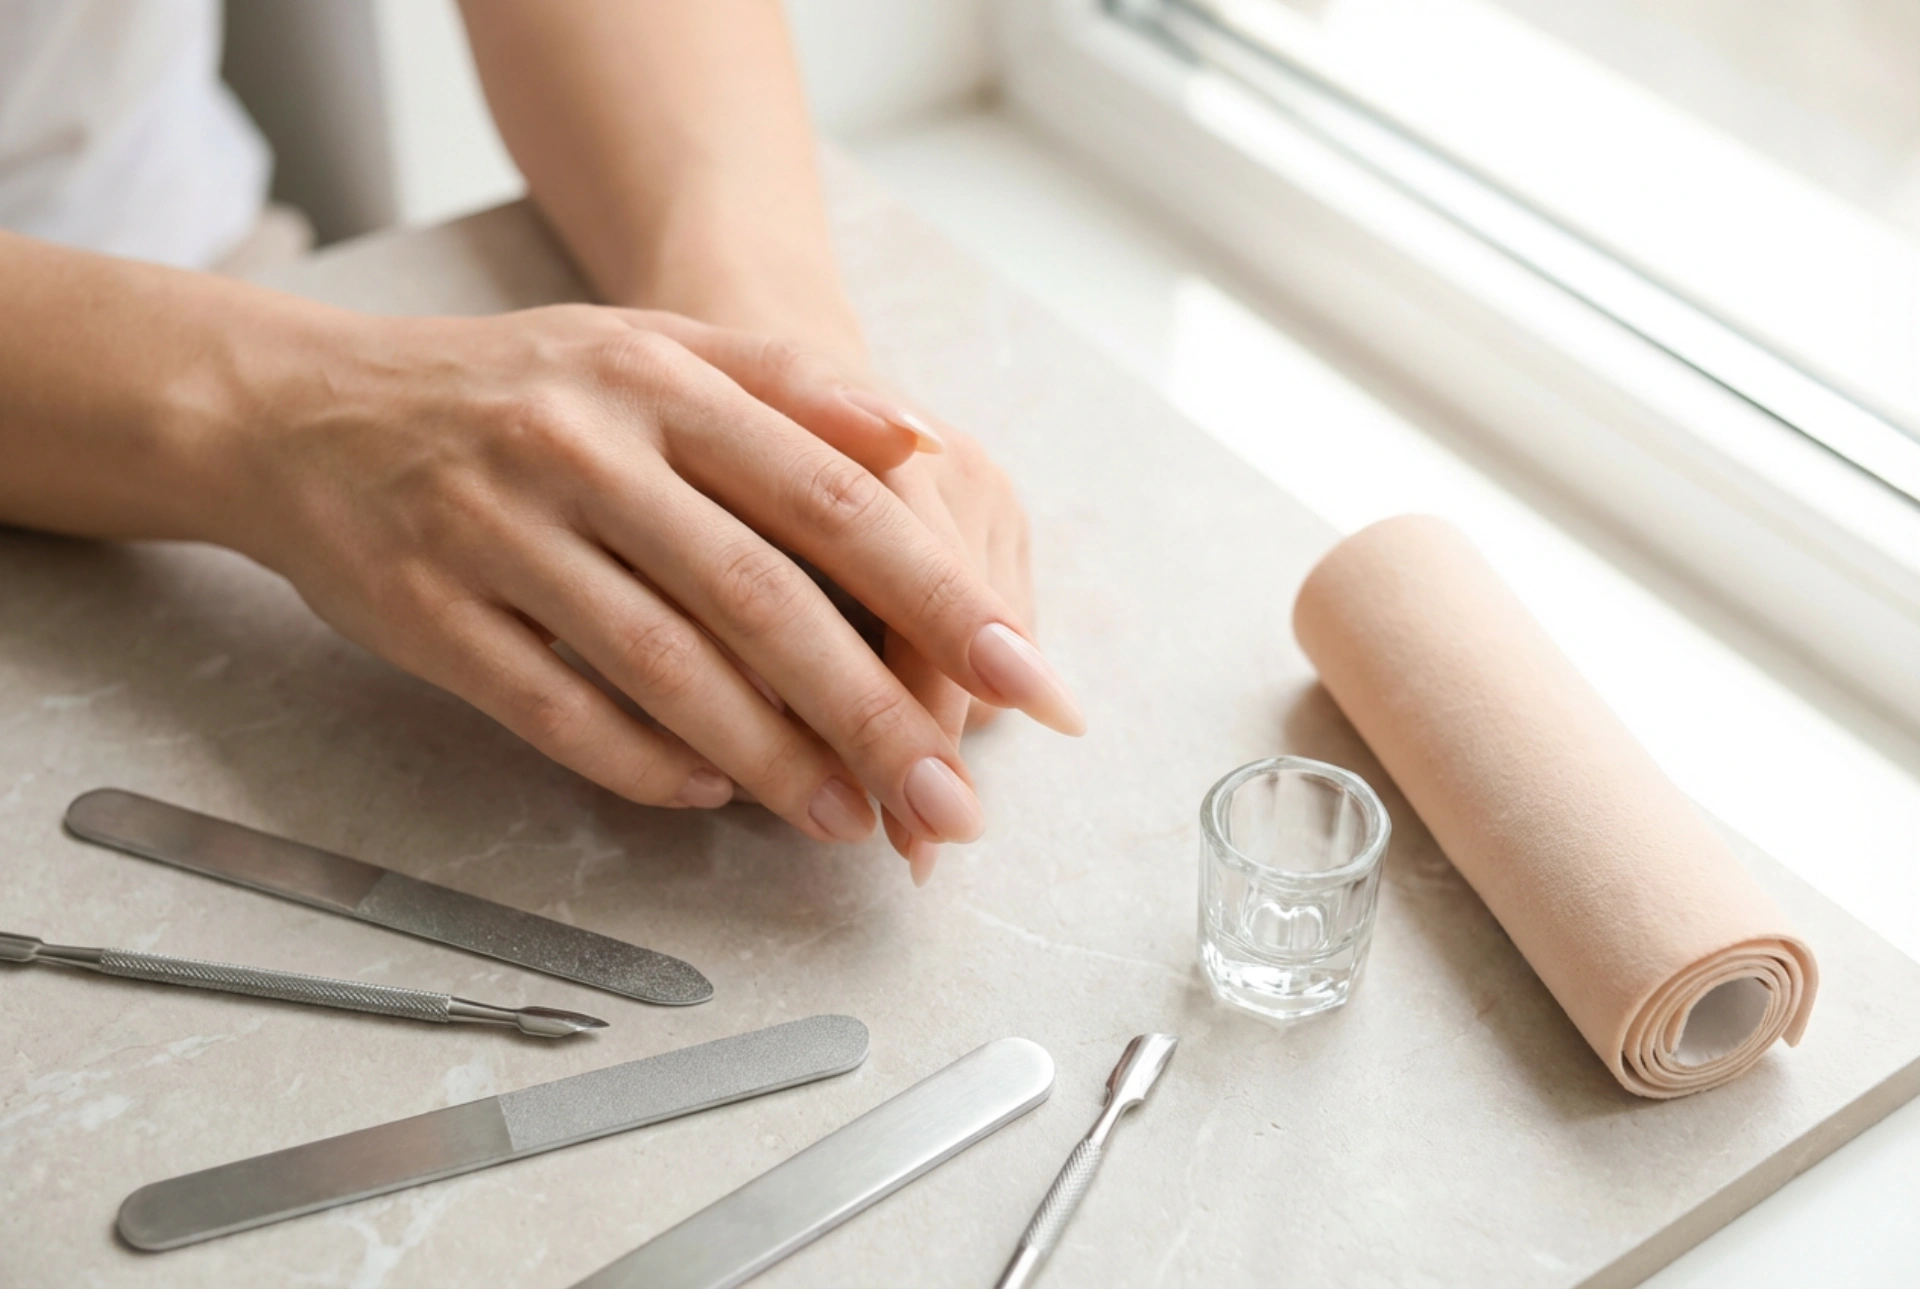
The longevity of any nail extension heavily relies on meticulous preparation. This initial step ensures optimal adhesion of the product and helps prevent lifting. A clean and properly prepared base is the foundation for a flawless result.
Cuticle Care and Matting the Plate
Begin by gently pushing back the cuticles using a wooden stick or a cuticle pusher. It is crucial to also remove the thin, invisible membrane (pterygium) from the nail plate's surface. Next, use a fine-grit buffer or a very gentle file to carefully mattify the entire surface of the natural nail. The goal is to remove the natural shine, not to thin the nail. This creates a slightly rougher texture that the product can grip onto more effectively. Once done, remove all the dust with a soft brush.
Degreasing and Applying Primer
After matting, the nail plate must be thoroughly cleansed to remove any oils, moisture, and dust. Use a lint-free wipe soaked in a nail cleaner or dehydrator solution. Once the nail is clean and dry, apply a primer. There are acid-free and acid primers; an acid-free version is generally recommended for home use as it is gentler. Apply a thin layer only to the natural nail plate and allow it to dry according to the product's instructions. This step acts like double-sided tape, creating a strong bond between the natural nail and the extension product.
Stage 2: Correct Application of the Nail Form
The form is the template for your new nail, so its correct placement is fundamental to achieving the desired shape and strength. A poorly fitted form will lead to a weak and misshapen extension.
Customising the Form for a Perfect Fit
Not all nails are the same shape, so you will likely need to customise the form. Place the form under the free edge of your nail to check the fit. If the curve of the form does not match the curve of your nail's free edge (the hyponychium), use small scissors to trim the form. The goal is to have the form sit snugly under the nail with no gaps on the sides or in the middle. The form should look like a natural continuation of your own nail.
Positioning and Securing the Form
Once trimmed, carefully place the form under the nail, ensuring the centre line on the form aligns with the centre of your finger. Press the sides of the form together under the finger to secure it firmly. Check from the side to ensure the form is not pointing upwards or downwards, but extends straight out from the natural nail. For a classic square or almond shape, a straight placement is ideal. A slight downward angle might be needed for more dramatic shapes like a stiletto.
Stage 3: Building the Nail Structure
With the form securely in place, it's time to build the nail using your chosen product, such as a builder gel or acrylic system. This stage involves creating the length and the essential structure for durability.
Creating the Skeleton and Building the Apex
Start by applying a thin layer of product onto the natural nail and extending it onto the form to create the desired length and basic shape. This initial layer is often called the 'skeleton'. Cure it (if using gel) or let it set partially (if using acrylic). Next, apply a larger bead of product to the centre of the nail, where the natural nail meets the extension. This is where you will build the 'apex' or 'stress point', which is the highest point of the nail that provides strength and absorbs impact. Gently guide the product towards the cuticle area (without touching the skin) and down towards the tip, creating a smooth, gentle curve.
Stage 4: Filing, Shaping, and Finishing
After the product has fully cured or hardened, it's time for the final and most artistic part: shaping the nail. This step refines the structure and brings the desired look to life.
Shaping the Walls and Free Edge
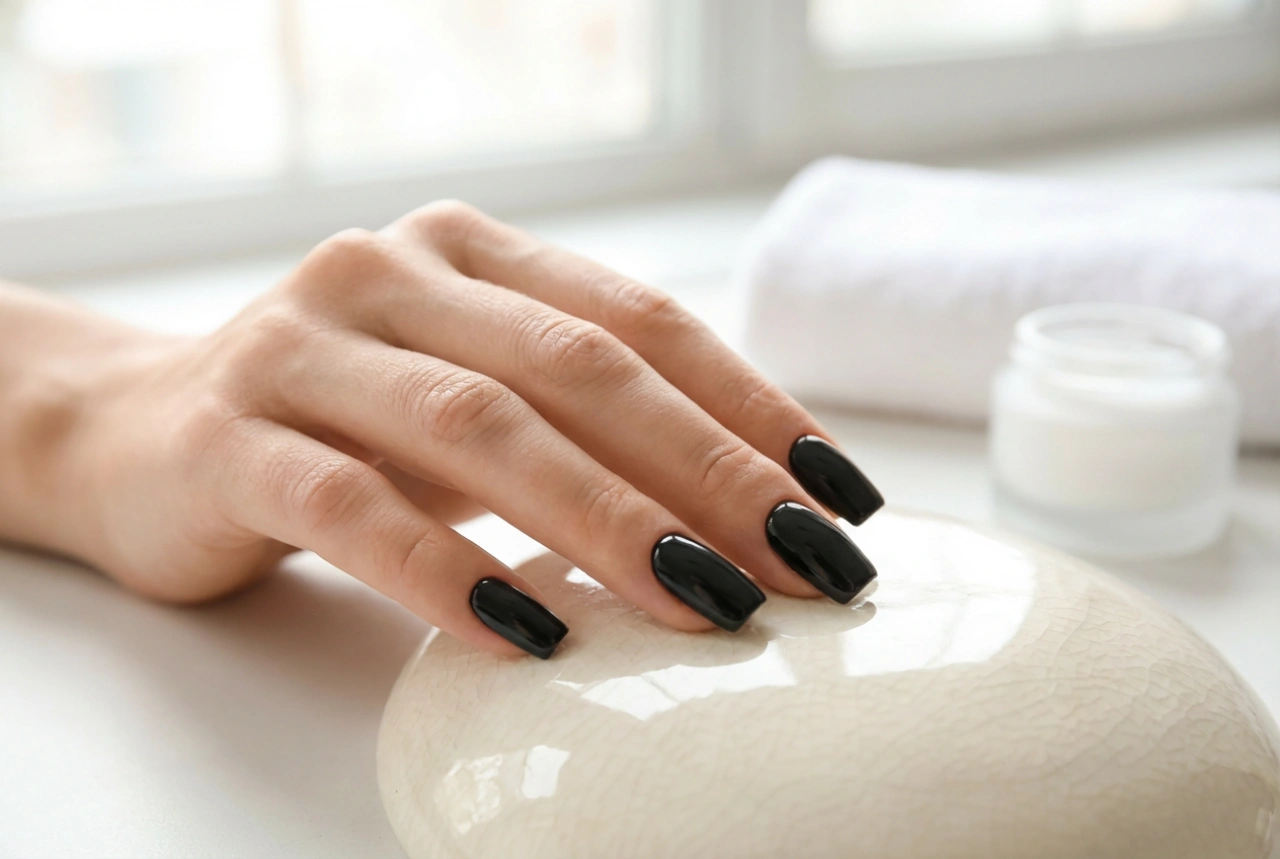
First, carefully remove the form. You will be left with a rough extension. Use a medium-grit file (e.g., 100/180 grit) to shape the side walls, making them straight and parallel. Then, file the free edge to create your desired shape, whether it's square, oval, almond, or coffin. Look at the nail from different angles to ensure symmetry.
Perfecting the Surface and Final Buffing
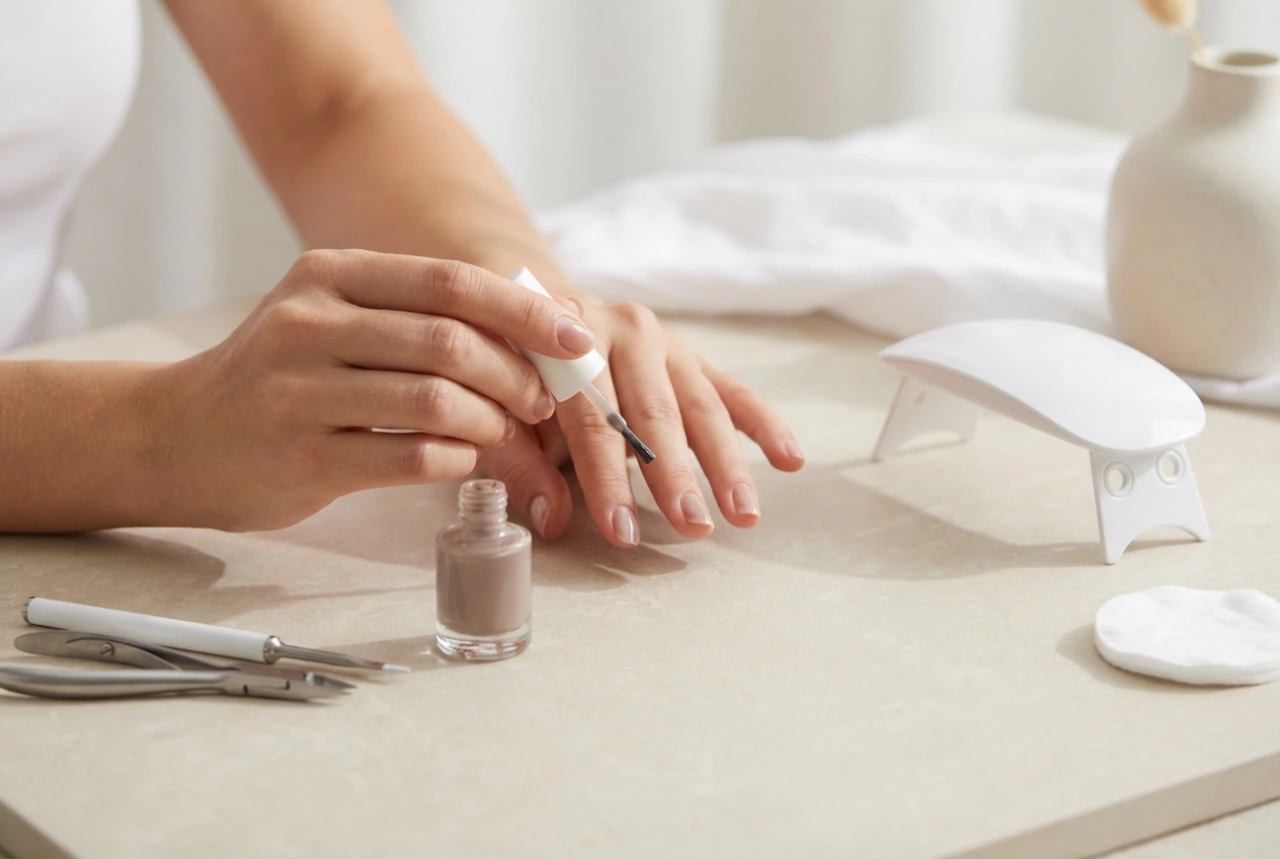
Once the overall shape is defined, use the file to smooth the surface of the nail. File from side to side to even out any lumps and bumps, ensuring the curve from the cuticle to the tip is smooth and elegant. Pay special attention to the cuticle area, making it thin and flush with the natural nail to avoid a bulky look. After filing, use a finer grit buffer to smooth out all the scratches left by the file. Finally, cleanse the nail to remove all dust and apply a high-shine top coat to seal your work and provide a glossy, durable finish. Cure the top coat, and your beautiful, custom-built nail extension is complete.