


Achieving that perfectly smooth, straight-out-of-the-salon look at home can seem like a challenge. However, with the right tool and technique, it's more accessible than you might think. A hair dryer brush is a versatile styling device that combines the power of a hair dryer with the structure of a brush, allowing you to dry and style your hair simultaneously. This guide will walk you through everything you need to know to master this tool for sleek, frizz-free results.
Understanding the Hair Dryer Brush
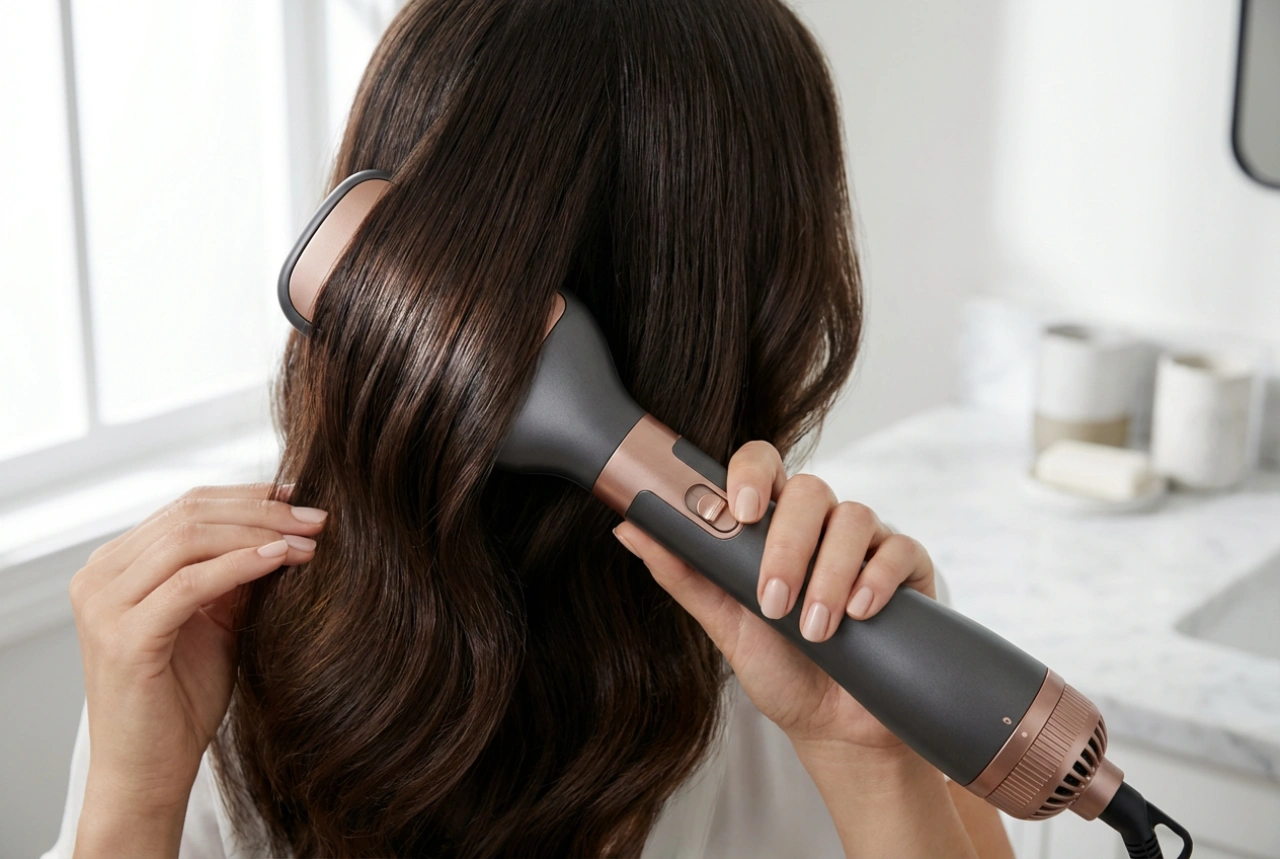
A hair dryer brush, also known as a hot air styler or blow dry brush, is an all-in-one tool designed for ease of use. It functions by blowing heated air through vents in the barrel of the brush, which is typically round or oval. As you guide the brush through your hair, it detangles, dries, and straightens the strands, creating volume at the roots and a smooth finish towards the ends. This eliminates the need to juggle a separate hair dryer and a round brush, making the styling process quicker and more straightforward.
Preparing Your Hair for Styling
Proper preparation is the key to achieving a flawless finish and protecting your hair from potential heat damage. Rushing this stage can lead to frizz and less durable results.
Washing and Conditioning
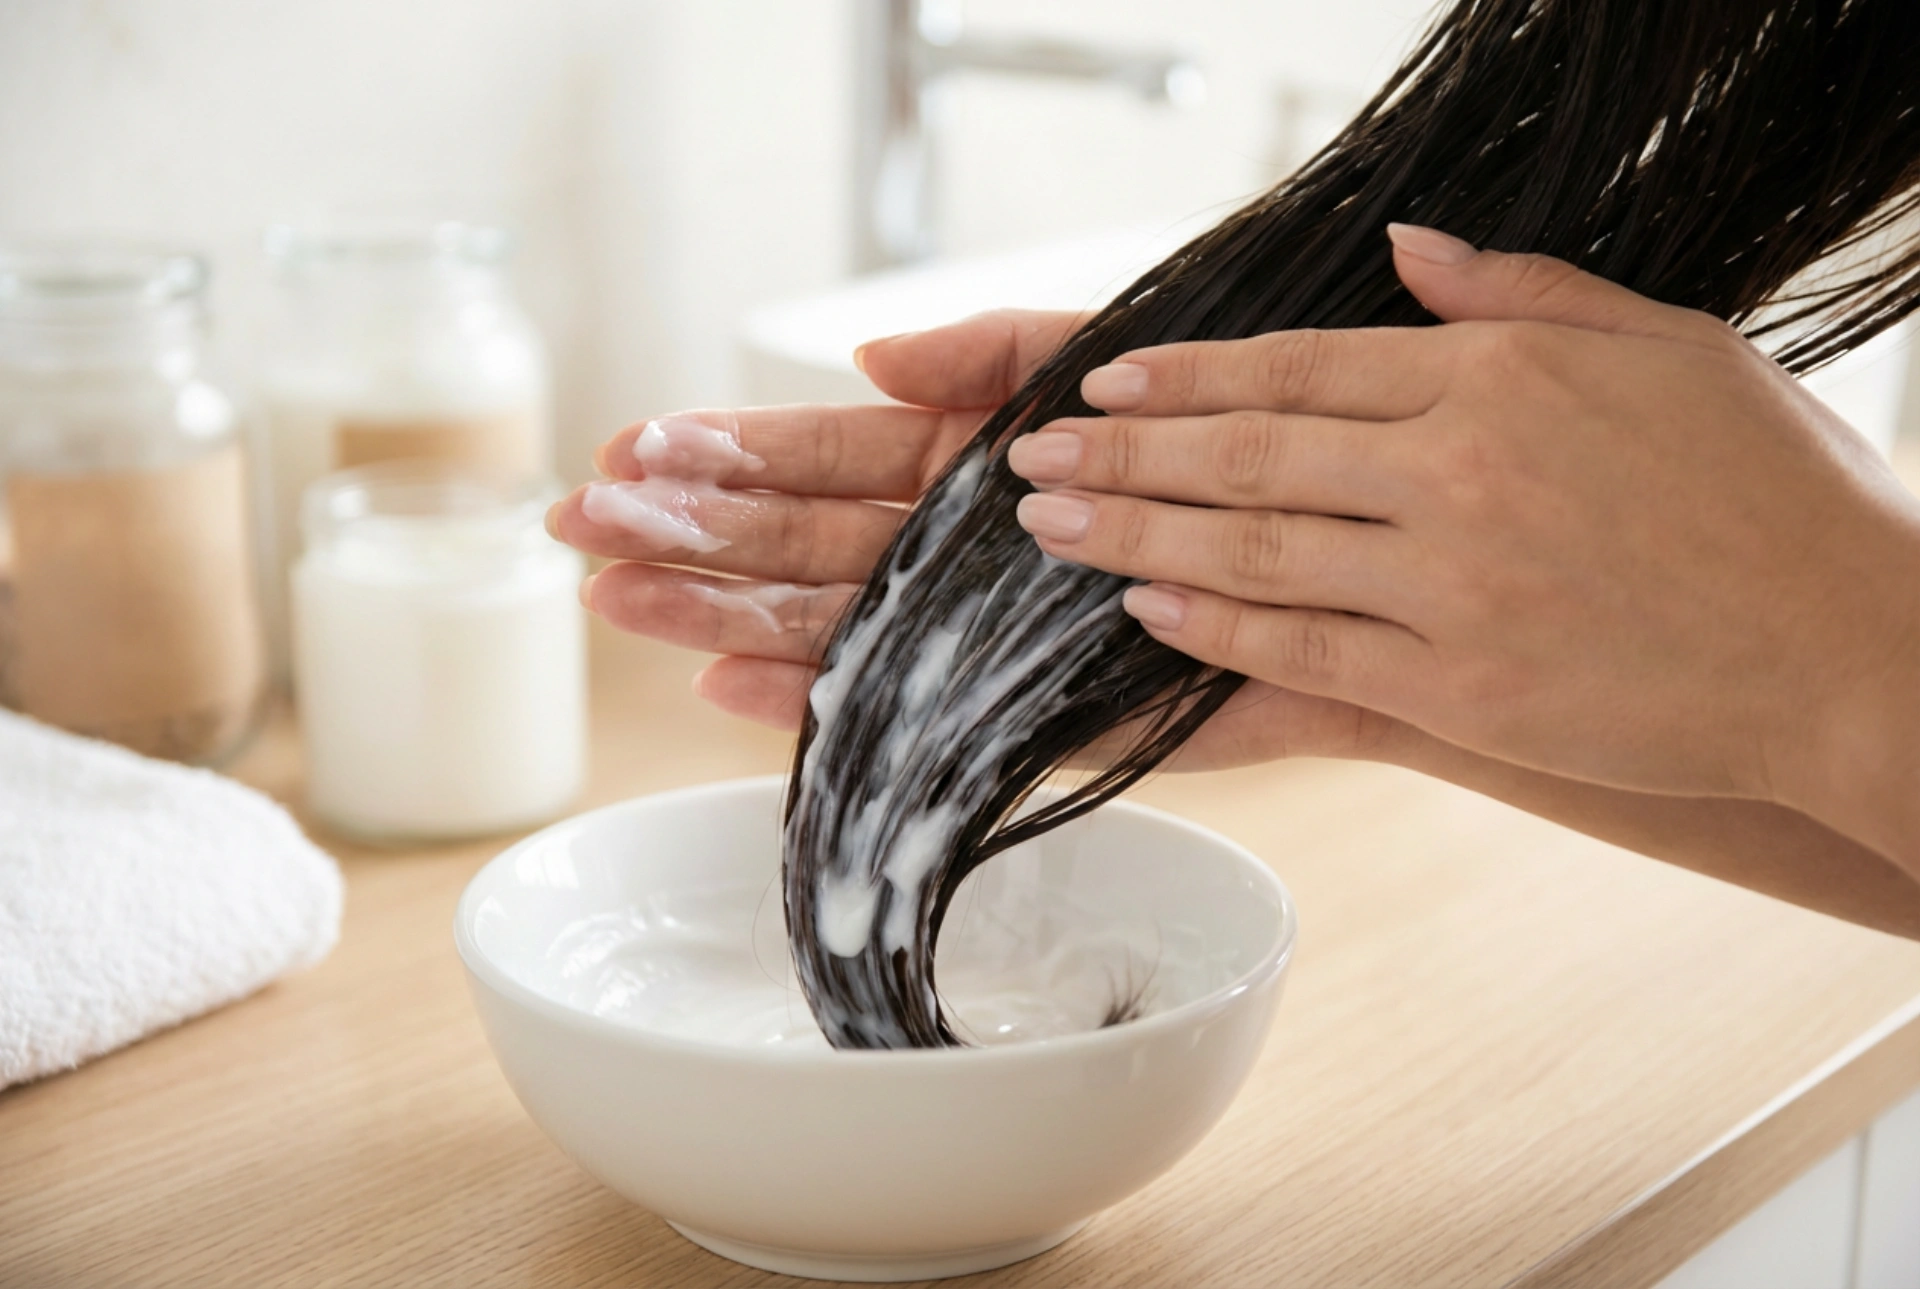
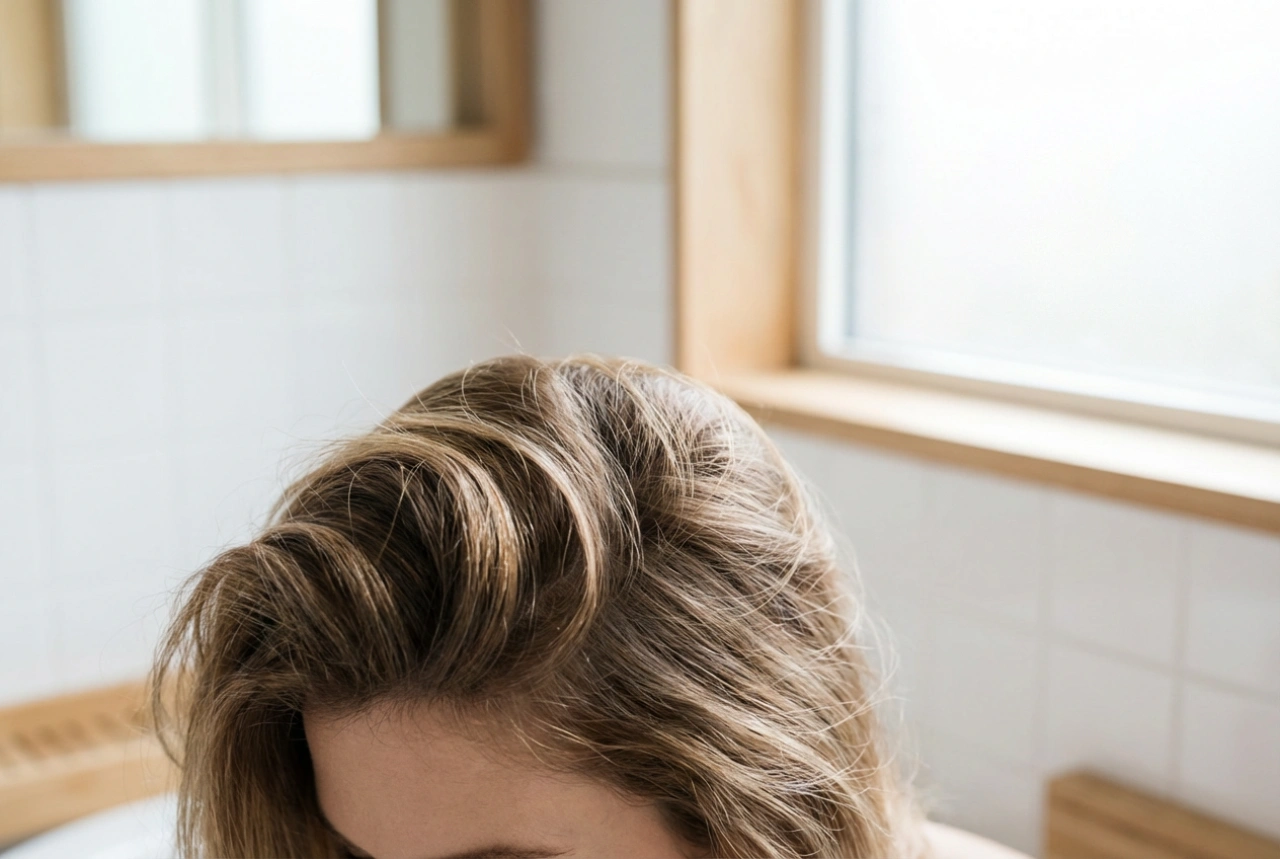
Start with clean, well-conditioned hair. Use a shampoo and conditioner suited to your hair type. If you're aiming for a particularly sleek look, consider using products formulated to promote smoothness and reduce frizz. After washing, gently squeeze out excess water with your hands and then pat your hair with a soft towel or a microfibre hair wrap. Avoid rubbing your hair vigorously, as this can rough up the cuticle and create frizz before you even begin styling.
Towel-Drying and Applying a Heat Protectant
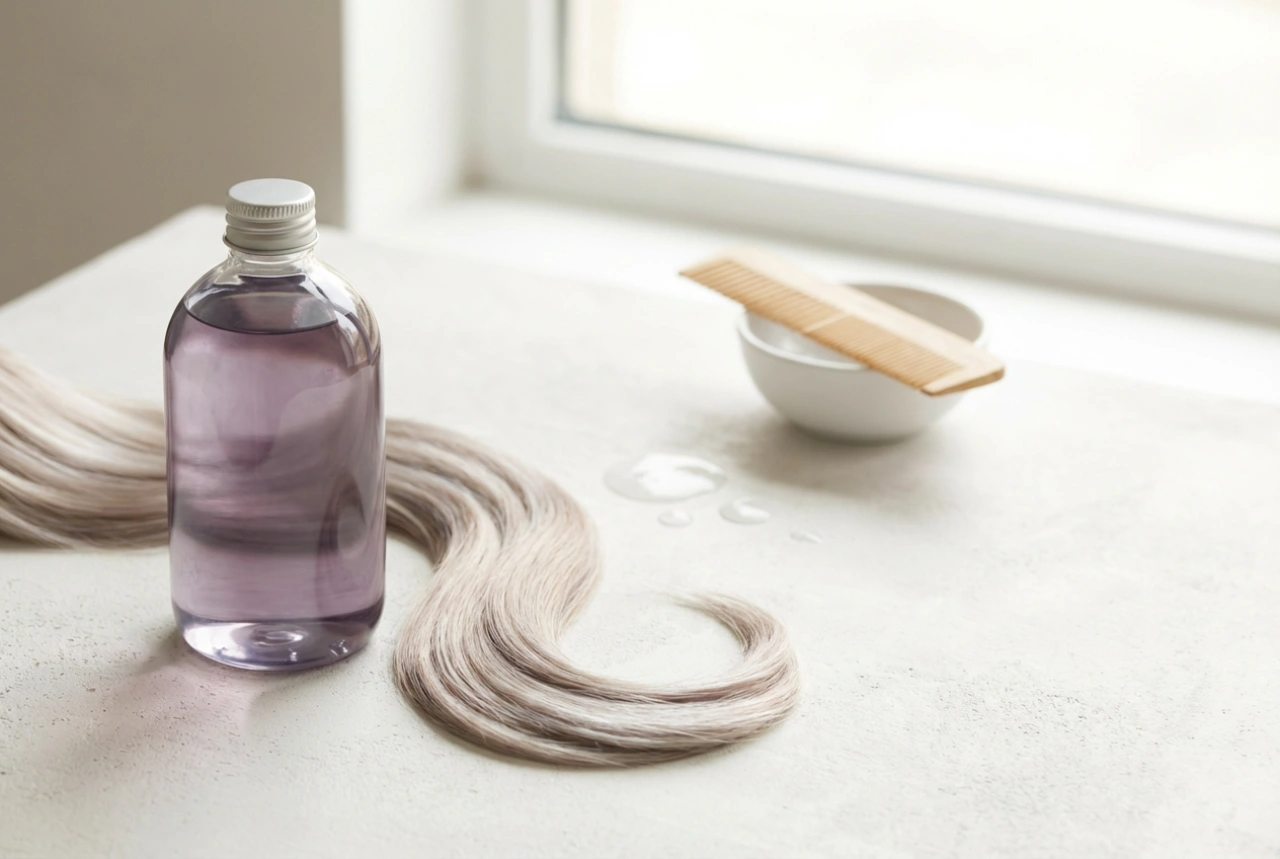
Your hair should be about 60-80% dry before you start using a hair dryer brush. Styling from soaking wet will take much longer and can expose your hair to excessive heat. Let it air-dry for a while or use a regular hair dryer to quickly remove most of the moisture. Once your hair is damp rather than wet, apply a heat protectant spray or cream. Distribute it evenly from roots to ends to create a protective barrier that shields your hair from the heat and helps to seal the cuticle for added shine.
Step-by-Step Styling Technique
With your hair prepped, you're ready to start styling. Working methodically will ensure every section is dried and smoothed properly.
1. Choose the Right Settings
Most hair dryer brushes come with multiple heat and speed settings. For fine or delicate hair, use a low heat and low speed setting. For thicker, coarser hair, a higher heat setting may be necessary. If it's your first time using the tool, it's always best to start with a lower temperature and see how your hair responds before increasing the heat. Some models also have a cool setting, which is excellent for setting your style at the end.
2. Section Your Hair
Divide your hair into manageable sections using clips. The number of sections will depend on the thickness and length of your hair, but four to six sections is a good starting point. Working with smaller, controlled sections ensures that the heat is distributed evenly and that you can style each part of your hair effectively without missing any spots.
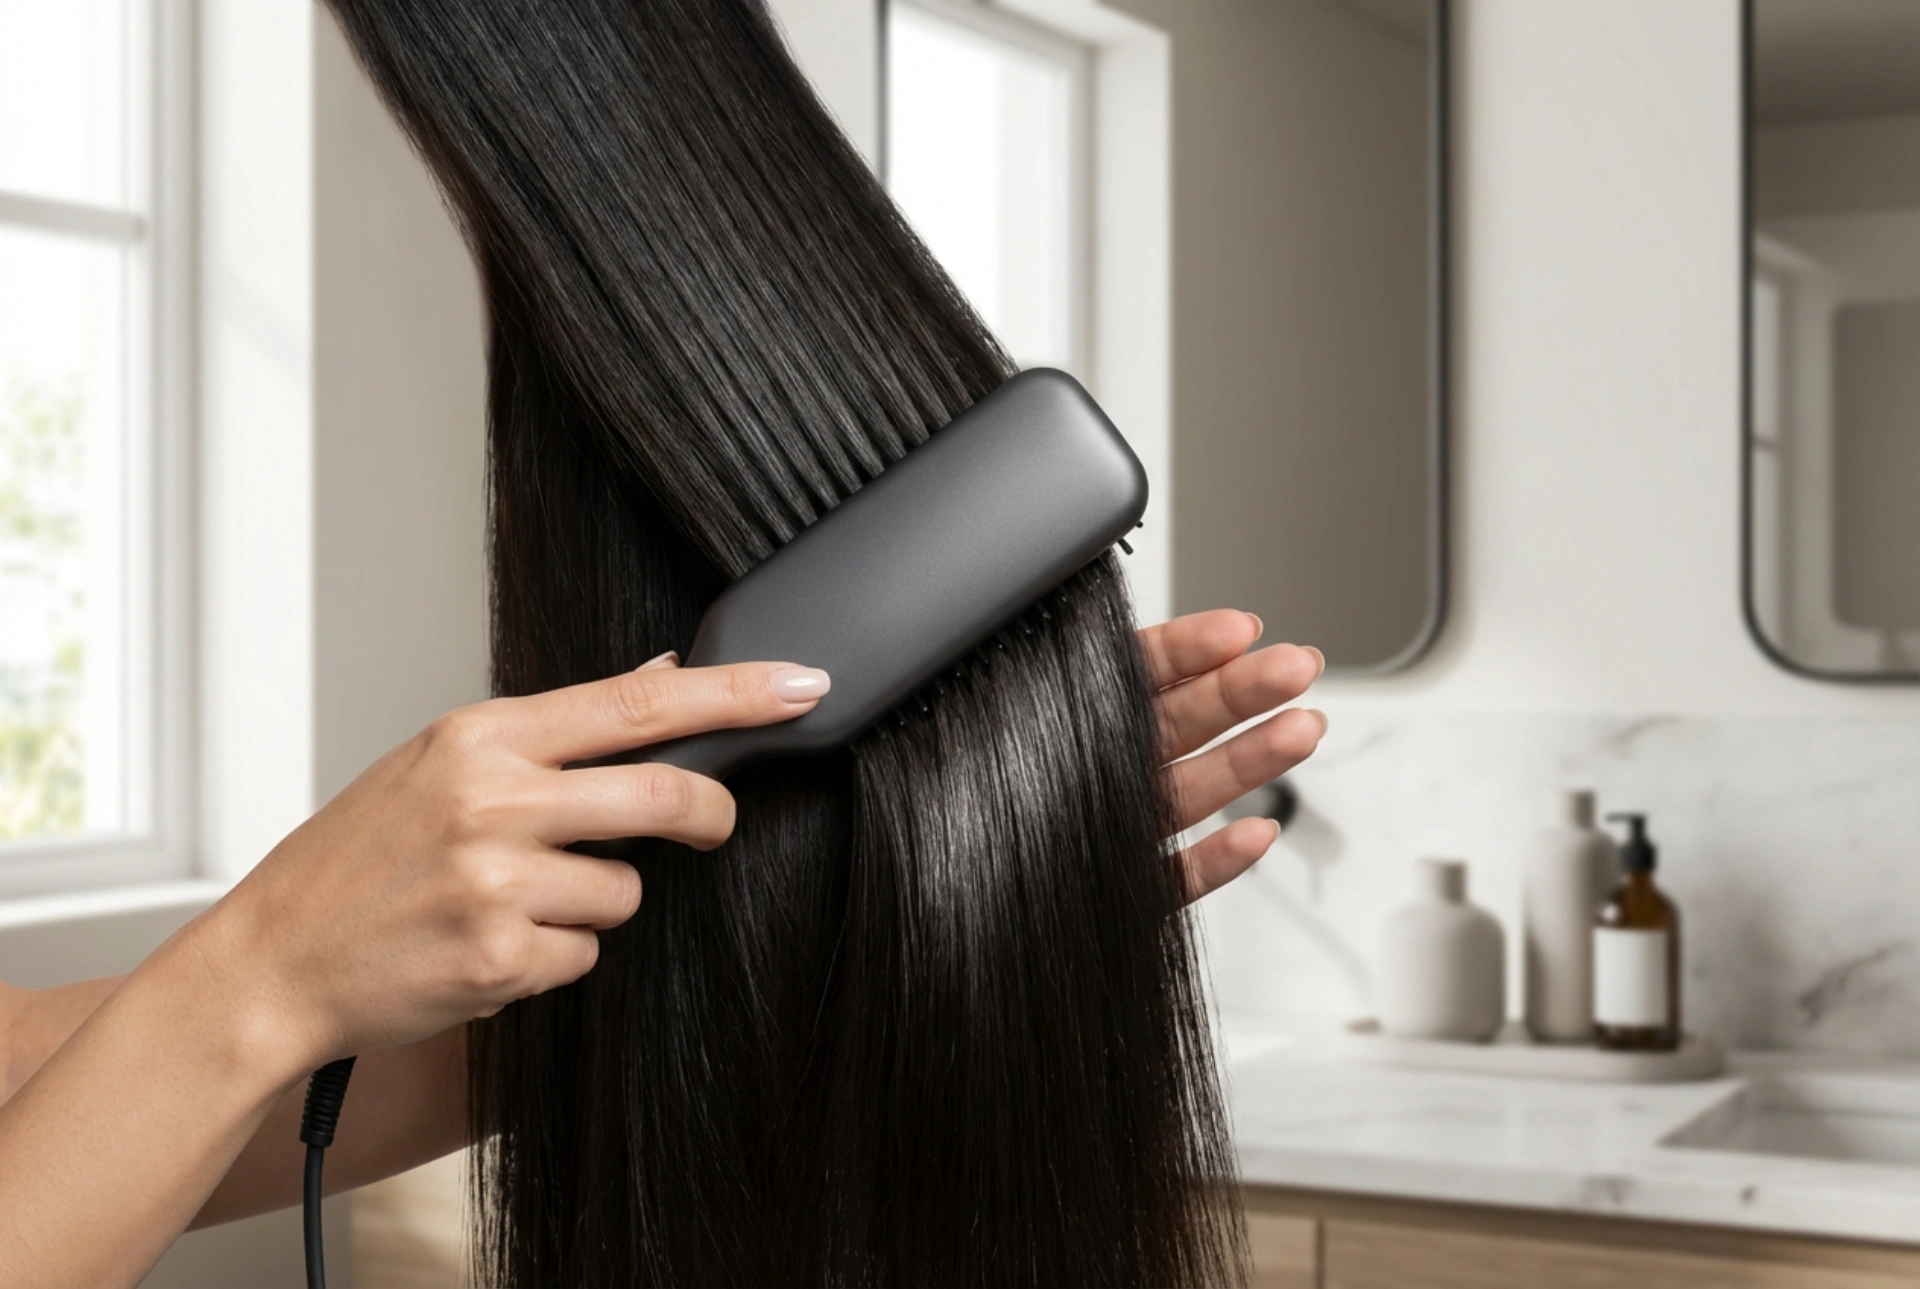
3. The Drying and Straightening Motion
Work on one section at a time, starting from the nape of your neck and moving upwards. The correct technique is crucial for achieving smooth, straight results.
- Place the brush underneath the section of hair, close to the roots.
- Turn the styler on and slowly glide it down the length of your hair towards the ends, maintaining gentle tension. The tension is what helps to straighten the hair shaft.
- For extra smoothness, you can slightly rotate the brush as you pull it through, which helps to polish the hair cuticle.
- To create a slight inward curve at the ends for a polished look, turn the brush inwards as you reach the bottom of the section.
- Repeat this motion two or three times on each section until it is completely dry and smooth.
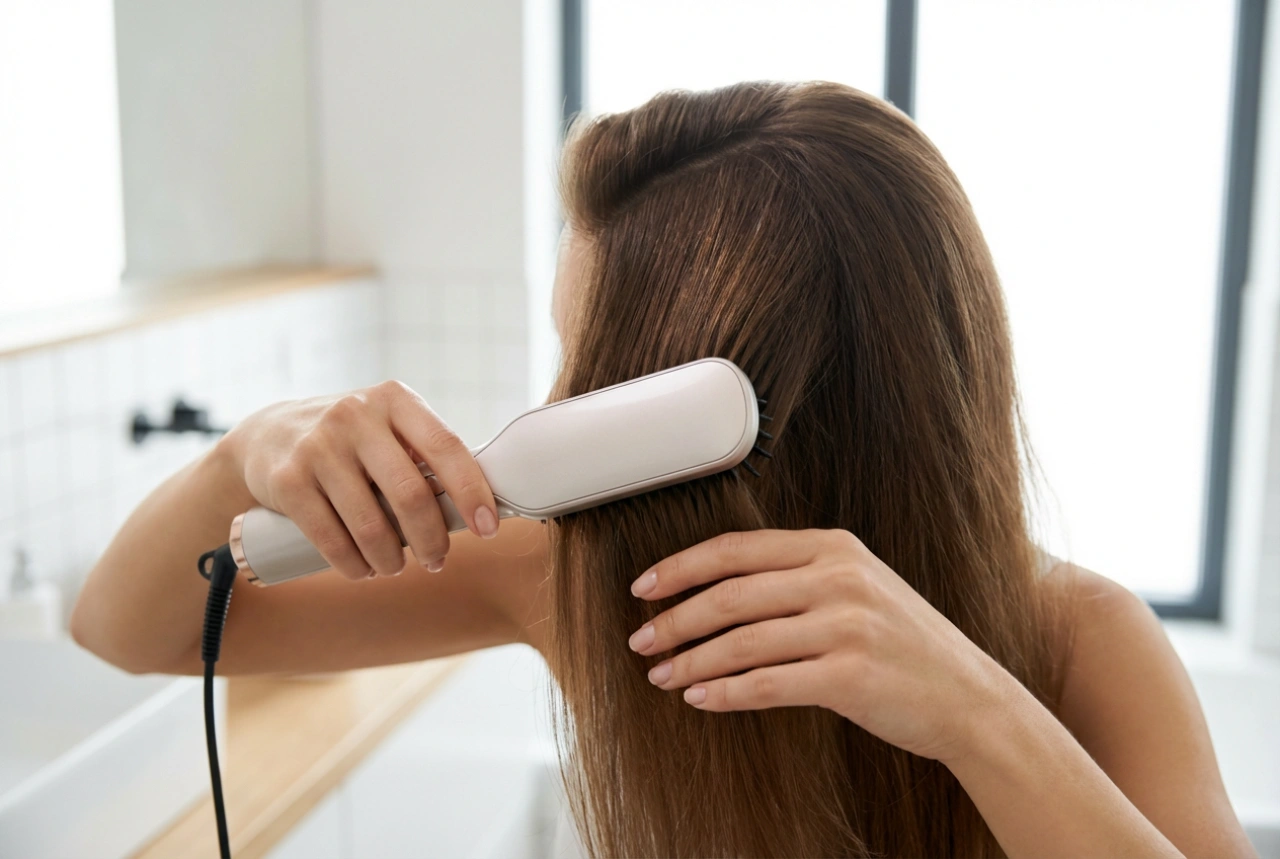
Tips for a Perfect, Long-Lasting Finish
Once you've dried and straightened all sections, a few final touches can elevate your look and make it last longer. Use the 'cool shot' or 'cool' setting on your hair dryer brush and run it through your hair one last time. This blast of cool air helps to seal the hair cuticles, locking in the style and boosting shine. If your hair is prone to flyaways, you can apply a small amount of a lightweight smoothing serum or a drop of hair oil, focusing on the mid-lengths and ends. Finally, to keep your tool in good condition, always clean it after use by removing any trapped hair from the bristles.