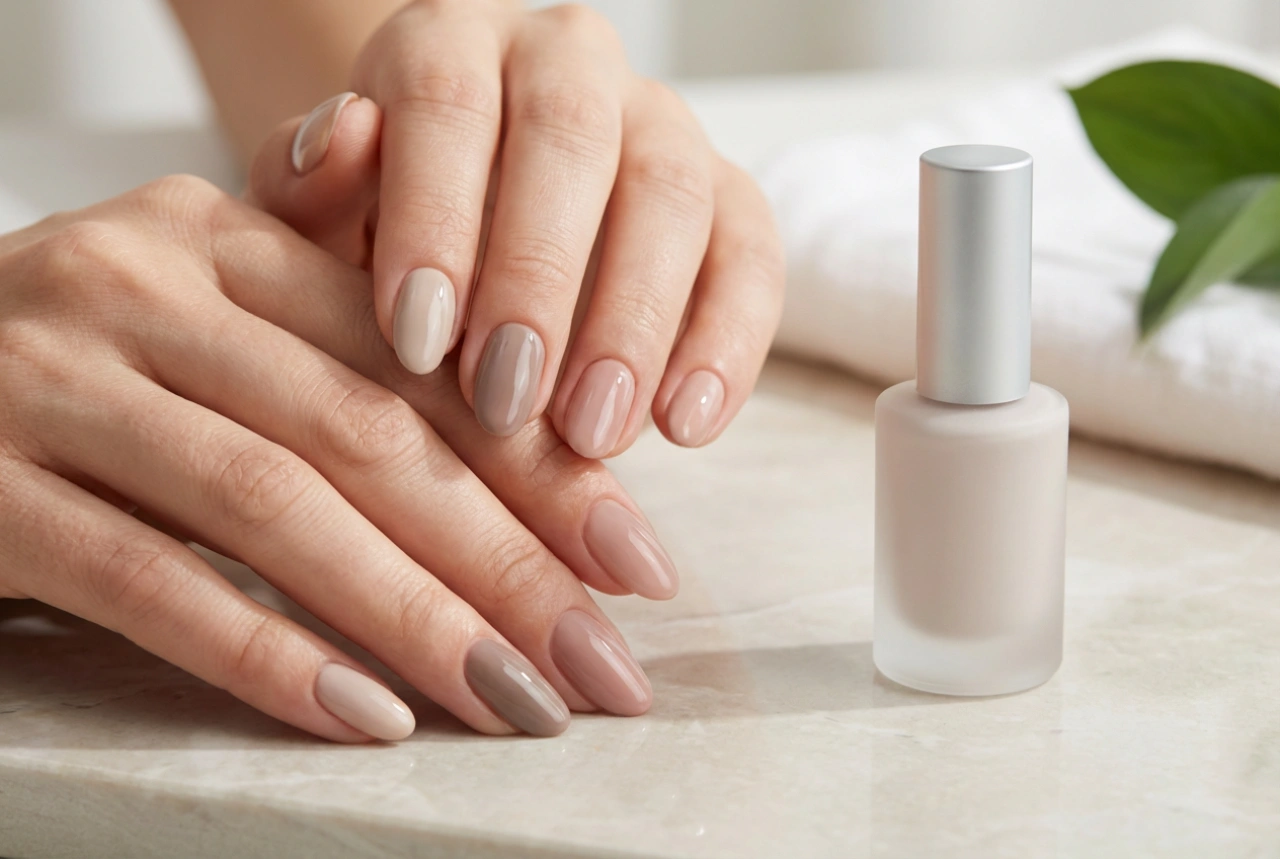


The elegance of a nude manicure is timeless, offering a clean, polished look that complements any style or occasion. When this classic aesthetic is combined with a subtle gradient effect, the result is a sophisticated and modern design known as the nude baby boomer or nude ombre. This manicure style is celebrated for its soft, seamless transition of colours, creating an illusion of naturally perfect nails. It's an understated yet beautiful choice that enhances the natural beauty of your hands without overwhelming them.
What is a Nude Baby Boomer Manicure?
The baby boomer manicure is essentially a contemporary take on the classic French manicure. Instead of a stark white tip and a defined line, it features a gentle fade from a natural pink or nude base at the cuticle to a soft white or off-white at the tip. The 'nude' version takes this subtlety a step further by using a palette of beige, blush, and creamy tones. The goal is to create a soft, milky gradient that looks effortlessly chic and well-groomed. This style is incredibly versatile, suitable for everyday wear, professional settings, and special events alike, thanks to its refined and delicate appearance.
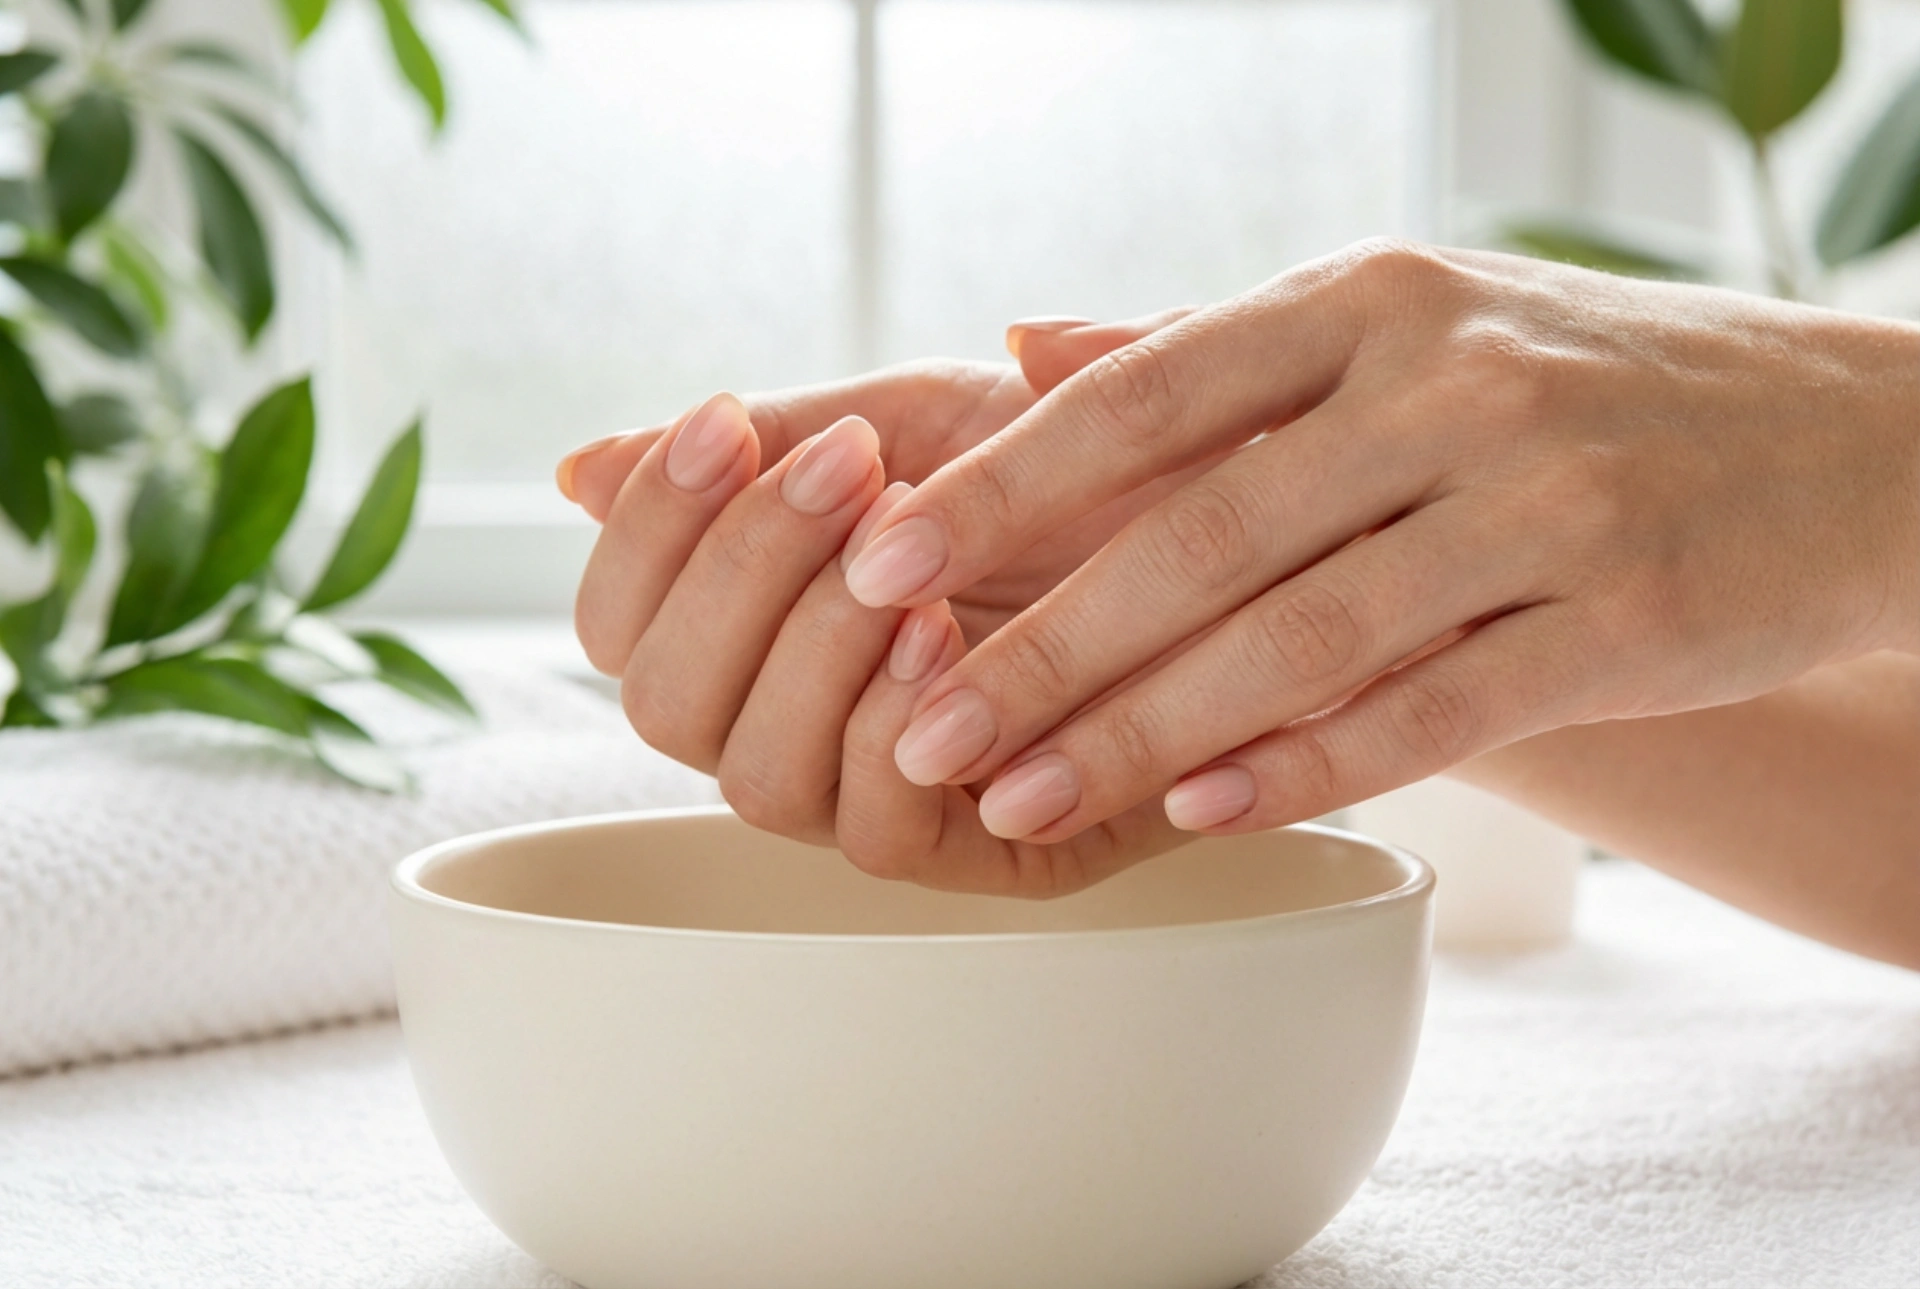
Preparing Your Nails for the Perfect Nude Ombre
A flawless manicure begins with well-prepared nails. Proper preparation not only helps the polish adhere better but also ensures a professional-looking and long-lasting result. Taking the time to prep your nails is a crucial step that should not be skipped.
Key Preparation Steps:
- Shape Your Nails: Start by filing your nails to your desired shape. Oval, almond, or 'squoval' (square-oval) shapes work particularly well with the soft look of an ombre manicure. Ensure all nails are of a uniform length and shape.
- Cuticle Care: Gently push back your cuticles using a cuticle pusher. Avoid cutting them, as this can lead to irritation. Tidy up any hangnails carefully with a nipper. Applying a cuticle remover beforehand can make this process easier.
- Buff the Nail Plate: Lightly buff the surface of your nails with a fine-grit buffer. This removes natural oils and creates a slightly textured surface, which helps the base coat and polish to grip the nail more effectively.
- Cleanse the Nails: After buffing, wipe each nail with a lint-free pad soaked in nail cleanser or isopropyl alcohol. This final step ensures the nail plate is completely free of dust, oils, and residue, providing a perfect canvas for your manicure.
Step-by-Step Guide to Creating Nude Ombre Nails at Home
Achieving a beautiful gradient effect at home is easier than it looks. The key is using the right tools and a little bit of patience. The sponge technique is the most popular and effective method for creating a seamless ombre finish.
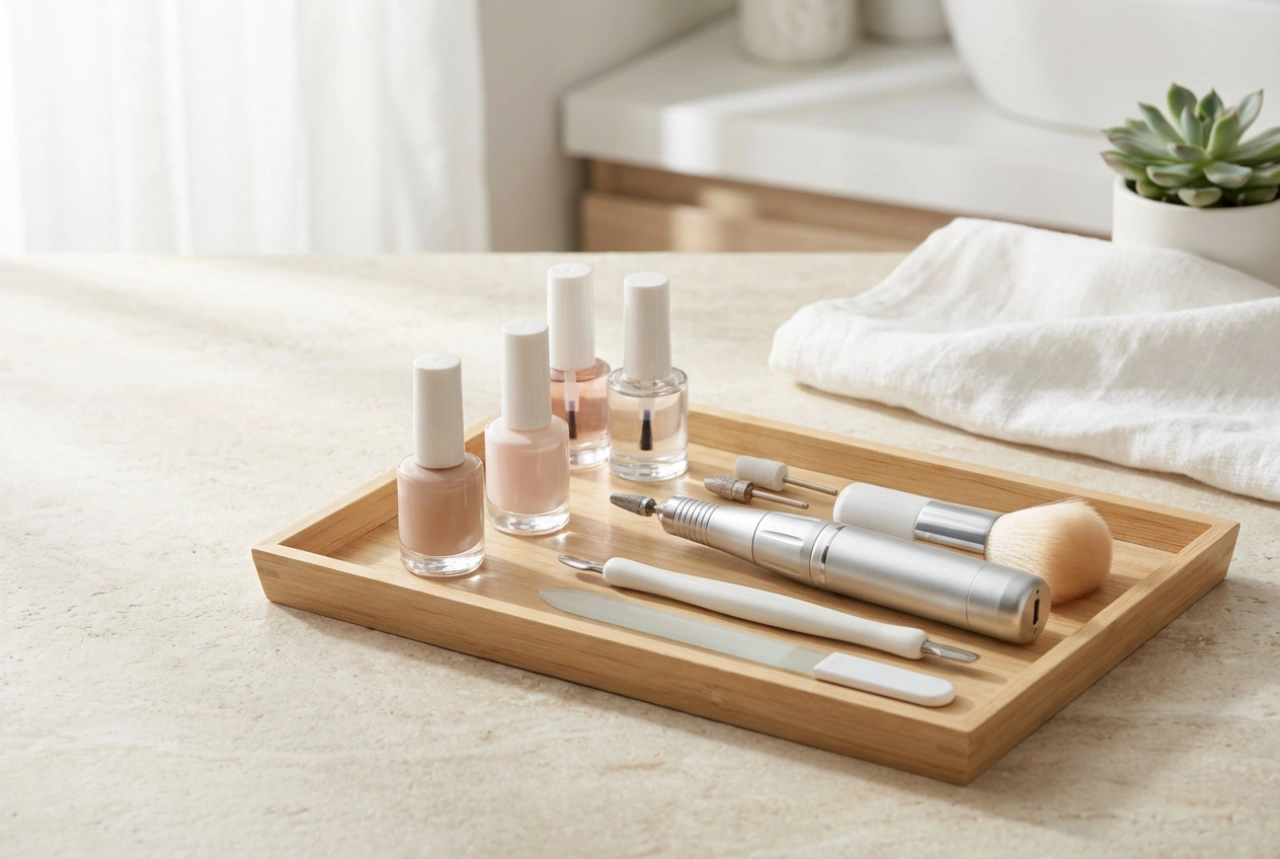
What You Will Need:
- A protective base coat
- A light nude or pale pink polish for the base colour
- A slightly darker nude or soft white polish for the tip colour
- A disposable makeup sponge (a small, dense one works best)
- A liquid top coat (a quick-dry formula is recommended)
- Nail polish remover and a small, flat brush for clean-up
- Optional: Liquid latex or peel-off tape to protect the skin around your nails
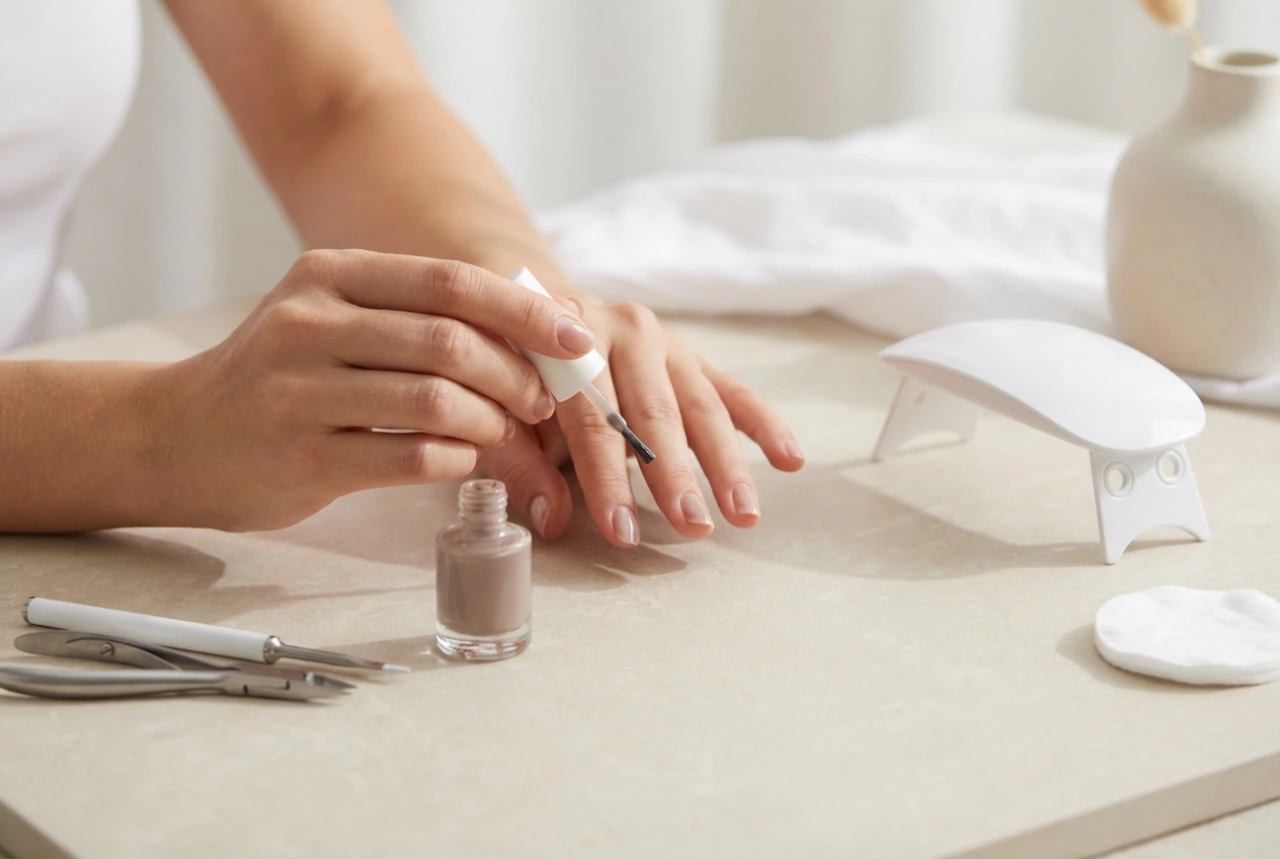
The Application Process:
- Apply a Base Coat: Begin by applying one thin layer of your chosen base coat to all nails. This protects your natural nails from staining and helps your manicure last longer. Allow it to dry completely.
- Apply the Base Colour: Paint one or two coats of your lightest nude or pink shade onto each nail. This will be the colour that shows near your cuticles. Let it dry thoroughly before moving to the next step.
- Create the Gradient on the Sponge: On a flat, non-porous surface or directly onto the makeup sponge, paint stripes of your chosen nude polishes next to each other. The lighter shade should be at the bottom and the darker or whiter shade at the top. Overlap the colours slightly to encourage blending.
- Dab onto the Nail: Gently press and dab the polish-coated sponge onto your nail. Rock the sponge slightly from side to side to blend the colours and cover the entire nail. You will get polish on the skin around your nail, which is normal.
- Build the Intensity: Let the first ombre layer dry for a minute or two. For a more opaque and blended look, reapply the polishes to the sponge and repeat the dabbing process. Two to three layers are usually sufficient.
- Clean Up: Once you are happy with the gradient, it's time to clean up. Dip a small, flat brush in nail polish remover and carefully trace around your cuticle and sidewalls to remove the excess polish from your skin. If you used a protective barrier, simply peel it off.
- Apply a Top Coat: The final and most important step is applying a generous layer of top coat. This will smooth out any texture from the sponge, meld the colours together for a seamless blend, and add a beautiful shine. It also seals and protects your design.
Tips for a Flawless Finish and Longevity
To keep your nude ombre manicure looking perfect for as long as possible, a little extra care goes a long way. Follow these tips for a professional finish and extended wear.
- Choose Complementary Colours: For the most natural-looking nude ombre, select colours that are within the same colour family and have similar undertones.
- Sponge Technique: Before dabbing on the nail, you can blot the sponge once on a piece of paper to remove excess polish. This prevents the application from being too thick or bubbly.
- Work Quickly but Patiently: Work on one nail at a time when applying the sponge gradient, as nail polish dries quickly on the sponge. However, be patient and allow each layer to dry properly to avoid smudging.
- Maintain Your Manicure: Apply a fresh layer of top coat every two to three days to maintain the shine and prevent chipping. Also, moisturise your hands and apply cuticle oil daily to keep your nails and the surrounding skin hydrated and healthy.