


Achieving beautifully smooth underarm skin is a goal for many. While it may seem daunting, waxing your underarms at home can be a simple and effective process when done correctly. With the right preparation and technique, you can enjoy long-lasting results without the discomfort of irritation. This guide will walk you through each step, helping you master the art of at-home underarm waxing for skin that feels soft and cared for.
Preparing Your Skin for a Flawless Wax
Proper preparation is the key to an effective and less painful waxing session. Taking a few extra minutes to prep the area can make all the difference in your results and comfort level.
Cleanse and Dry
Start with clean, dry skin. Any lotion, deodorant, or sweat can prevent the wax from adhering properly to the hair. It is a good idea to take a warm shower before you begin, as the warmth can help open up the hair follicles, making hair removal easier. However, you must ensure your underarms are completely dry afterwards. Pat the area thoroughly with a clean, soft towel.
Trim If Necessary
For wax to be effective, your hair should be about 6mm long, roughly the length of a grain of rice. If your hair is much longer, the wax may not grip well, and the process can be more painful and messy. If needed, carefully trim the hair with a pair of small, clean scissors or an electric trimmer to the ideal length before you start.
Apply a Pre-Wax Powder
A light dusting of a talc-free powder or even simple cornstarch can be very beneficial. This step helps to absorb any residual moisture or natural oils on the skin. This ensures the wax grips only the hairs and not the skin itself, which significantly reduces discomfort and minimises the risk of irritation and redness.
The Step-by-Step Guide to Waxing Underarms
The underarm area can be tricky because the hair often grows in multiple directions. Working methodically in small sections is the best approach.
Understanding Hair Growth
Before you apply any wax, lift your arm high and take a moment to closely examine the hair to identify these different growth patterns. Typically, the hair on the upper part of the underarm grows upwards, while the hair on the lower part grows downwards. You will need to work in at least two separate sections to address each direction of growth effectively.
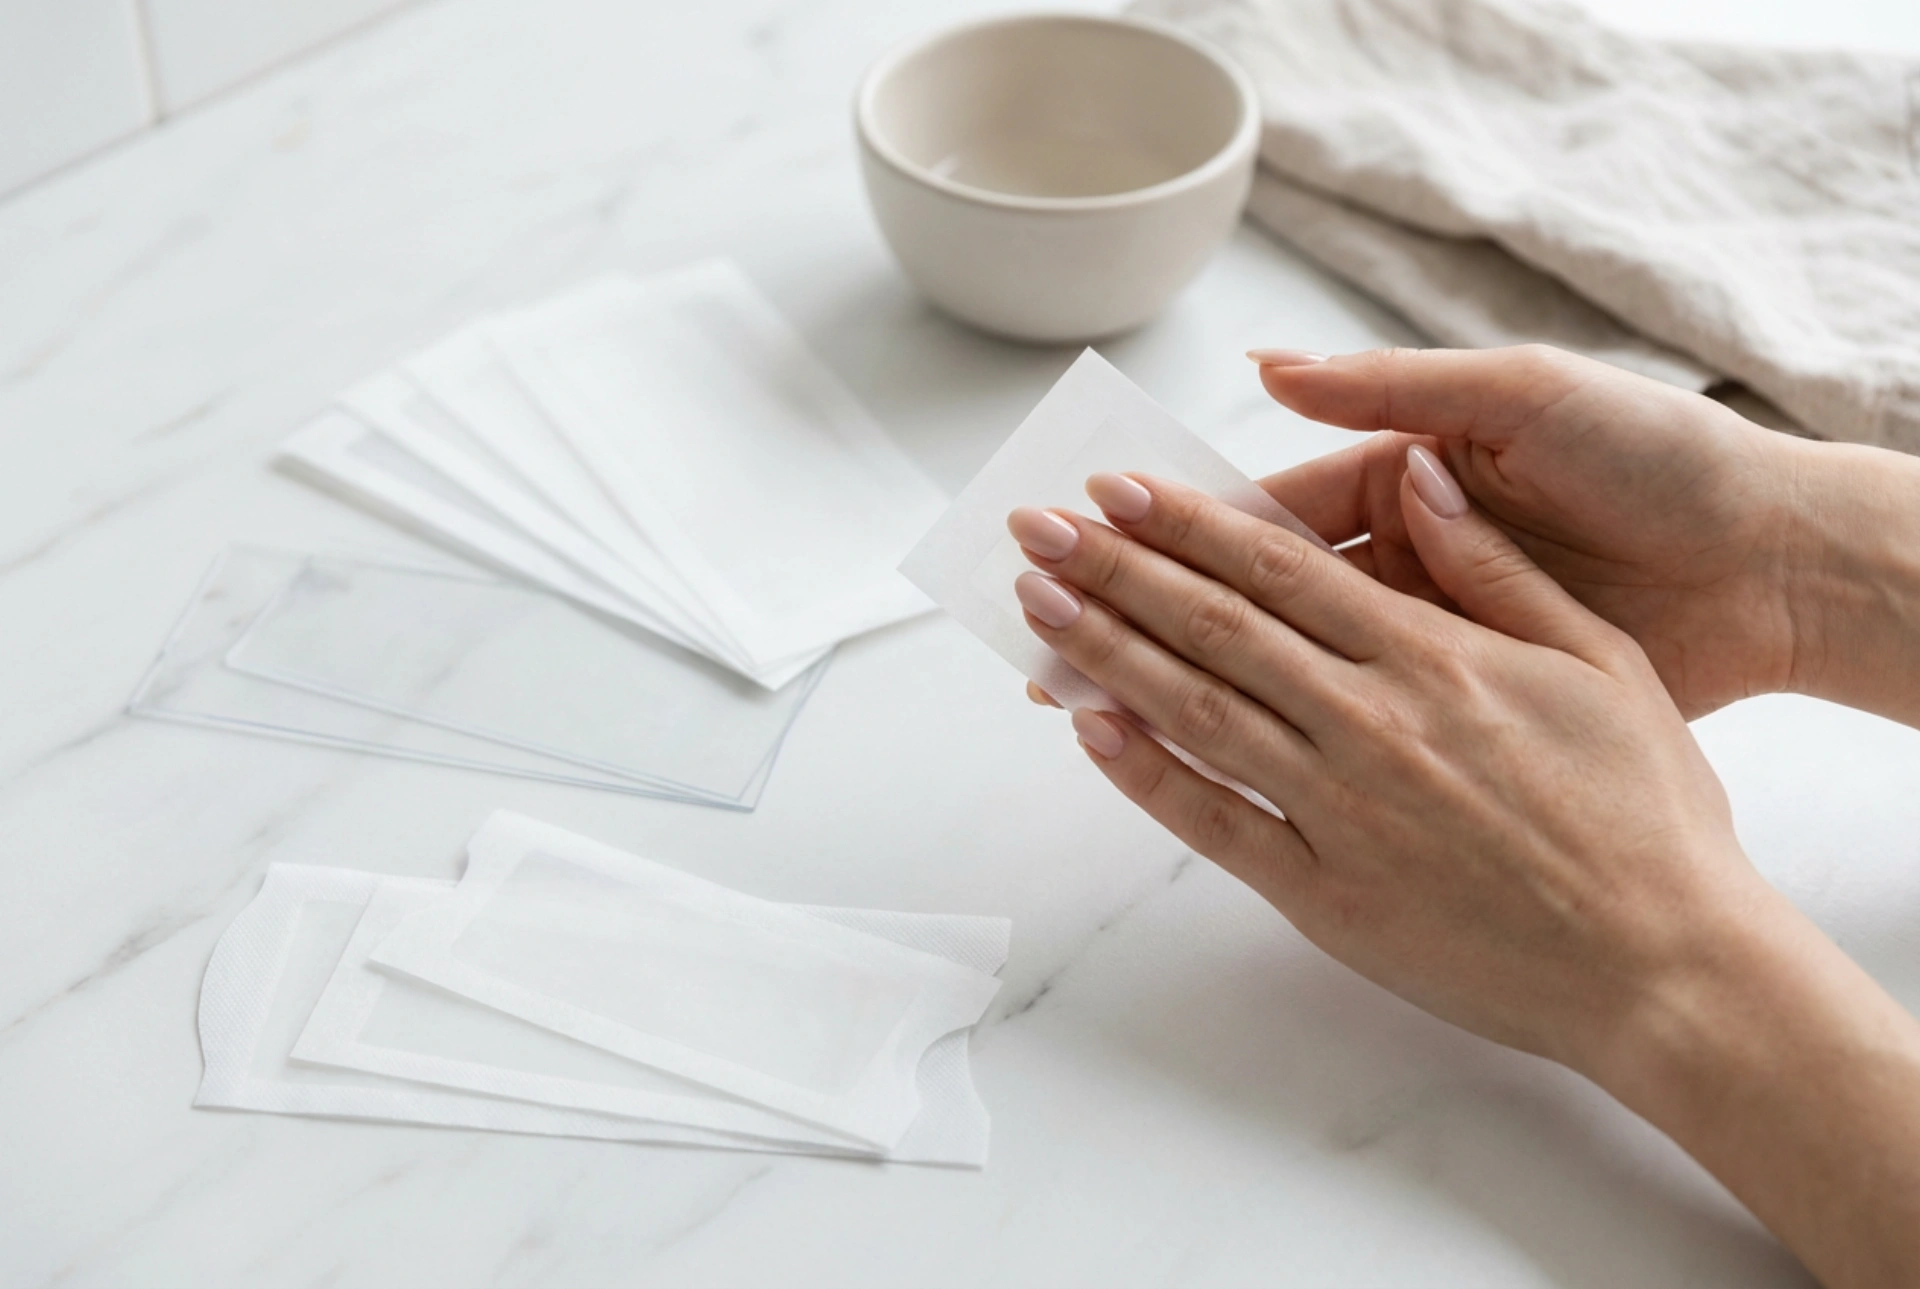
Applying the Wax
Whether using hard wax or pre-made wax strips, the application principle is the same: always apply the wax in the direction of hair growth. For hard wax, use a clean applicator stick to spread an even, manageable patch. For soft wax strips, warm one between your hands for a few seconds, peel it apart, and apply it firmly, smoothing it down several times in the direction of growth to ensure it adheres well.
The Removal Technique
This is the most crucial step for a clean result. Hold the skin taut with one hand by stretching the skin from the bottom of the area you are about to wax. With your other hand, grip the edge of the wax strip or the hardened wax tab. In one quick, fluid motion, pull the wax off in the opposite direction of hair growth. It is vital to keep the strip as close and parallel to the skin as possible. Avoid pulling upwards and away from the body, as this can cause bruising, skin irritation, or hair breakage instead of removal from the root.
Essential Aftercare for Calm, Smooth Skin
What you do after waxing is just as important as the process itself. Proper aftercare helps to soothe the skin and prevent bumps and irritation.
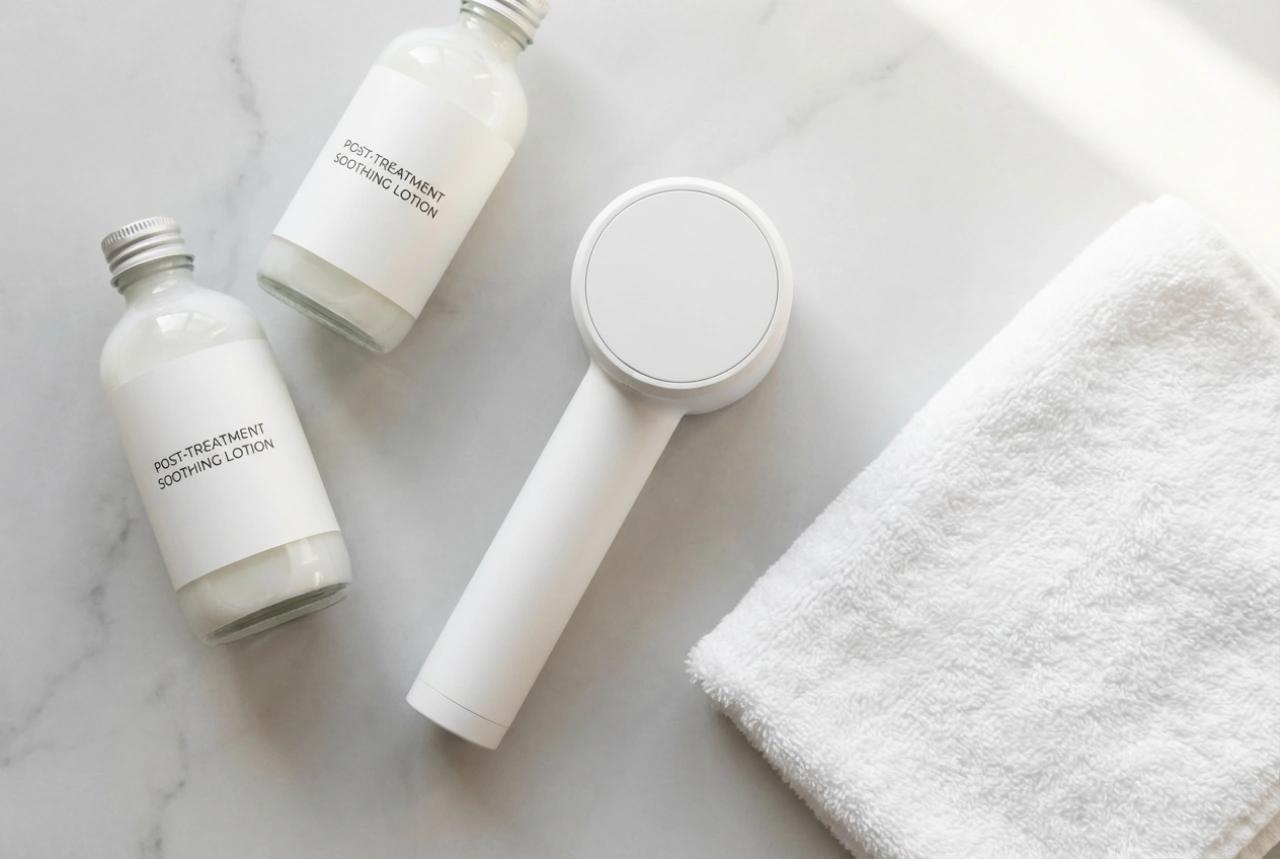
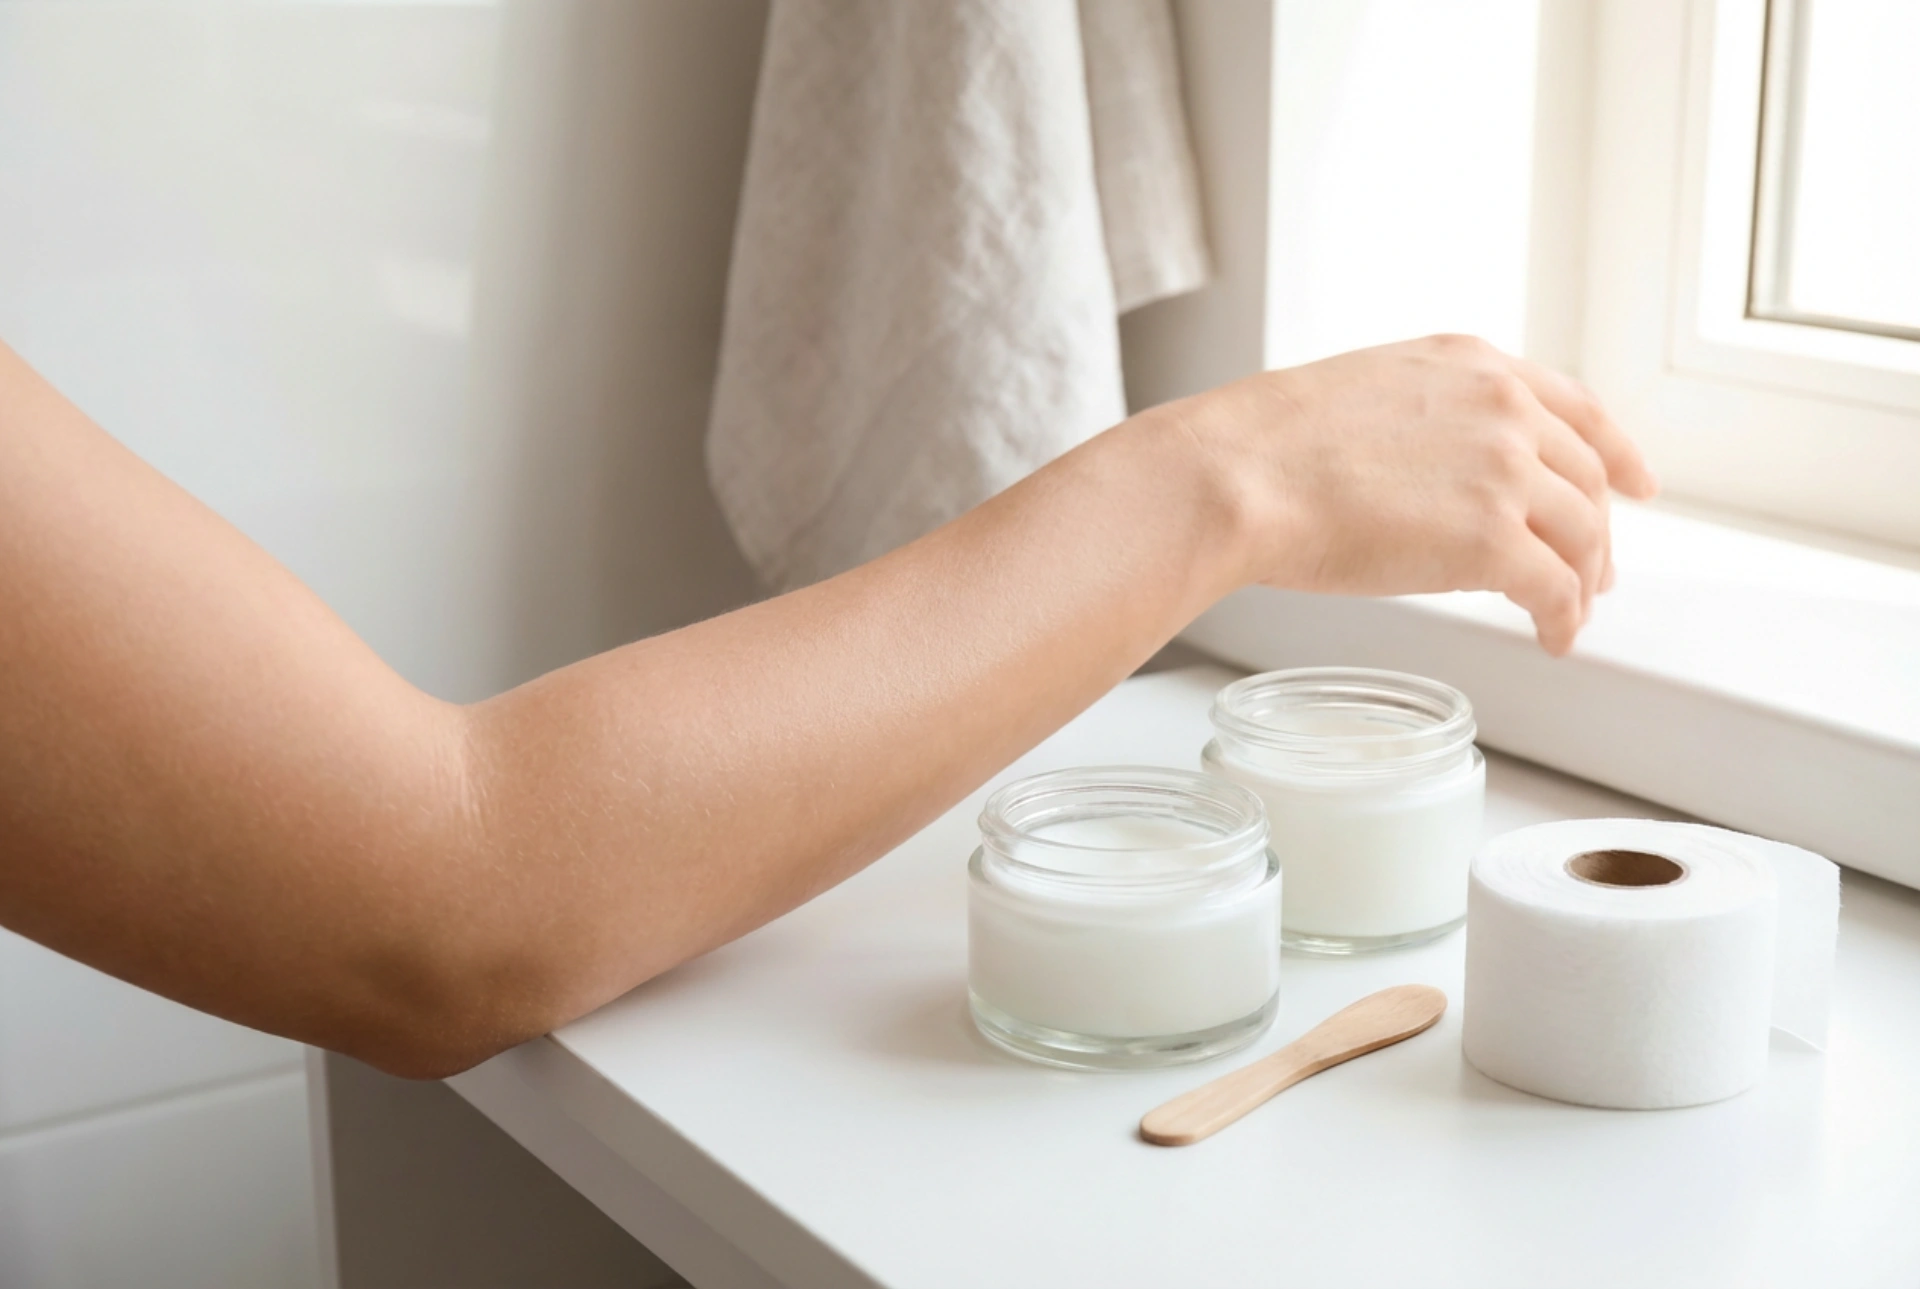
Remove Any Wax Residue
After waxing all sections, you may have some sticky residue left on your skin. Most at-home wax kits come with post-wax oil or special wipes designed to dissolve this residue gently. If you do not have these, a simple carrier oil like jojoba, almond, or even baby oil applied with a cotton pad works perfectly. Avoid using water, soap, or alcohol, as they will not remove the wax and may irritate the sensitive skin.
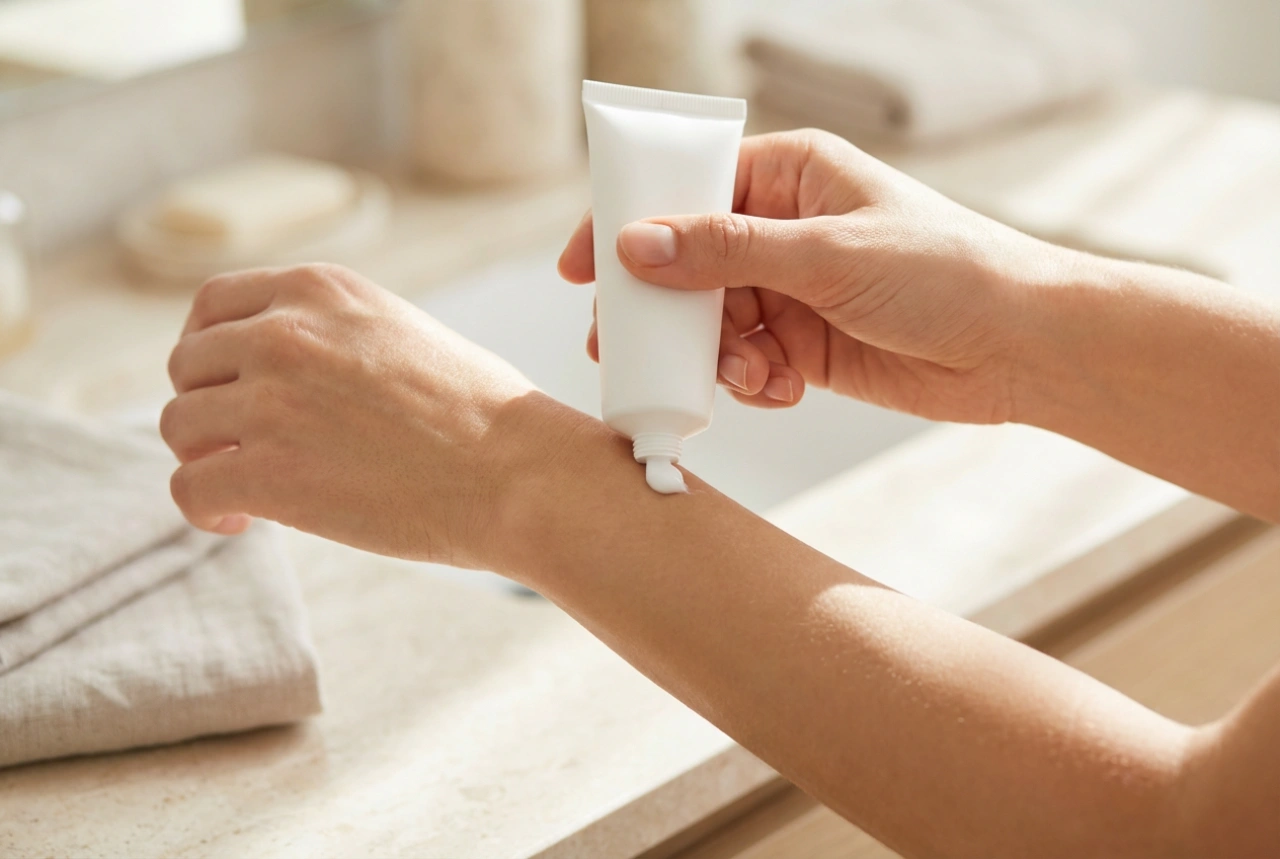
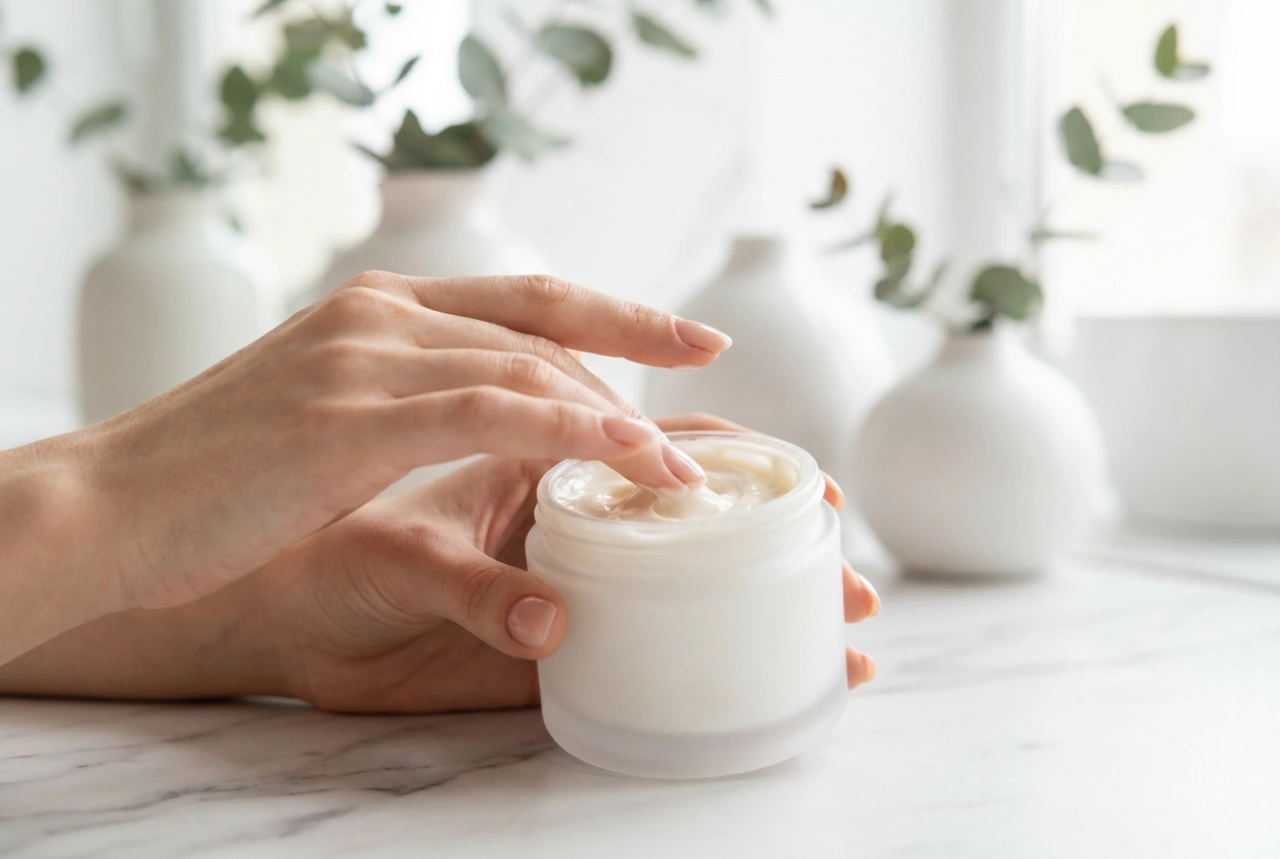
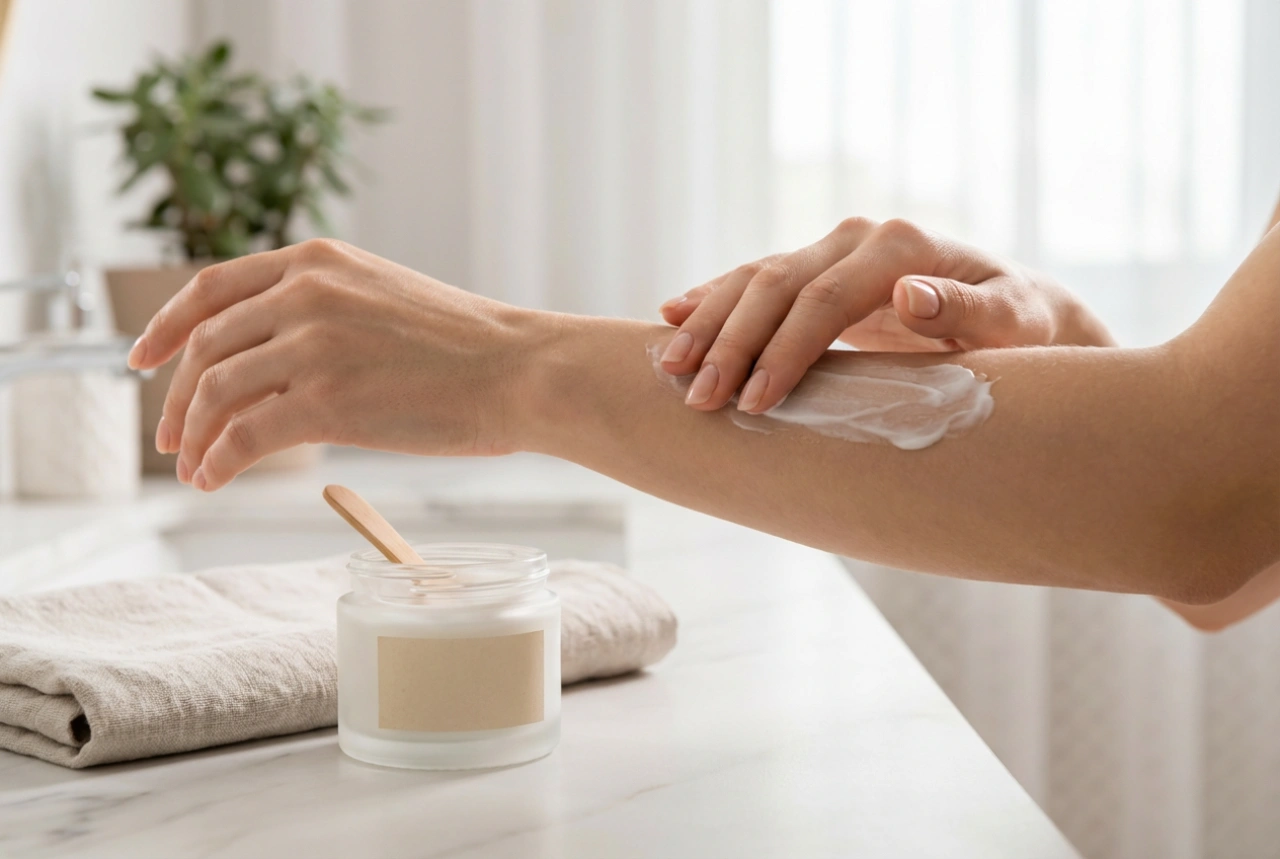
Soothe the Skin
Your skin will likely be a little red and feel sensitive immediately after waxing. This is normal. Apply a gentle, fragrance-free and alcohol-free soothing lotion or balm. Products containing ingredients like aloe vera or chamomile are excellent choices to help calm the skin and reduce redness. For an extra cooling and soothing effect, try storing your after-wax lotion in the refrigerator before use.
Post-Wax Precautions
For the first 24-48 hours after waxing, treat your skin with extra care. Avoid hot baths, saunas, steam rooms, swimming pools, and intense exercise that causes excessive sweating, as these can introduce bacteria to the open follicles. It is also best to steer clear of deodorants, perfumed products, and tight-fitting clothing, as these can all clog pores or irritate the freshly waxed skin.