


The dream of achieving long-lasting smooth skin from the comfort of your own home has become a reality thanks to modern beauty technology. At-home light-based hair removal devices offer a convenient alternative to traditional methods. Mastering the technique involves more than just pointing and flashing; a proper routine ensures you get the best possible results safely. Understanding the process from start to finish, including preparation and aftercare, is key to a successful self-care ritual and beautifully smooth skin.
Preparing Your Skin for Treatment
Proper preparation is the foundation of an effective and comfortable hair removal session. What you do in the days and weeks leading up to your treatment can significantly impact the outcome. It’s about creating the ideal conditions for the device to work its magic.
Weeks and Days Before Your Session
Your pre-treatment routine should start several weeks in advance. The most crucial rule is to avoid any hair removal methods that pull the hair out from the root, such as waxing, epilating, or plucking. Light-based devices work by targeting the melanin in the hair follicle, so the root must be present. You should also avoid significant sun exposure, sunbeds, and self-tanning products on the area you plan to treat for at least two weeks prior. Increased melanin in the skin can interfere with the device's effectiveness and increase the risk of skin reactions.
The Day of Your Session
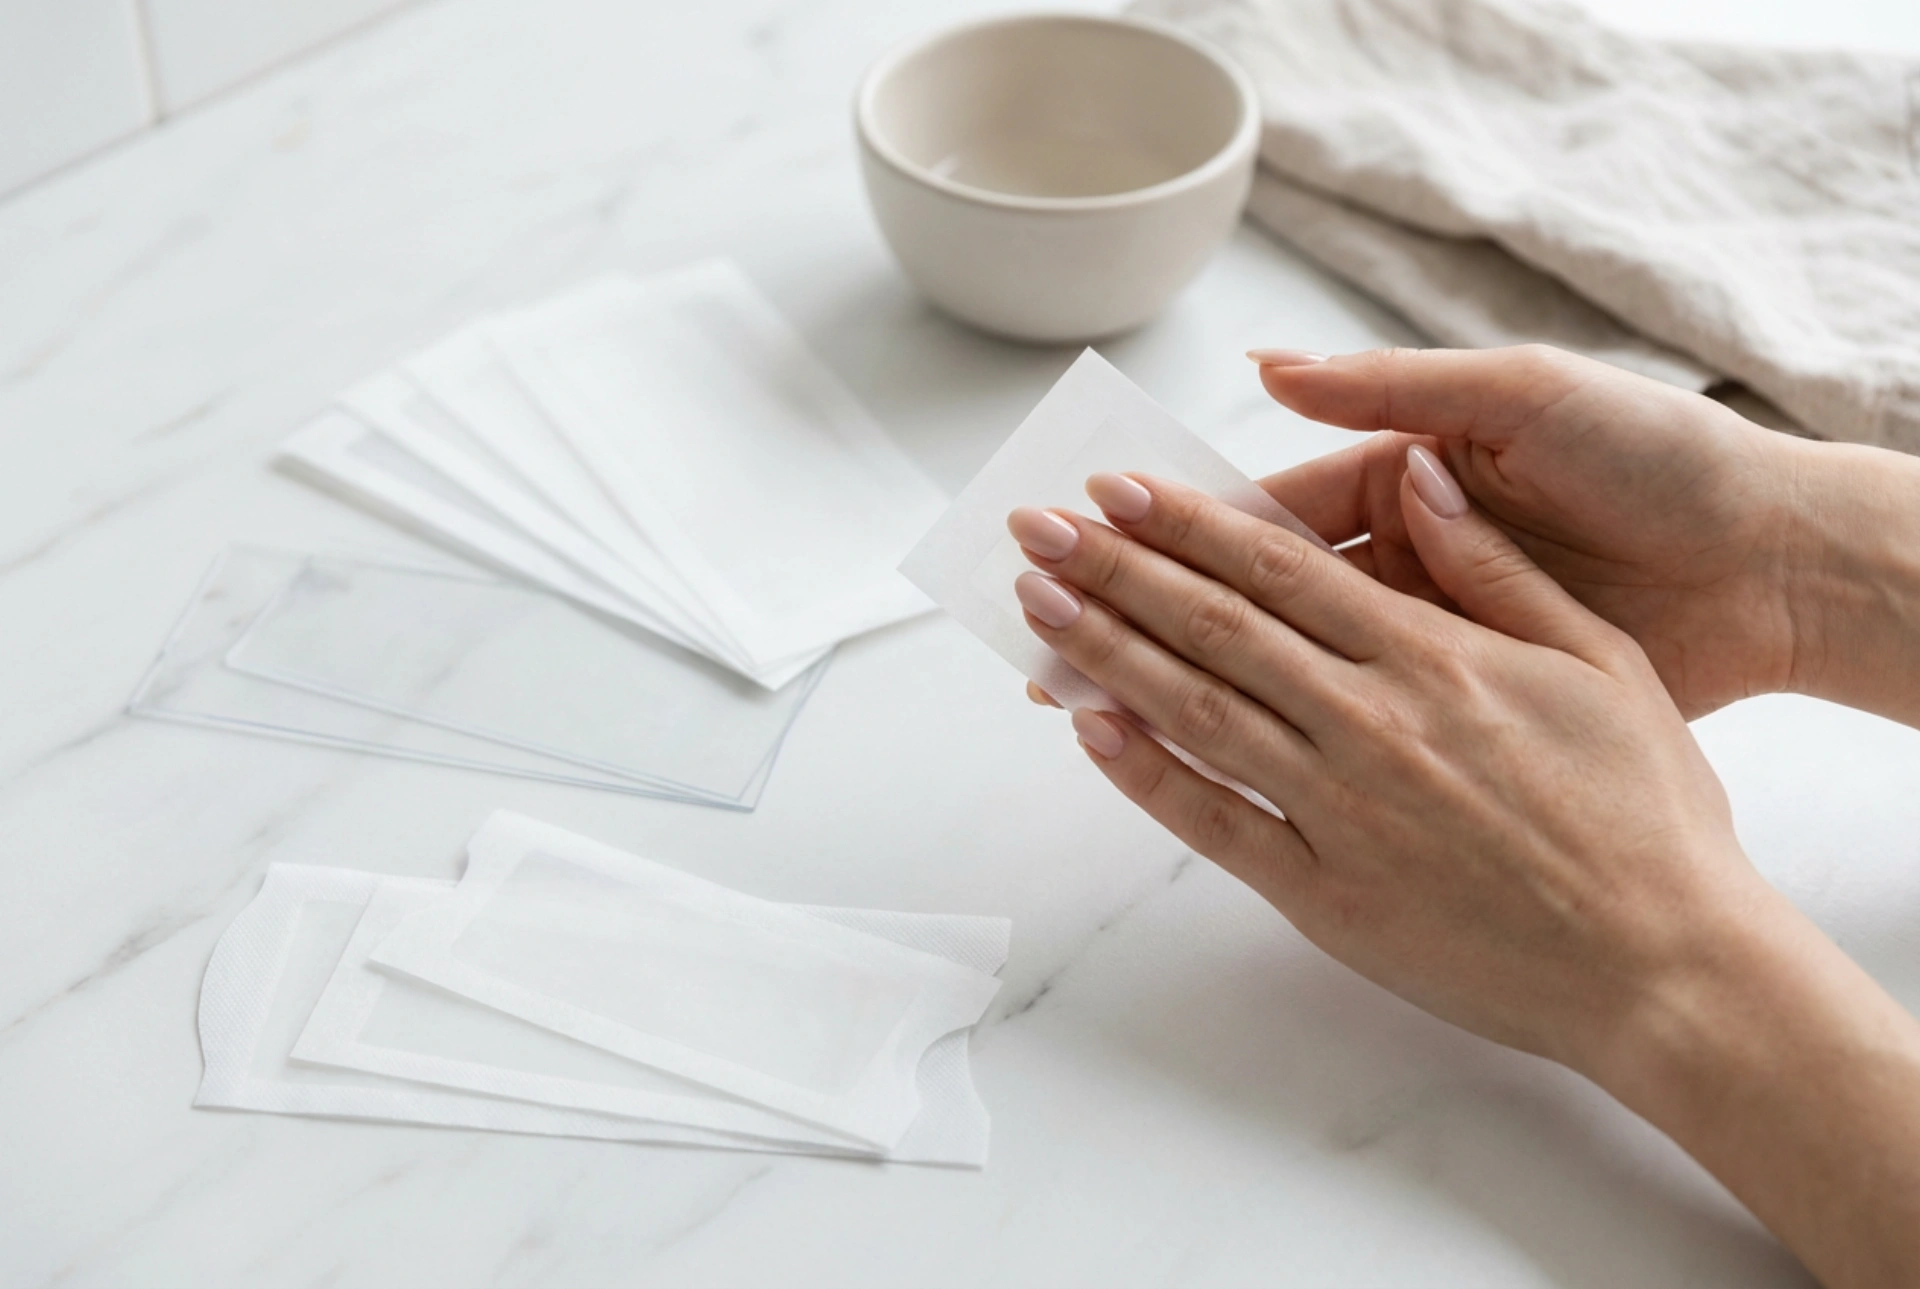
On the day before or the day of your treatment, you must shave the area you intend to treat. This is essential because it ensures the light energy is concentrated on the hair follicle beneath the skin's surface, rather than being wasted on the hair above it. Shaving prevents surface hair from burning, which can cause an unpleasant smell and reduce the treatment's efficacy. Immediately before the session, ensure your skin is clean, dry, and free from any lotions, creams, or deodorants. Any residue on the skin can block the light or cause adverse reactions.
Performing Your At-Home Hair Removal Session
With your skin perfectly prepped, you are ready to begin the treatment. Approaching the session with care and attention to detail will help you achieve consistent and satisfying results.
Setting Up and Safety First
Before your very first full treatment, it is vital to perform a patch test on a small, inconspicuous area of skin. Do this 24-48 hours beforehand to check for any adverse reactions. Always read the instruction manual that comes with your device, as it contains specific information about skin tone compatibility, intensity levels, and safety precautions. Many devices come with protective eyewear; if so, wear it during every session to shield your eyes from the bright flashes of light.
The Treatment Process
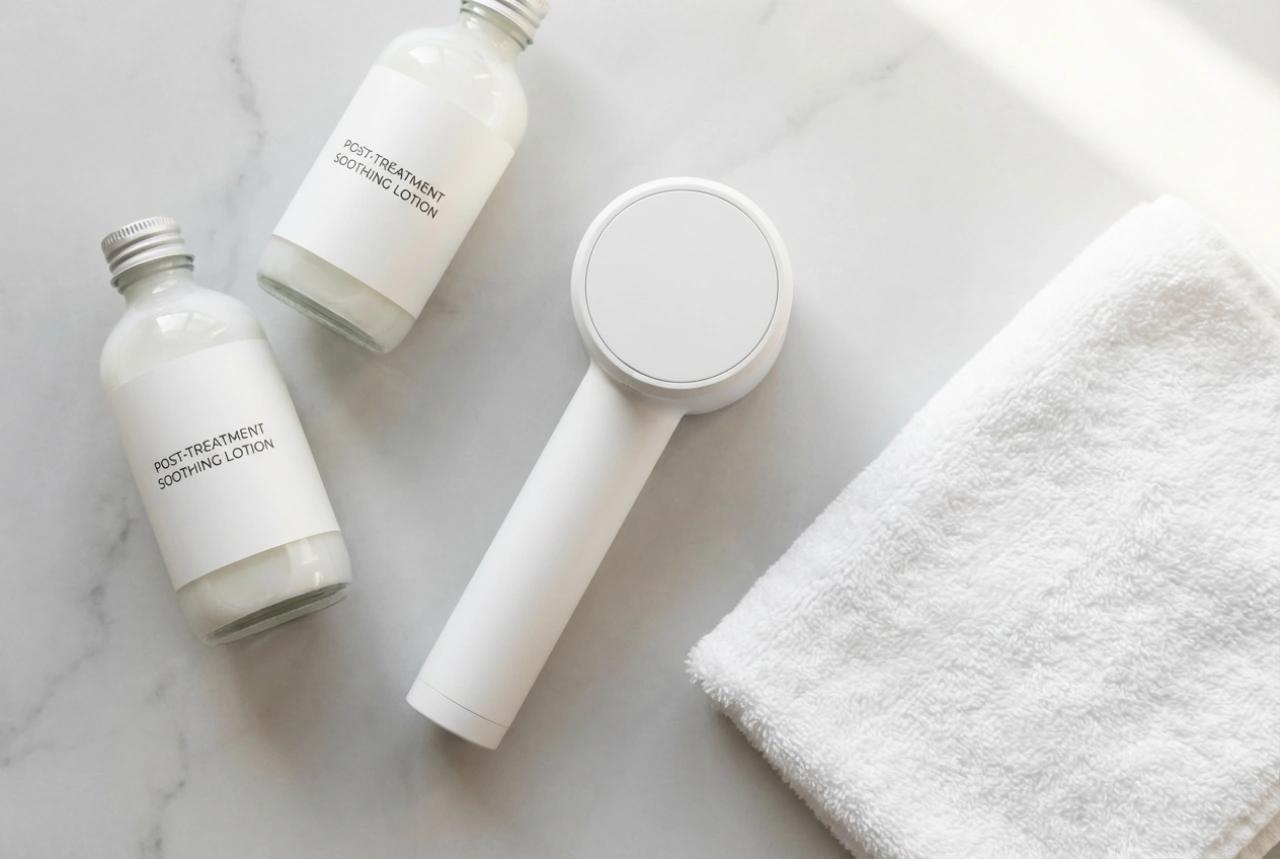
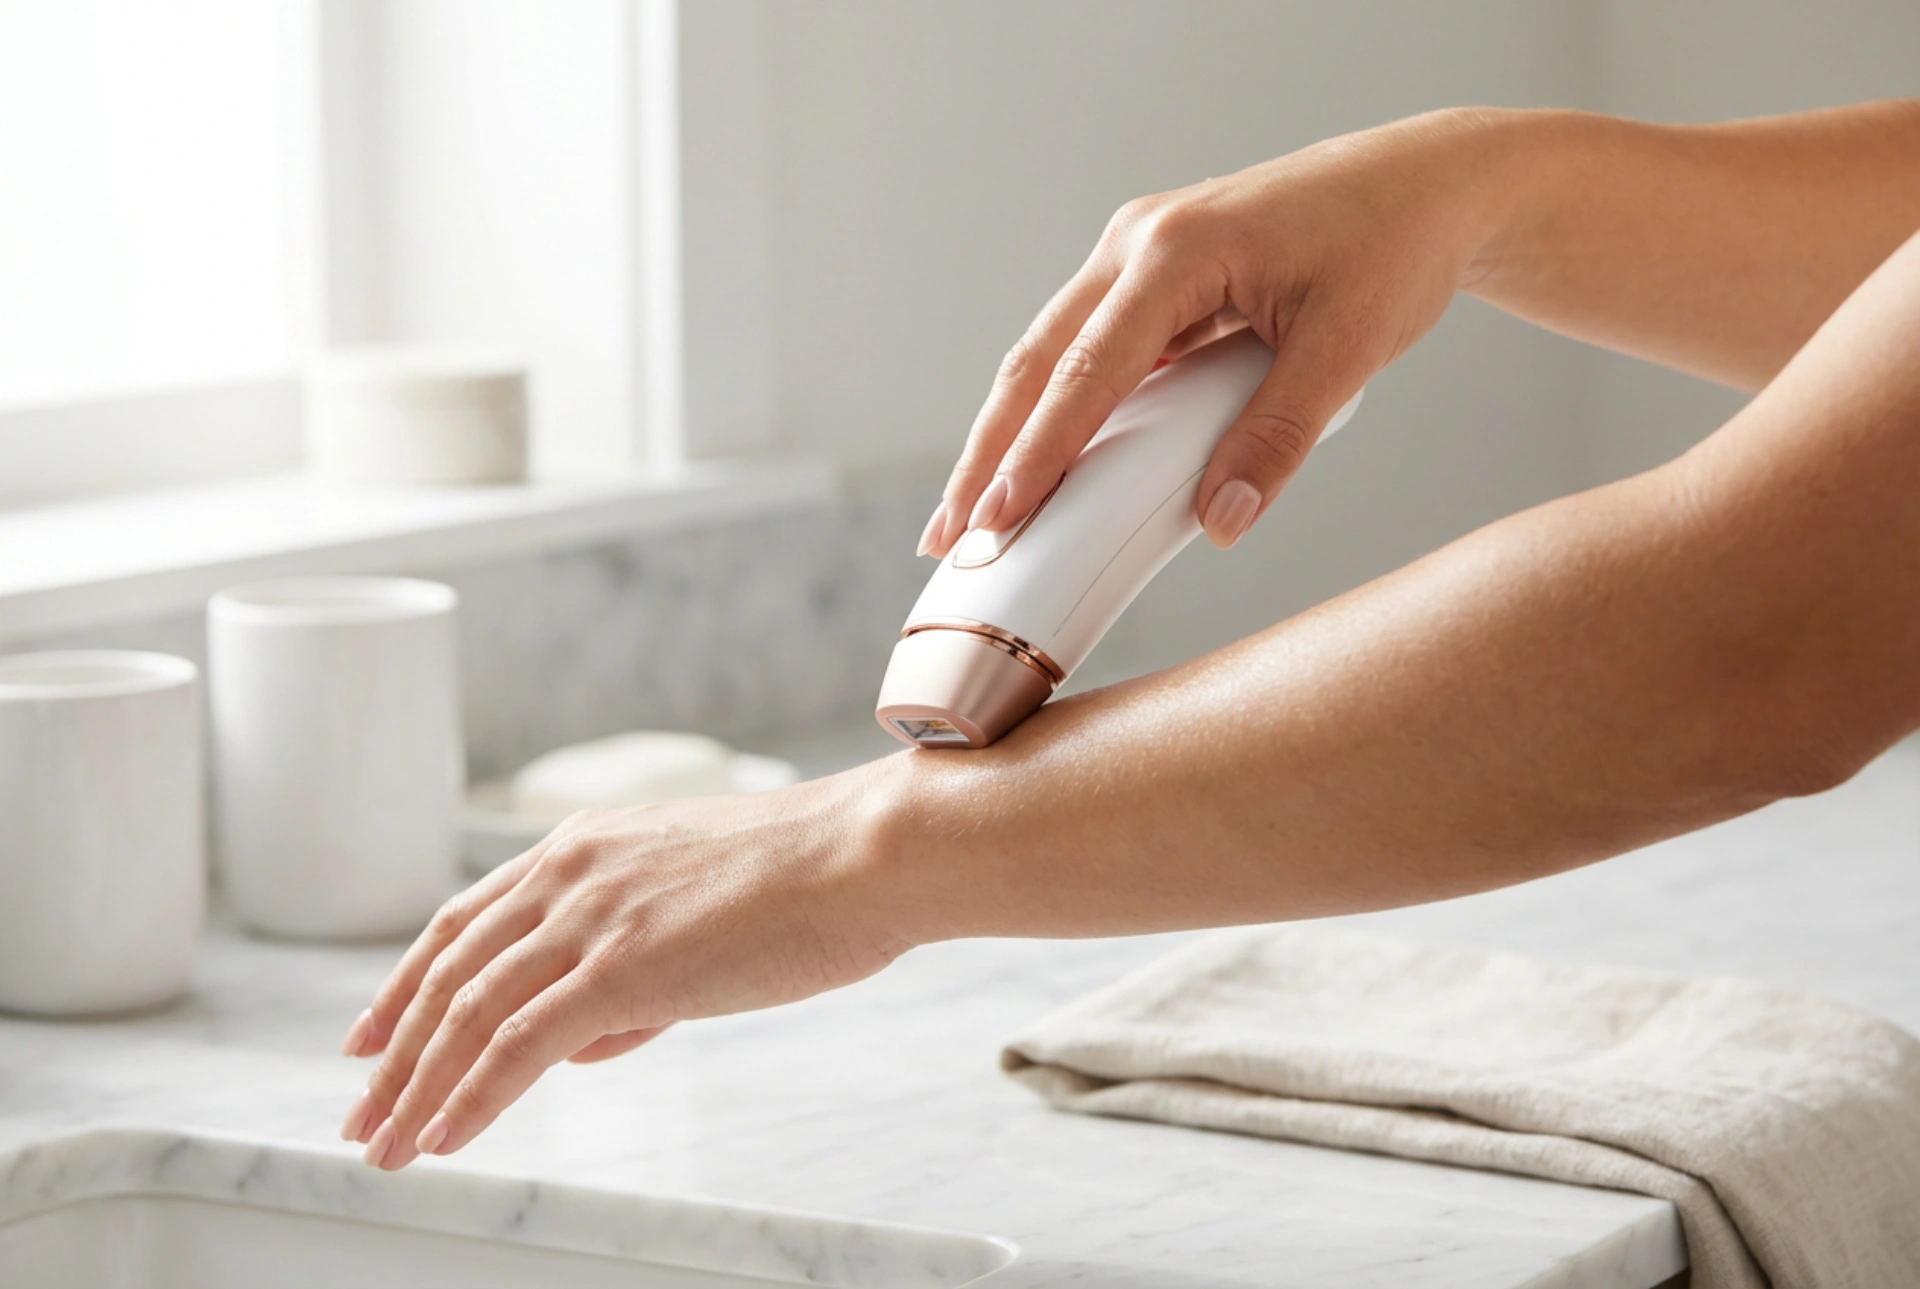
Turn on the device and select the appropriate intensity level for your skin and hair colour, as recommended by the manufacturer. Place the device's window flat against your skin, ensuring full contact. The device will then emit a flash of light. After the flash, lift the device and move it to the next adjacent spot, slightly overlapping to ensure you don't miss any areas. Work methodically in a grid-like pattern across the entire treatment zone. You may feel a warm sensation or a slight 'snap' against your skin, which is normal. If you experience significant pain, stop and lower the intensity setting.
Post-Treatment Care and What to Expect
What you do after the session is just as important as the preparation. Proper aftercare helps soothe the skin, minimises potential side effects, and supports the overall effectiveness of your hair removal journey.
Immediately After the Session
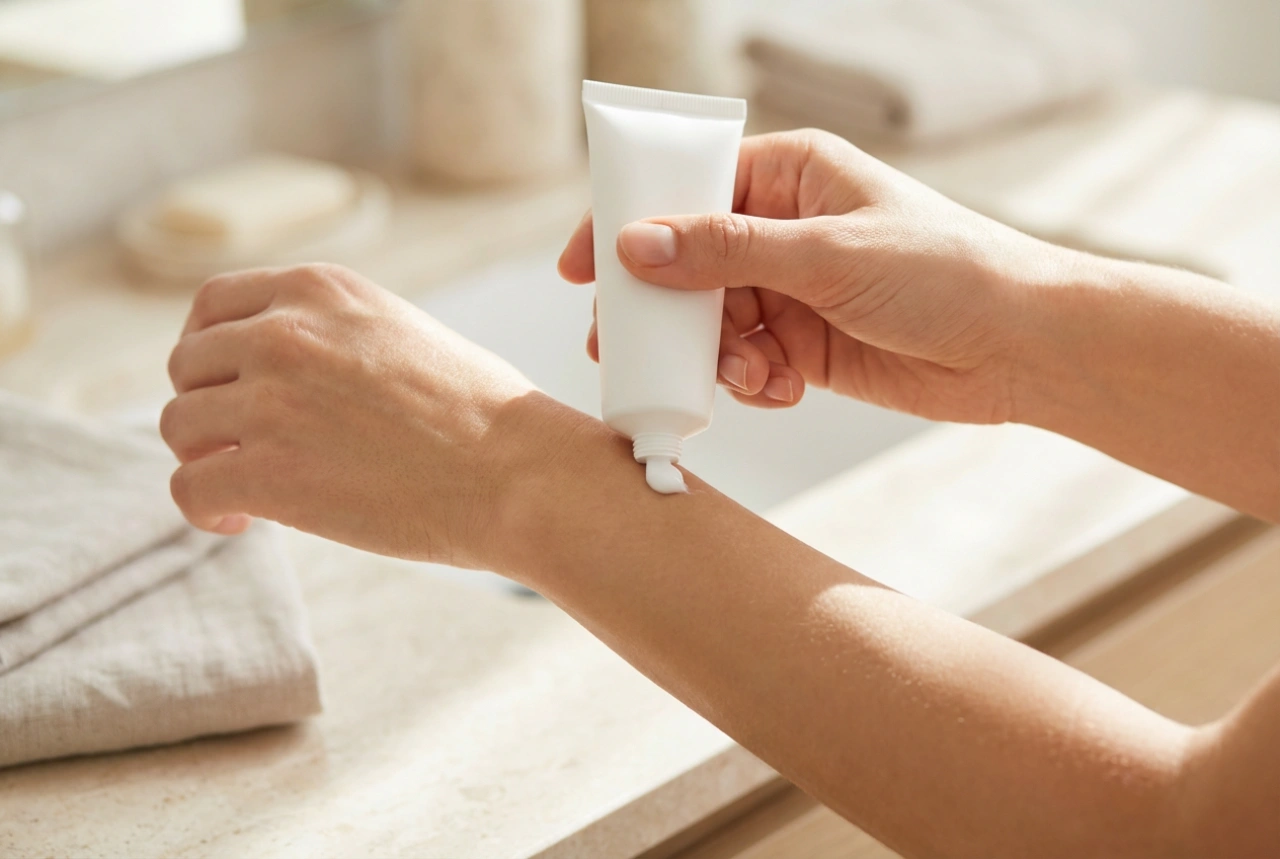
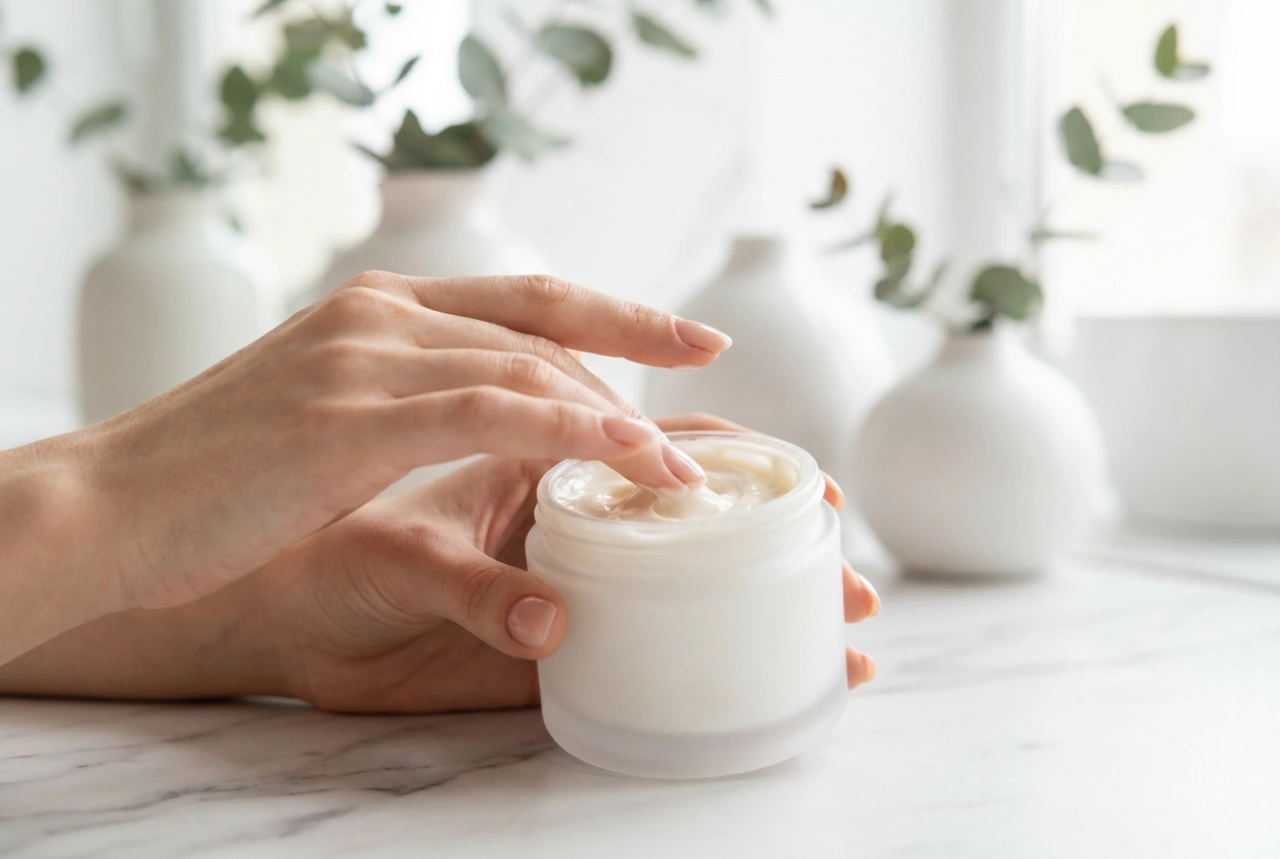
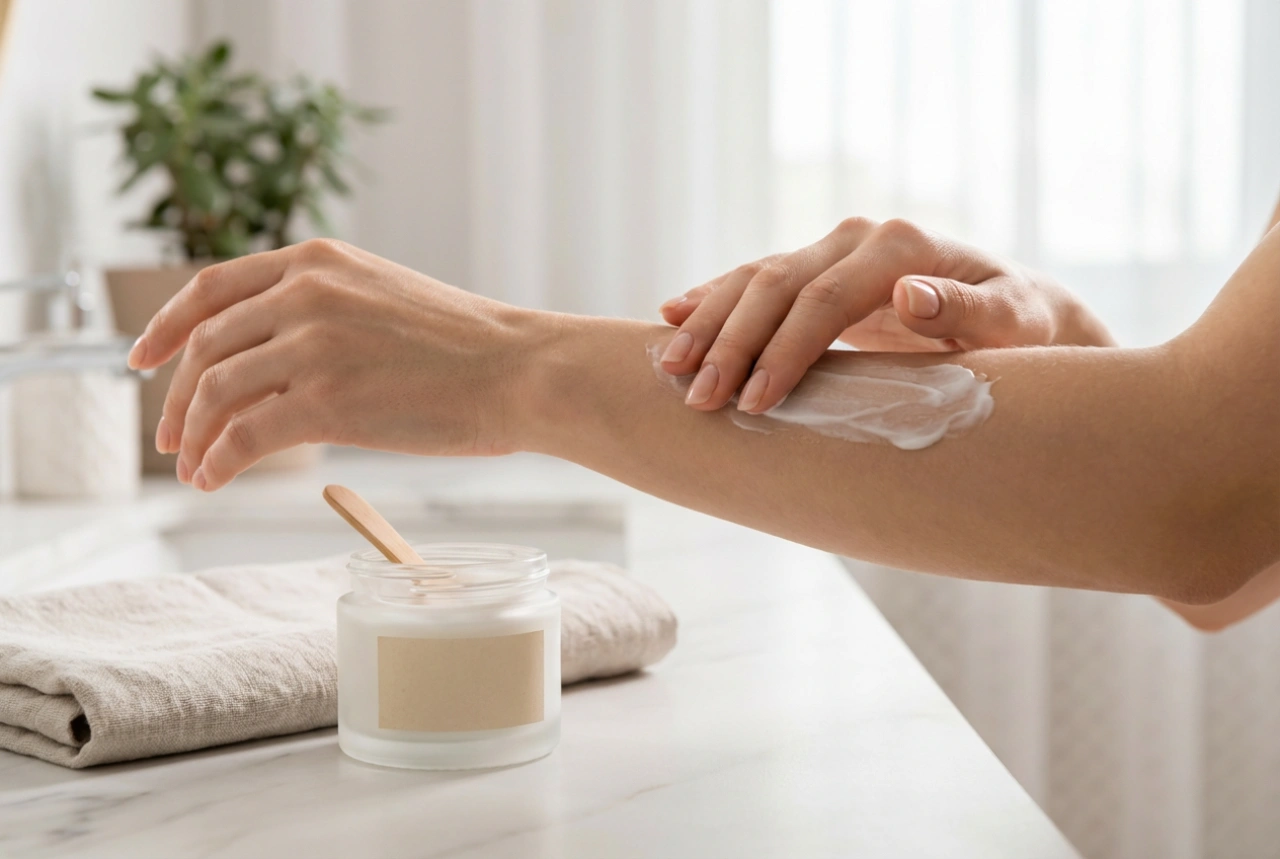
It's common for the treated skin to appear slightly red or feel warm, similar to a very mild sunburn. This usually subsides within a few hours. To soothe the area, you can apply a cool compress or a gentle, fragrance-free lotion, such as pure aloe vera gel. For the first 24 hours, avoid:
- Hot baths, hot showers, saunas, and steam rooms.
- Wearing tight-fitting clothing over the treated area.
- Excessive sweating or strenuous exercise.
- Using perfumed products or harsh exfoliants.
Between Sessions and Long-Term Maintenance
In the days and weeks following a session, it is absolutely crucial to protect the treated skin from the sun. Apply a broad-spectrum sunscreen with a high SPF daily. You will notice that the treated hairs do not fall out immediately; they will shed naturally over one to three weeks. This is a sign that the treatment was effective. Continue to shave as needed between sessions, but do not wax or pluck. Sessions are typically repeated every 2-4 weeks initially. After completing the initial treatment cycle (usually several months), you will likely only need occasional touch-up sessions every few months to maintain your smooth results. Keep your skin well-hydrated and gently exfoliate between treatments (but wait at least a few days after a session) to help the shedding process and prevent ingrown hairs.