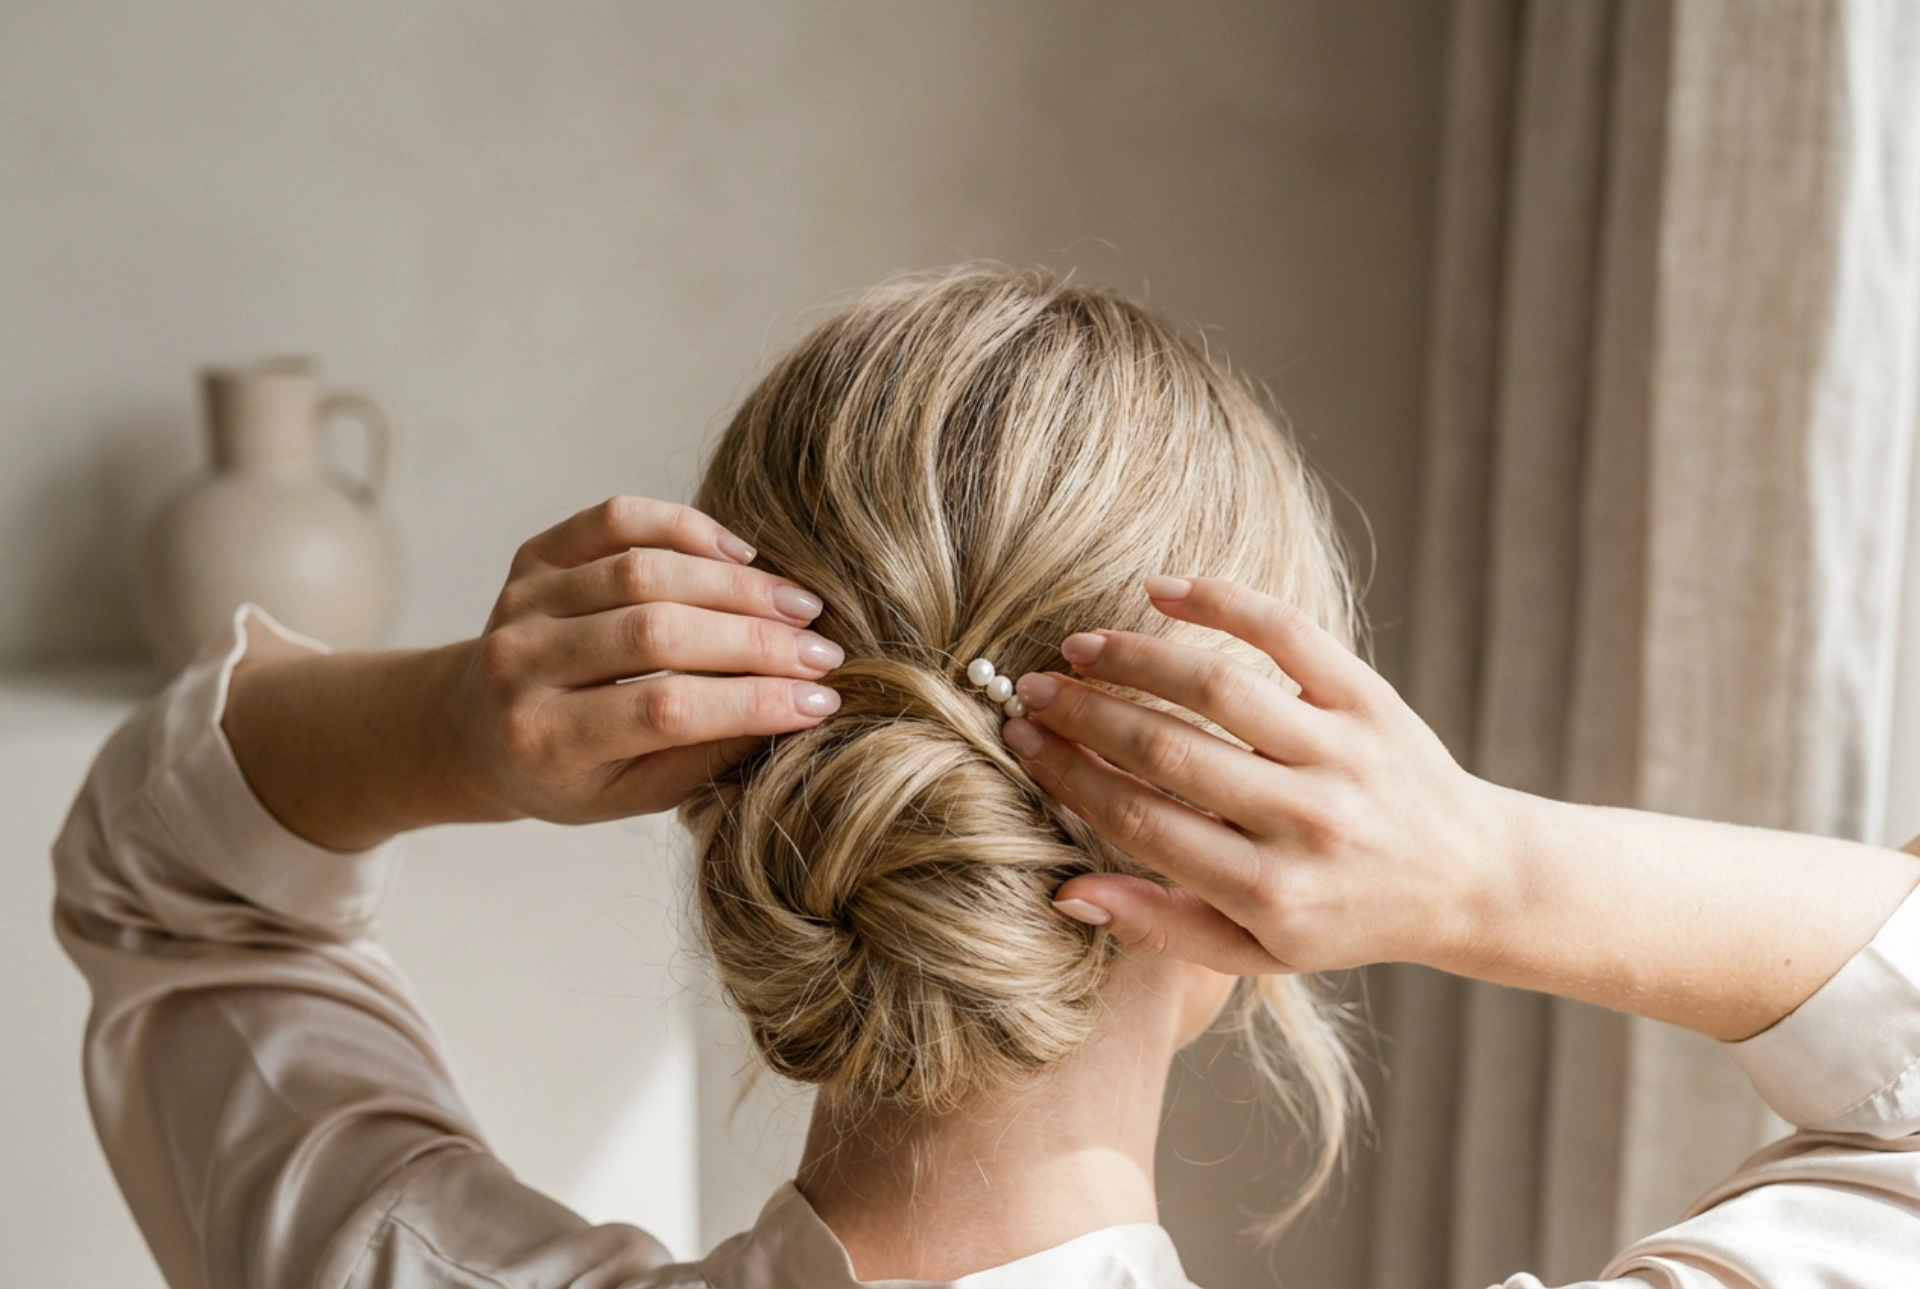


The bun is a timeless and elegant hairstyle, making it a perfect choice for a wedding day. It exudes grace and sophistication, beautifully framing the face and complementing any style of wedding dress. Whether you envision a sleek, polished look or a soft, romantic updo, the bun is incredibly versatile. Creating this look yourself can be a rewarding process, allowing you to achieve a personalised and stunning bridal style. This guide will walk you through the steps to create a beautiful bun, with tips tailored to various hair types.
Essential Preparation for the Perfect Updo
The foundation of any lasting hairstyle is proper preparation. For a bun that holds from the ceremony to the last dance, it's best to work with hair that isn't freshly washed. Hair washed the day before often has more grip and texture, making it easier to style and secure. If your hair is naturally very fine or silky, consider using a texturising spray or a light dusting of volumising powder at the roots to add some grit. Conversely, if your hair tends to be frizzy, apply a smoothing serum or cream to damp hair before blow-drying to create a sleek base. Before you begin, gather all your tools. You will need a good quality hairbrush, a comb for sectioning, hair elastics that match your hair colour, bobby pins, and U-shaped hairpins for securing the bun without creating tension.
The Classic Bun: A Universal Step-by-Step Guide
This fundamental technique can be adapted for most hair lengths and types. It forms the basis for many more intricate styles and is beautiful in its simplicity. For a classic, elegant bun, follow these steps:
- Step 1: Create a Ponytail. Brush your hair thoroughly to remove any tangles. Decide on the placement of your bun – a high bun feels modern and chic, a low bun at the nape of the neck is classic and romantic, while a mid-height bun is universally flattering. Gather your hair into a neat ponytail at your chosen position and secure it firmly with a hair elastic.
- Step 2: Twist and Wrap. Take the length of your ponytail and twist it from the base to the ends. This will help keep all the strands contained and create a clean shape. Once tightly twisted, begin to coil the rope of hair around the base of the elastic.
- Step 3: Secure the Shape. As you wrap your hair, tuck the ends underneath the coiled bun. Start securing the bun to your head using bobby pins. Insert the pins around the outer edge of the bun, pushing them towards the centre. Use as many as you need to make it feel completely secure. For added stability, use U-shaped hairpins to anchor sections of the bun from within.
Tailoring the Bun to Your Hair Type
The beauty of the bun is its adaptability. With a few simple tweaks, you can make this style work beautifully for your unique hair texture and density.
For Fine or Thin Hair
The main goal for fine hair is to create the illusion of fullness. After creating your ponytail, gently backcomb it in sections to build volume before you twist and wrap it. Another excellent technique is to use a hair doughnut. Pull your ponytail through the doughnut, slide it to the base, and then spread your hair to cover the doughnut completely, tucking the ends underneath and pinning them in place. This guarantees a perfectly shaped and voluminous bun.
For Thick or Heavy Hair
Managing the weight of thick hair is key to a comfortable and secure bun. To distribute the weight, you can create two ponytails, one directly on top of the other, and secure them together. When you twist and wrap the hair, it will be easier to manage and pin. Use larger, more robust bobby pins and consider a strong-hold elastic to prevent the style from loosening throughout the day. A braided bun is also a fantastic option, as the braid helps to contain the hair and adds beautiful detail.
For Curly or Textured Hair
Embrace your natural texture for a stunningly romantic and effortless-looking bun. Work with your curls instead of trying to smooth them completely. Use a moisturising curl cream to define your curls before you gather them loosely into a ponytail. Instead of twisting the hair tightly, gently wrap the curly ponytail around its base, allowing some tendrils to frame the bun. Pin it loosely, allowing the texture to be the star. Pull a few soft curls out around your face to complete the romantic look.
For Shorter Hair
Even with shorter hair, a chic bun is achievable. If your hair is long enough to be gathered into a small ponytail, you can create a mini-bun. Twist the small ponytail and pin the ends into a tiny coil at the base. For a fuller look, you can create a deconstructed bun by twisting and pinning small sections of hair towards a central point at the back of your head. A half-up bun, where only the top section of hair is styled, is another beautiful alternative that works well with bob or lob-length hair.
Finishing Touches for a Lasting Bridal Look
Once your bun is securely in place, the final step is to set it for the day. Lightly mist your entire head with a flexible-hold hairspray to tame any minor flyaways without making your hair feel stiff. For a sleeker finish, use a strong-hold spray. You can target stubborn flyaways around the hairline by spraying a small, clean brush (like a toothbrush or spoolie) with hairspray and gently brushing them into place. Finally, consider adding a delicate accessory. A few strategically placed pearl pins, a sparkling comb slid in beside the bun, or a delicate hair vine woven through can elevate the style from simple to truly bridal.





