


At-home hair removal can be a simple and satisfying part of your beauty routine. A mini wax warmer is a compact and convenient tool that brings a touch of the professional salon experience into your home. Using it correctly not only ensures effective results but also prioritises your safety and the longevity of the device. With a little knowledge, you can create a tranquil and seamless waxing ritual. This guide will walk you through how to use and maintain your mini wax warmer safely.
Preparing for Your Waxing Session
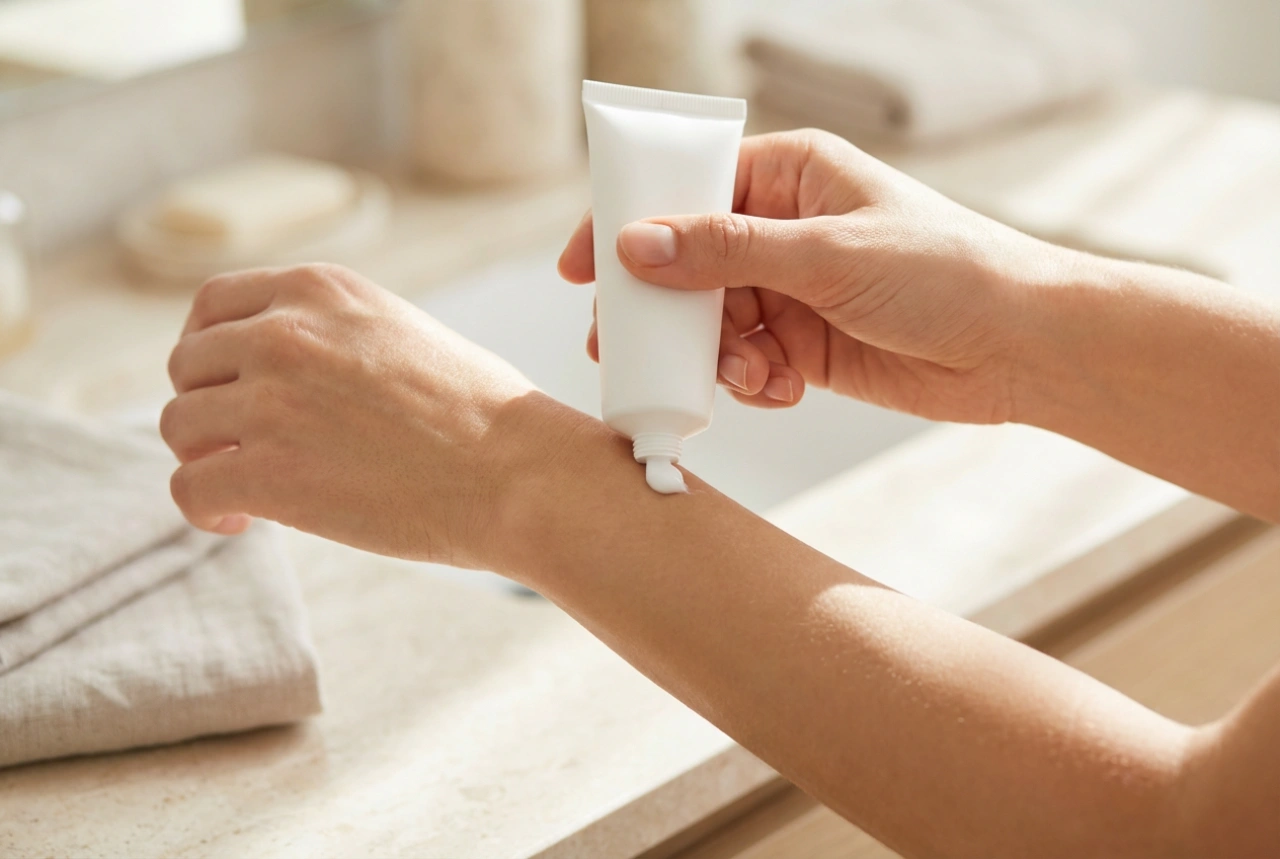
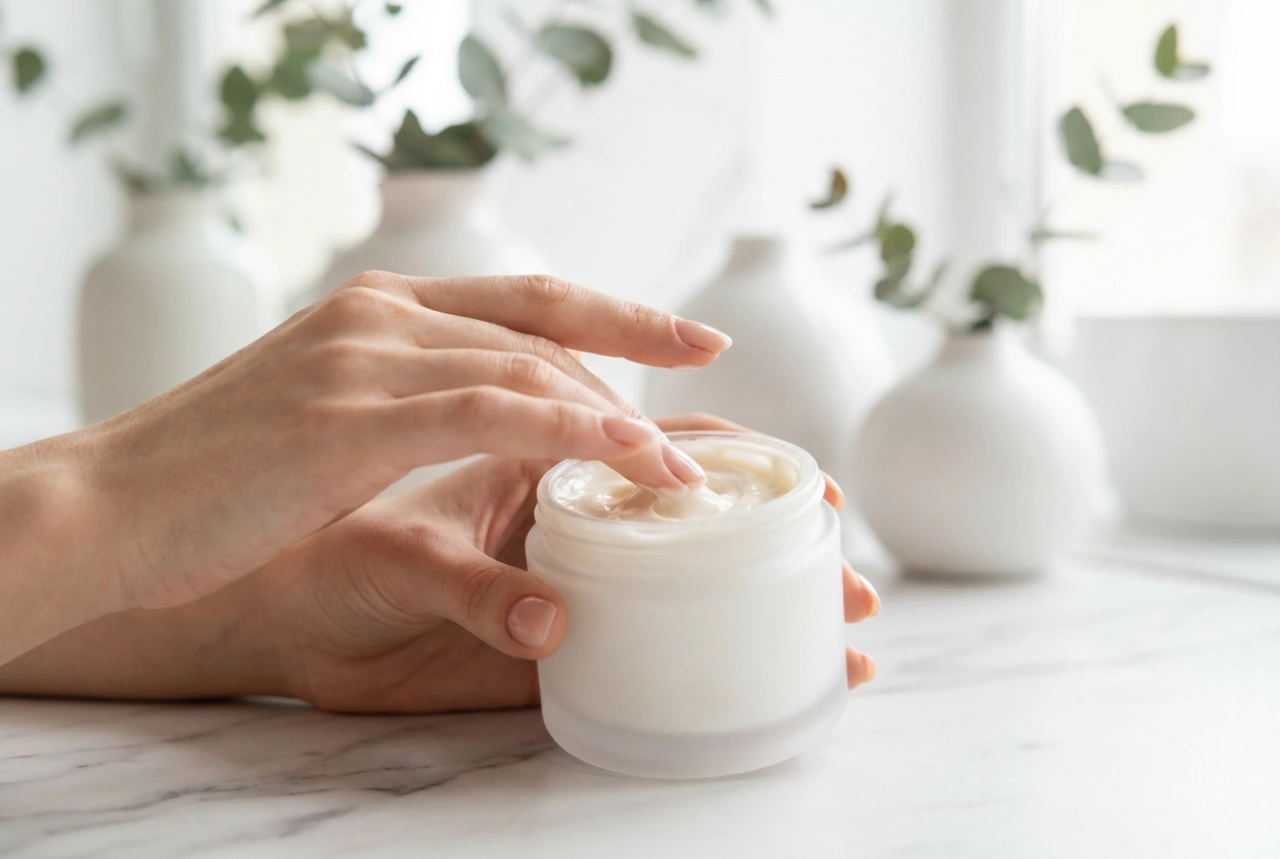
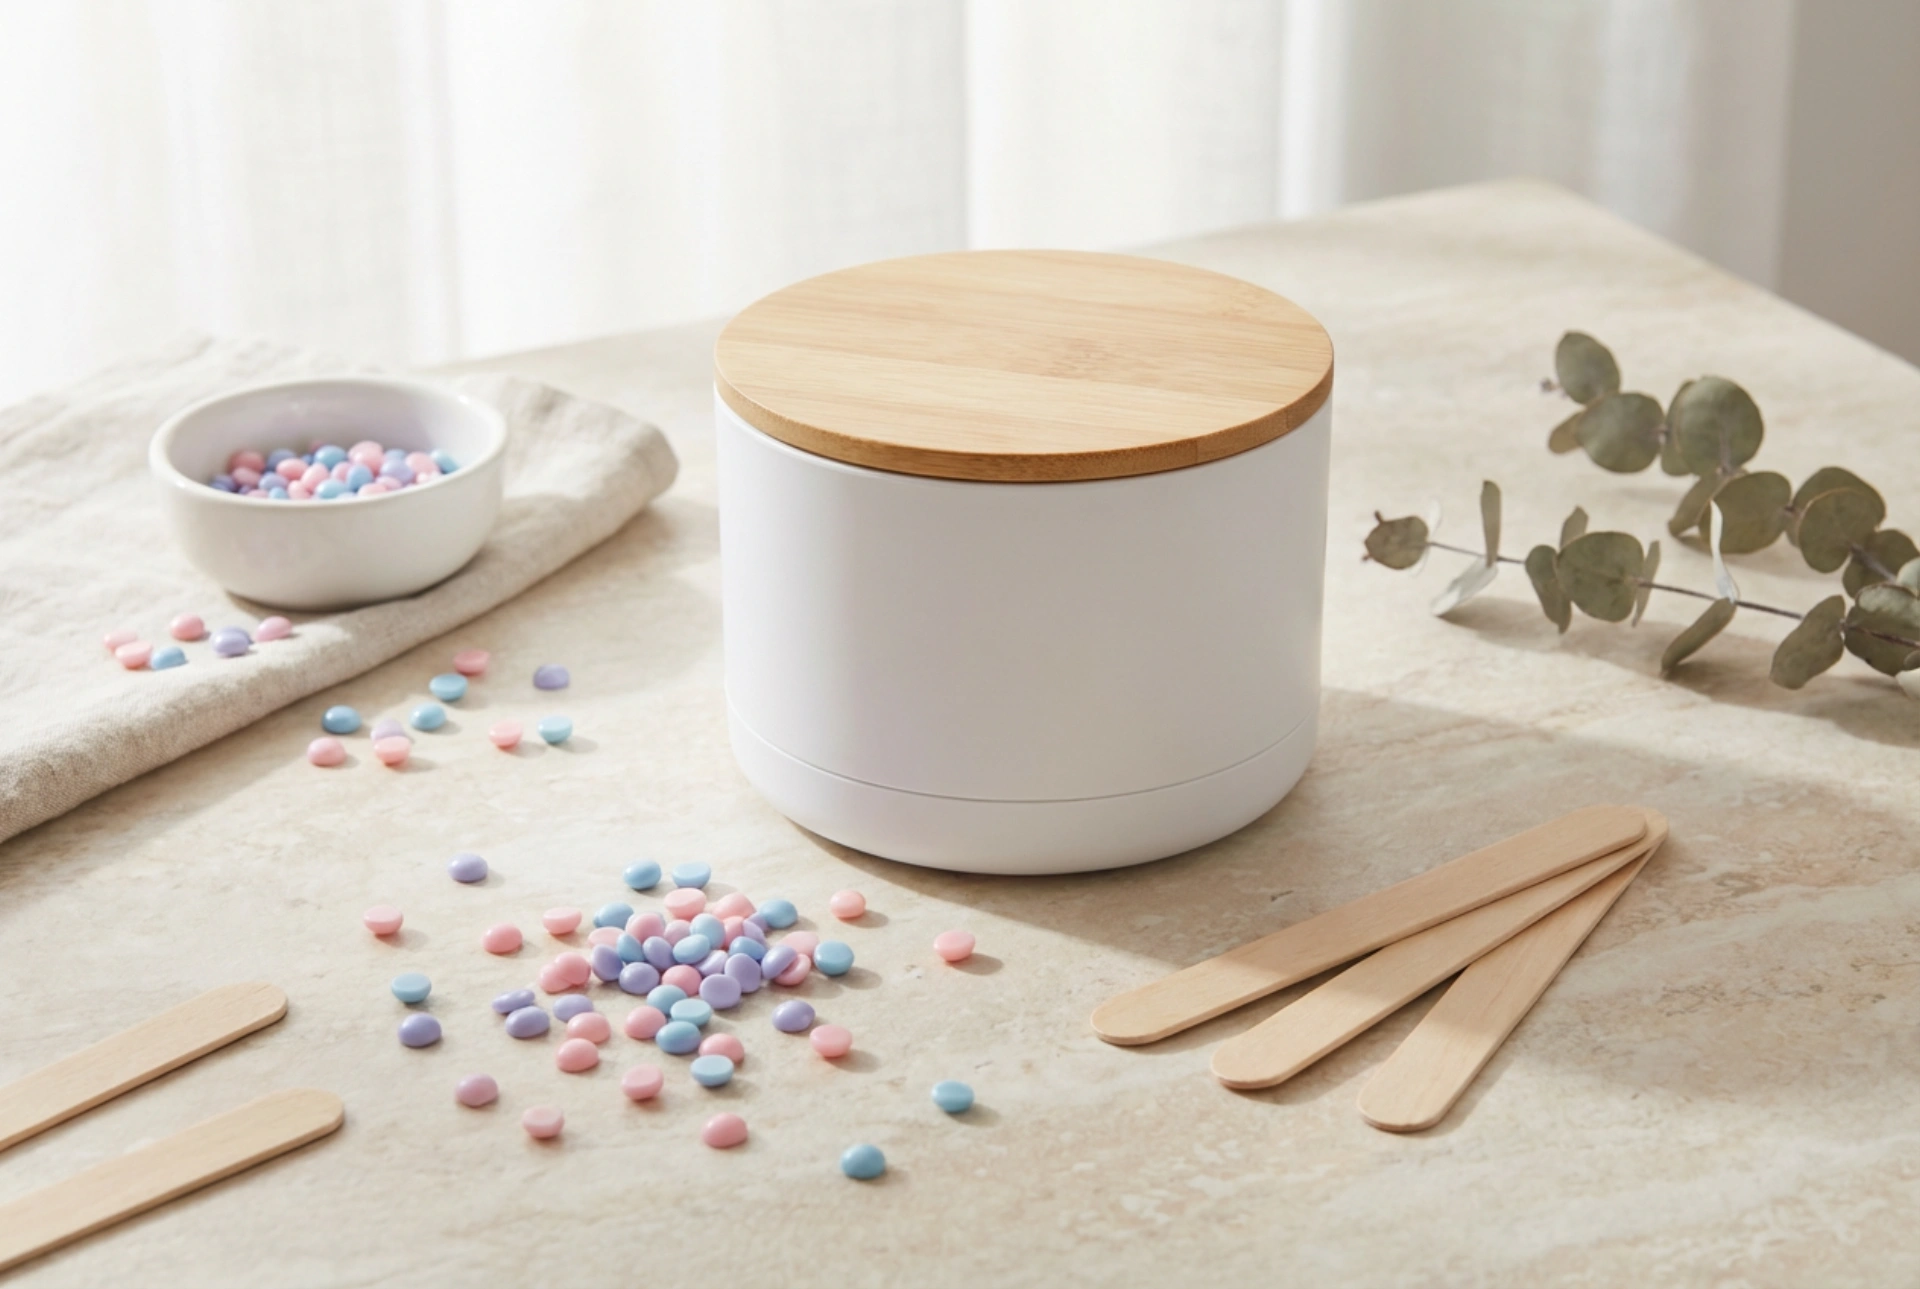
Before you begin, proper preparation is key. First, choose the right type of wax for your device and needs. Mini warmers are typically designed for hard wax beads, which are excellent for removing hair without the need for strips. Place your warmer on a flat, stable, and heat-resistant surface, away from any water sources or flammable materials. Make sure the area is well-ventilated. Prepare your skin by cleansing it to remove any oils or lotions, and then pat it completely dry. This ensures the wax adheres properly to the hair, not the skin.
Setting Up the Device
Once your space and skin are prepped, it's time to set up the warmer. Pour the desired amount of wax beads into the pot, being careful not to overfill it. A good rule of thumb is to fill it about halfway to two-thirds full to prevent spills when the wax melts. Plug in the device and turn it on, setting the temperature according to the wax manufacturer's instructions. Most mini warmers have an adjustable dial or pre-set temperature settings. Place the lid on top to help the wax melt faster and more evenly.
How to Safely Use the Mini Wax Warmer
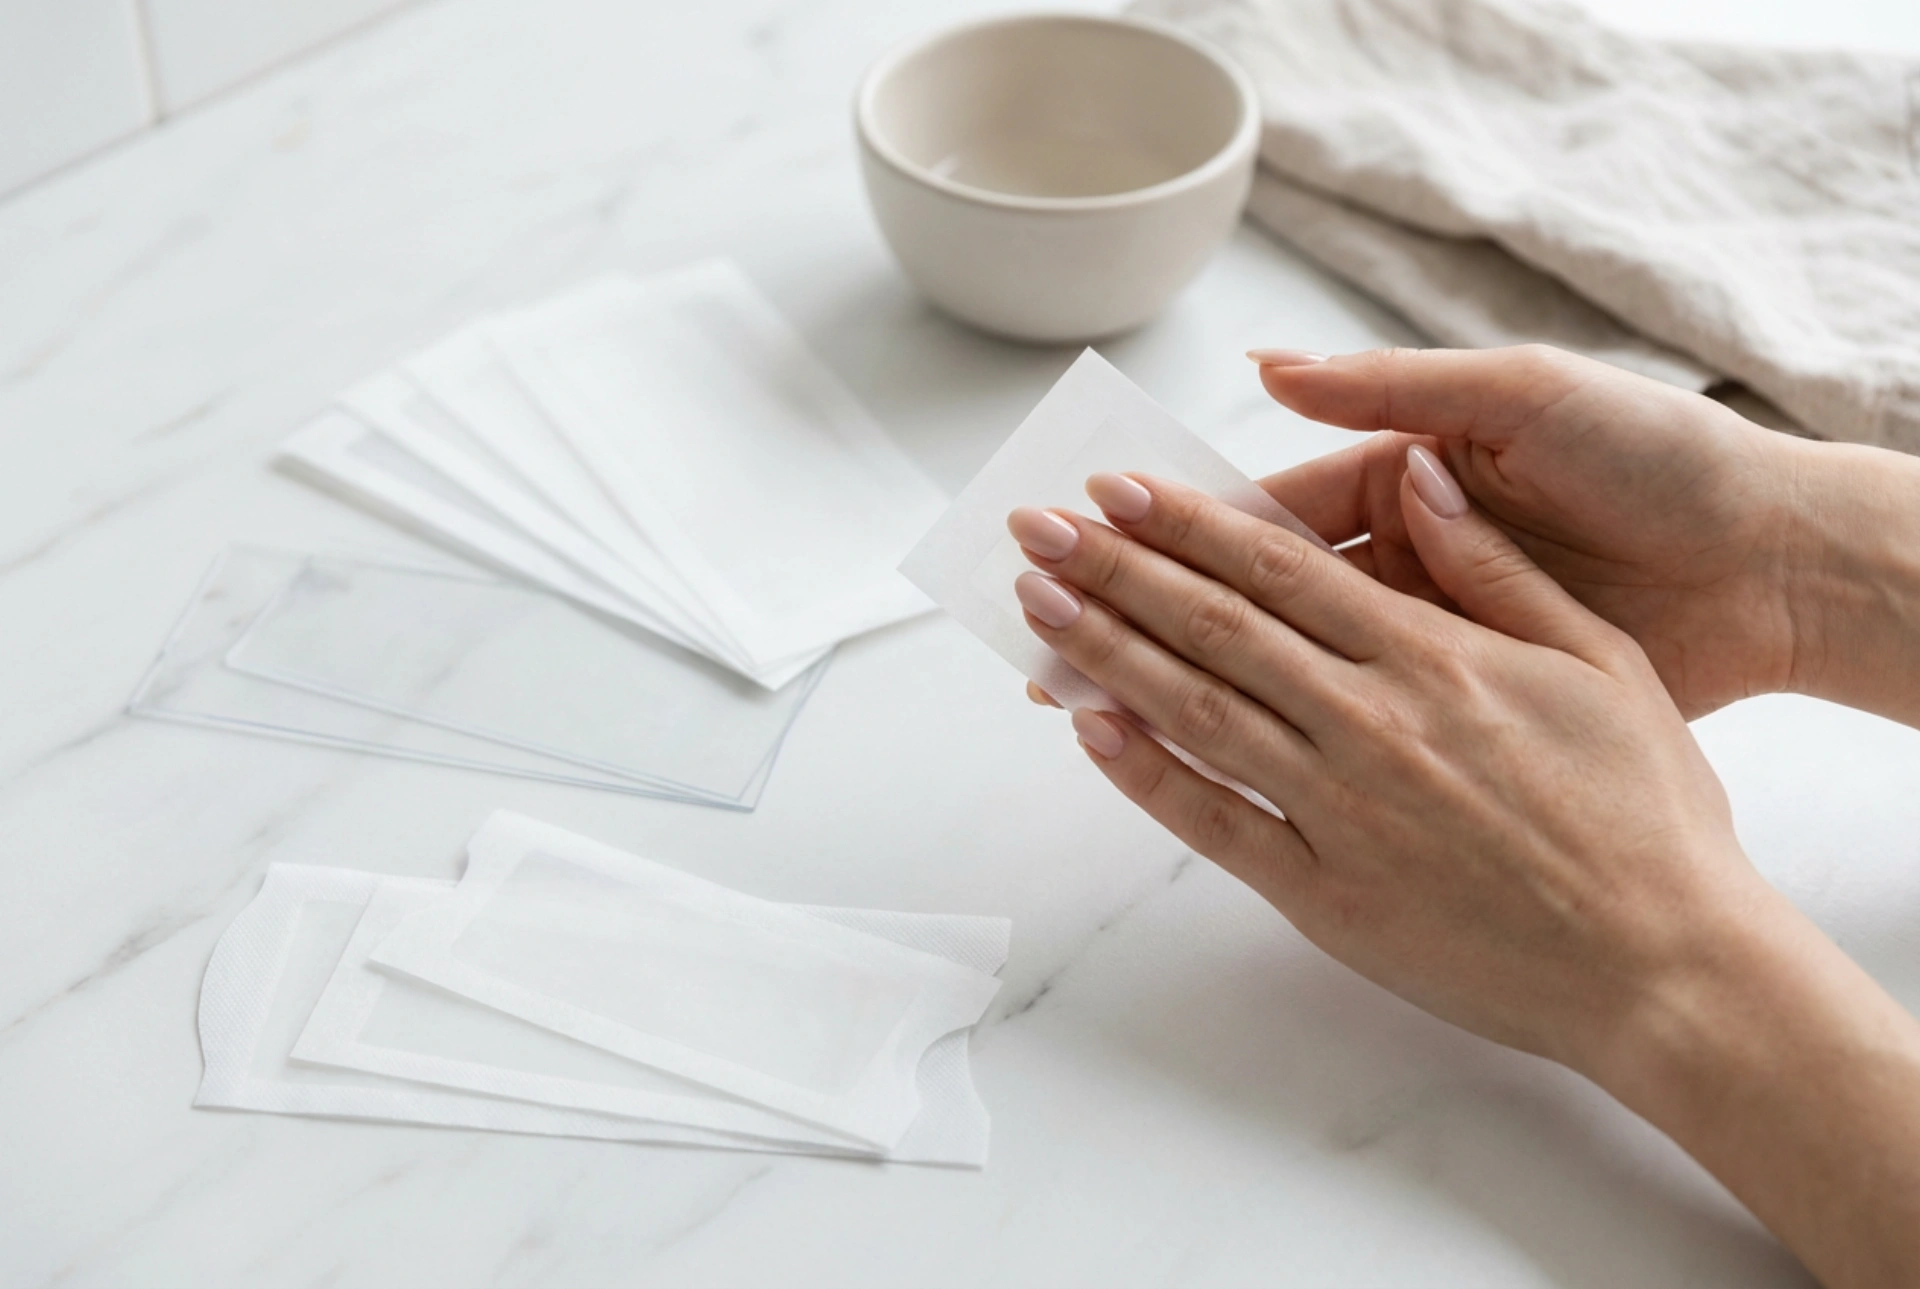
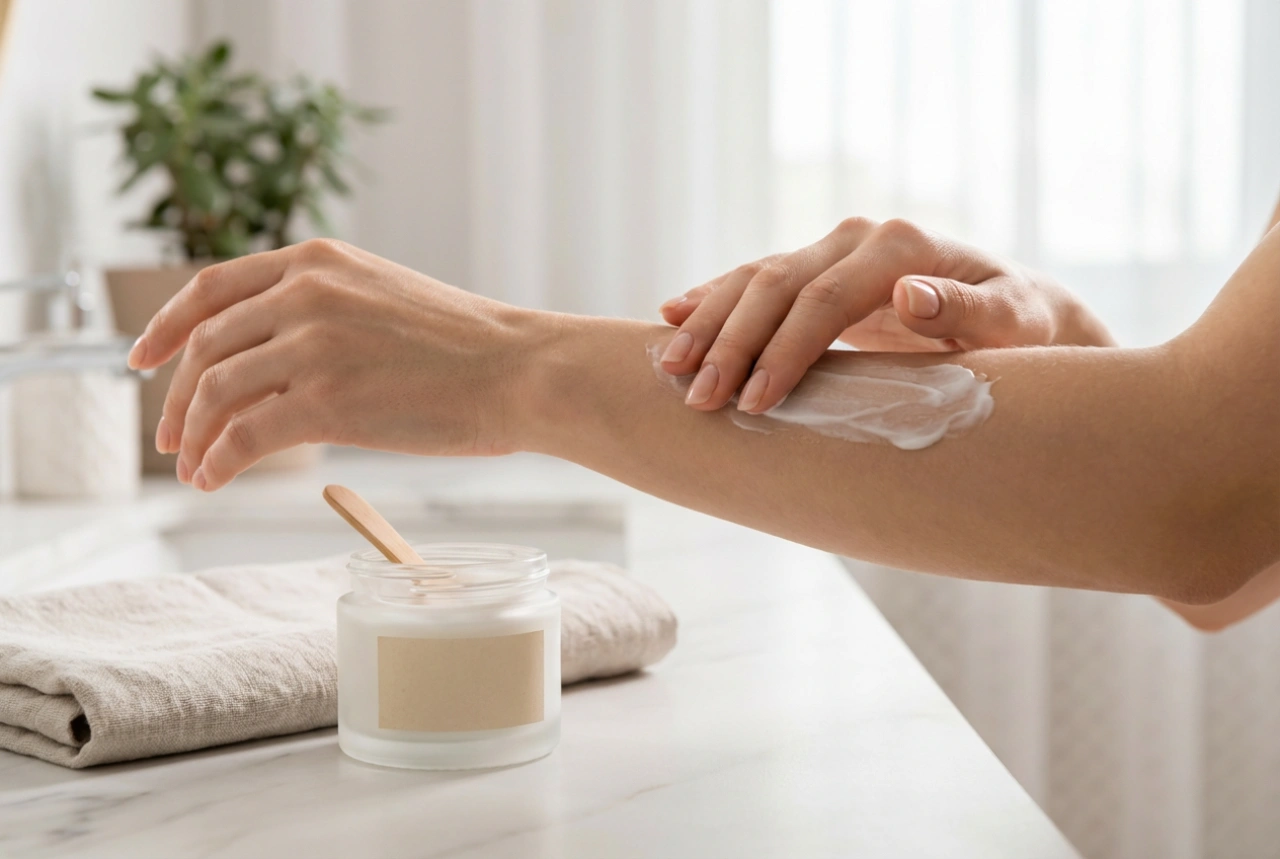
Safety is paramount during the heating and application process. Allow the wax to melt completely, which can take around 15-30 minutes depending on the amount of wax and the power of your warmer. The ideal consistency is similar to thick honey or syrup—it should be smooth and spreadable, not watery or clumpy. A watery consistency indicates the wax is too hot and poses a burn risk. Before applying it to the treatment area, always perform a temperature test. Dip a wooden spatula into the wax and apply a small patch to the inside of your wrist to ensure it's comfortably warm, not painfully hot. Once you've confirmed the temperature is safe, you can proceed with the application. Using a clean spatula, apply the wax in the direction of hair growth. After it hardens, pull it off swiftly in the opposite direction.
Cleaning Your Mini Wax Warmer: Step-by-Step Guide
Regular cleaning is essential for hygiene and to keep your device in perfect working order. A clean warmer ensures that each waxing session is fresh and free from old residue. The easiest time to clean your warmer is right after use, while the remaining wax is still warm and liquid.
Follow these steps for a thorough clean:
- Step 1: After your session, turn off and unplug the device. Let it cool slightly so it's warm, not hot.
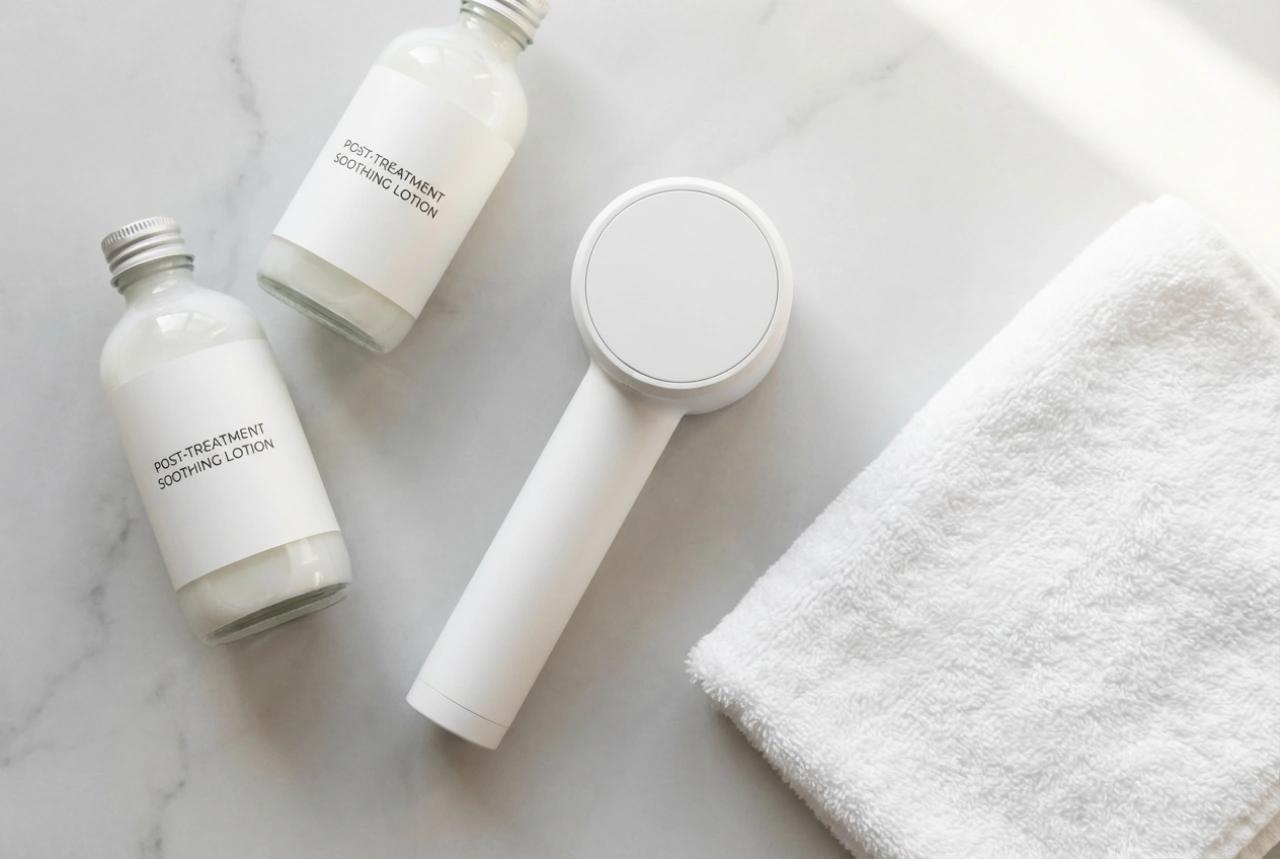
- Step 2: Take a cotton pad or a sturdy paper towel, dip it in a cosmetic-grade oil (such as a pre- or post-waxing oil), and carefully wipe out the inside of the wax pot. The oil helps to dissolve the wax residue, making it easy to remove.
- Step 3: Continue wiping until all the wax is gone. Use a clean, dry paper towel to remove any excess oil. Never pour water into the wax pot, as this can damage the electrical components.
- Step 4: If you forgot to clean it and the wax has hardened, simply turn the warmer on for a few minutes until the wax at the edges begins to melt. Then, turn it off, unplug it, and proceed with the oil-cleaning method.
- Step 5: To clean the exterior, use a soft cloth lightly dampened with water or a gentle all-purpose cleaner, ensuring no liquid gets inside the device.
Common Mistakes to Avoid
To ensure a safe and successful experience every time, be mindful of these common pitfalls. Avoiding them will help protect both your skin and your device.
- Overheating the wax: This is the most common mistake and can lead to skin irritation or burns. Always test the temperature before application.
- Using water to clean: Water and electronics do not mix. Using water inside the pot can cause permanent damage to your warmer.
- Leaving residue to build up: Old wax can harbour impurities and affect the performance of your device. Clean it after every few uses or when switching wax types.
- Placing the warmer on an unsafe surface: Always use a stable, heat-resistant surface to prevent accidents.
- Overfilling the pot: This can cause the wax to spill over when it melts, creating a mess and a potential hazard.
By following these simple guidelines for use and cleaning, your mini wax warmer will remain a reliable tool in your beauty arsenal, providing smooth results in the comfort and privacy of your own home.