


Using a nail drill, or e-file, to remove a hybrid manicure can transform your at-home nail care routine, making it faster and more efficient. While the tool may seem professional, with the right knowledge and a gentle approach, it can be used safely to prepare your nails for their next style. Understanding the equipment, from the drill bits to the speed settings, is the first step towards achieving a smooth, damage-free removal process that protects the health of your natural nail plate.
Preparing for Hybrid Removal with a Nail Drill
Before you begin, proper preparation is key to a safe and successful outcome. Rushing this stage can lead to mistakes and potential nail damage. Ensure you have a clean, stable, and well-lit workspace.
- Your Workspace: Lay down a towel to catch dust. A dust collector is an excellent investment for keeping your area clean and reducing inhalation of fine particles.
- The Right Tools: Have your nail drill, a selection of appropriate bits, a soft nail brush, a buffer, and cuticle oil ready. Make sure your drill is fully charged or plugged in.
- Preparing Your Nails: Unlike soaking in acetone, your nails should be completely dry. Do not apply any oils or creams before filing. Simply ensure your hands are clean.
Choosing the Right Nail Drill Bit (Frezy)
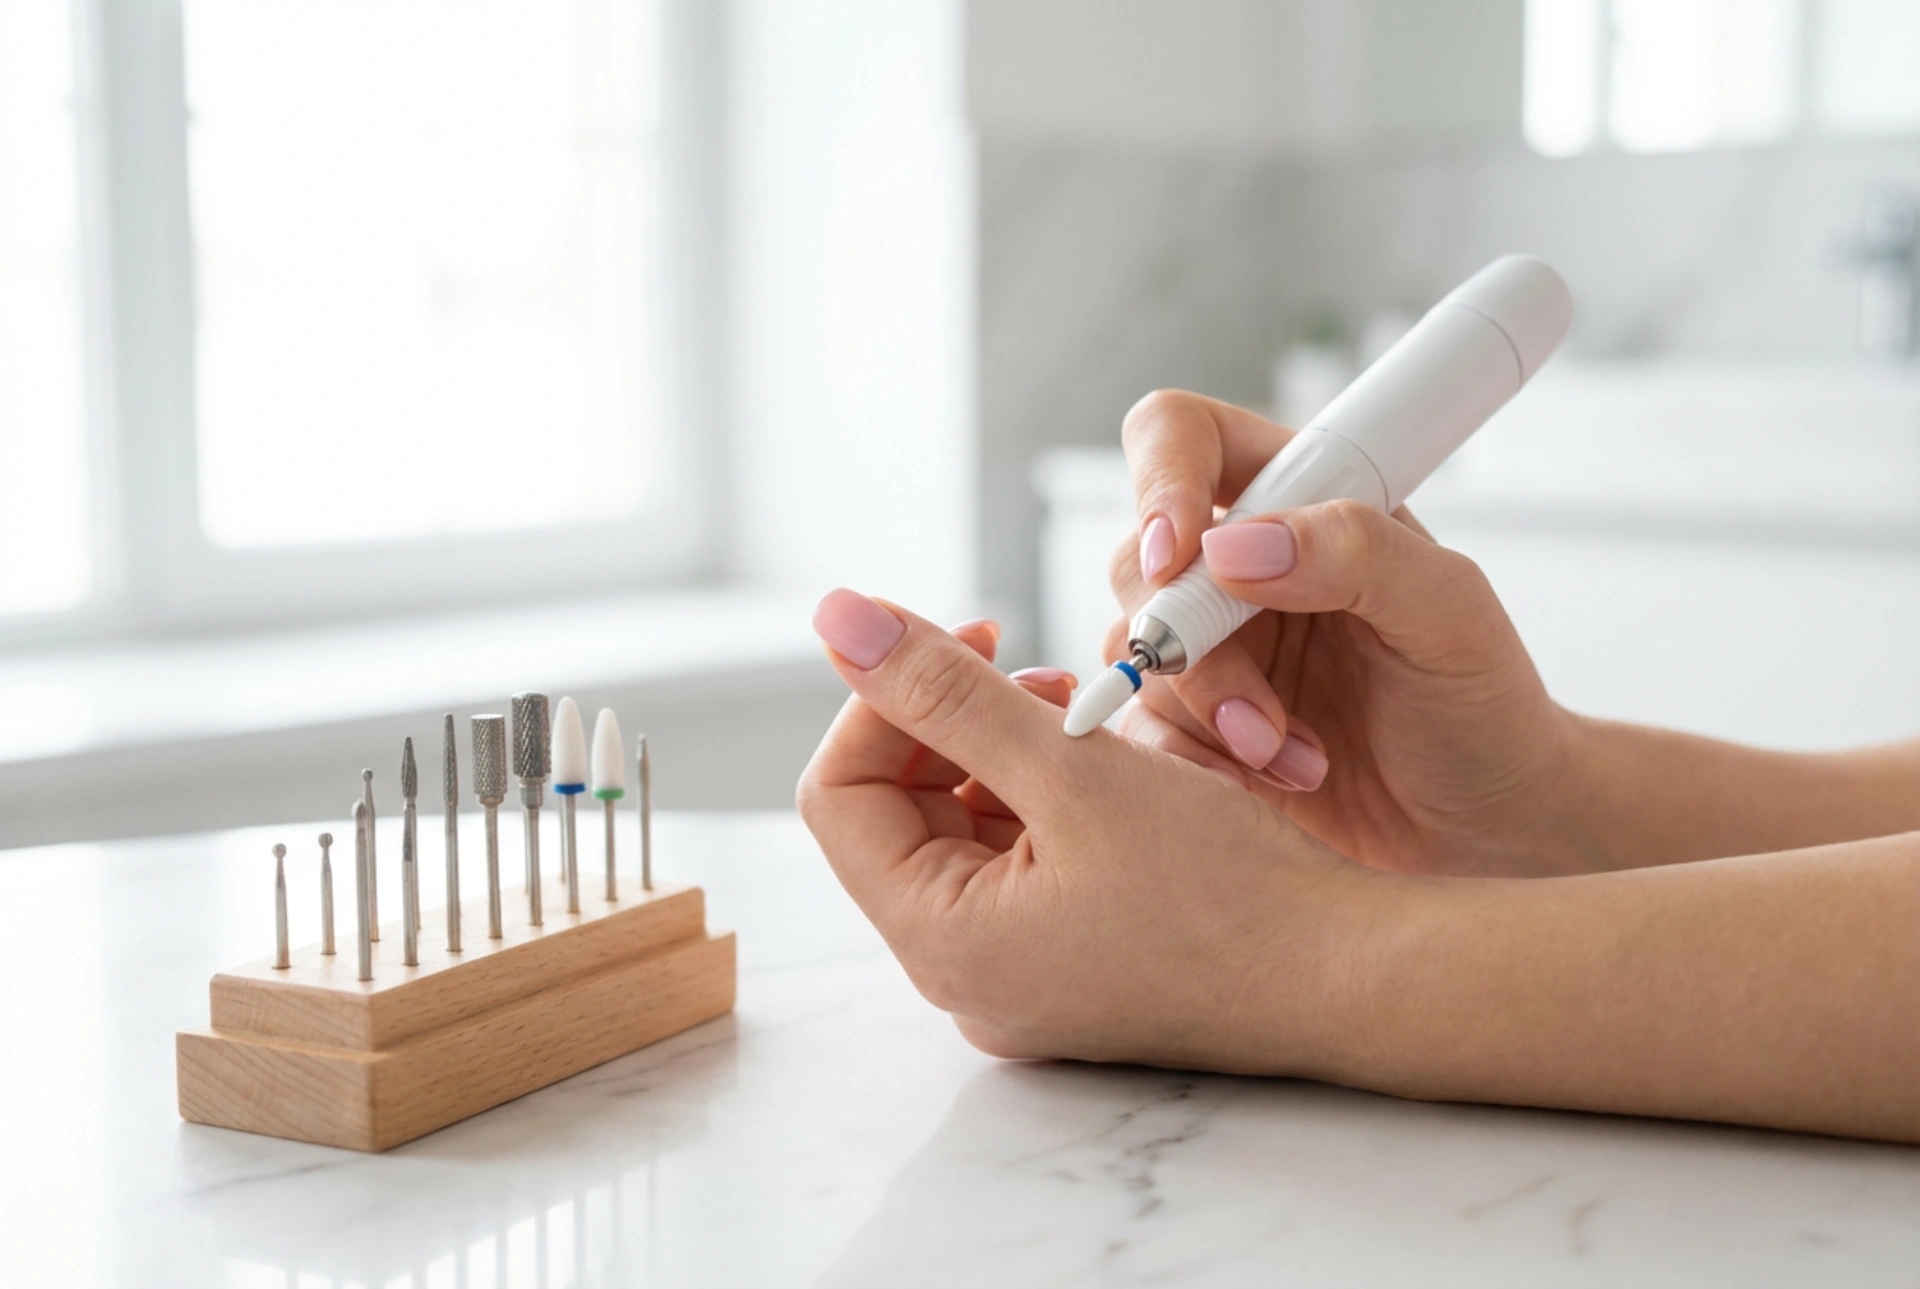
The drill bit is the part that does the work, so choosing the correct one is crucial. Bits come in various materials, shapes, and grits (levels of abrasiveness). For removing hybrid polish, you need a bit that is effective but not overly aggressive.
Common Bit Materials
- Carbide: These are very durable and efficient at removing product quickly. They often have flute-like cuts that shave off the product rather than grinding it. They are best for experienced users.
- Ceramic: Ceramic bits are an excellent choice for home use. They tend to heat up less than metal bits and are very effective at removing gel and hybrid polish without being too harsh.
- Diamond: These bits are made with fine diamond particles and are used more for detailed work, such as cuticle prep or shaping, rather than bulk removal of product.
Shapes and Their Uses
For removing the bulk of a hybrid manicure, a medium-grit cone or barrel-shaped bit is ideal. A cone shape allows you to get closer to the cuticle area with precision, while a barrel shape is great for quickly working over the larger surface of the nail. Always start with a medium grit and avoid coarse grits, which can remove product too quickly and damage the nail underneath.
Step-by-Step: How to Safely Remove Hybrid Polish
Patience and a light touch are your best friends during this process. The goal is to remove the colour and top coat, leaving a thin, protective layer of the base coat on the natural nail.
- Select and Insert Your Bit: Choose a medium-grit ceramic or carbide bit and secure it in the handpiece of your drill according to the manufacturer's instructions.
- Set a Low Speed: Begin with a low speed, around 10,000-15,000 RPM (Rotations Per Minute). You can slightly increase it as you gain confidence, but never go to the maximum setting.
- Use Gentle, Sweeping Motions: Hold the handpiece like a pencil for maximum control. Lightly touch the bit to the nail surface and move in consistent, downward strokes from the cuticle area towards the tip. Never press down hard. Let the bit do the work.
- Keep the Bit Moving: Do not hold the bit in one spot for more than a second or two. This prevents heat build-up (a 'heat spike') which can be uncomfortable and damage the nail. Keep it moving across the entire nail surface.
- Work in Sections: Systematically remove the polish from each nail. Pay close attention as you get closer to the natural nail. You will notice the colour disappearing, revealing the translucent base coat underneath.
- Stop Before Reaching the Natural Nail: The most important rule is to leave a very thin layer of the base coat. This acts as a protective barrier for your natural nail plate, preventing over-filing and thinning.
- Finish the Process: Once most of the hybrid is removed, use a fine-grit buffer block to gently smooth the remaining base coat. Use a soft brush to remove all dust, then apply a nourishing cuticle oil to rehydrate the skin around your nails.
Understanding Speed Settings (RPM)
RPM stands for Rotations Per Minute and indicates how fast the drill bit is spinning. Using the correct speed is vital for safety.
- Low Speeds (5,000-15,000 RPM): This range is generally best for beginners and for removing hybrid polish. It gives you more control and reduces the risk of creating too much heat or removing too much product at once.
- Medium to High Speeds (15,000+ RPM): Higher speeds are typically used by professionals for harder materials like acrylics or for shaping. For at-home hybrid removal, it's rarely necessary to go above 15,000-20,000 RPM.
Always start low and increase the speed only if necessary and when you feel comfortable. Listen to the sound of the drill and pay attention to how it feels on the nail.
Safety First: Common Mistakes to Avoid
To keep your nails healthy, be mindful of these common errors:
- Applying Too Much Pressure: This is the most frequent mistake. It causes friction, heat, and can easily lead to filing into the natural nail.
- Using the Wrong Bit or Grit: A bit that is too coarse can remove product too aggressively and is difficult to control.
- Working at Too High a Speed: High speeds are unforgiving and increase the risk of creating divots or rings of fire on the nail plate.
- Holding the Drill at the Wrong Angle: Keep the bit parallel to the nail surface as much as possible to ensure even removal. Angling it can dig into the nail.
- Filing Down to the Bare Nail: Always aim to leave a thin layer of base coat to protect your natural nail from thinning and damage.


