


Creating a flawless and long-lasting manicure at home can be a deeply satisfying ritual. The process of meticulously painting your nails, as seen in the artful arrangement of polishes, transforms a simple routine into an act of self-care. Hybrid manicures, known for their durability and high-gloss finish, are achievable with the right technique. Following a structured, step-by-step process is the secret to a professional-looking result that lasts for weeks. This guide will walk you through each essential stage, from preparation to the final glossy top coat.
Step 1: Meticulous Nail Plate Preparation
The foundation of any durable manicure is a well-prepared nail plate. Neglecting this step can lead to lifting and chipping. Start by ensuring your nails are clean and dry. Gently push back your cuticles using a wooden stick or a cuticle pusher. If you have excess cuticle growth, you can carefully trim it, but avoid cutting the living tissue around the nail. Next, shape your nails to your desired length and form using a file with a fine grit (e.g., 180/240). Once you are happy with the shape, it's crucial to mattify the nail plate. Use a gentle buffer block to lightly remove the natural shine from the nail surface. This creates a slightly rough texture that helps the products adhere better. Finally, wipe each nail with a lint-free wipe soaked in a nail cleaner or dehydrator solution to remove any dust and oils. This ensures the nail is perfectly prepped for the base coat.
Step 2: Applying the Base Coat for Adhesion
The base coat acts as a protective barrier between your natural nail and the coloured polish, while also providing a sticky surface for the colour to grab onto. It is the key to preventing staining and ensuring the longevity of your manicure. Apply a thin, even layer of the hybrid base coat to the entire nail plate, being careful not to flood the cuticles or sidewalls. A common technique is to 'cap' the free edge of the nail by running the brush along the tip. This helps to prevent chipping. Once applied, cure the base coat under an LED or UV lamp according to the product's instructions. Curing times can vary, but typically it is 30-60 seconds for an LED lamp and around 2 minutes for a UV lamp. After curing, the base will have a slightly sticky or tacky layer, known as the inhibition layer. Do not wipe this off; it is essential for helping the colour layer adhere.
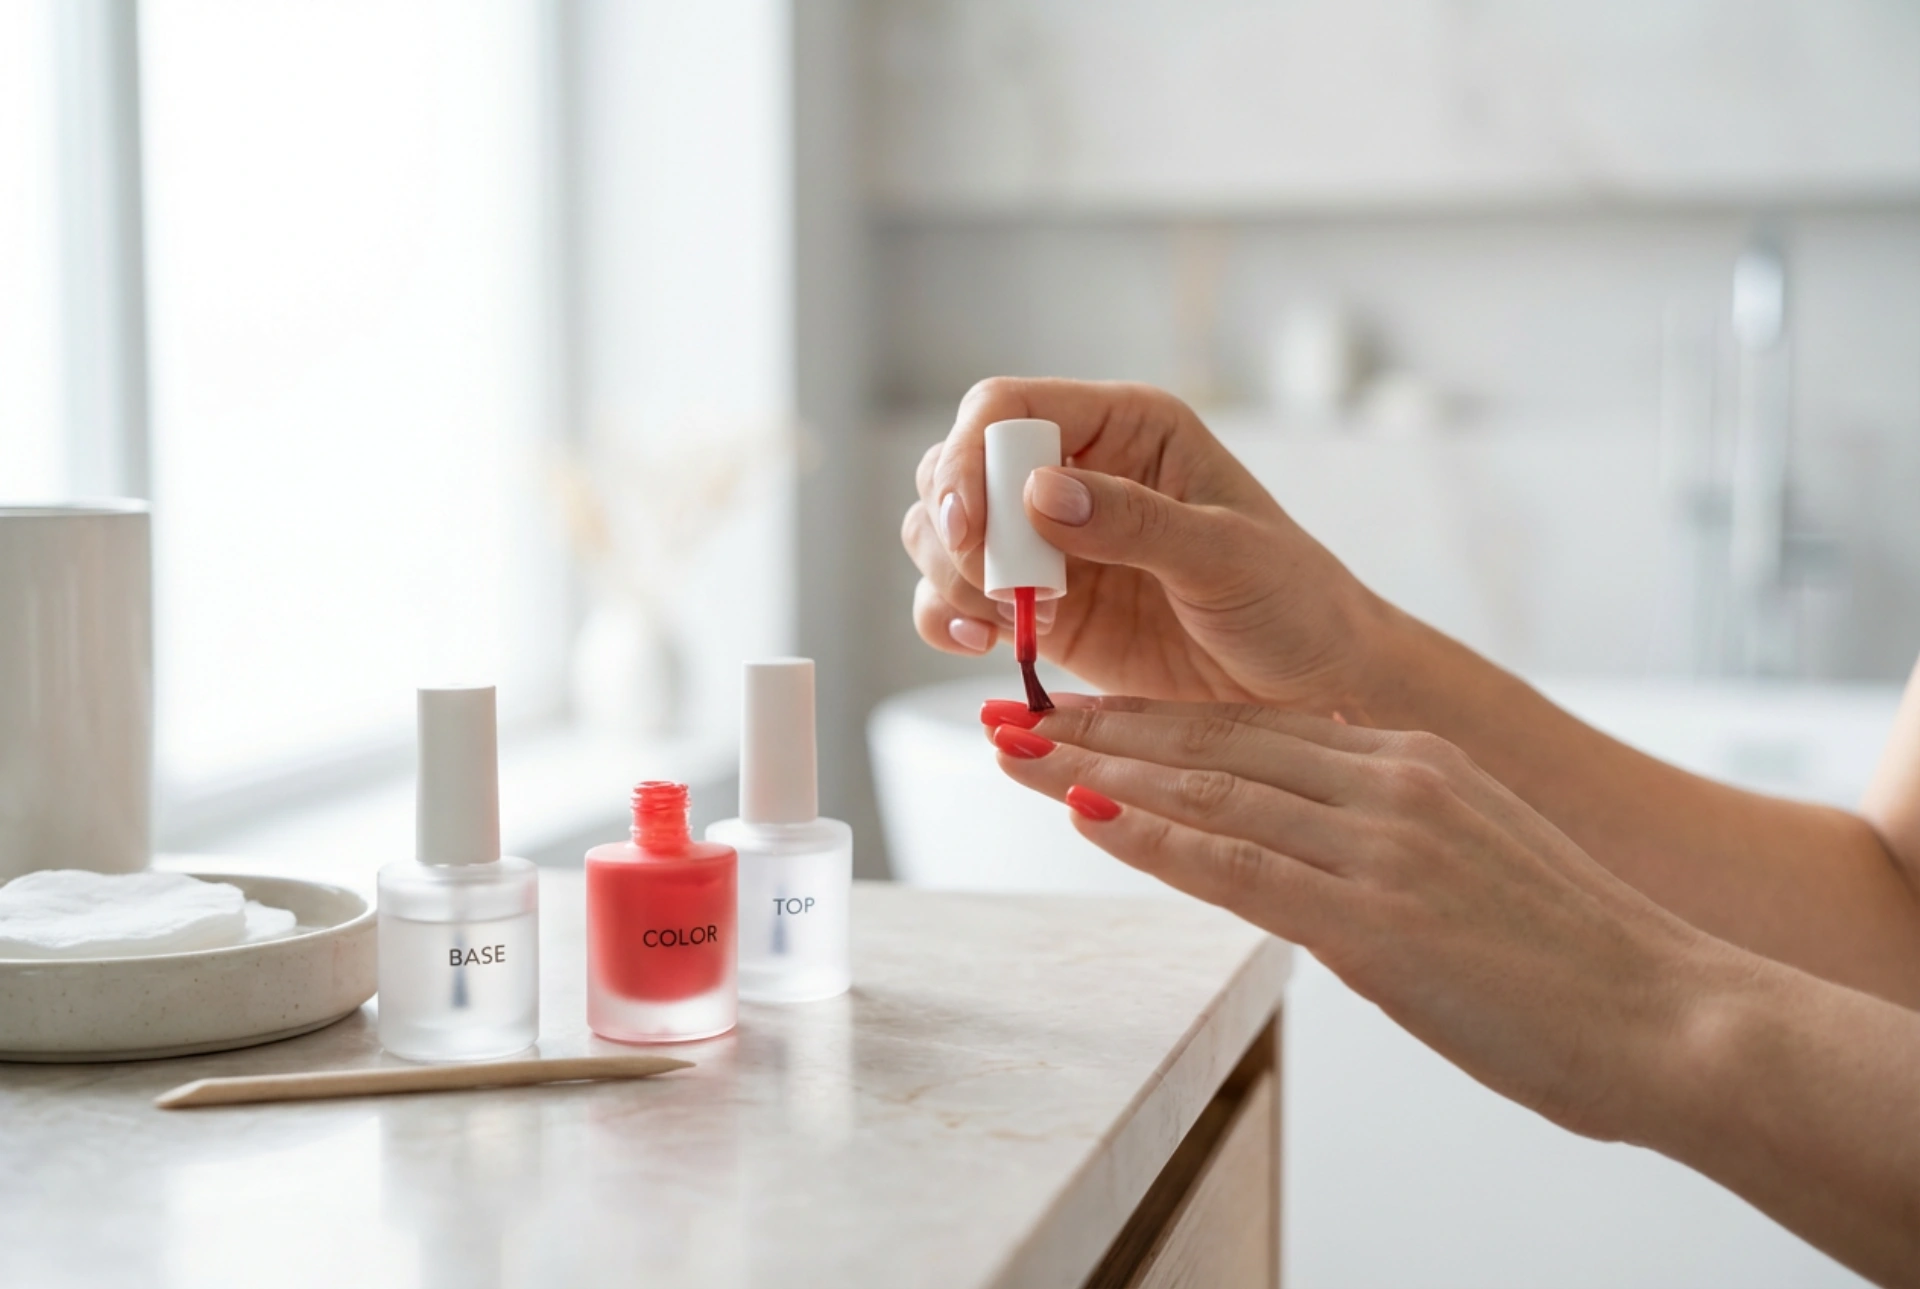
Step 3: Building Colour with Thin Layers
Now for the creative part: applying the colour. The secret to a smooth, even finish is to apply the polish in very thin layers. Applying a thick coat can lead to improper curing, resulting in a wrinkled or bubbly surface that peels off easily. Start by applying your first thin coat of coloured hybrid polish. Just like with the base, avoid touching the skin or cuticles. If you do get any polish on your skin, clean it up with a small brush dipped in nail cleaner before curing. A precise application prevents the product from lifting later on. Cure this first layer under the lamp for the recommended time. The colour will likely look sheer and possibly streaky, which is completely normal. Repeat the process with a second thin coat of colour. This will deepen the shade and provide full opacity. Some very light or pastel colours might even require a third thin coat for perfect coverage. Remember to cure each layer separately for the full recommended time.
Step 4: Sealing with a Protective Top Coat
The final step in the application process is the top coat. This layer is what gives the hybrid manicure its signature high-gloss shine and provides a durable, protective shield against scratches and chipping. It seals in the colour and ensures your manicure looks fresh for weeks. Apply a slightly more generous layer of top coat than you did with the colour, making sure to cover the entire nail and cap the free edge once more. A smooth, even application is key to achieving that glass-like finish. Be just as careful to avoid the cuticles. Once applied, cure the top coat under the lamp for the time specified by the manufacturer, which is often slightly longer than the colour coats to ensure it is fully hardened. Some top coats are 'no-wipe', meaning they are perfectly smooth and non-sticky after curing. Others will have a sticky inhibition layer, which you will need to remove. To do this, simply take a lint-free wipe saturated with a special cleaner and wipe down each nail to reveal the brilliant shine underneath.
Post-Manicure Care
Once your manicure is complete and any sticky layer is removed, it's a great idea to rehydrate the skin around your nails. Apply a nourishing cuticle oil to the cuticles and surrounding skin and massage it in gently. This not only makes your manicure look professionally finished but also helps to keep your cuticles healthy. To maintain your manicure for as long as possible, avoid using your nails as tools and wear gloves when doing household chores or washing dishes for extended periods.


