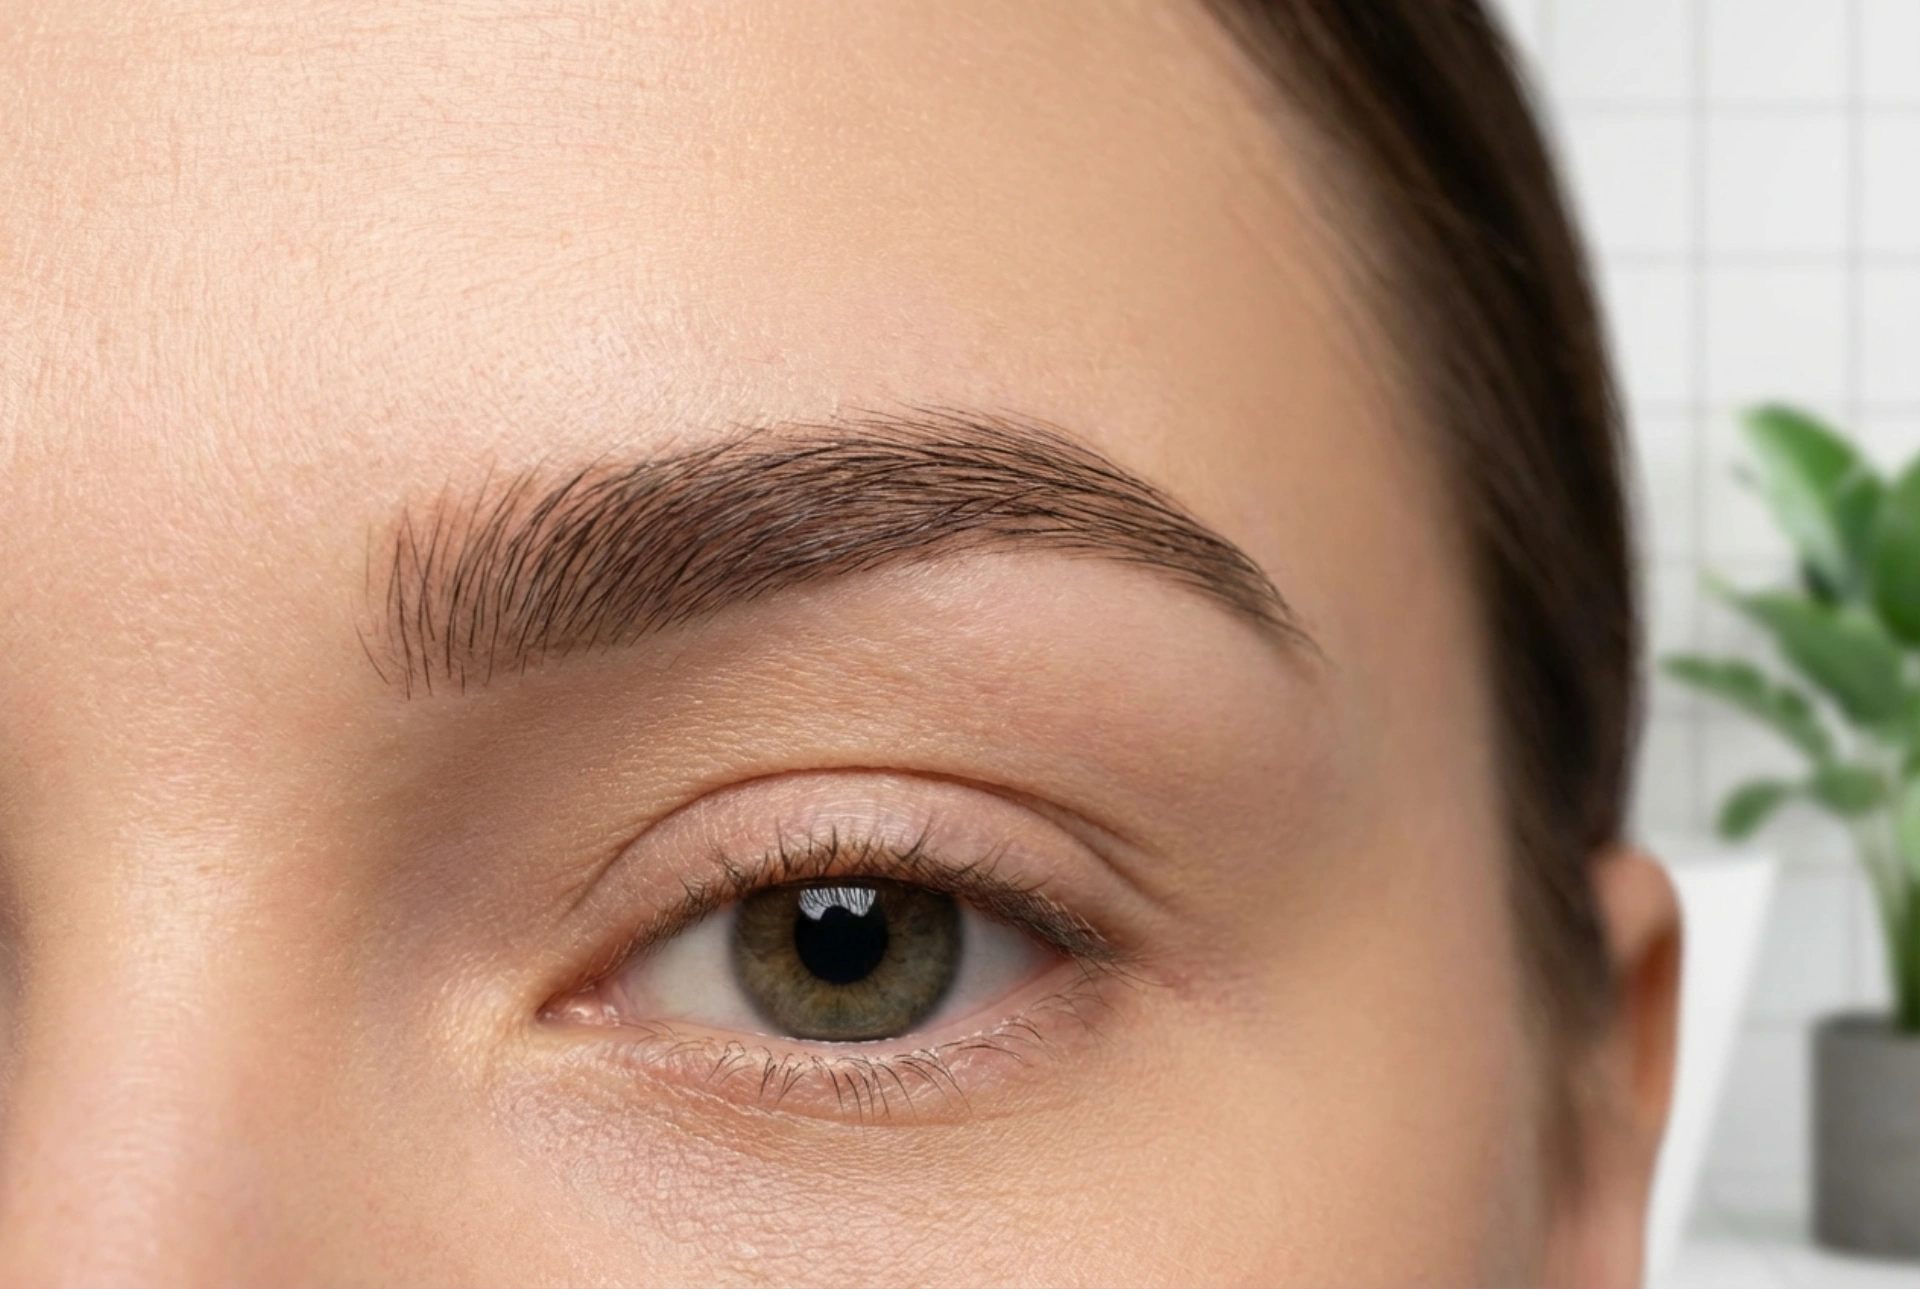


Well-groomed eyebrows frame the face, balance your features, and can complete your entire look. Achieving that perfectly defined yet natural brow, like the one seen in meticulous beauty shots, is a skill that can be mastered with the right techniques and a little practice. This guide will walk you through the essential steps, from finding your ideal shape to setting your work for a look that lasts all day. Whether you prefer a soft and subtle enhancement or a more structured, bold statement, these principles will help you style your brows with confidence.
Step 1: Mapping and Shaping Your Ideal Brow
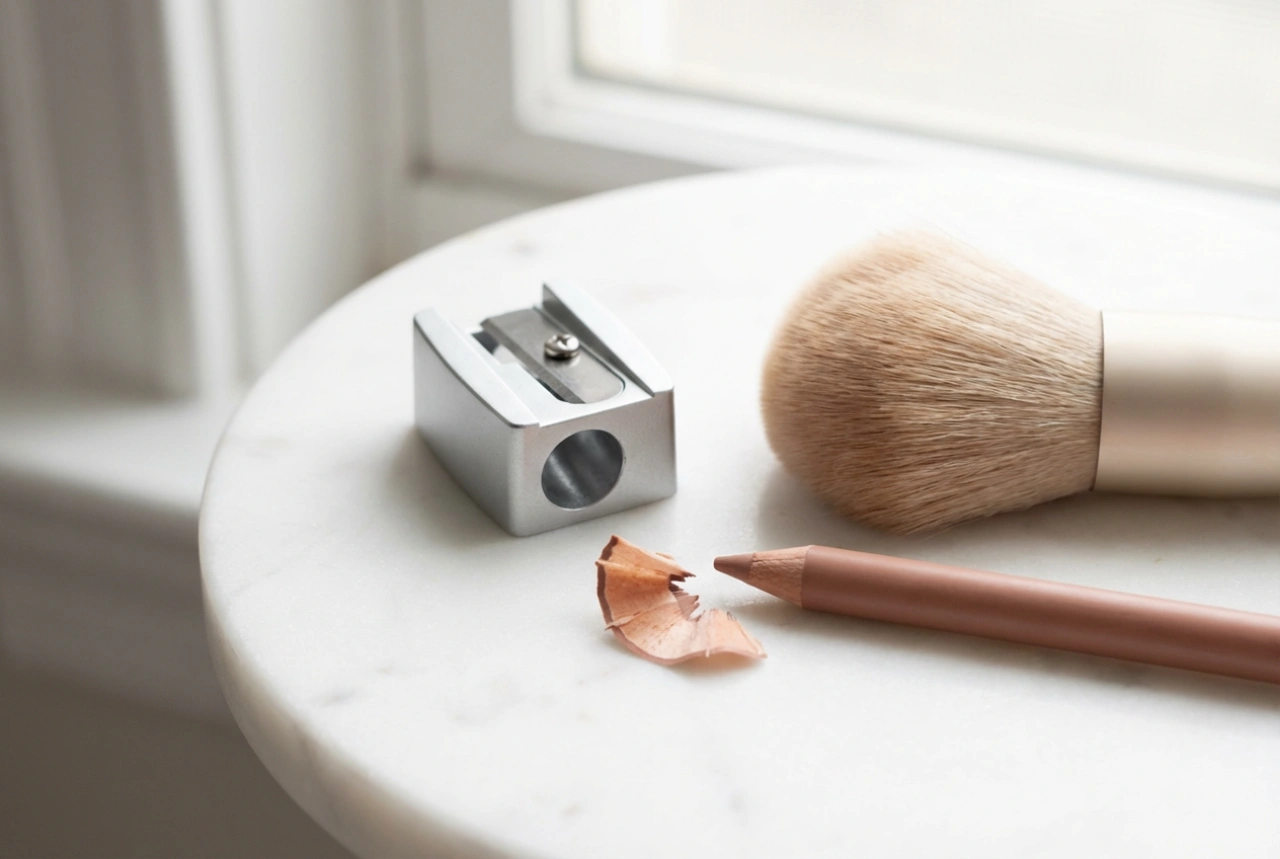
Before you pick up any product, the first step is to determine the correct shape for your eyebrows based on your unique facial structure. This ensures a flattering and balanced result. You can use a thin makeup brush or a pencil to find three key points.
How to Map Your Brows:
- The Start: Hold the brush vertically from the side of your nostril straight up to your brow. This is where your eyebrow should begin. Mark this point lightly with a brow pencil.
- The Arch: Look straight ahead. Angle the brush from the side of your nostril through the centre of your iris. Where the brush intersects your brow bone is the ideal location for your arch, the highest point of your brow. Mark it.
- The End: Angle the brush from the side of your nostril to the outer corner of your eye. Where the brush meets your brow line is where your eyebrow should end. Avoid extending the tail too far down, as this can make the eyes look droopy.
Once you have your three points mapped, you can gently tweeze any stray hairs that fall outside this desired shape. Remember to only remove hairs from below the brow line to maintain a clean and lifted look. Trim any overly long hairs with a small pair of cosmetic scissors, brushing them upwards first with a spoolie.
Step 2: Filling in for Definition and Fullness
Filling in your brows adds colour, defines the shape, and makes them appear fuller. The key is to choose the right product and shade for your desired effect. A good rule of thumb is to select a colour one to two shades lighter than your natural hair colour for the most natural appearance.
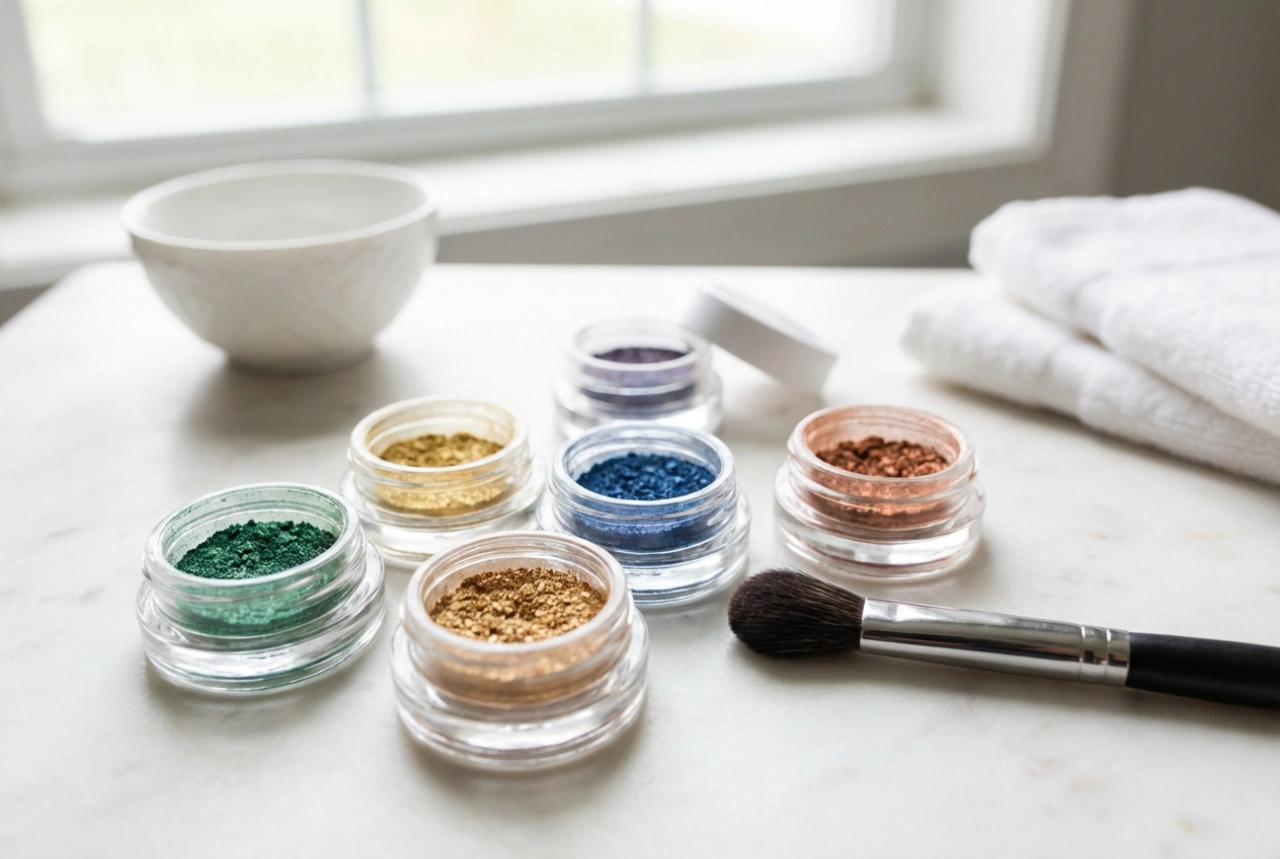
Choosing Your Product:
- Brow Pencil: Ideal for precision and creating hair-like strokes. Use a light hand to sketch in hairs, concentrating on sparse areas. Choose a pencil with a fine tip for the most realistic effect.
- Brow Powder: Offers a softer, more diffused finish. Apply it with a stiff, angled brush, using short, light strokes to mimic hair growth. Powders are great for adding general fullness.
- Brow Pomade or Cream: Provides a more dramatic, defined, and long-lasting look. A little goes a long way. Use a very fine, angled brush to outline your brow shape and then fill it in with light strokes.
Start by filling in the arch and tail of the brow, which are naturally the darkest parts. Then, use the remaining product on your brush to lightly fill in the front of the brow for a softer, gradient effect. Use a clean spoolie to brush through your brows afterwards to blend the product and soften any harsh lines.
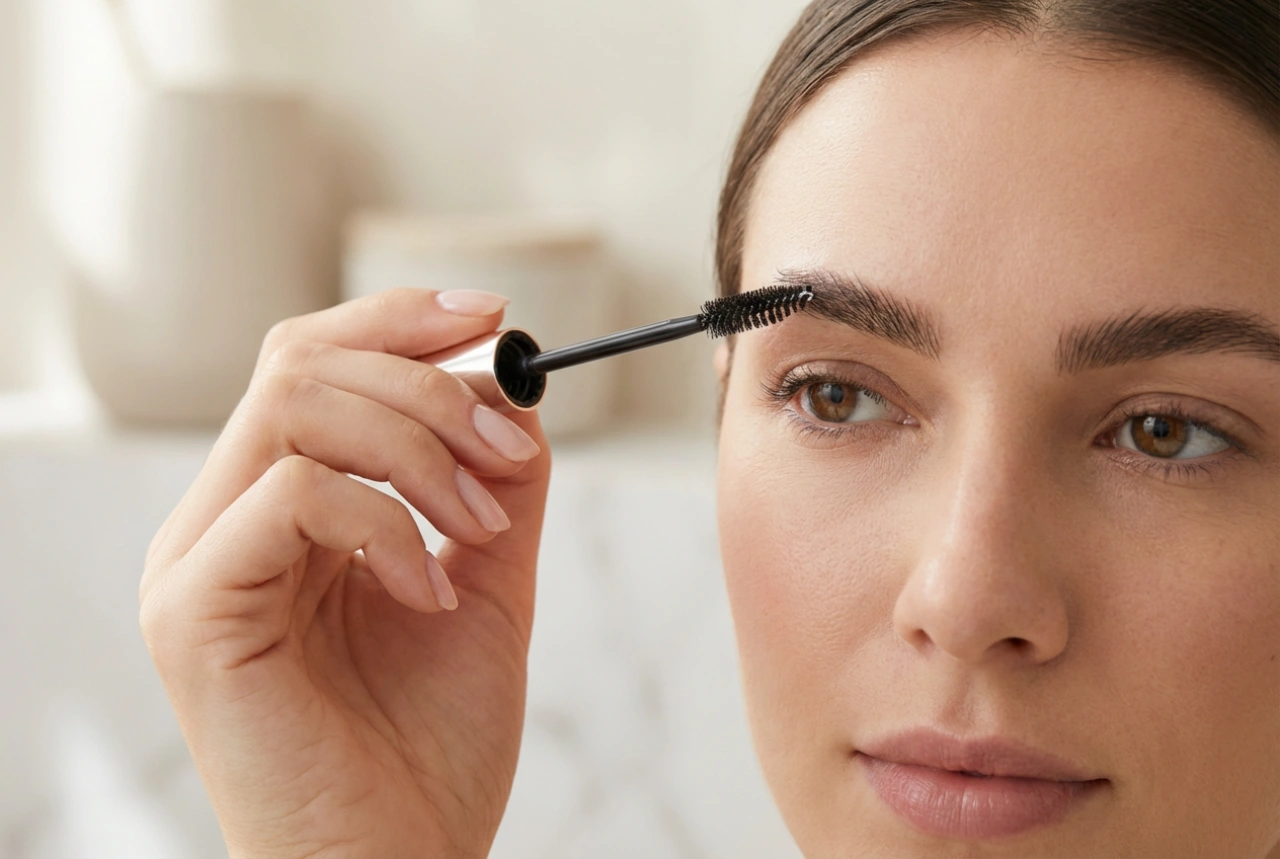
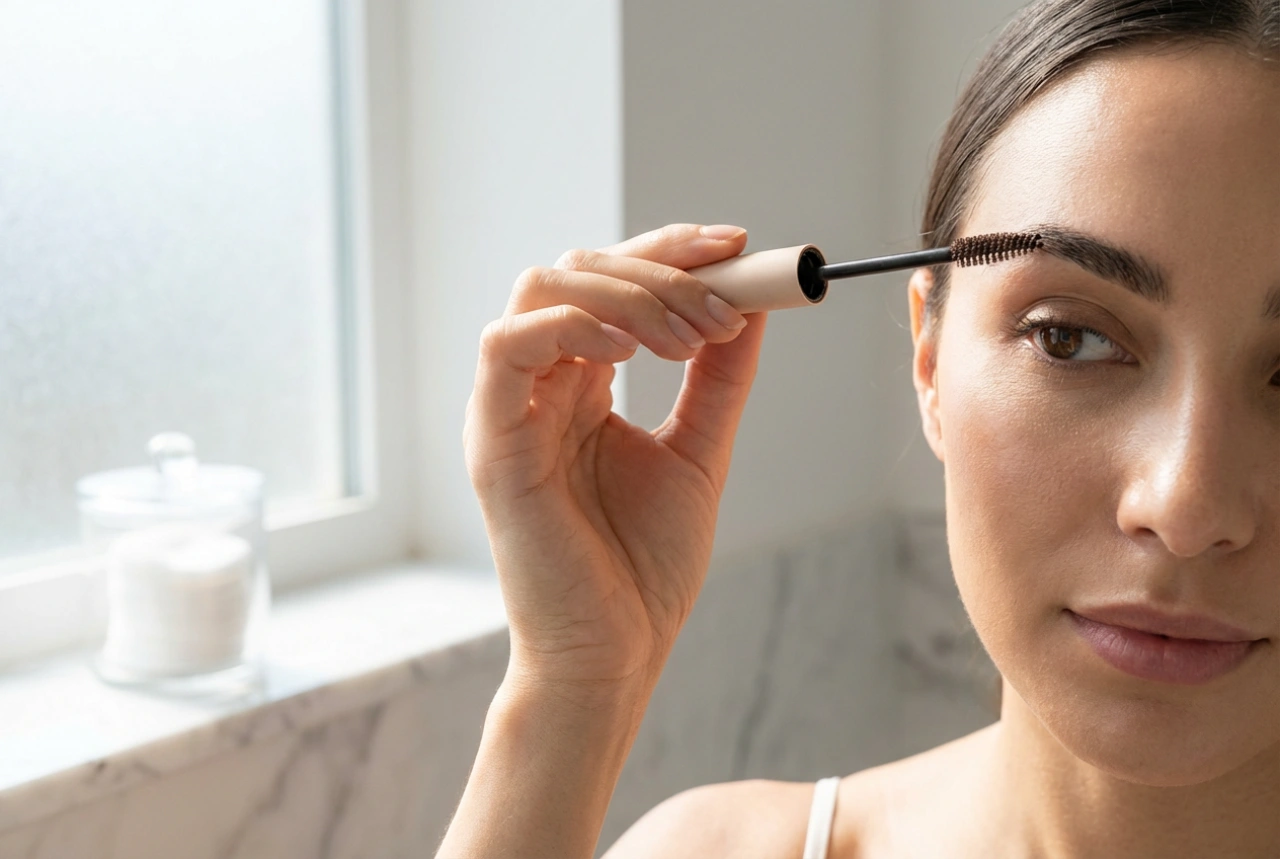
Step 3: Setting Your Brows in Place
The final step is to set your brows to ensure your hard work stays put all day. This step also helps to groom the hairs and give them a polished finish. A brow gel is the perfect tool for this job.
Types of Brow Gel:
- Clear Brow Gel: This is like a hairspray for your brows. It locks the hairs and product in place without adding any colour. It's perfect for a natural, groomed look or for setting a filled-in brow.
- Tinted Brow Gel: This product offers both hold and a hint of colour. It's a fantastic multi-tasker for days when you're in a hurry. It can groom hairs, add volume, and provide a light tint all in one go.
To apply, simply brush the gel through your brows using the applicator wand. Brush the hairs at the front of the brow straight up, and then brush the hairs of the arch and tail upwards and outwards in the direction of hair growth. This will lift the brows and open up the eye area.
Common Pitfalls to Avoid
Achieving perfect brows also means knowing what not to do. Here are a few common mistakes to steer clear of:
- Over-plucking: It's easier to remove hair than to grow it back. Stick to tidying up strays rather than drastically altering your natural shape.
- Using a shade that is too dark: This can result in a harsh, unnatural look. Always opt for a slightly lighter shade.
- Drawing a solid, harsh line: Brows are made of individual hairs. Mimic this texture by using light, feathery strokes instead of drawing a single block of colour.
- Applying too much product at the front: The front of the brow should be softer and more diffused than the tail. A heavy-handed application here looks unnatural.