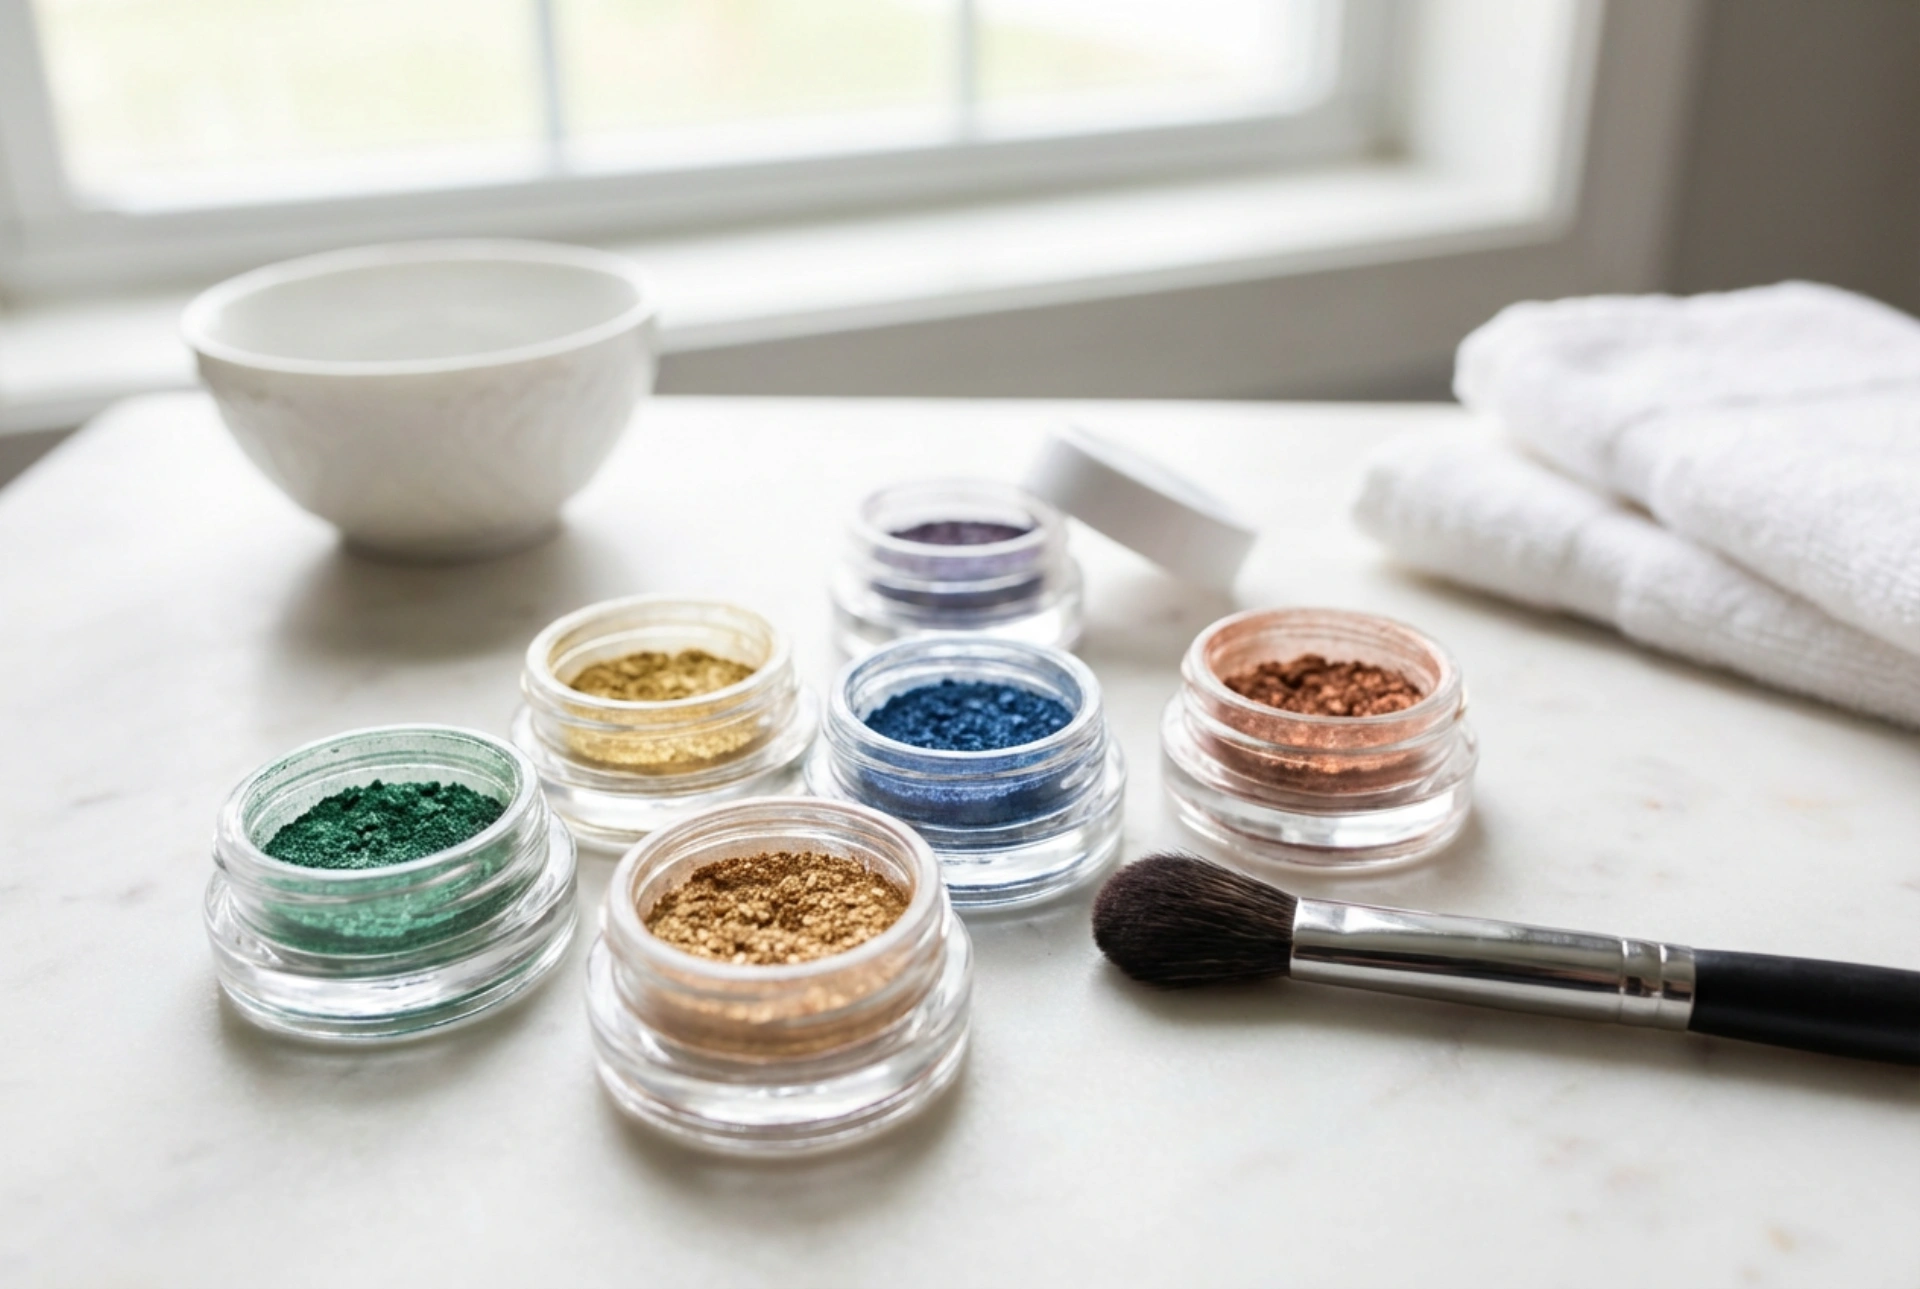


Loose eye pigments are a fantastic way to add a touch of glamour and intensity to your makeup. With their vibrant hues and shimmering textures, they offer endless creative possibilities, from a subtle wash of colour to a bold, dramatic statement. Unlike pressed eyeshadows, pigments provide a concentrated burst of colour that can transform any look. Mastering their application requires a few key techniques, but with a little practice, you can unlock their full potential and elevate your eye makeup skills. This guide will walk you through the process, from preparation to flawless execution.
Preparing Your Eyelids for Pigment Application
The key to a long-lasting and vibrant pigment application is proper preparation. Loose pigments need a tacky base to adhere to, which prevents fallout (when the shimmering particles fall onto your cheeks) and ensures the colour stays true all day. Start with a clean, dry eyelid. Apply a thin layer of an eyeshadow primer or a creamy, light-coloured concealer. A specialised glitter or pigment glue is even better, as it creates a sticky surface designed specifically for loose products. Allow the base to become slightly tacky before you begin applying the pigment. This simple step makes a significant difference in both the intensity and longevity of your eye makeup.
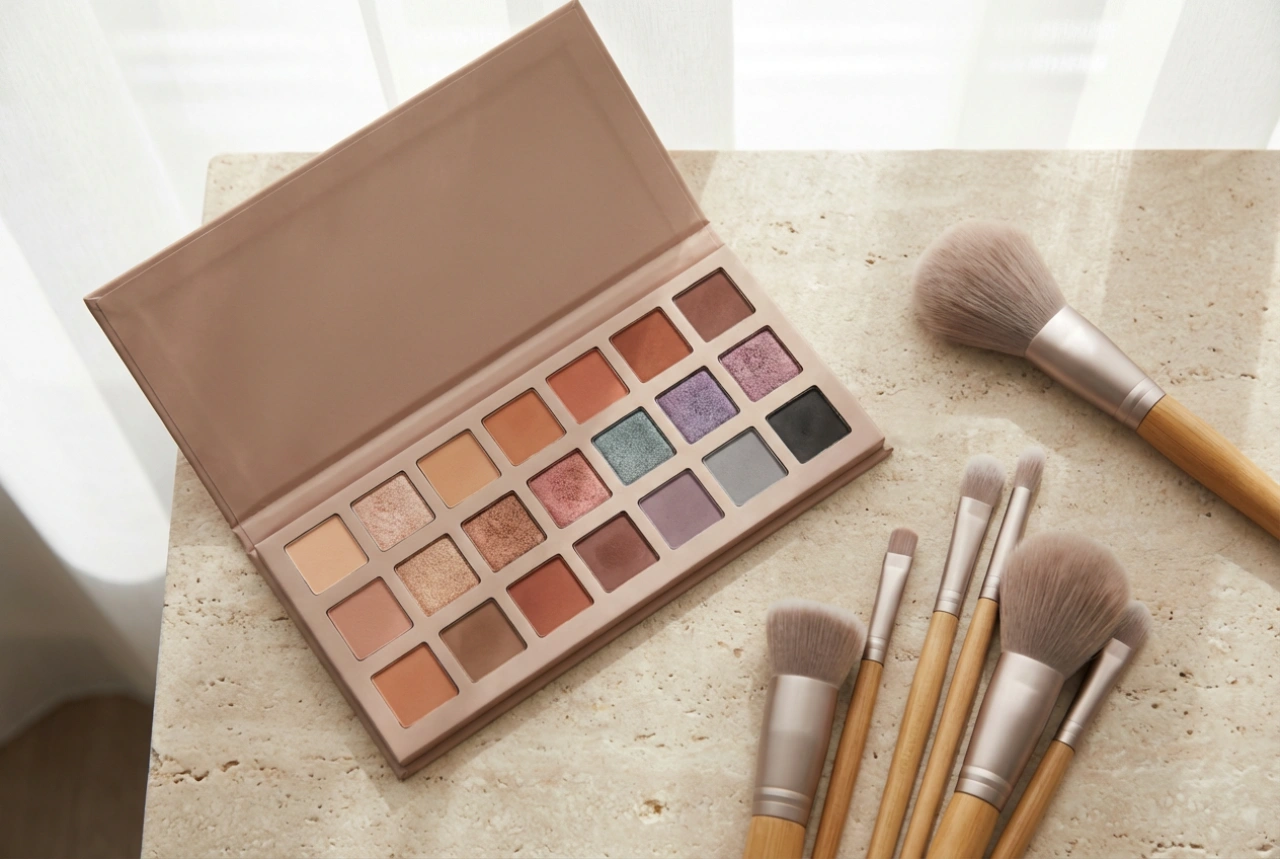
Choosing the Right Tools
The tools you use can greatly influence the final result. For applying loose pigments, you have a few options:
- Flat, dense synthetic brushes: These are ideal for packing on colour, especially when applying the pigment wet. The firm bristles pick up a good amount of product and press it firmly onto the lid for maximum impact.
- Fingertips: The warmth of your finger can help the pigment melt into the skin, creating a beautiful, foiled effect. This method is great for applying a single shimmering shade across the entire lid.
- Small, fluffy blending brushes: Use these for applying pigment dry for a more diffused, sheer effect. They are also essential for softening the edges and blending different colours together seamlessly.
Application Techniques: Dry vs. Wet
How you apply your pigment—dry or wet—will completely change the finish. Experimenting with both methods allows you to create a wide range of looks with a single pot of colour.
Dry Application for a Sheer Shimmer
Applying pigments dry gives a softer, more ethereal look. It’s perfect for a daytime shimmer or for layering over other eyeshadows to add a touch of sparkle. Dip a fluffy brush lightly into the pigment, tap off the excess thoroughly to minimise fallout, and gently sweep it over the desired area of the eyelid. This technique is excellent for highlighting the inner corner of the eye or adding a subtle glow to the brow bone.
Wet Application for an Intense, Foiled Effect
For a bold, metallic, or foiled finish, wet application is the way to go. This method brings out the full intensity and reflective quality of the pigment. Lightly mist your flat brush with a makeup setting spray before dipping it into the pigment. You can also mix a small amount of pigment with a drop of a mixing medium on a palette or the back of your hand to create a liquid-metal consistency. Pat the wet pigment onto the eyelid using your brush or finger. Avoid swiping, as patting motions ensure an even, opaque layer of colour with minimal fallout.
How to Combine Pigment Colours
Combining colours is where your creativity can truly shine. Understanding basic colour theory can help you create harmonious and eye-catching looks. When working with pigments, it's best to apply one colour at a time and blend the edges carefully.
Complementary and Analogous Colours
To make your eye colour pop, choose a pigment in a complementary shade. For example, bronze and copper pigments beautifully enhance blue eyes, while purples and plums make green eyes appear more vibrant. For a more subtle and blended look, use analogous colours—shades that sit next to each other on the colour wheel. For instance, you could blend a gold pigment into an orange or a deep green into a teal. Start with the lightest shade on the inner part of the lid and gradually transition to the darkest shade on the outer corner, blending where they meet.
Creating a Gradient Effect
A beautiful gradient can be achieved by using two or three pigments from the same colour family. Apply the lightest shade to the inner third of your lid, a medium shade to the centre, and the darkest shade to the outer corner. Use a clean blending brush to gently diffuse the lines where the colours meet, creating a smooth transition. This technique adds depth and dimension to the eyes, making them appear larger and more defined.