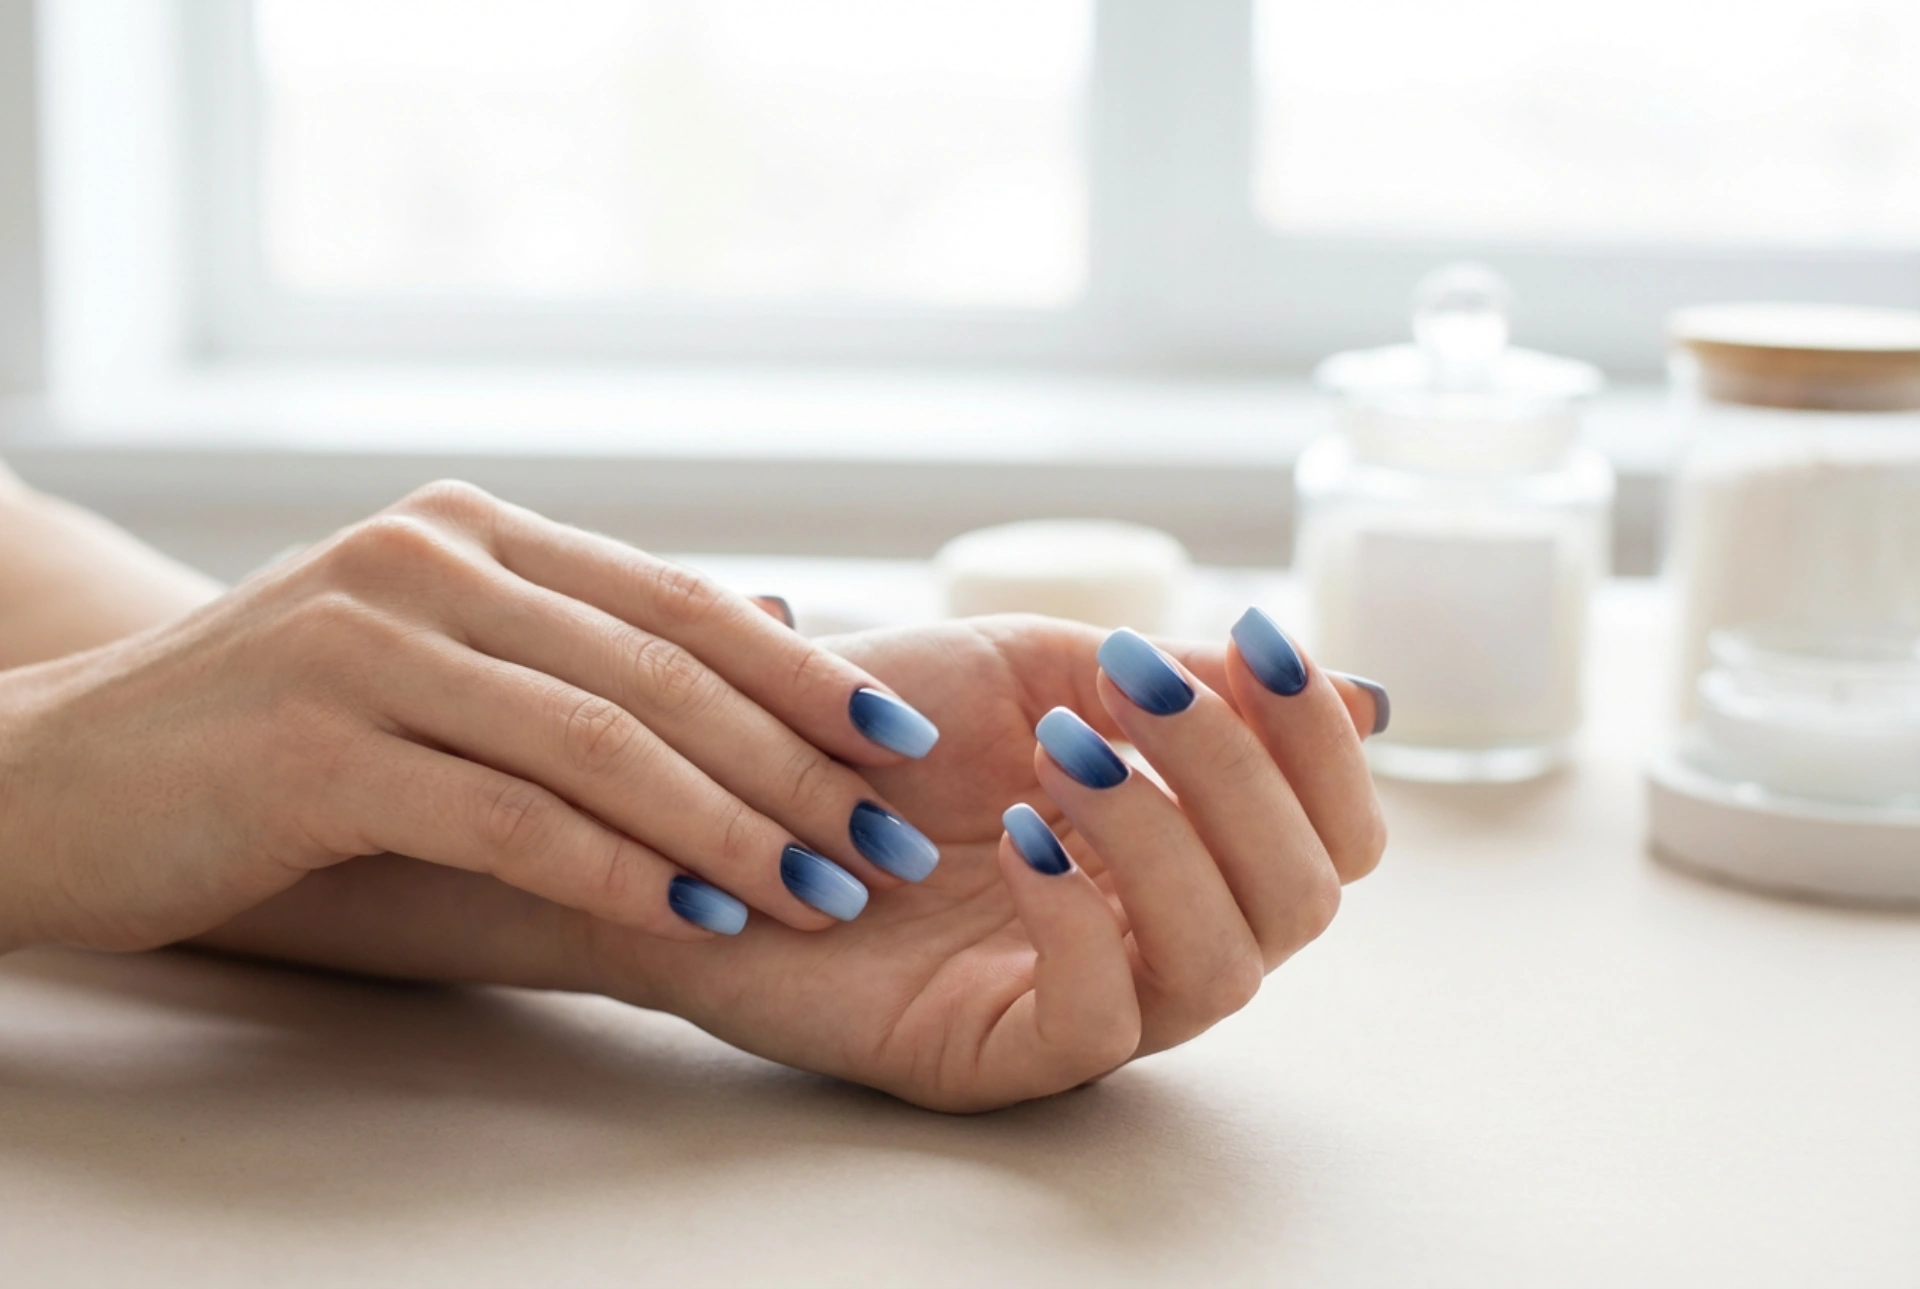


The gradient effect, or ombre, is a timeless trend in nail art that offers a visually stunning look. A blue ombre, transitioning from a delicate pastel to a deep, rich navy, evokes everything from serene skies to mysterious ocean depths. This sophisticated manicure can be achieved at home with just a few simple tools and a bit of patience. This guide will walk you through the process, helping you create a seamless and professional-looking blue gradient on your nails.
Preparing Your Nails for the Ombre Effect
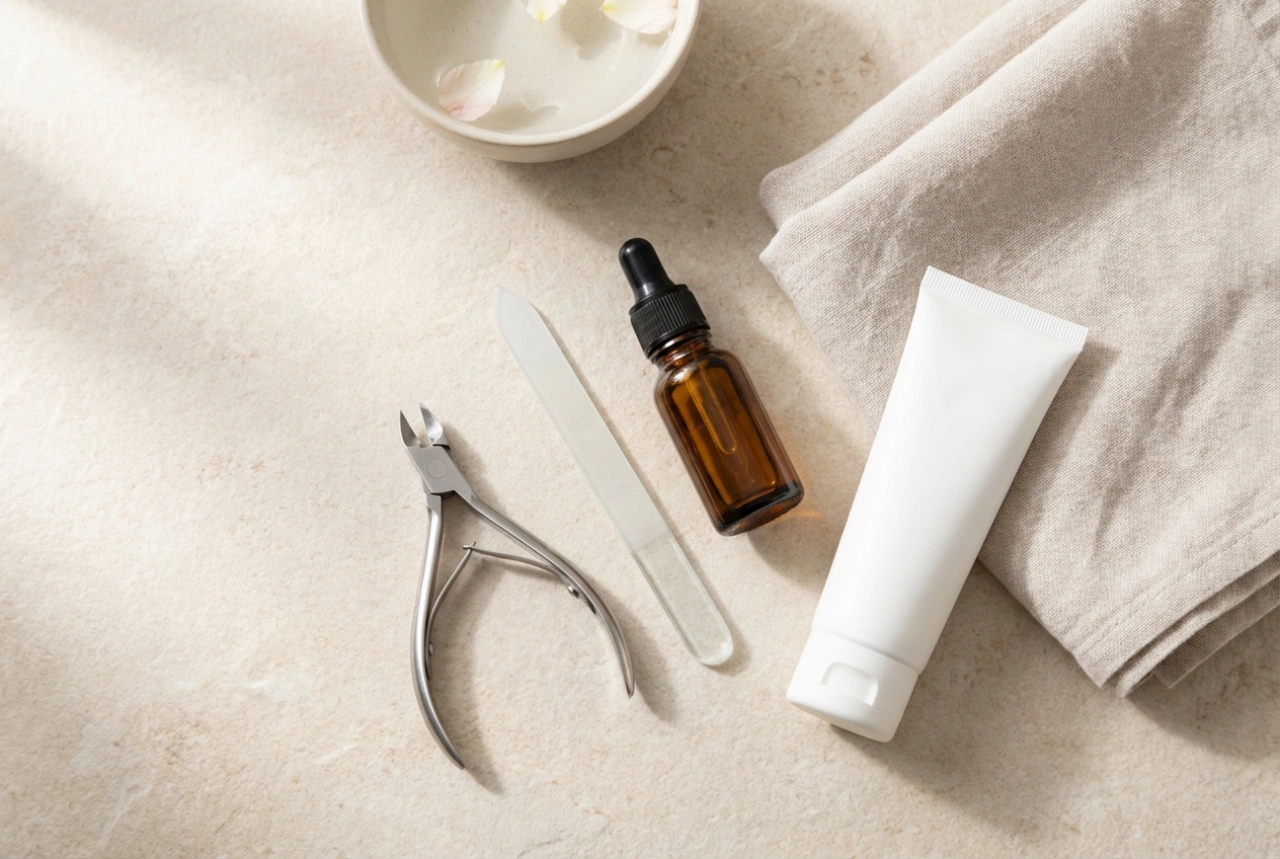
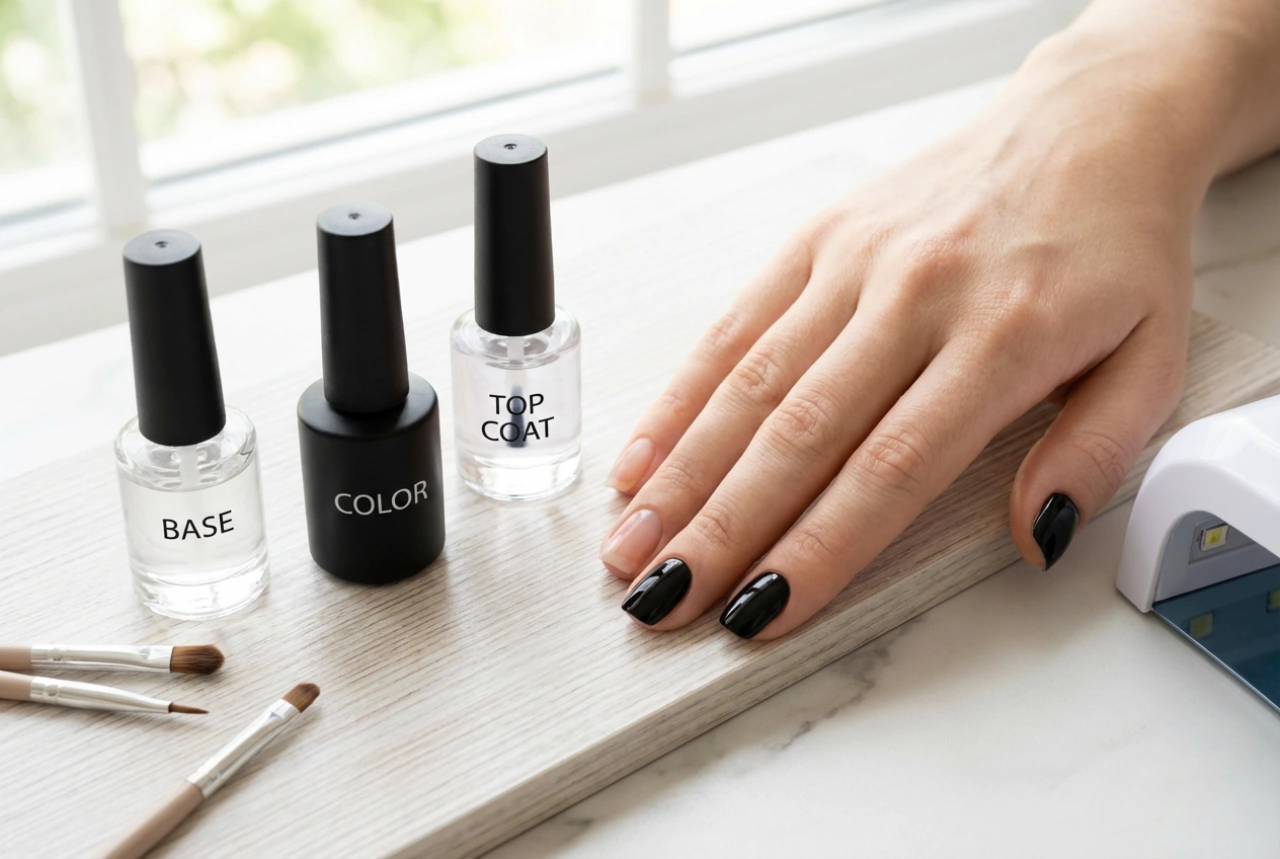
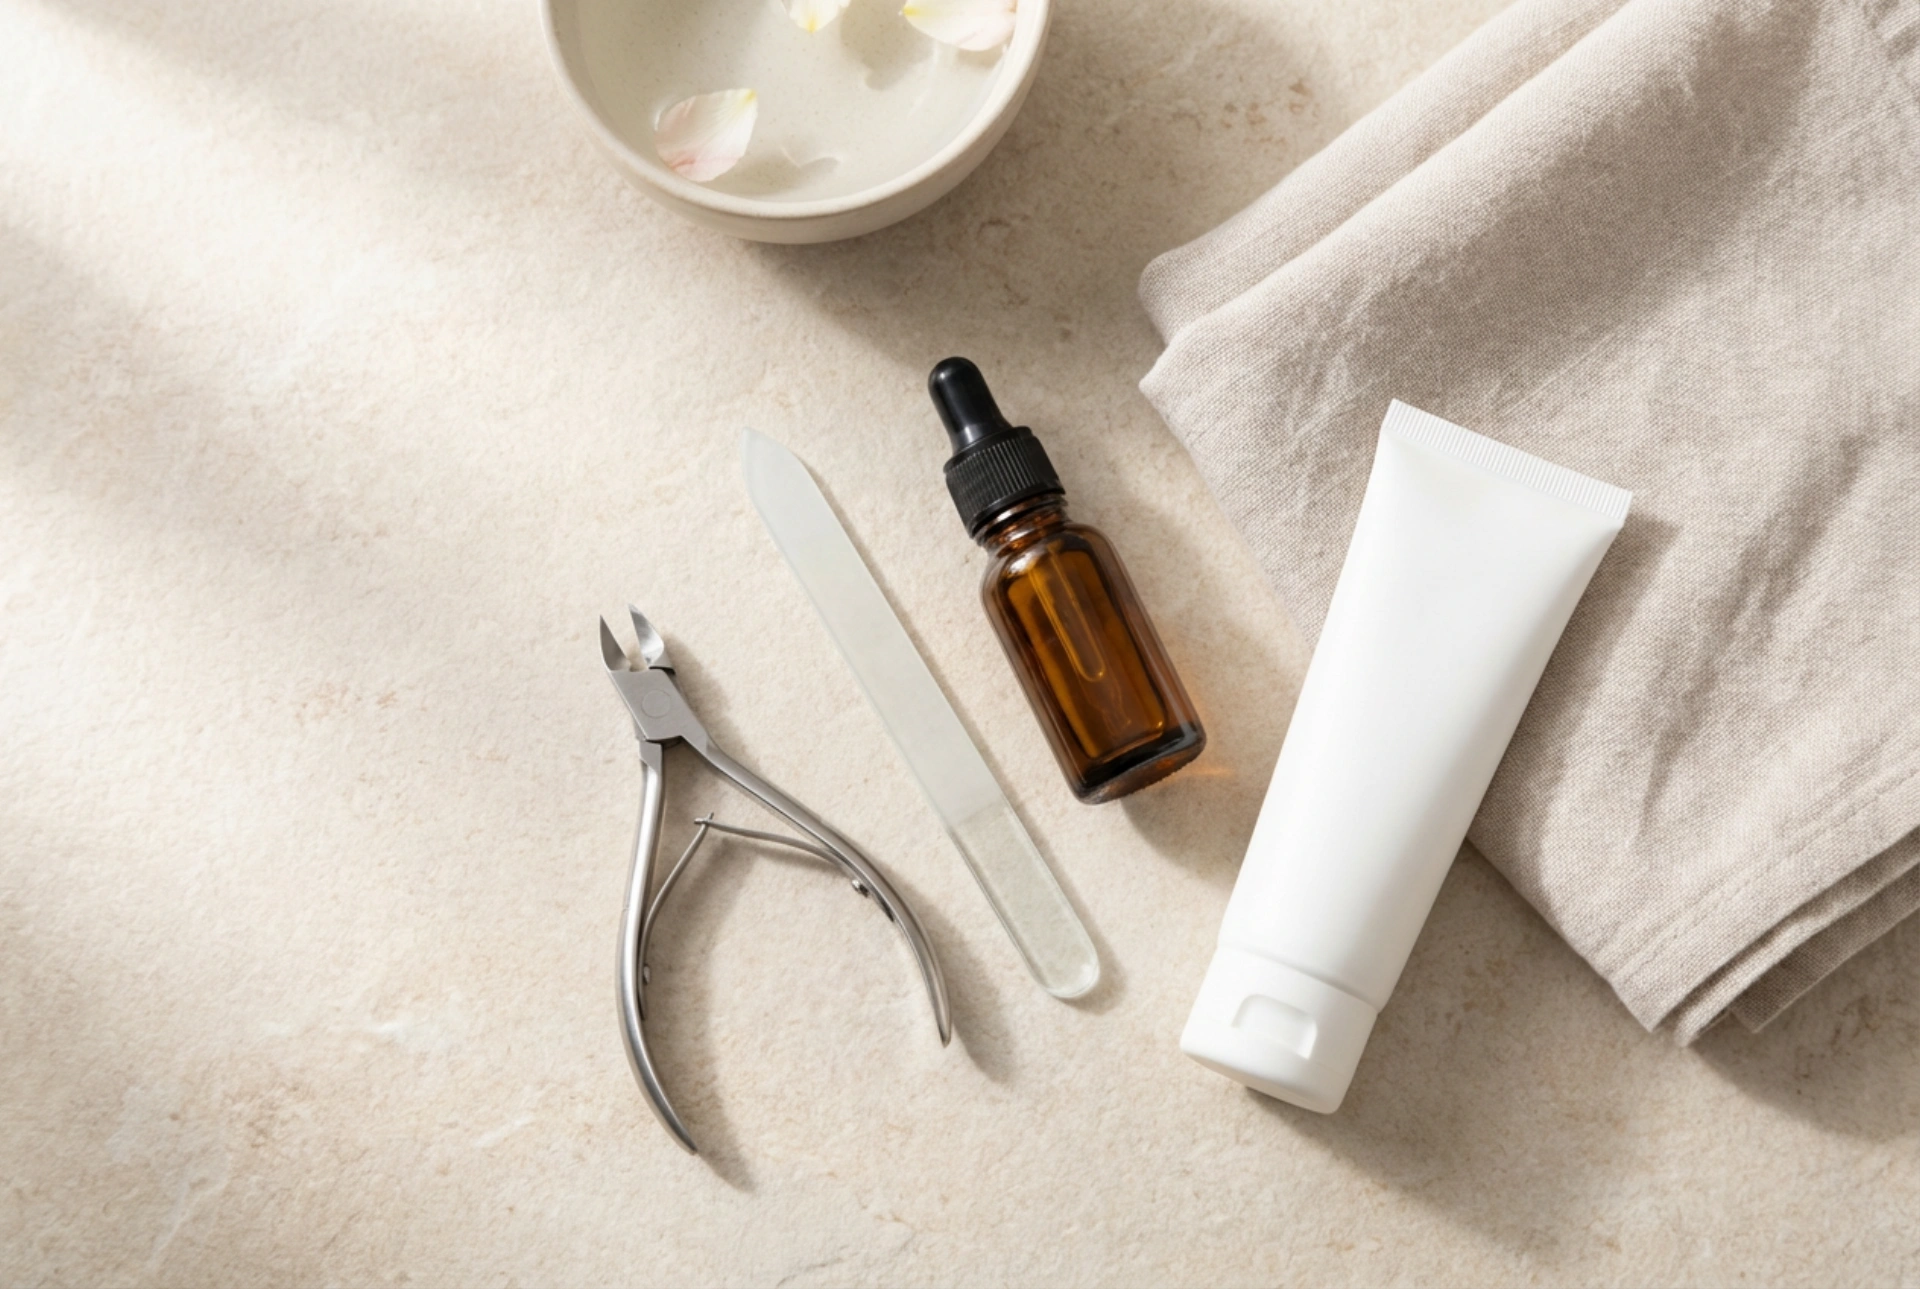
Proper preparation is the key to a long-lasting and flawless manicure. Before you begin with the colours, it’s essential to create a clean and smooth canvas. Start by removing any old nail polish completely. Next, shape your nails to your desired length and form using a nail file. Gently push back your cuticles, but avoid cutting them to prevent any irritation. Finally, buff the surface of your nails lightly to remove any natural oils and create a slightly textured surface for the polish to adhere to. The last step in preparation is applying a clear base coat. This not only protects your natural nails from staining but also helps the polish last longer.
Choosing Your Blues and Tools
The beauty of a blue ombre lies in the harmonious blend of shades. For a classic look, select at least two or three complementary blue nail polishes. A great combination includes a light pastel blue, a vibrant mid-tone blue, and a deep navy. This range will create a beautiful, noticeable gradient. Besides the polishes, you will need a few essential tools:
- A cosmetic makeup sponge (a small, dense one works best).
- A clear top coat for sealing the design.
- Nail polish remover and a small brush or cotton bud for cleaning up.
- Optional: liquid latex or tape to protect the skin around your nails.
Step-by-Step Guide to Creating the Blue Gradient
With your nails prepped and your tools ready, you can now start creating the ombre effect. Work on one nail at a time for the best results, as the polish on the sponge can dry quickly.
Step 1: Apply the Base Colour
Start by applying two coats of your lightest shade of blue—the pastel—to all of your nails. This will serve as the base for your gradient and ensure the lighter part of the ombre is vibrant and opaque. Allow this base colour to dry completely before moving on to the next step.
Step 2: Prepare the Sponge
Take your cosmetic sponge and paint horizontal stripes of your chosen blue polishes directly onto it. Start with the lightest colour at the top, followed by the mid-tone, and then the darkest navy at the bottom. Make sure the stripes are next to each other and slightly overlap to encourage blending. The painted section on the sponge should be wide enough to cover your entire nail.
Step 3: Dab the Gradient onto the Nail
Gently press and dab the polish-coated sponge onto your nail. You may need to rock it slightly from side to side to cover the entire nail surface. Don't press too hard, as this can absorb too much polish. The dabbing motion is what creates the blended, airbrushed look. The first layer may look sheer, so wait a minute and repeat the process, reapplying polish to the sponge if needed, until you are happy with the opacity and blend of the colours.
Step 4: Clean Up and Seal
The sponging technique is effective but messy. Once the polish on your nail is semi-dry, it's time to clean up. If you used a protective barrier like liquid latex, you can simply peel it off. Otherwise, dip a small brush or a cotton bud into nail polish remover and carefully clean the excess polish from the skin and cuticles around your nail. Once everything is clean and the design is fully dry, apply a generous layer of a glossy top coat. This will smooth out any texture from the sponge, enhance the colours, and seal your beautiful blue ombre design.
Tips for a Flawless Finish
To perfect your technique, keep a few extra tips in mind. Before applying the polish, you can slightly dampen the sponge with water and squeeze it out. This prevents the sponge from absorbing too much polish. For a smoother blend, dab lightly and build up the colour in thin layers. Reapplying polish to the sponge for each nail ensures the gradient remains fresh and easy to transfer. With a little practice, you'll be creating stunning blue ombre nails that look like they were done in a professional salon.