


Cluster false eyelashes offer a wonderfully customisable way to enhance your eyes, providing a more natural and less heavy alternative to traditional strip lashes. The key to a truly stunning result lies in the details: selecting the appropriate lengths and strategically planning their placement through a technique known as eye mapping. This methodical approach allows you to create a look that is perfectly tailored to your eye shape and desired style, moving from a simple enhancement to a beautifully crafted feature. With a little practice, you can achieve a seamless and professional finish right at home.
Choosing the Right Lash Lengths
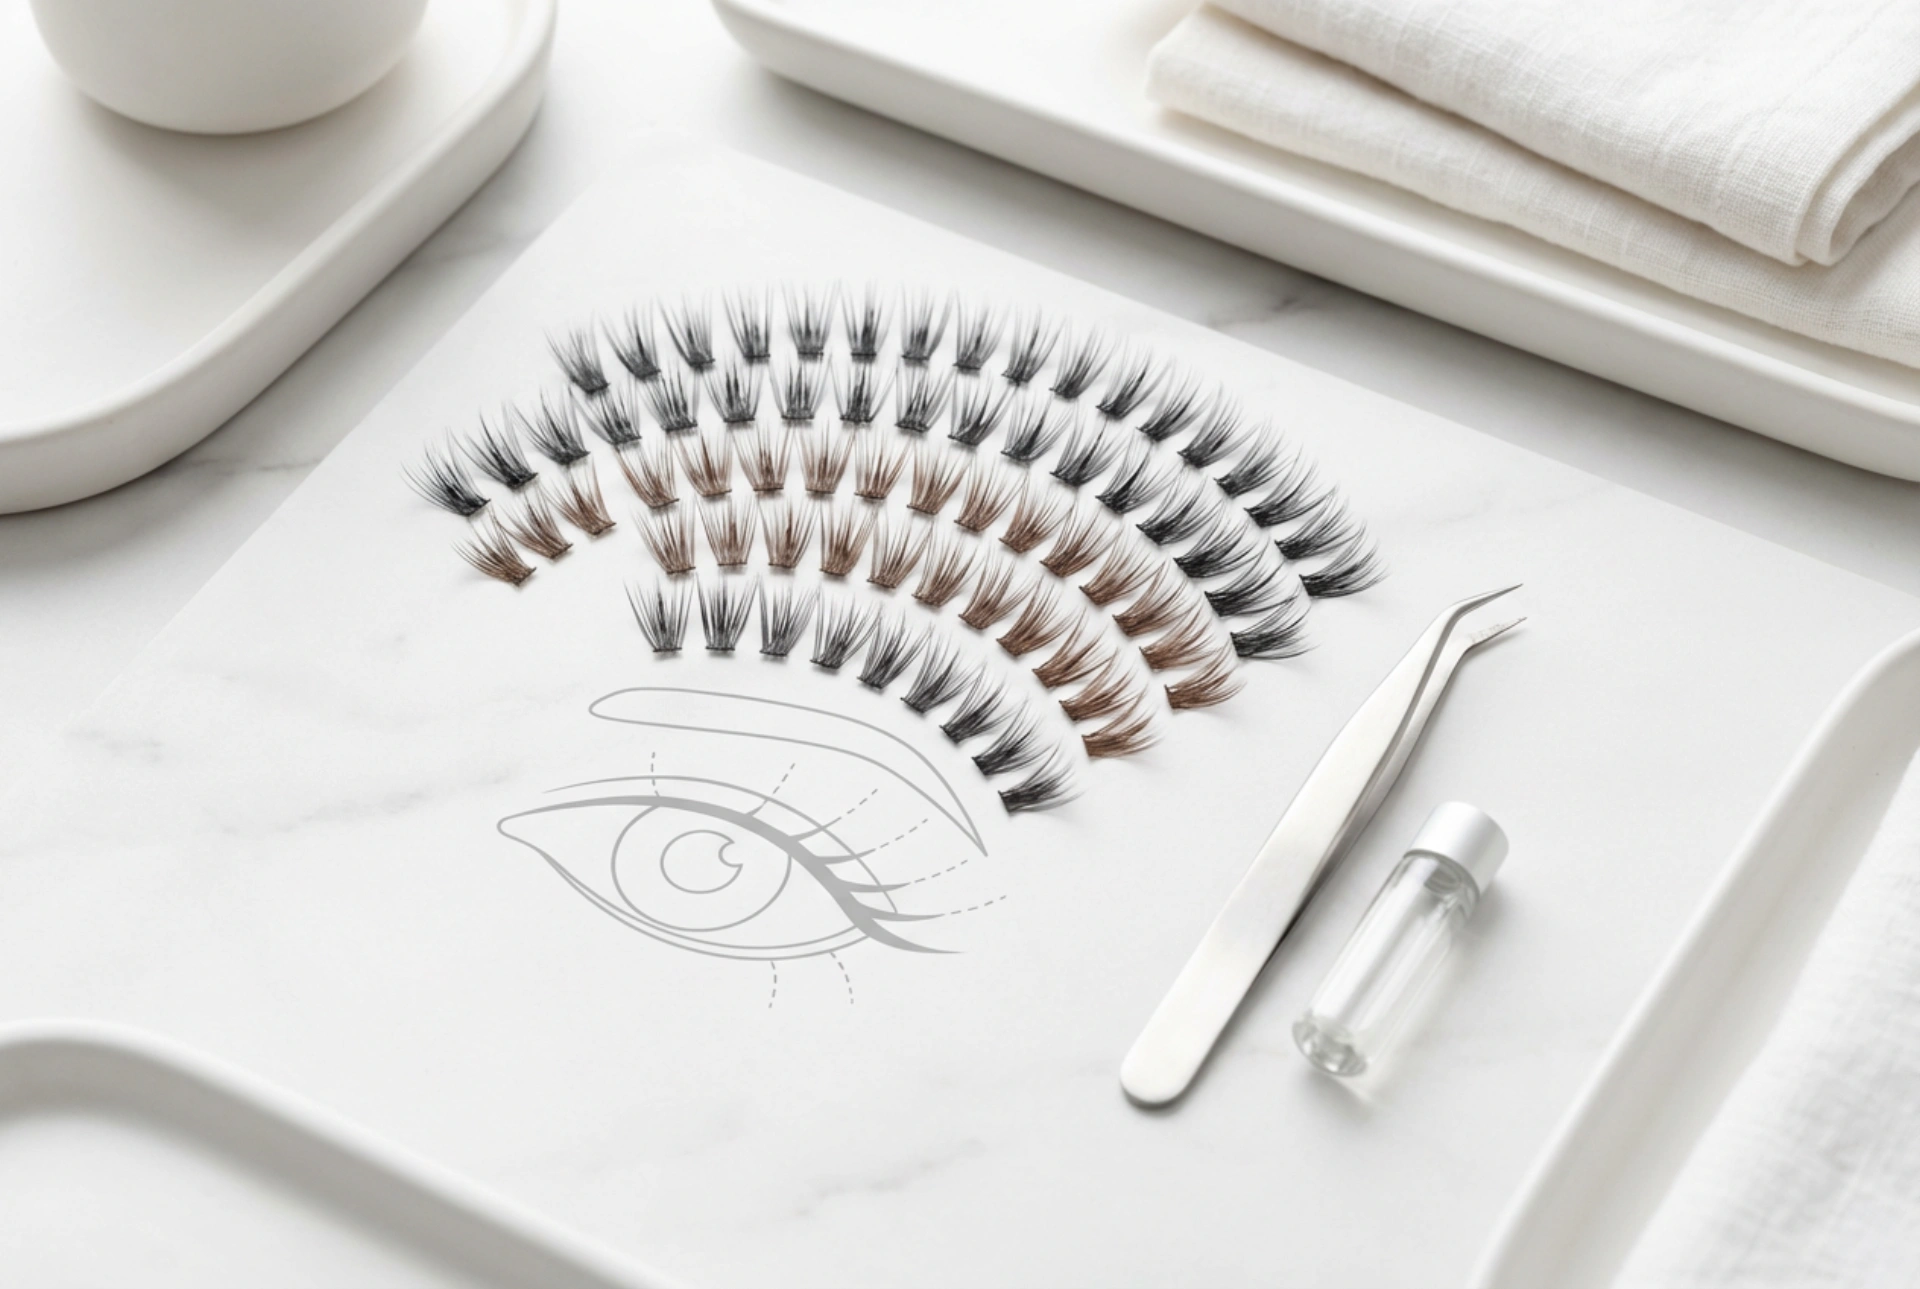
The beauty of cluster lashes is the ability to mix and match different lengths to create a multi-dimensional look. Most cluster lash sets come with a variety of lengths, typically categorised as short, medium, and long. A standard set might include lengths from 8mm up to 14mm or 16mm. Understanding how to use these variations is the first step towards mastering your application.
- Short Lengths (e.g., 8mm - 10mm): These are essential for the inner corner of the eye, where natural lashes are finest and shortest. Using short clusters here ensures a smooth, natural transition and prevents the inner eye from looking heavy or closed off. They are also great for filling in any sparse gaps along the entire lash line.
- Medium Lengths (e.g., 10mm - 12mm): These are the workhorses of your lash set. They make up the bulk of the lash line for most natural looks and act as a bridge between the short inner corner lashes and the longer outer corner lashes.
- Long Lengths (e.g., 12mm - 16mm): Reserved for creating drama and lift. These are typically placed on the outer third of the lash line to elongate the eye or in the centre to create a wide-eyed, 'doll' effect. When choosing your longest length, consider your natural lash length and your eye size to ensure the final look remains balanced.
What is Eye Mapping and Why Is It Important?
Eye mapping is the process of planning out where each lash cluster will be placed along your lash line before you begin applying them. Think of it as creating a blueprint for your desired lash style. By dividing your lash line into zones and assigning specific lengths to each one, you can ensure symmetry between both eyes and achieve a specific, intentional effect. This technique is what separates a random application from a polished, professional-looking one. It helps you control the final shape, whether you want to elongate, lift, or open up your eyes, and prevents the common pitfall of having mismatched or unbalanced lashes.
How to Create Your Lash Map
Mapping your eyes is simpler than it sounds. You just need to analyse your eye shape and decide on the look you want to achieve. Start with clean, dry lashes and eyelids. You can use a light-coloured, eye-safe pencil to make tiny dots on your eyelid above the lash line to mark your sections, or you can simply visualise them.
Step 1: Divide Your Eye into Sections
Look straight into a mirror and imagine your lash line is divided into four or five numbered sections. Section 1 is the inner corner, and the last section is the outer corner.
Step 2: Choose a Style and Assign Lengths
Based on your desired outcome, you can follow one of the popular mapping styles. Here are three common examples:
- The Natural Look: This map follows the natural growth pattern of your lashes, gradually getting longer towards the outside. It's perfect for everyday enhancement. A typical map might look like this (from inner to outer corner): 8mm, 10mm, 12mm, 12mm.
- The Cat-Eye Effect: This style dramatically elongates the eye by placing the longest lashes at the very outer corner, creating a winged effect. The lengths increase sharply towards the end. A classic cat-eye map could be: 8mm, 10mm, 12mm, 14mm.
- The Doll-Eye (or Open-Eye) Effect: This map makes the eyes appear larger, rounder, and more open. It achieves this by placing the longest lashes in the centre of the eye, directly above the pupil. A doll-eye map would look something like this: 10mm, 12mm, 14mm, 12mm, 10mm.
Application Tips for a Seamless Finish
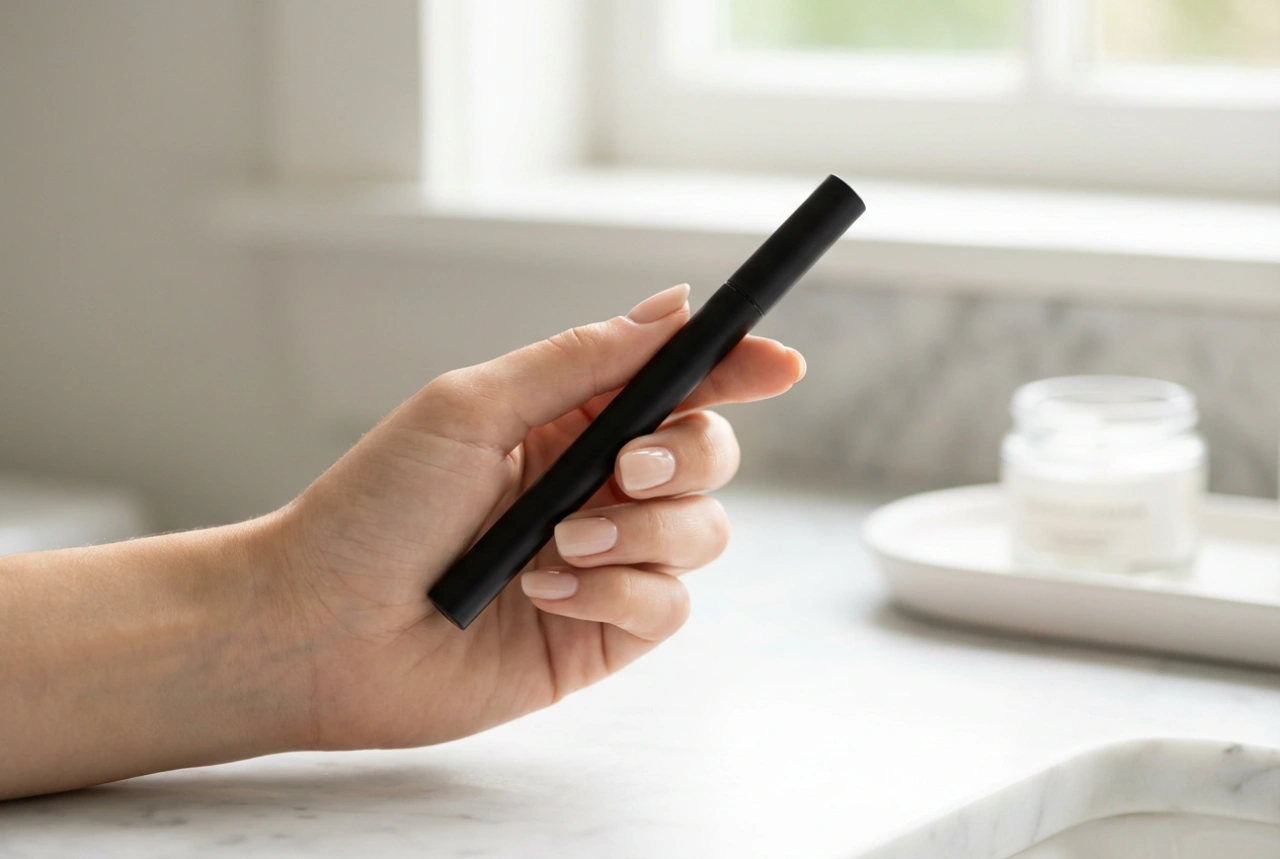
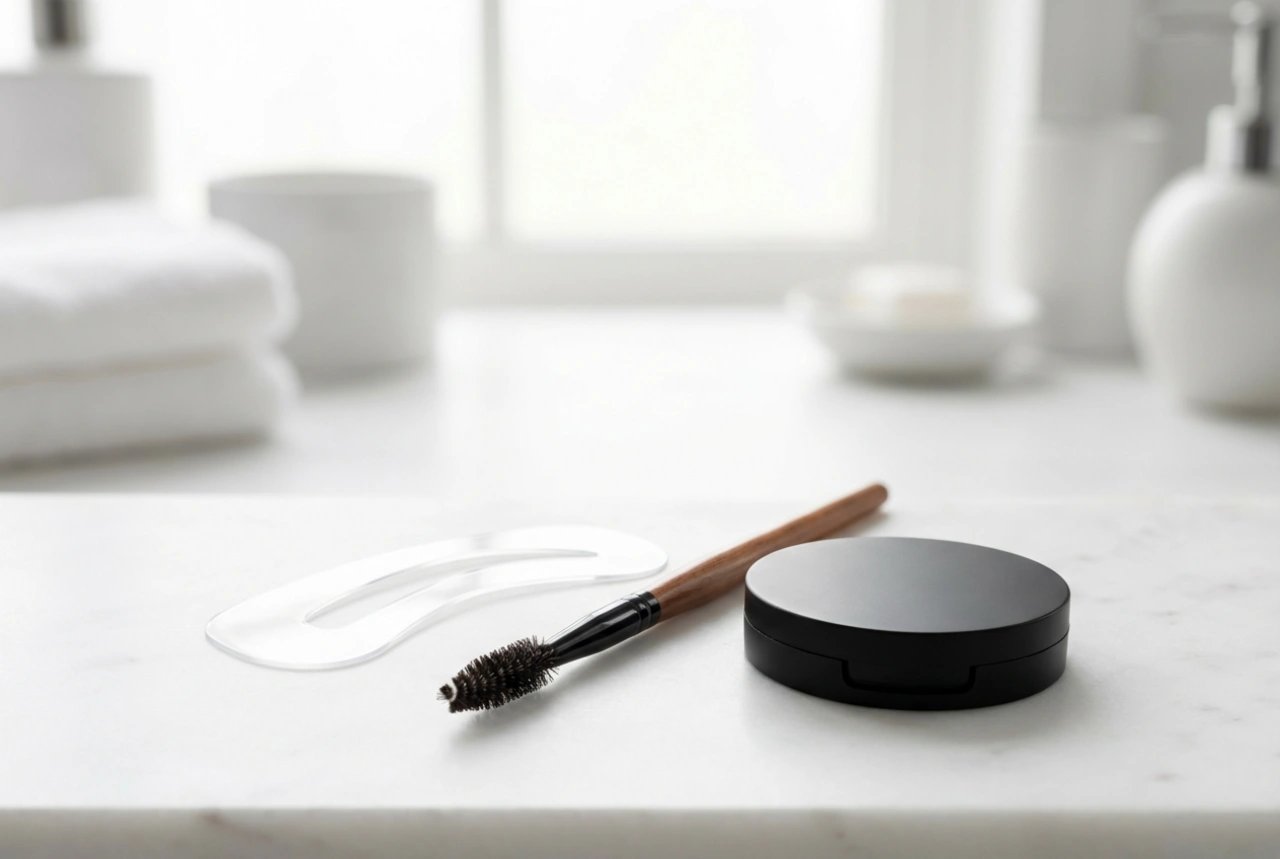
Once you have your map, the application process becomes much more straightforward. For a truly invisible lash line, many prefer to apply the clusters underneath their natural lashes rather than on top. Apply a small amount of adhesive to the base of the cluster and wait about 30 seconds for it to become tacky. Using precision tweezers, place the cluster against the base of your natural lashes, being careful not to touch the waterline. Work your way from the outer corner inwards, following your map. Once all clusters are in place, you can gently press your natural lashes and the clusters together with your fingers or a lash tool to meld them for a perfect blend. With planning and patience, you can create a multitude of beautiful, customised lash looks.