Embracing natural beauty rituals can be a wonderfully mindful experience, transforming a simple routine into a moment of self-care. Using powdered henna to enhance eyebrows is a perfect example of this, offering a plant-based alternative to define and colour your brows. This traditional method tints both the brow hairs and the skin beneath, creating a fuller, more structured look that lasts. If you're looking for a way to achieve beautifully defined brows at home, learning how to properly prepare and apply powdered henna is the key to success.
Understanding Powdered Henna for Brows
Powdered henna for cosmetic use is derived from the leaves of the Lawsonia inermis plant. When mixed with a liquid, the powder creates a paste that releases a natural dye. Unlike many conventional tints that use a developer, henna works by staining the outer layer of the hair and skin. This results in a rich colour and a 'powdered' effect on the skin that can help fill in sparse areas. The benefits include a longer-lasting result compared to some tints, conditioning properties for the brow hairs, and the use of a natural, plant-based ingredient.
Essential Preparation Before You Begin
Proper preparation is crucial for an even, long-lasting result and to protect your skin. Rushing this stage can lead to a patchy application or unwanted staining.
1. Cleanse and Exfoliate
Start with a clean canvas. Remove all makeup, oils, and skincare products from your brow area using a gentle, oil-free cleanser. Afterwards, lightly exfoliate the skin on and around your eyebrows. This removes dead skin cells, allowing the henna to adhere more evenly to the skin, which is essential for achieving that filled-in look. A soft-bristled brush or a mild facial scrub will work perfectly. Pat the area completely dry.
2. Protect the Surrounding Skin
To prevent the henna from staining the skin outside your desired brow shape, you must create a barrier. Apply a thick layer of a barrier cream, such as a rich moisturiser or petroleum jelly, around the perimeter of your brows. Be very precise and apply it right up to the edge of where you want the colour to be. This will ensure clean, crisp lines.
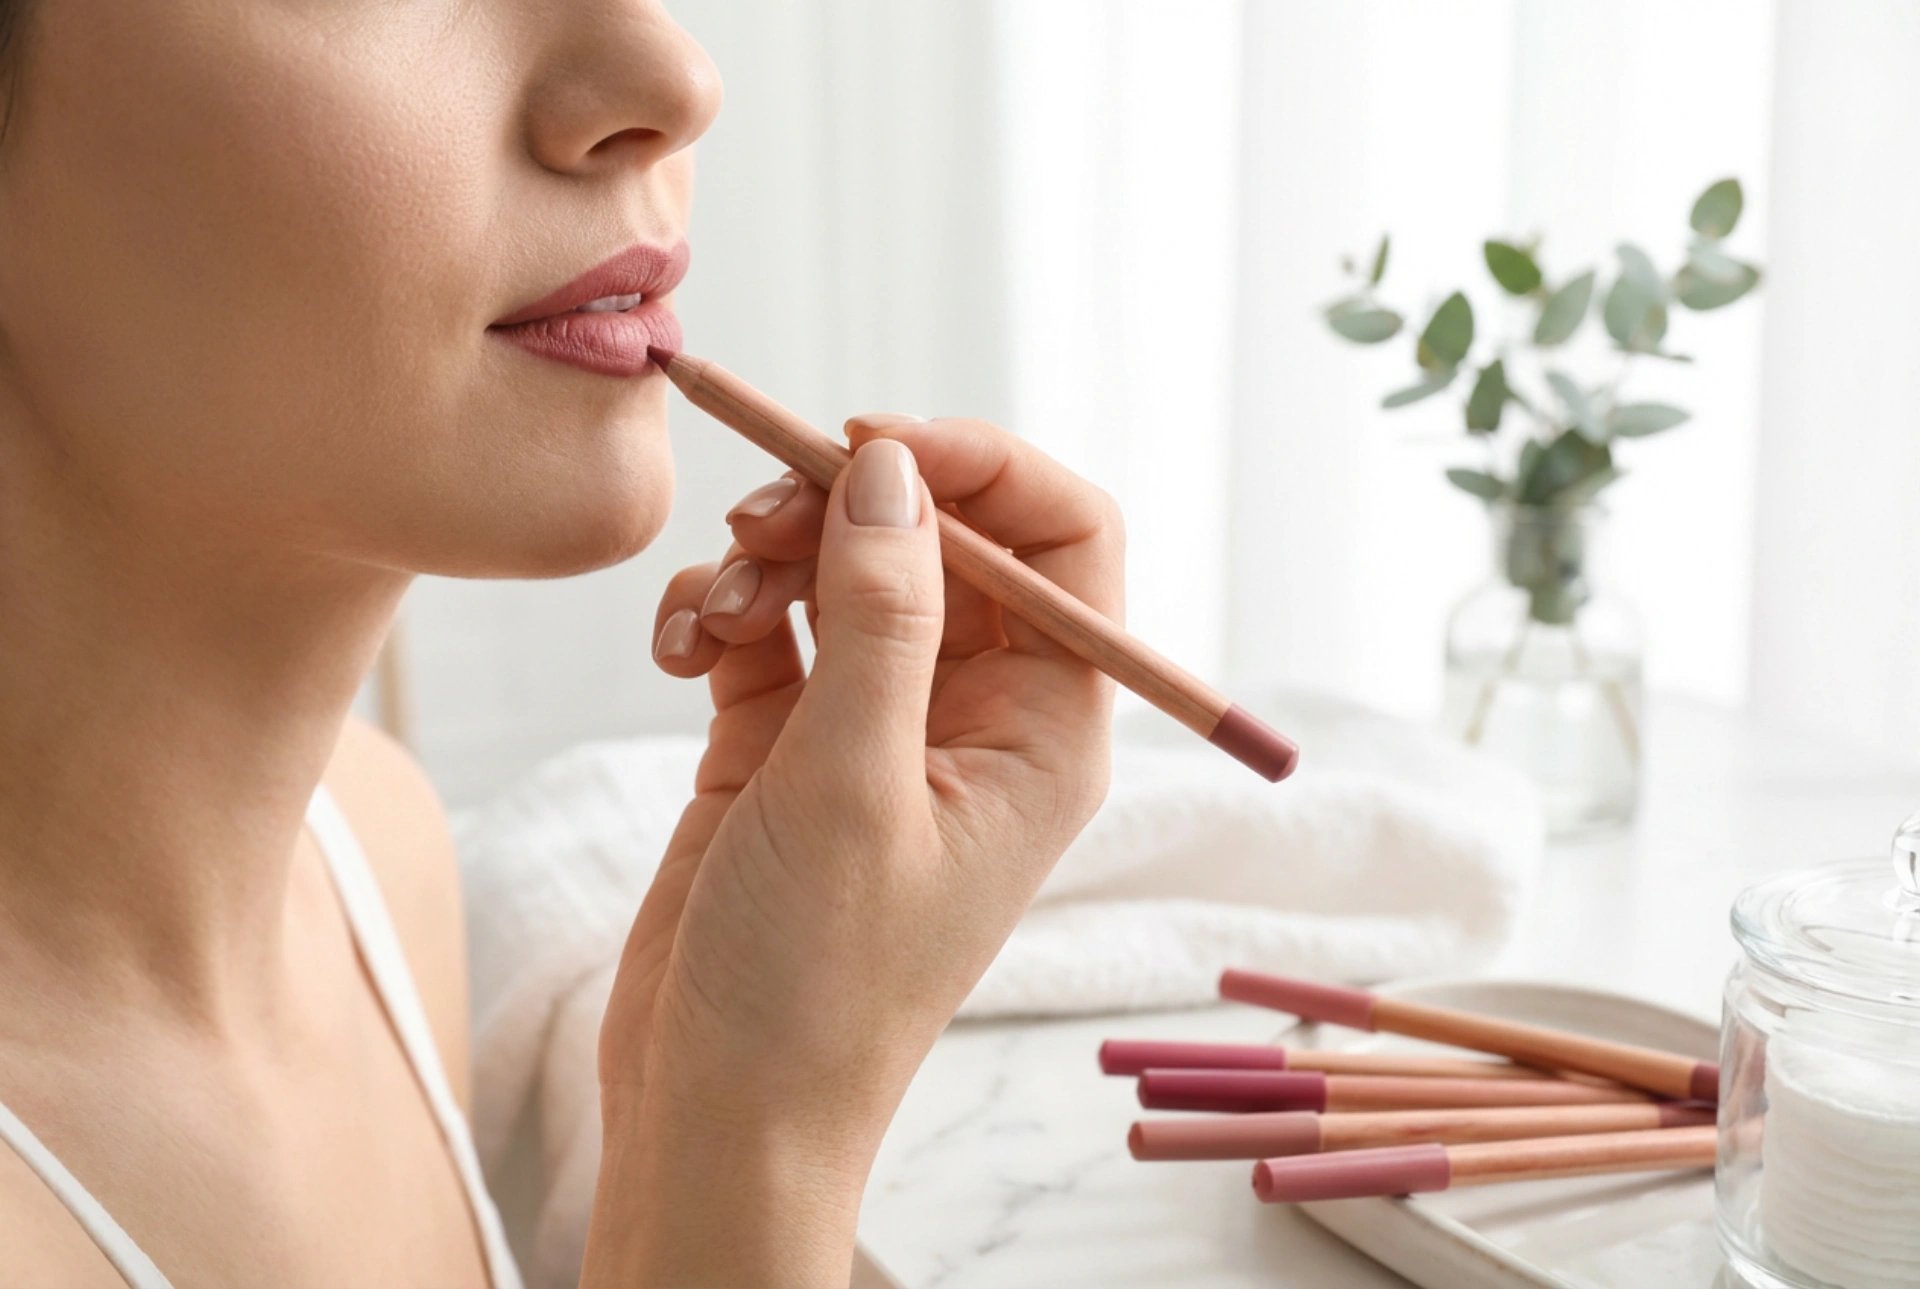
3. Map Your Shape
For extra precision, you can lightly outline your desired eyebrow shape with a white cosmetic pencil. This will serve as a clear guide during the application, helping you to apply the henna paste exactly where you want it.
How to Mix the Henna Paste
Achieving the right consistency is the most important part of the mixing process. A paste that is too thin will run, while one that is too thick will be difficult to apply and may dry out too quickly.
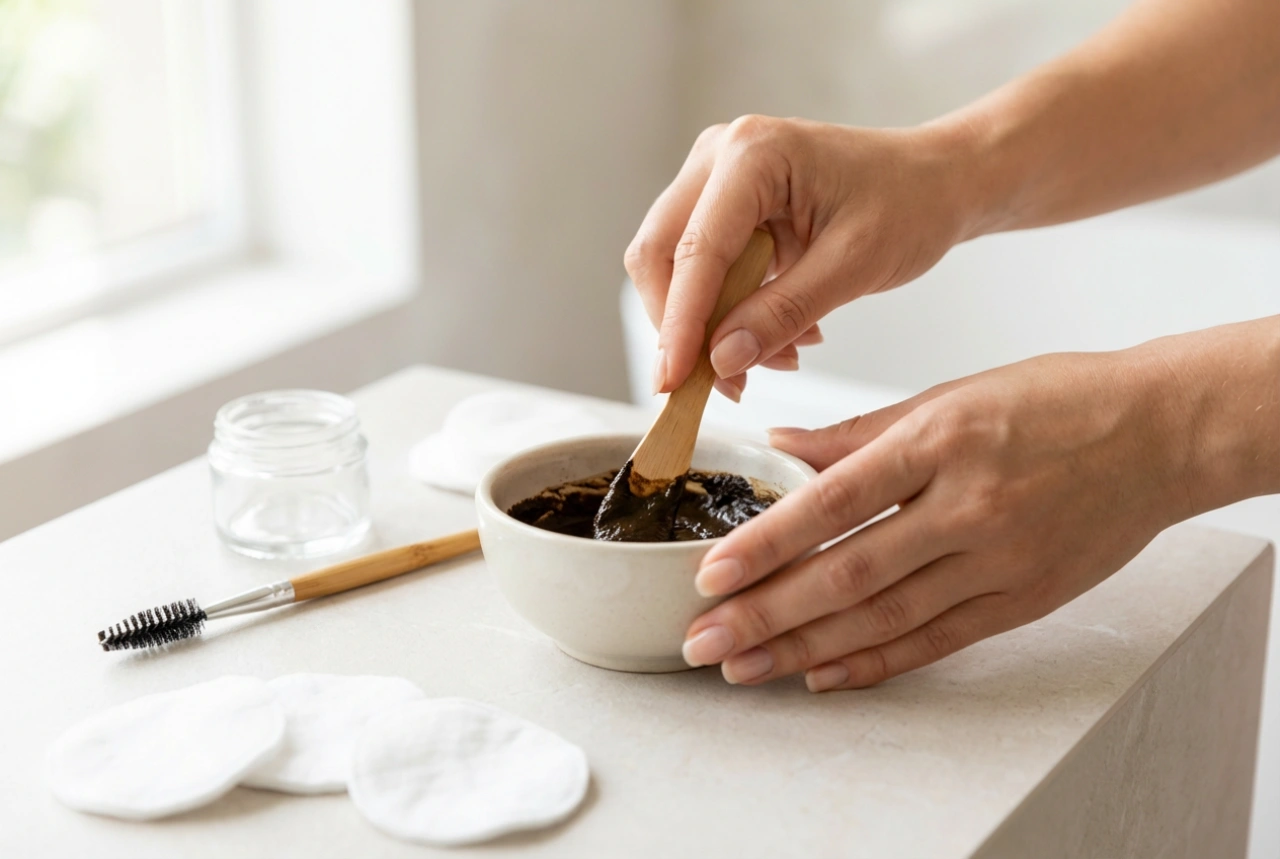
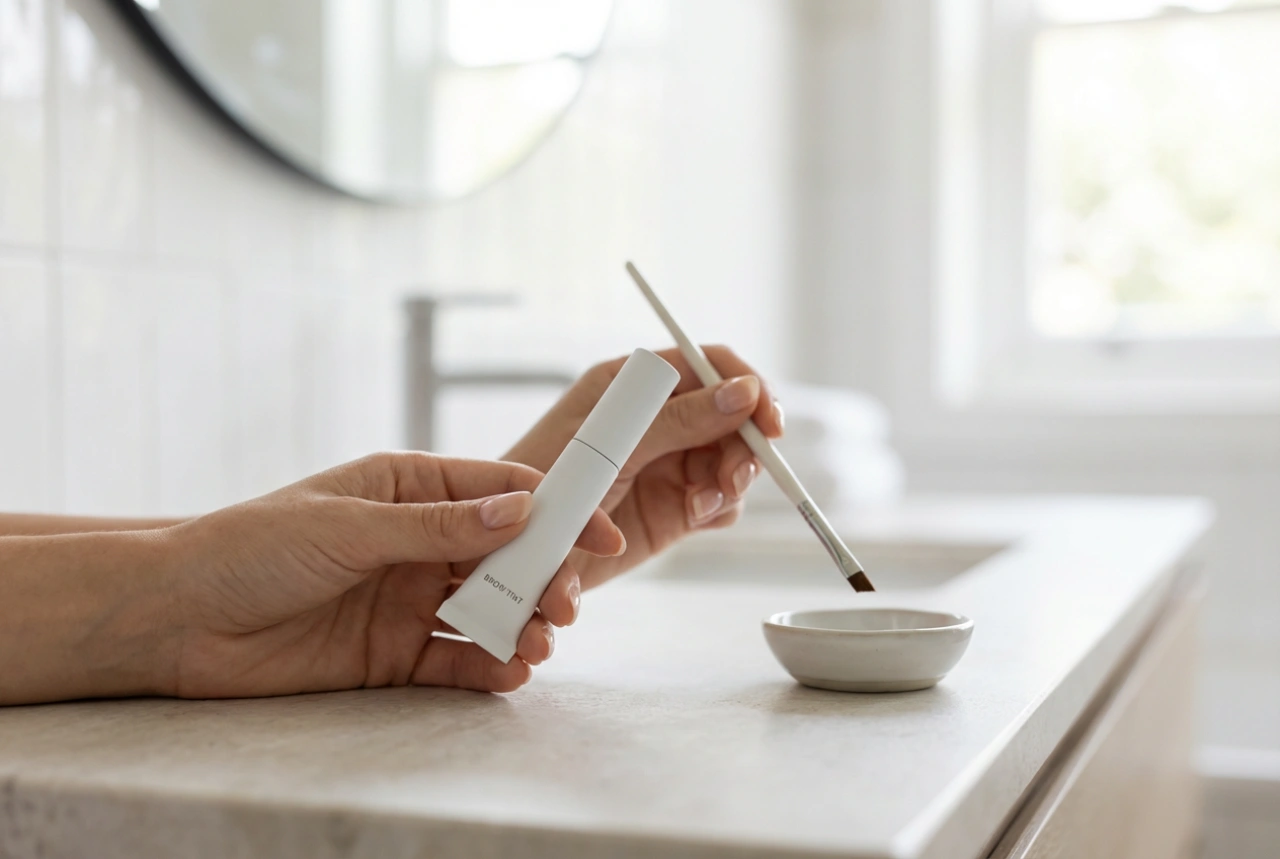
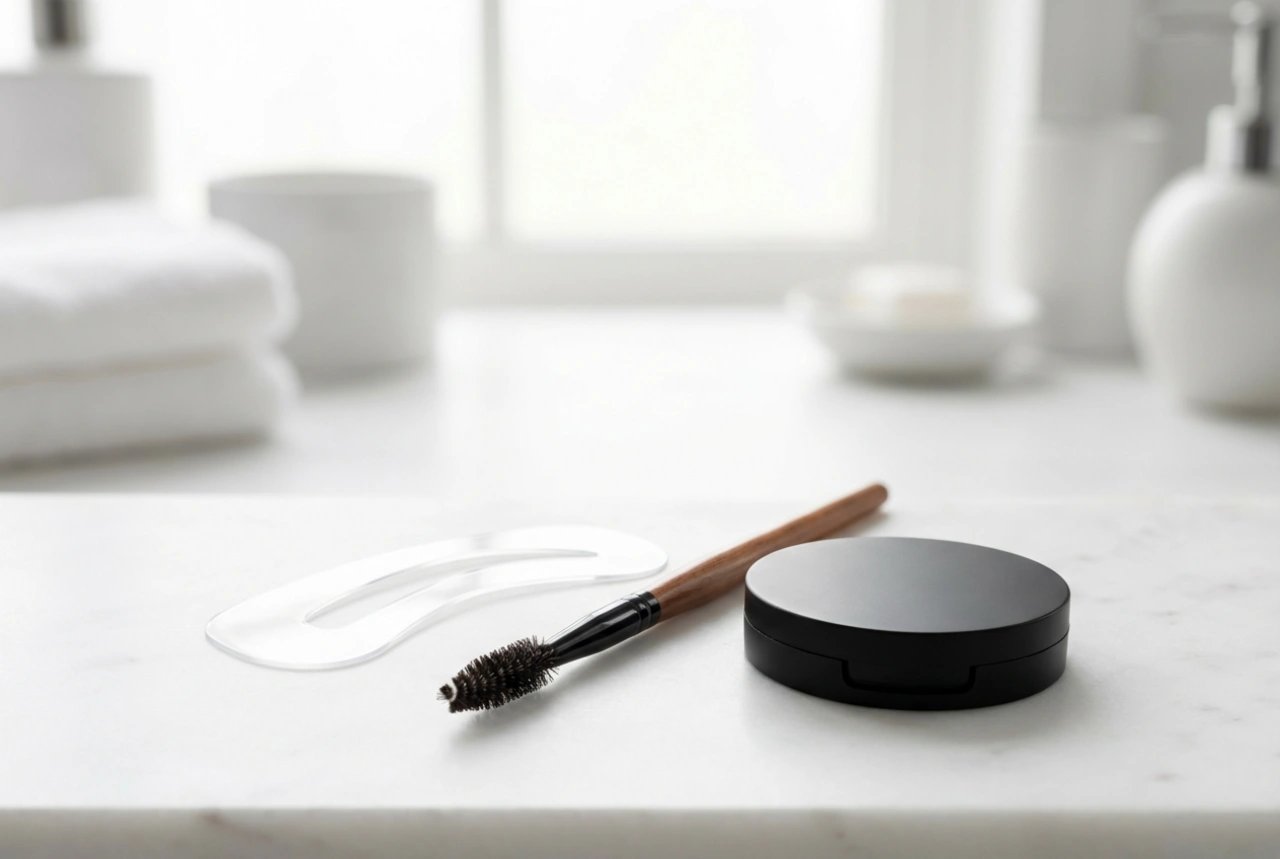
- Gather Your Tools: You will need your powdered henna, a small non-metallic bowl (glass or ceramic is ideal), a mixing tool (like a small spatula or the back of a brush), and warm, demineralised or distilled water. Using non-metallic tools is important as metal can react with the henna and alter the colour result.
- Measure and Mix: Start by placing a small amount of henna powder into your bowl – usually about one scoop using the spoon provided, or roughly the size of a pea. Slowly add a few drops of warm water at a time, stirring continuously.
- Achieve the Right Consistency: Continue to add water drop by drop and mix until you achieve a smooth, creamy paste. The ideal consistency is similar to that of thick yoghurt or toothpaste. It should be thick enough to stay in place without dripping but fluid enough to spread easily.
- Let it Activate: Once mixed, let the paste sit for 1-5 minutes. This allows the dye to fully release and activate, ensuring a rich and vibrant colour payoff.
The Application and Removal Process
With your brows prepped and your paste ready, it's time to apply the henna. Work carefully and methodically for the best outcome.
Applying the Paste
Using a fine-tipped angled brush or a dedicated henna applicator, start applying the paste to your eyebrows. It's often easiest to start at the tail of the brow and work your way towards the front. Apply a thick, generous layer, ensuring every hair and the skin underneath is completely covered. Press and pat the paste into the brow rather than just brushing it over the top. Make sure you stay within your mapped lines.
Processing Time
The time you leave the henna on will determine the intensity of the final colour. A typical processing time is between 10 and 20 minutes. For a softer, more natural tint, aim for the shorter end of the scale. For a darker, more defined and dramatic look, leave it on for the full 20 minutes. It's a good idea to set a timer.
Removing the Henna
Once the processing time is up, it's time to remove the paste. Moisten a cotton pad with lukewarm water and gently press it onto the brow to soften the dried paste. Then, carefully wipe the henna away in the direction of hair growth. Avoid harsh rubbing or scrubbing. Continue with fresh damp pads until all the residue is gone. The colour may appear quite dark initially but will soften slightly over the next 24 hours.
Aftercare for Long-Lasting Colour
To prolong the life of your henna brows, follow a few simple aftercare rules. The tint on the hair can last for several weeks, while the stain on the skin typically lasts from a few days up to two weeks, depending on your skin type and routine.
- For the first 24-48 hours, avoid getting your eyebrows wet. This includes washing your face, swimming, and exposure to steam from saunas or hot showers.
- Avoid using oil-based makeup removers, cleansers, or creams directly on the brow area, as oil can break down the henna stain more quickly.
- Refrain from exfoliating the skin around your eyebrows for as long as you want the skin stain to last.
- After the initial 48-hour period, you can apply a small amount of a nourishing brow oil to keep the hairs conditioned.