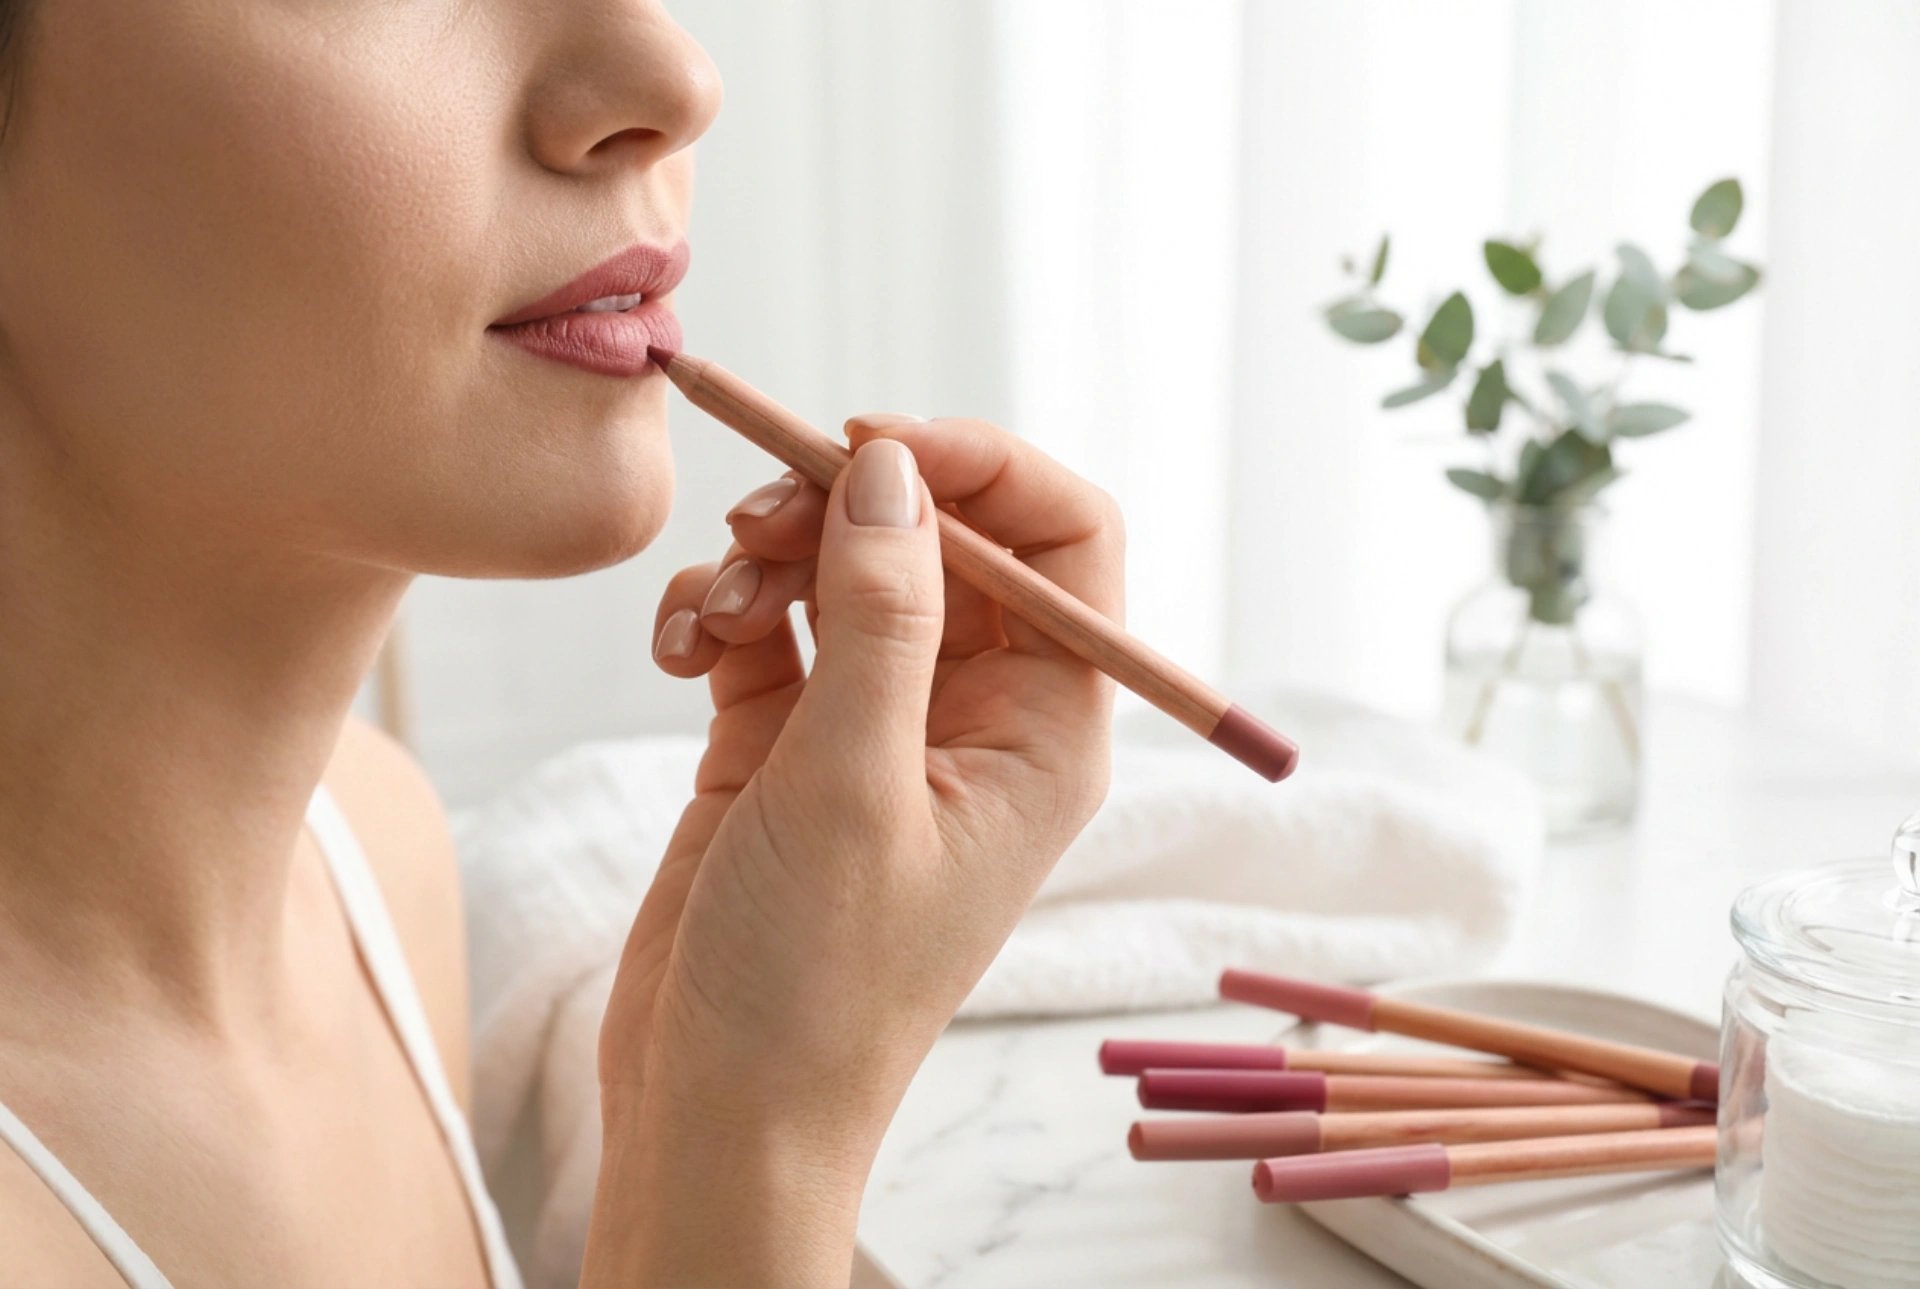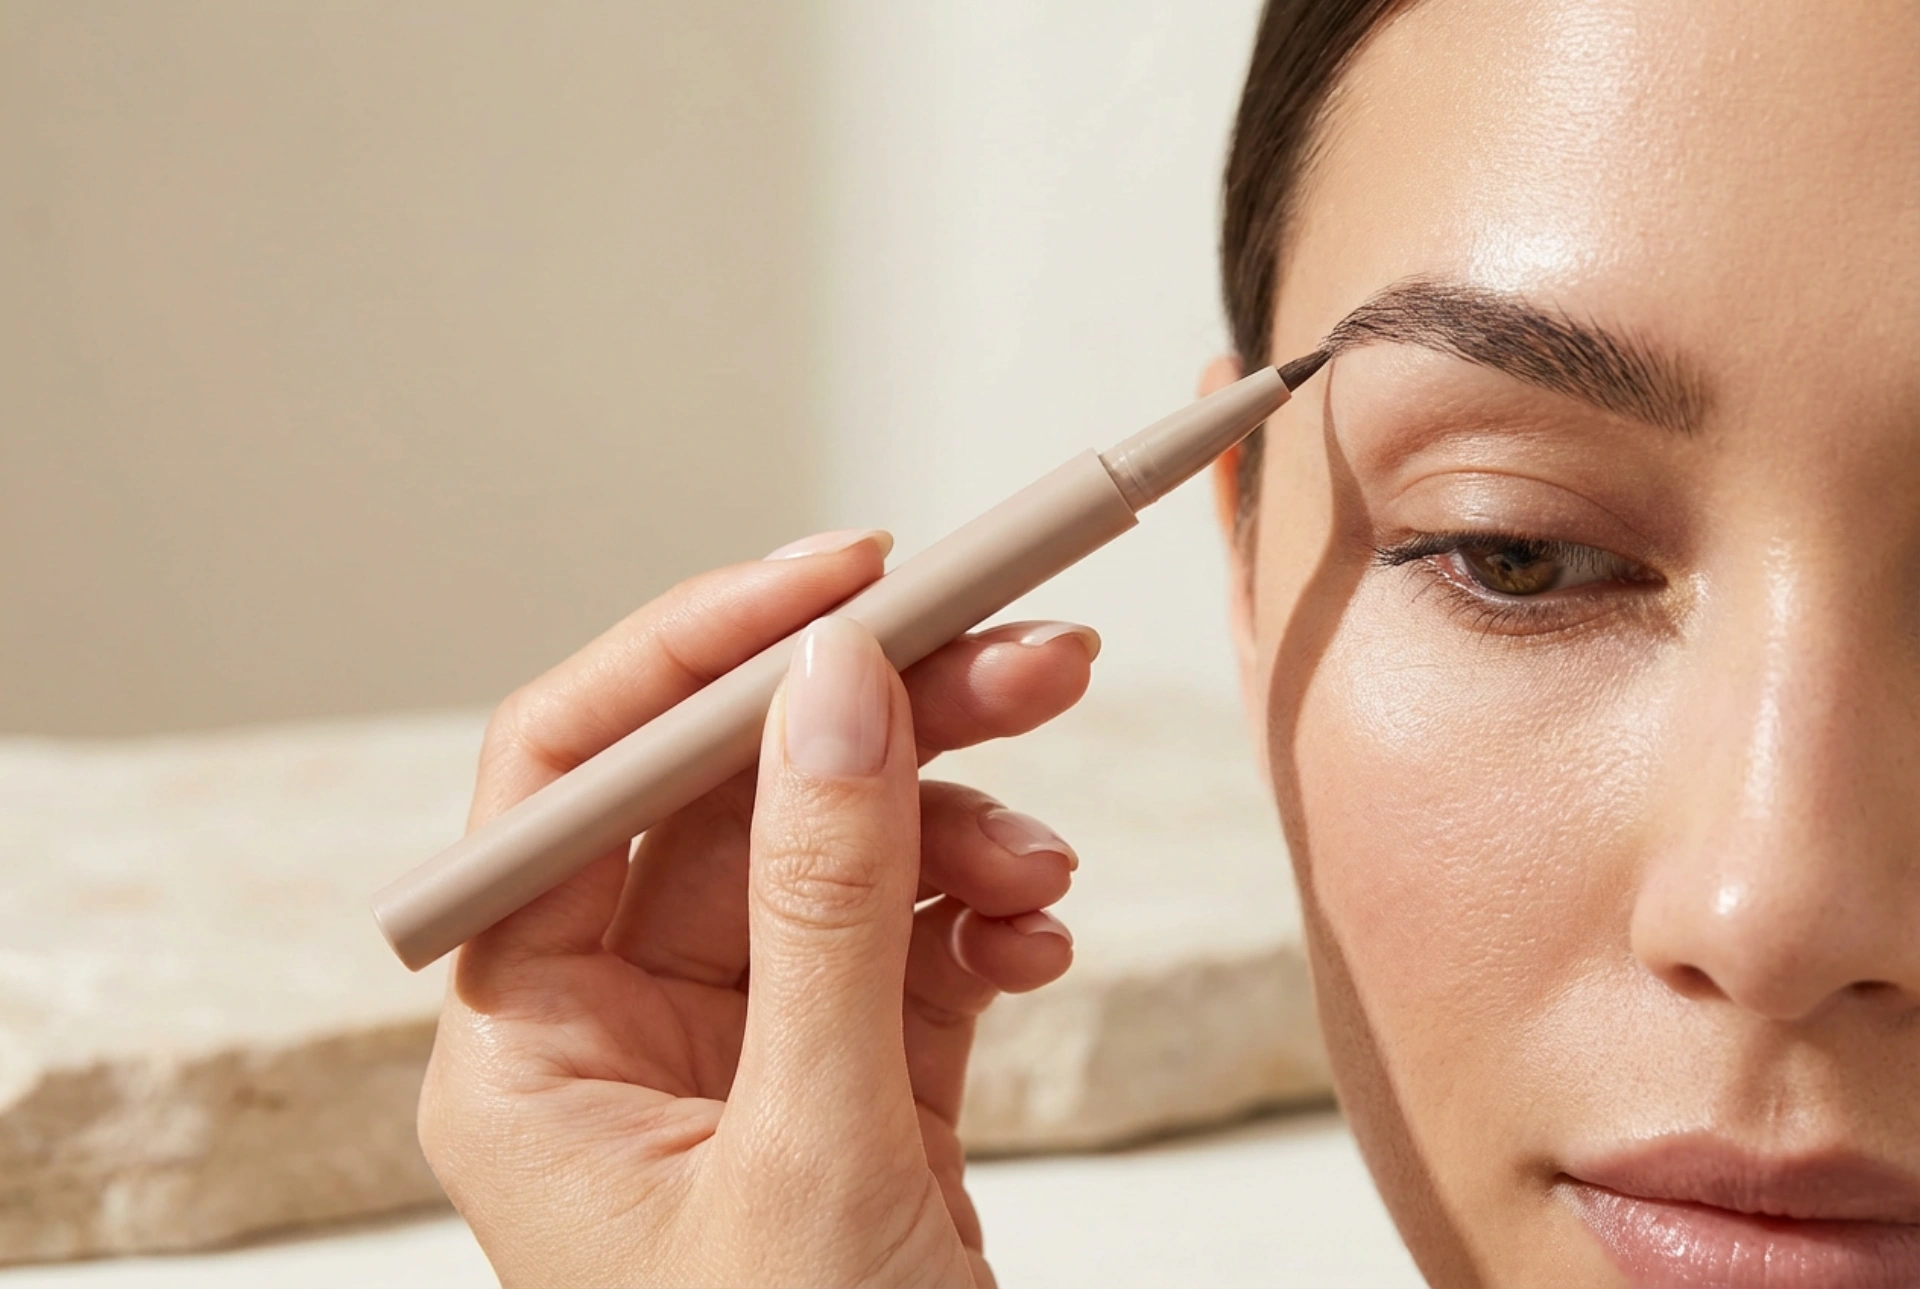


Achieving beautifully defined yet natural-looking eyebrows is a cornerstone of a polished look. As captured in the delicate application of an eyebrow pen, precision is key. This tool has become a favourite for its ability to create incredibly fine, hair-like strokes that mimic real brow hairs. Unlike powders or pencils, a pen offers unparalleled control, making it ideal for filling in sparse areas, reshaping the arch, and achieving a flawless finish that looks entirely your own. This guide will walk you through the techniques to master this versatile tool.
What Is an Eyebrow Pen and Why Use It?
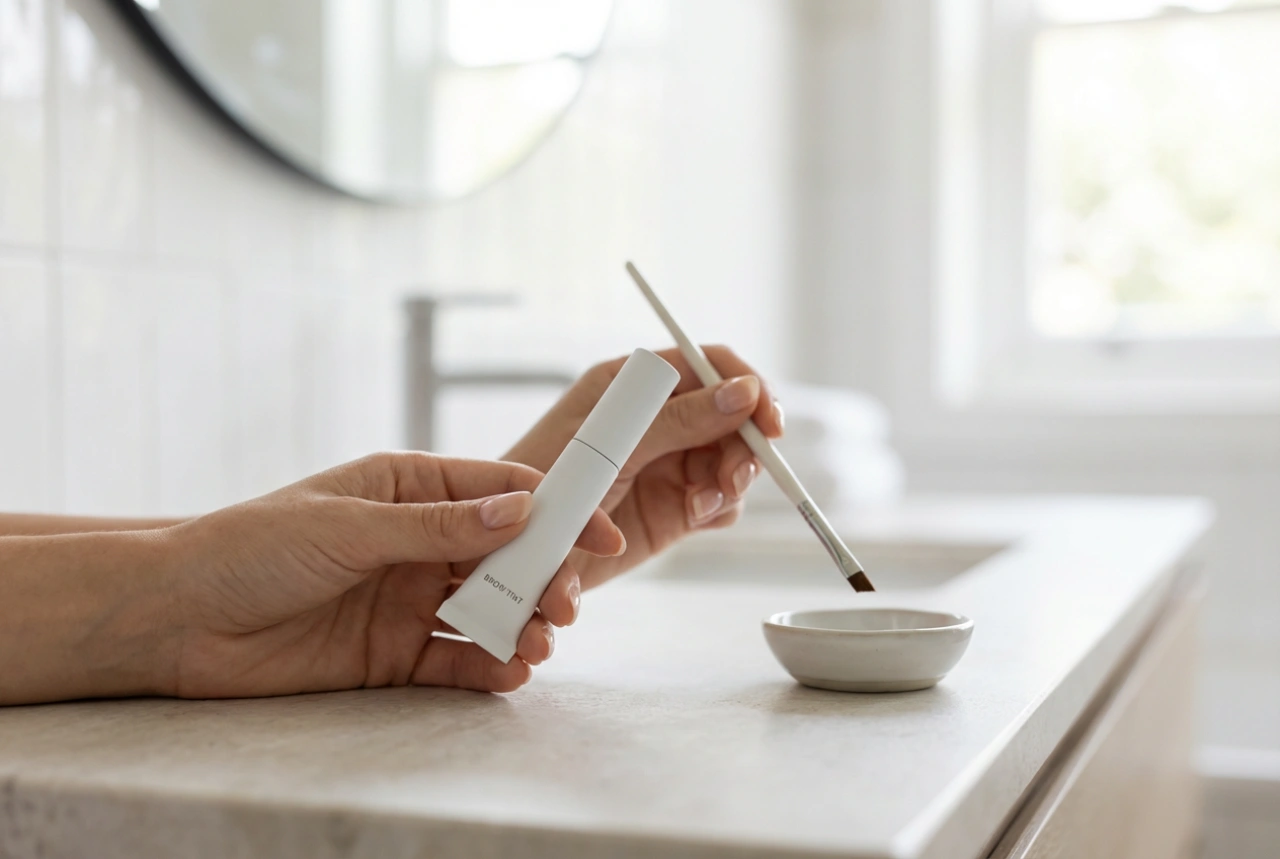
An eyebrow pen is a cosmetic applicator designed with a very fine, often felt-like or multi-pronged tip, that dispenses a sheer, liquid-based pigment. Its primary advantage lies in its precision. The fine point allows you to draw individual strokes that blend seamlessly with your natural brow hairs, creating the illusion of fuller, more defined brows without the heavy or 'drawn-on' look that can sometimes result from other products. It's particularly effective for those with sparse patches or for anyone wanting to add subtle definition and shape. While a pencil provides a softer, waxier line and powder gives a more diffuse, shaded effect, the pen excels at creating crisp, clean lines for the ultimate natural enhancement.
Choosing the Right Pen and Shade
Eyebrow pens come with various tip styles, from a single, ultra-fine point to a forked tip that draws several lines at once. A single tip offers maximum control for detailed work, while a forked tip can quickly fill in sparser areas. When selecting a shade, the golden rule is to match your natural brow hair colour or go one shade lighter. A colour that is too dark can look harsh and unnatural. Test the shade on the back of your hand; the strokes should provide definition without being stark. The goal is to enhance, not overpower, your natural brows.
The Hair-Stroke Technique: A Step-by-Step Guide
The hair-stroke technique is what makes the eyebrow pen so effective. It’s all about building up colour with light, deliberate motions. With a little practice, you can achieve professional-looking results at home.
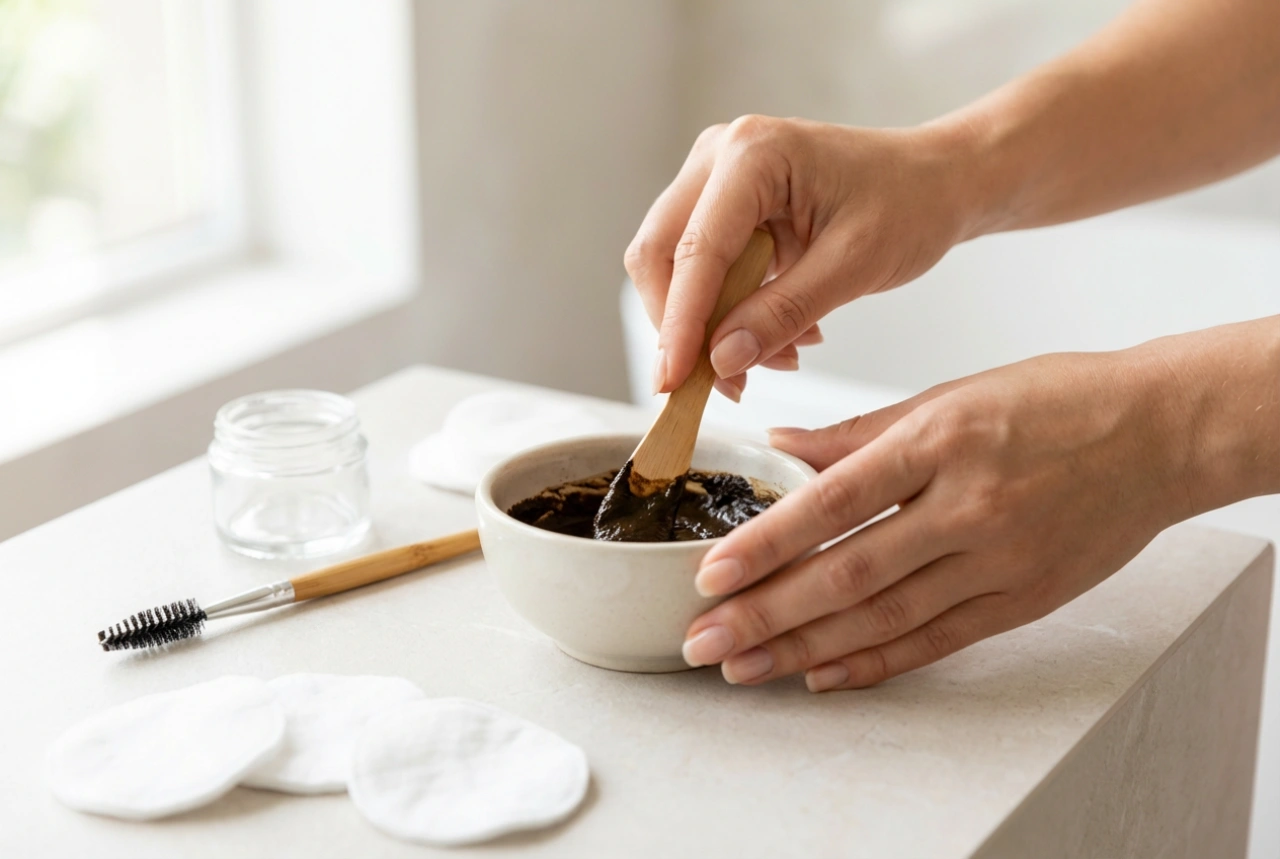
Step 1: Preparation
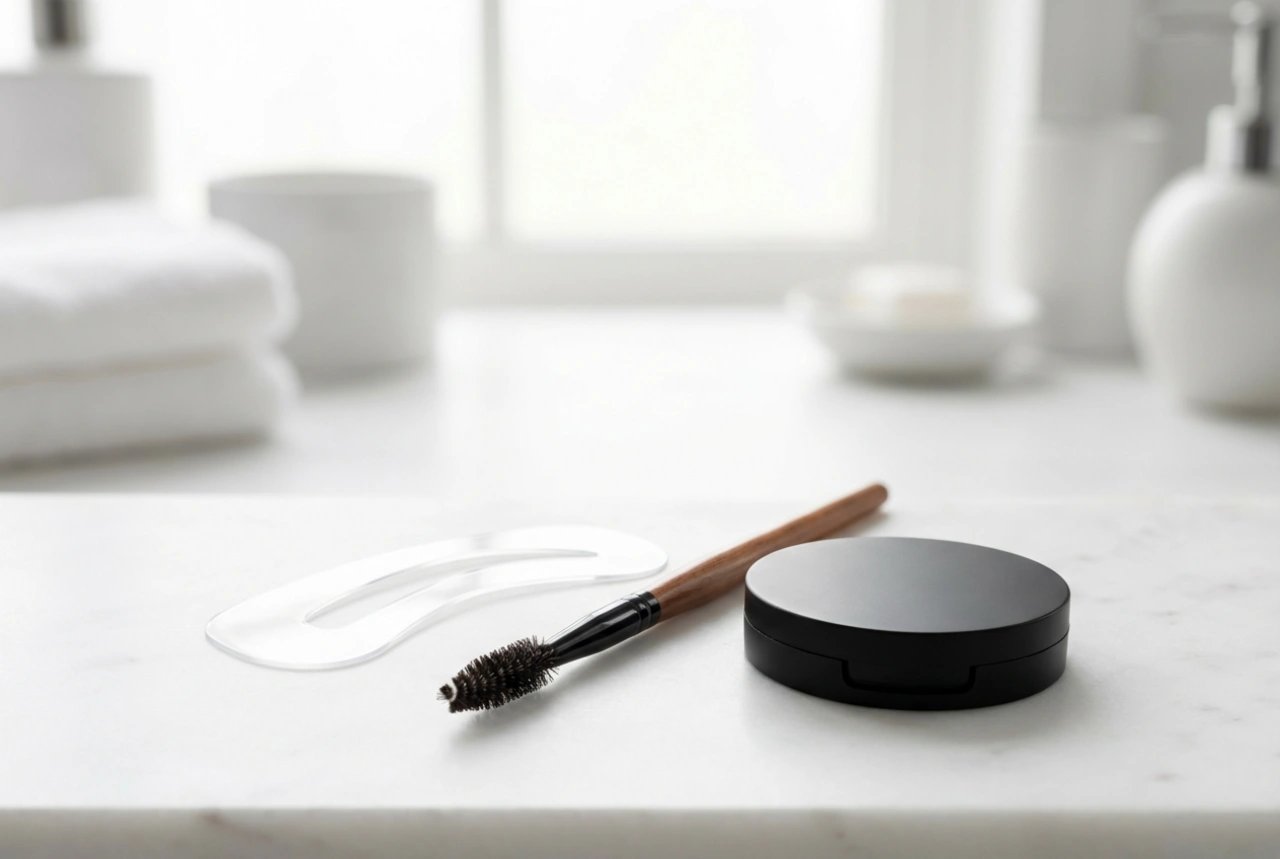
Start with clean, dry skin, free from moisturisers or oils, as this will ensure the pigment adheres properly and lasts all day. Using a clean spoolie brush, comb your brow hairs upwards and outwards. This helps to reveal your natural brow shape and identify any gaps or areas that need filling.
Step 2: Application
Holding the pen at a slight angle, begin to apply it using very light, short, feathery strokes. Always draw in the same direction as your natural hair growth. For the front part of the brow, use upward flicks. As you move towards the arch and tail, angle the strokes to follow the natural flow of the hair. Focus on filling in sparse areas rather than colouring the entire brow. It's better to build up the intensity gradually, so start with a light hand and add more strokes where needed. Let the tip of the pen do the work; there's no need to apply heavy pressure.
Step 3: Blending and Setting
After applying the strokes, take your clean spoolie again and gently brush through your brows. This step is crucial as it softens the lines and blends the pigment with your natural hairs for a seamless finish. If you want extra hold, you can finish with a clear or tinted brow gel to lock the hairs—and your handiwork—in place.
Perfecting Your Eyebrow Arch
The arch is the most expressive part of the brow and can significantly impact the structure of your face. An eyebrow pen is the perfect tool for subtly correcting or enhancing your arch.
How to Define and Reshape
First, identify the natural high point of your brow. A common guideline is to imagine a line from the outer edge of your nostril, through the centre of your pupil, and up to your brow. This is where your arch should be at its highest. To enhance a flat arch, add a few delicate hair-strokes just above this highest point to create a gentle lift. To soften a very sharp or pointed arch, fill in the area just beneath the peak to create a smoother curve. If your arch is undefined, use the pen to carefully build up the peak with precise strokes, adding structure. Remember, subtlety is key. Add one or two strokes at a time and step back to assess the overall shape.
Common Mistakes to Avoid
Mastering the eyebrow pen involves avoiding a few common pitfalls. Keep these tips in mind for a flawless application every time.
- Applying too much pressure: This creates thick, dark lines that look unnatural. Use a light touch to let the fine tip create delicate strokes.
- Choosing a shade that's too dark: This is one of the most common mistakes and results in harsh, severe-looking brows. Always opt for a shade that matches or is slightly lighter than your hair.
- Drawing a single, solid line: The purpose of the pen is to mimic individual hairs. Avoid outlining or drawing a solid block of colour.
- Forgetting to blend: Skipping the spoolie step can leave the drawn-on strokes looking obvious. Blending is essential for a natural look.
- Creating an overly dramatic arch: Work with your natural brow shape. A dramatically high or sharp arch can look artificial and unflattering.