


A beautifully executed pedicure can be a wonderful form of self-expression and a boost to your confidence. Adding a touch of sparkle with glitter takes it to another level, creating a dazzling effect that catches the light with every step. Whether you prefer a subtle shimmer or a bold, chunky sparkle, achieving a professional-looking and long-lasting glitter pedicure at home is entirely possible. This guide will walk you through the steps to apply both fine and coarse glitter for a flawless finish.
Step 1: Preparing Your Toenails for Perfection
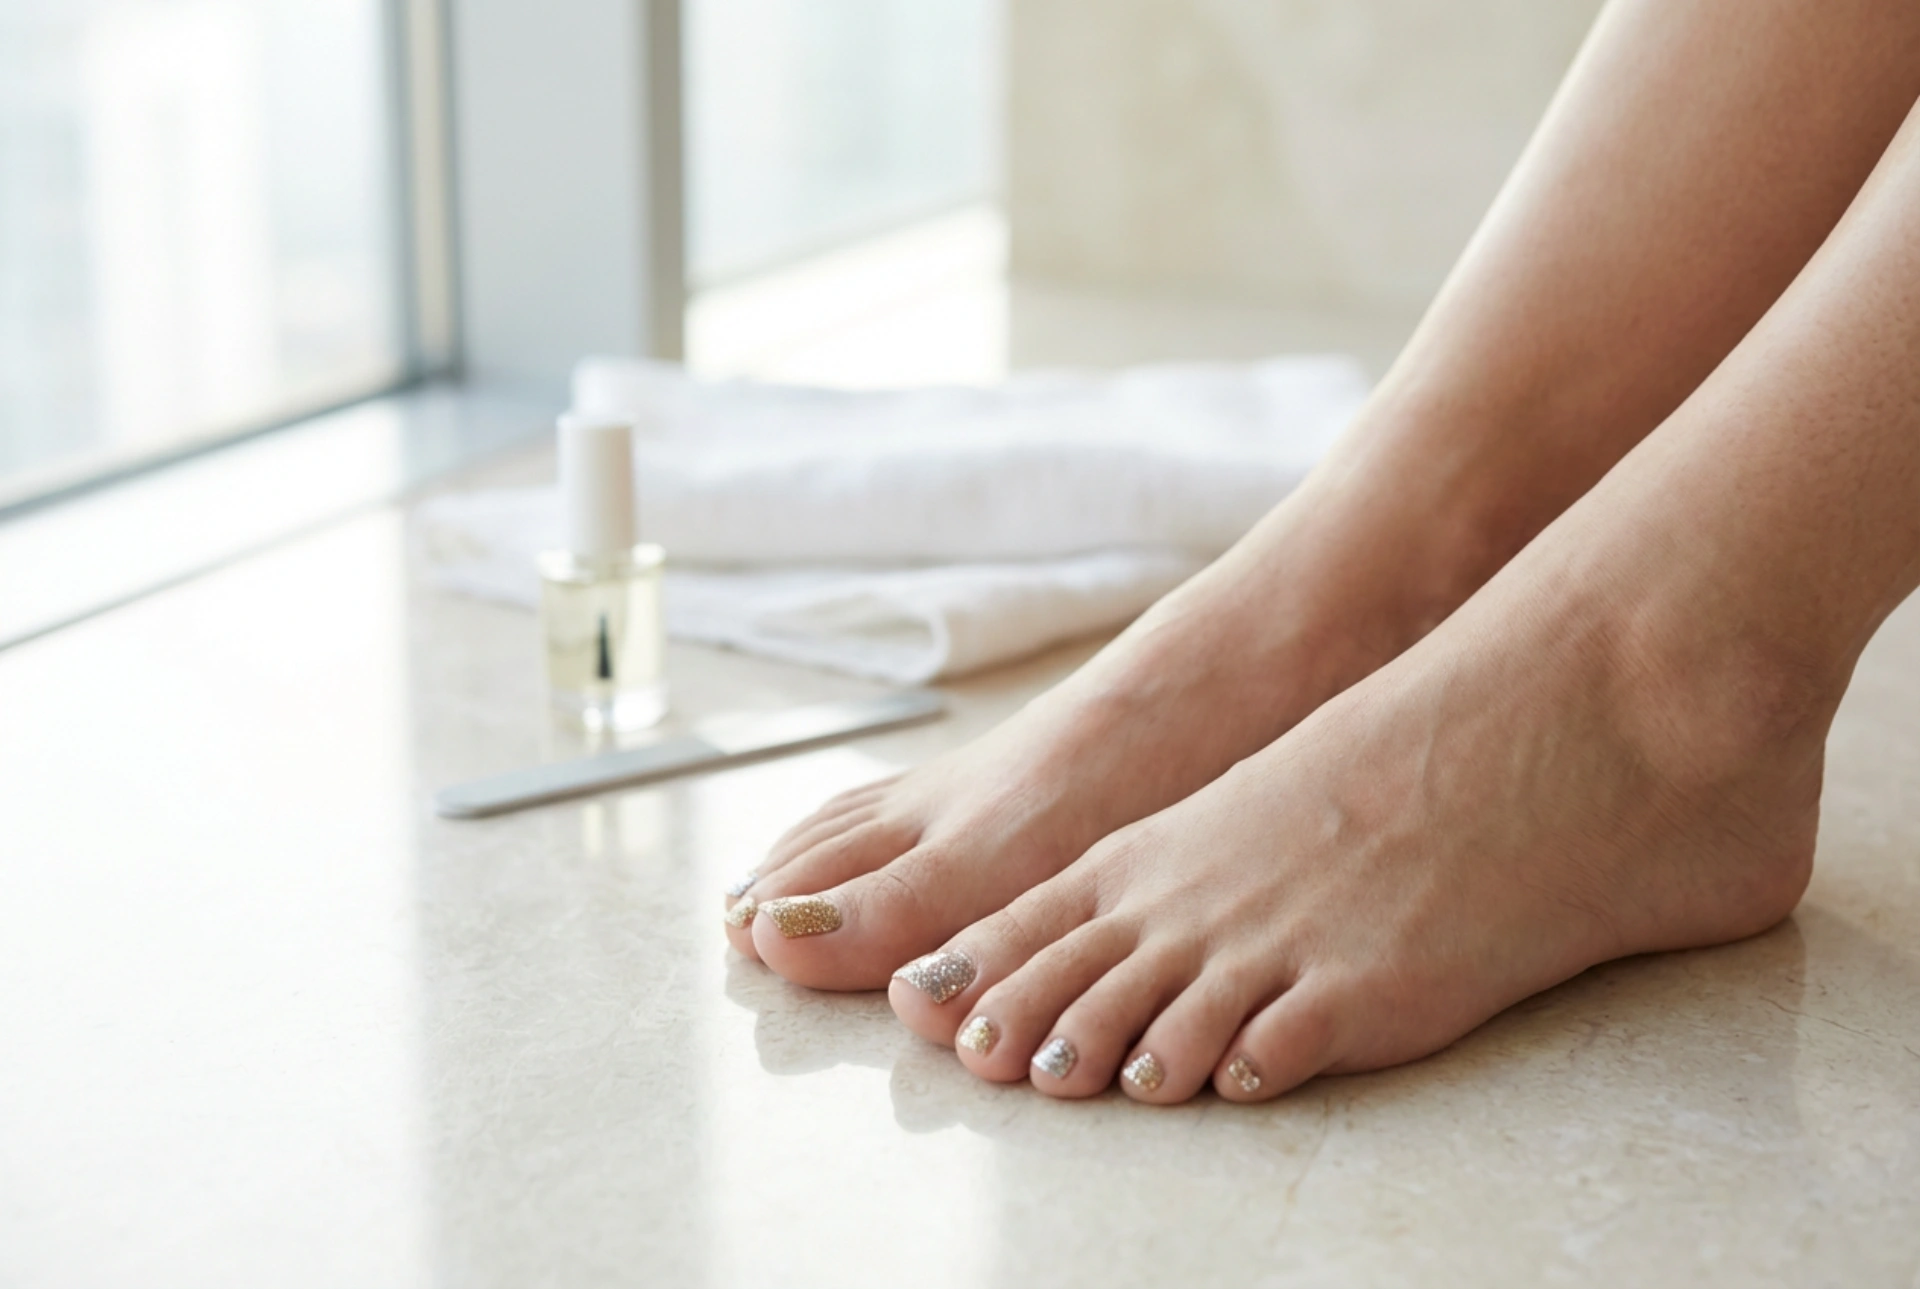
A great pedicure starts with a clean and well-prepared canvas. Proper preparation not only helps the polish adhere better but also ensures a neater, more durable result. Start by removing any old polish completely. Soak your feet in warm, soapy water for 5-10 minutes to soften the skin and cuticles. Gently push back your cuticles with a wooden or rubber-tipped stick. Trim your toenails to your desired length and file them into shape, ensuring all edges are smooth. Finally, lightly buff the surface of your nails to create a subtle texture for the polish to grip onto, and wipe them with a nail polish remover or alcohol to eliminate any oils or residue.
Step 2: The Art of Application
Applying glitter requires a slightly different technique depending on its size. For a cohesive look, start with a base coat to protect your nails and provide an even surface. Then, apply one or two thin coats of your chosen base colour, allowing each to dry partially before proceeding.
Applying Fine Glitter
Fine glitter, which resembles sparkling dust, offers a more uniform and subtle shimmer. There are two common methods for applying it:
- The Sprinkling Method: While your final coat of coloured polish is still wet, hold your toe over a piece of paper and carefully sprinkle the fine glitter over the nail until it is evenly coated. Gently press the glitter down with your fingertip or a soft brush to embed it into the polish.
- The Mixing Method: Pour a small amount of a clear top coat onto a palette (like a piece of foil). Mix in the fine glitter until you reach your desired density. Then, use a nail art brush to paint the glitter mixture onto your nails. This method gives you more control over the placement and opacity.
Applying Coarse Glitter
Coarse or chunky glitter consists of larger, more distinct particles that create a bold, mosaic-like effect. Applying it requires patience and precision.
- The Placement Method: Apply a layer of clear polish or nail glue to the area where you want the glitter. While it's wet, use a toothpick, a dotting tool, or a pair of tweezers dipped in clear polish to pick up individual pieces of glitter. Carefully place each piece onto the nail, arranging them in your desired pattern. This method works well for creating specific designs or an accent nail. Gently press them down to ensure they lie flat against the nail surface.
Step 3: Sealing for a Smooth and Lasting Finish
This is the most crucial step for a successful glitter pedicure. Glitter creates a rough texture that can easily snag on fabrics and chip away. To prevent this, you need to seal it with a good-quality top coat. Apply a generous first layer of top coat, making sure to 'cap' the free edge of your nail by running the brush along the tip. This helps to fully encapsulate the glitter. Allow it to dry completely. The surface may still feel slightly gritty. Apply a second, and if necessary, a third layer of top coat. This will build up a thick, smooth, and glossy shield over the glitter, giving you a professional-looking, gel-like finish that is comfortable and incredibly durable.
Step 4: Aftercare and Maintenance
To keep your sparkling pedicure looking its best for as long as possible, a little aftercare goes a long way. Avoid exposing your feet to harsh cleaning chemicals without protection. Moisturise your feet and cuticles daily to keep the skin hydrated and healthy. If you notice the shine starting to dull after a week or so, you can apply another thin layer of top coat to refresh the gloss and add an extra layer of protection, extending the life of your dazzling design.


