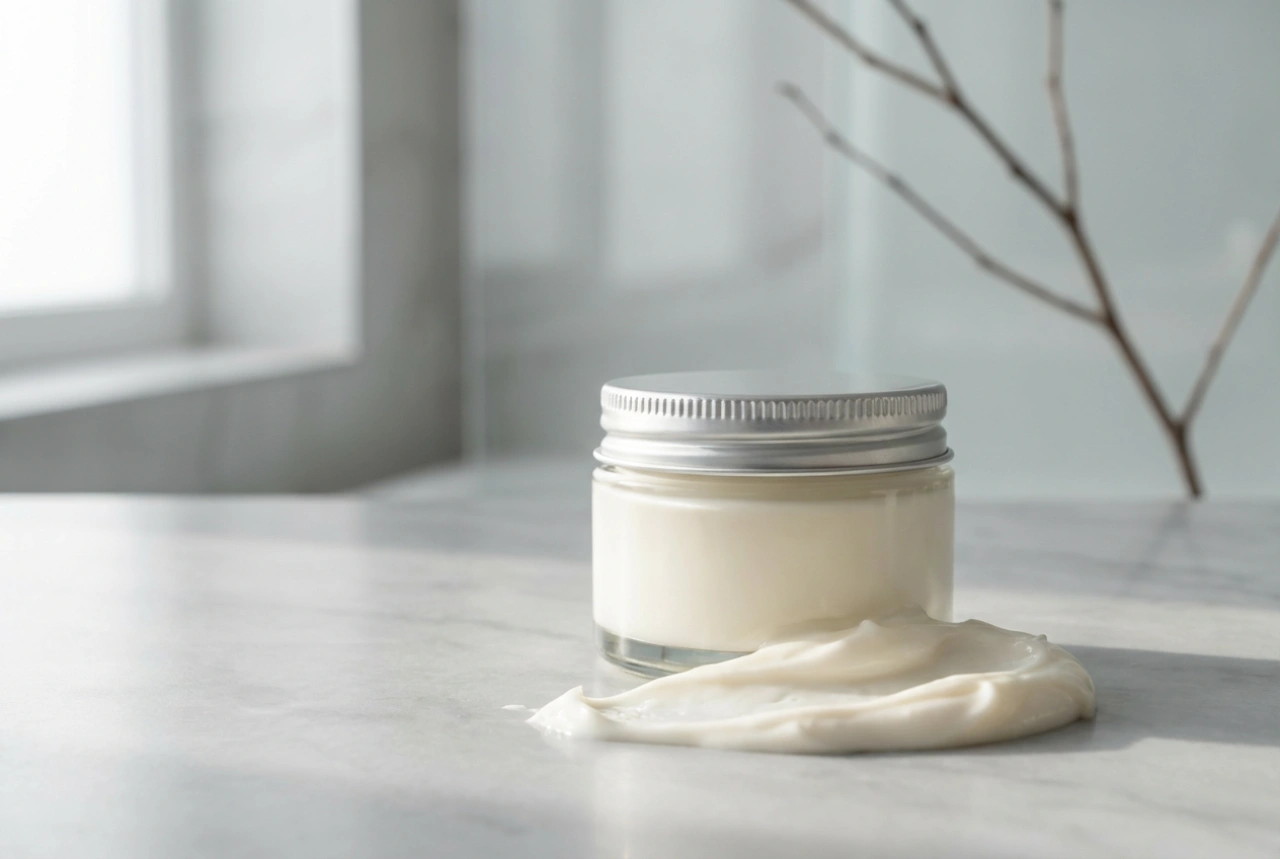


The ritual of preparing a clay mask can be a truly mindful moment of self-care. Watching the fine powder transform into a creamy paste brings a sense of calm and anticipation for the purifying benefits to come. However, the most common pitfall with clay masks is the tight, dry feeling they can leave behind. The key to unlocking their full potential lies in the preparation, application, and removal process. With a few simple adjustments, you can ensure your skin feels refreshed, balanced, and supple, never stripped of its natural moisture.
Choosing the Right Clay for Your Skin Type
Not all clays are created equal. Their mineral composition determines their absorbency and suitability for different skin concerns. Selecting the right one is the first step towards a successful masking experience.
White Kaolin Clay
This is the gentlest of all cosmetic clays, making it ideal for sensitive, dry, or mature skin types. It provides very mild exfoliation and helps to soften the skin without drawing out excessive oils. Its fine, soft texture makes it a pleasure to use.
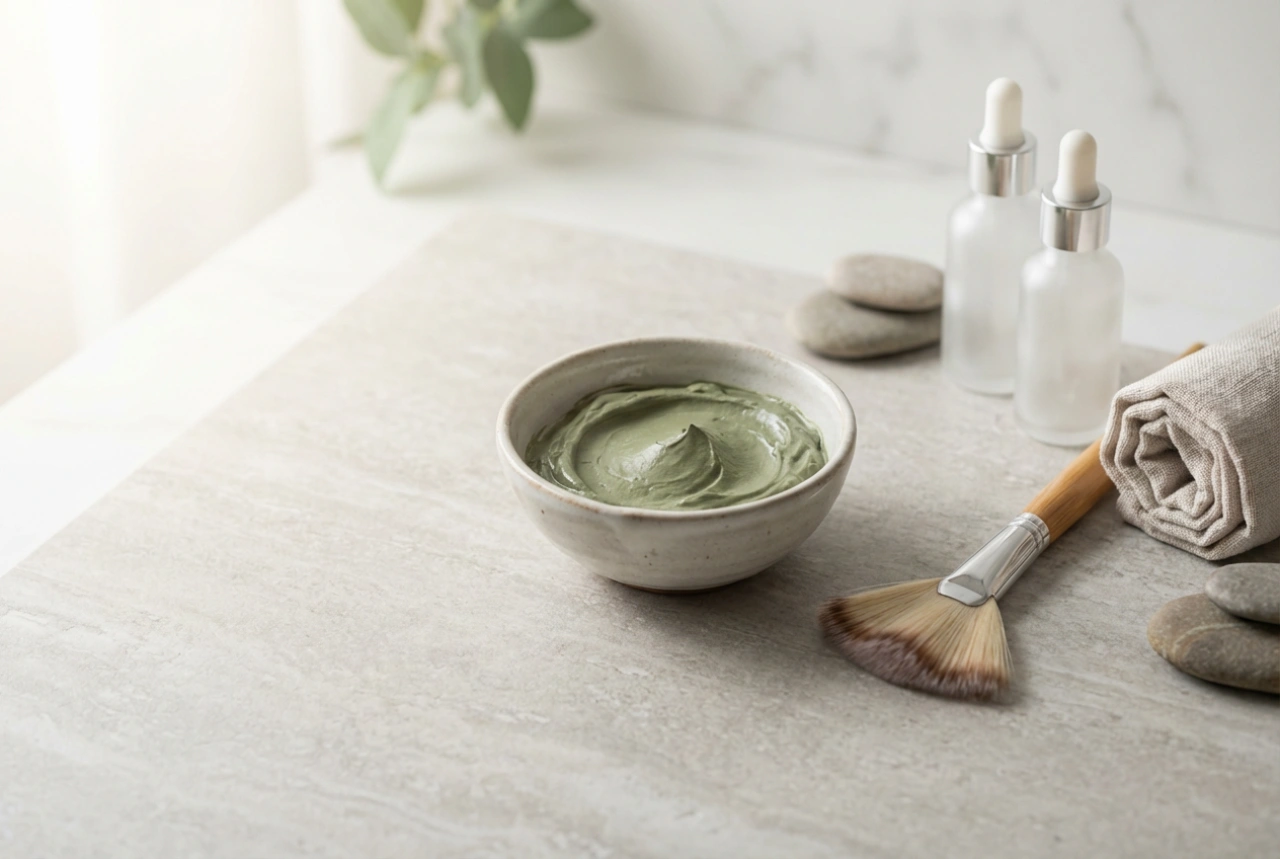
Green Clay
Often referred to as French green clay or bentonite clay, this type is highly absorbent. Its powerful drawing properties make it excellent for oily and combination skin types prone to blemishes and congestion. It helps to soak up excess sebum and clarify the appearance of pores.
Rhassoul Clay
Hailing from the Atlas Mountains of Morocco, Rhassoul clay is rich in minerals like silica and magnesium. It has a unique ability to cleanse and soften the skin simultaneously. It is suitable for normal, combination, and oily skin, and is prized for improving skin texture and elasticity.
The Art of Mixing Your Clay Mask
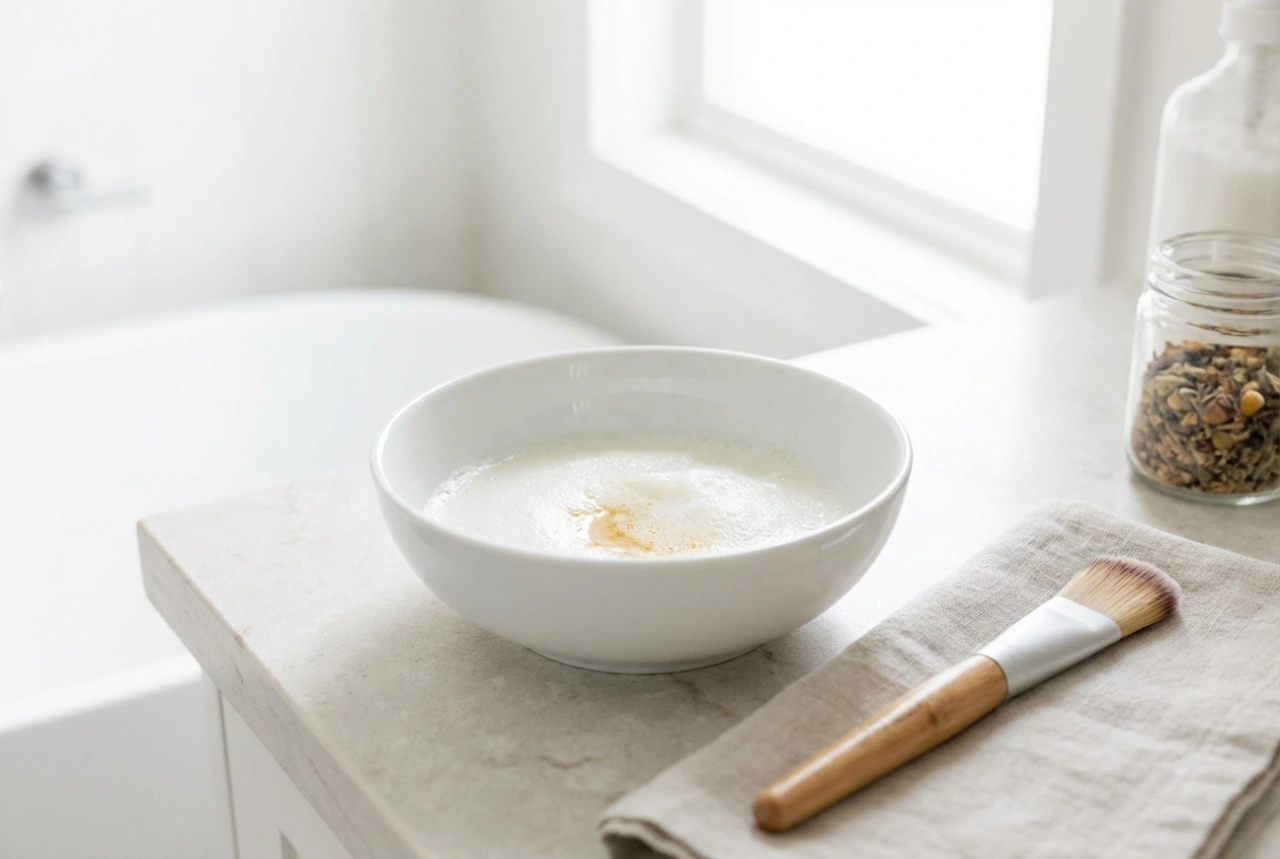
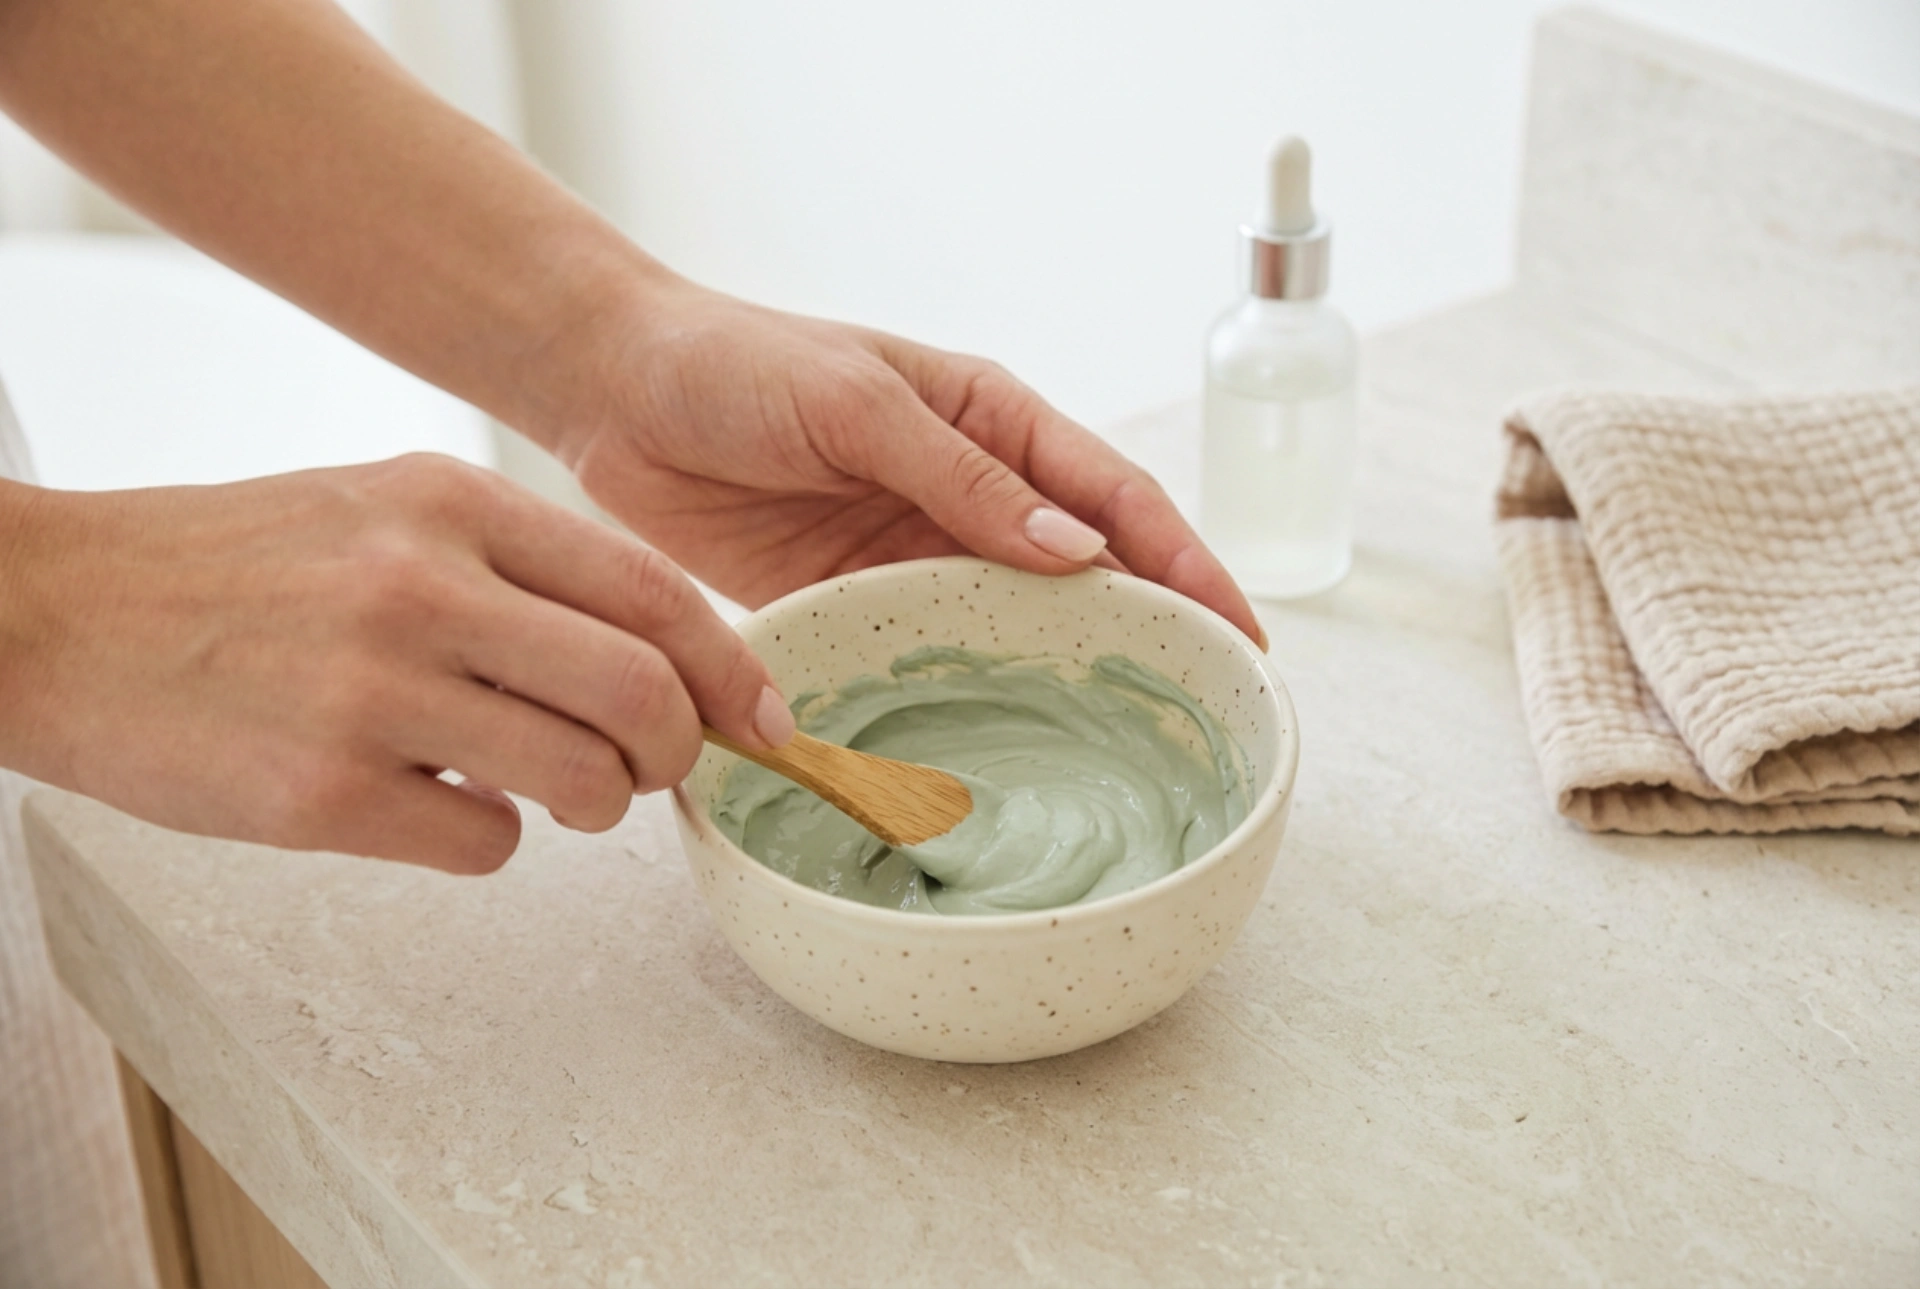
How you mix your clay is just as important as which clay you choose. Moving beyond plain water can transform your mask from potentially drying to deeply nourishing. The goal is to create a smooth, lump-free paste with a consistency similar to thick yoghurt.
- The Liquid Base: Instead of tap water, consider using a floral water (hydrosol) such as rosewater for hydration, chamomile water for soothing, or witch hazel for its toning properties. Cooled green tea, rich in antioxidants, is another excellent choice.
- Hydrating Boosters: This is the secret to preventing dryness. Add a few drops of a skin-loving, non-comedogenic oil like jojoba, argan, or grapeseed oil. A small amount of raw honey can also be added for its natural humectant properties, helping to draw moisture into the skin. Aloe vera gel is another fantastic addition for its soothing and hydrating qualities.
- Mixing Technique: Always use a non-metallic bowl and spoon (ceramic, glass, or wood work well), as metal can react with the minerals in the clay and reduce its effectiveness. Start by placing the clay powder in the bowl and slowly adding your liquid, stirring continuously until you reach the desired consistency.
Application and Timing: The Key to Success
Once your mask is perfectly mixed, it's time for application. Proper timing is crucial to reap the benefits without any downsides. A common mistake is leaving the mask on for too long.
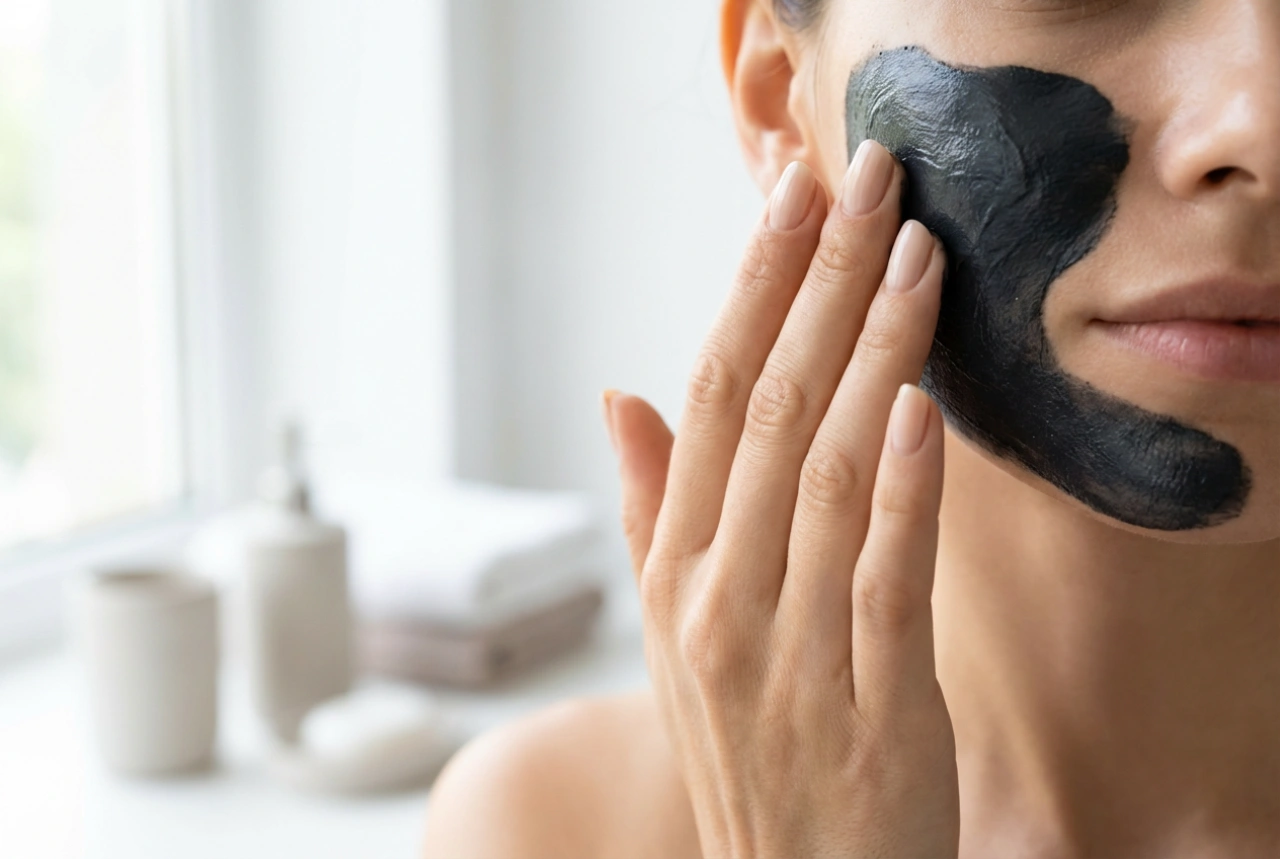
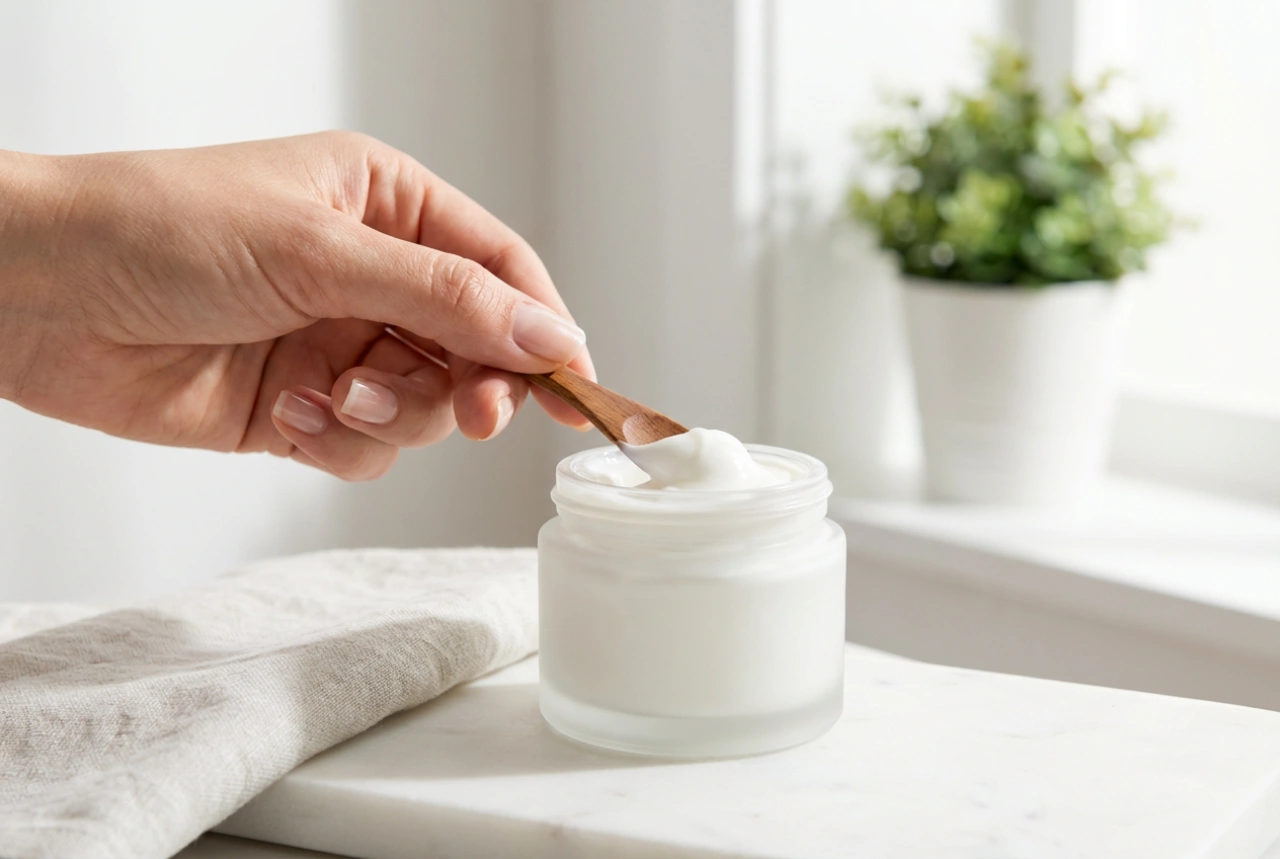
Begin with a thoroughly cleansed face. Using clean fingers or a soft mask brush, apply an even layer of the clay paste to your skin, avoiding the delicate areas around your eyes and mouth. The most important rule to remember is this: do not let the mask dry completely. When a clay mask dries to the point of cracking, it begins to draw moisture from the surface layers of your skin, leading to dehydration and irritation. The mask is most effective during its damp phase. You should aim to remove it when it is still slightly tacky to the touch but no longer wet. This typically takes between 5 and 10 minutes, depending on the thickness of the layer and the humidity of the room.
Gentle Removal and Post-Mask Care
Scrubbing a dry, hardened mask off your face is a recipe for redness and irritation. Gentle removal is essential for maintaining a calm and happy skin barrier.
The Removal Process
To begin, soften the mask by pressing a warm, damp face cloth (a soft flannel or muslin cloth is perfect) against your skin for about 30 seconds. This will rehydrate the clay, making it easy to wipe away. Gently wipe the mask off using small, circular motions. Avoid harsh rubbing. Once most of the mask is removed, rinse your face with lukewarm water to remove any remaining residue. Pat your skin dry with a clean, soft towel.
Locking in Hydration
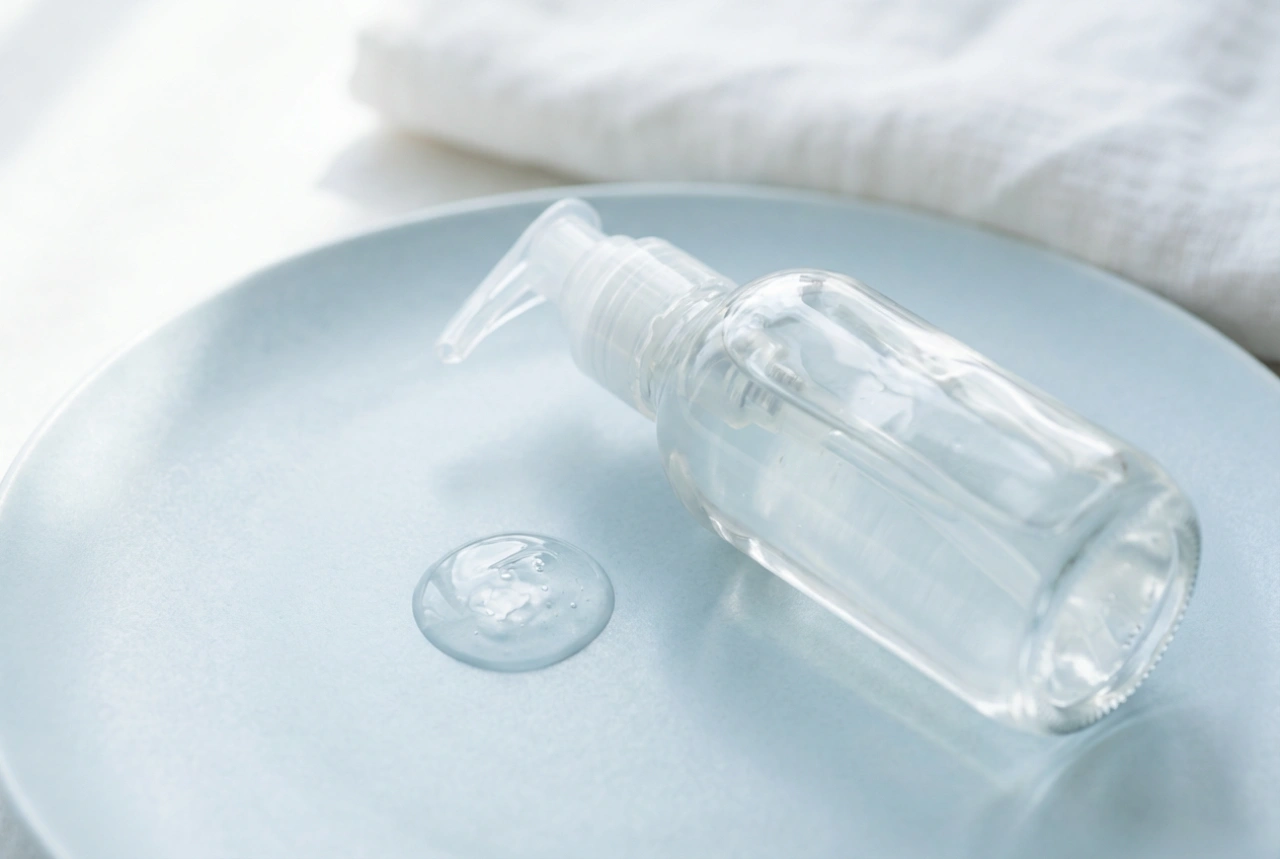
What you do immediately after removing the mask is critical for keeping your skin hydrated. Your pores are clear and ready to absorb beneficial ingredients. First, spritz your face with a hydrating toner or facial mist. While your skin is still damp, apply a hydrating serum, perhaps one containing hyaluronic acid or glycerin. To finish, seal everything in with your favourite moisturiser. This final step replenishes the skin's protective barrier, leaving your complexion feeling soft, plump, and beautifully refreshed.