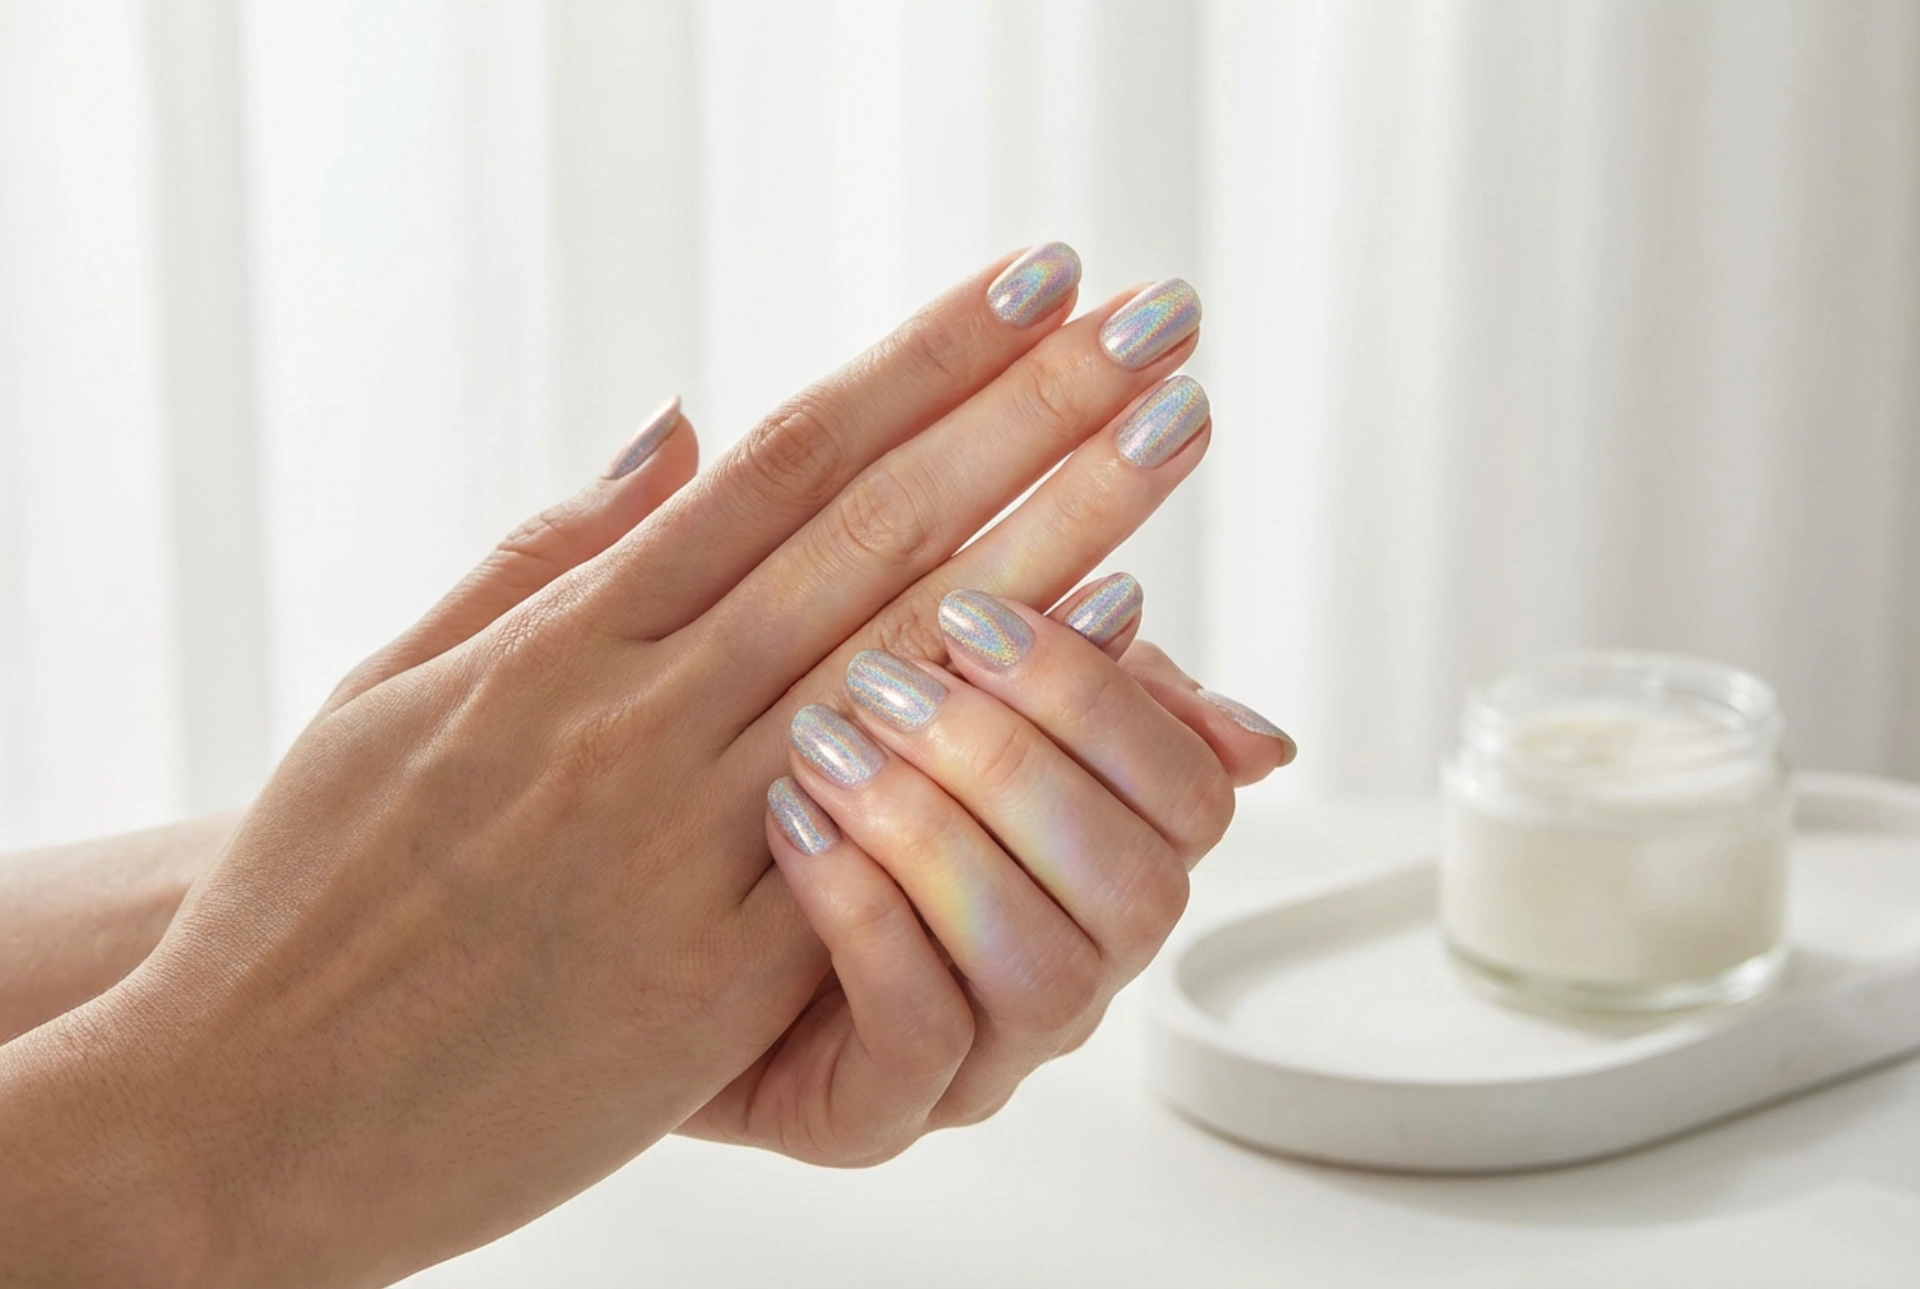


Holographic nail polish offers a captivating way to bring a multi-dimensional shimmer to your manicure. Unlike standard glitter polishes, holographic formulas contain micro-pigments that refract light, creating a mesmerising rainbow effect that shifts with every movement. Achieving that flawless, streak-free finish seen in photos requires a bit more than a simple swipe of the brush. With the right preparation and technique, you can unlock the full potential of your holographic polish and enjoy a stunning, professional-looking manicure at home.
Understanding Holographic Nail Polish
Before diving into the application, it's helpful to know what makes this type of polish so special. The magic lies in spectroscopic pigments that act like tiny prisms. When light hits them, it splits into its component colours, resulting in a linear or scattered rainbow effect. A 'linear' holo polish creates a sharp, defined rainbow flame in direct light, while a 'scattered' holo offers a more dispersed, diamond-like sparkle. Both types look best on a perfectly smooth surface, as any ridges or imperfections can disrupt the light refraction and diminish the effect.
Preparing Your Nails for a Flawless Application
Proper preparation is the most critical step for a successful holographic manicure. Because these polishes are designed to reflect light intensely, they can accentuate any unevenness on the nail plate. A smooth canvas is non-negotiable.
Step 1: Clean and Shape
Start by removing any old polish completely. Gently file your nails into your desired shape, ensuring the edges are smooth. Use a nail file to move in one direction to prevent splitting. Afterward, wash your hands to remove any dust and oils, and dry them thoroughly.
Step 2: Cuticle Care and Buffing
Carefully push back your cuticles using a cuticle pusher. Avoid cutting them, as this can lead to irritation. Next, take a fine-grit buffing block and very gently buff the surface of your nails. The goal is not to thin the nail, but to create a uniformly smooth texture that will allow the holographic particles to lie flat and reflect light evenly. Wipe away any dust with a lint-free cloth or a brush.
The Art of Application: A Step-by-Step Guide
With your nails prepped, you're ready to apply the polish. Patience and thin layers are the secrets to a streak-free finish.
The Essential Base Coat
Never skip the base coat. It serves multiple purposes: it protects your natural nails from staining, helps the polish adhere better, and, most importantly, provides a final smoothing layer. Apply one thin, even coat and let it dry completely. Some base coats are specifically formulated to grip onto special effect polishes, which can be beneficial but a standard, good-quality base coat will also work well.
Applying the Holographic Polish
Holographic polishes are often sheerer than crème formulas, so multiple coats are usually necessary. The key is to keep them thin. Load your brush with a small amount of polish and wipe off the excess on the bottle's neck. Apply the polish using the three-stroke method: one stroke down the centre of the nail, followed by one on each side. This minimises the risk of streaks. Let the first coat dry for at least two to three minutes before applying the next. Two to three thin coats are typically enough to achieve full opacity and a vibrant holographic effect.
Sealing with a Top Coat
A top coat is crucial for protecting your manicure, adding shine, and prolonging wear. However, some top coats can dull the holographic effect. Look for a quick-dry top coat, as they are less likely to interfere with the holo pigments. When applying it, 'float' the brush over the nail. This means using a generous bead of top coat on the brush and gliding it over the nail surface without letting the bristles drag on the polish underneath. This technique prevents smudging and preserves the pristine rainbow effect.
Tips for a Perfect Streak-Free Finish
Keep these final points in mind to maximise the impact of your holographic manicure.
- Let It Dry: Rushing the process is the primary cause of streaks and bubbles. Allow ample drying time between each layer—base coat, colour coats, and top coat.
- Work in Thin Coats: This cannot be overstated. Thick layers take longer to dry, are prone to smudging, and can create an uneven, streaky appearance.
- Check Your Lighting: To truly appreciate the rainbow effect, view your nails in direct sunlight or under a bright, direct light source like an LED lamp. Indoor, diffused lighting will show more of a scattered silver shimmer.
- Ensure a Smooth Base: If your nails have natural ridges, consider using a ridge-filling base coat before applying your holographic polish. A smooth foundation is everything.
By following these steps, you can master the application of holographic nail polish. The result will be a durable, eye-catching manicure that showcases a brilliant, seamless rainbow effect, turning your nails into a stunning accessory.




