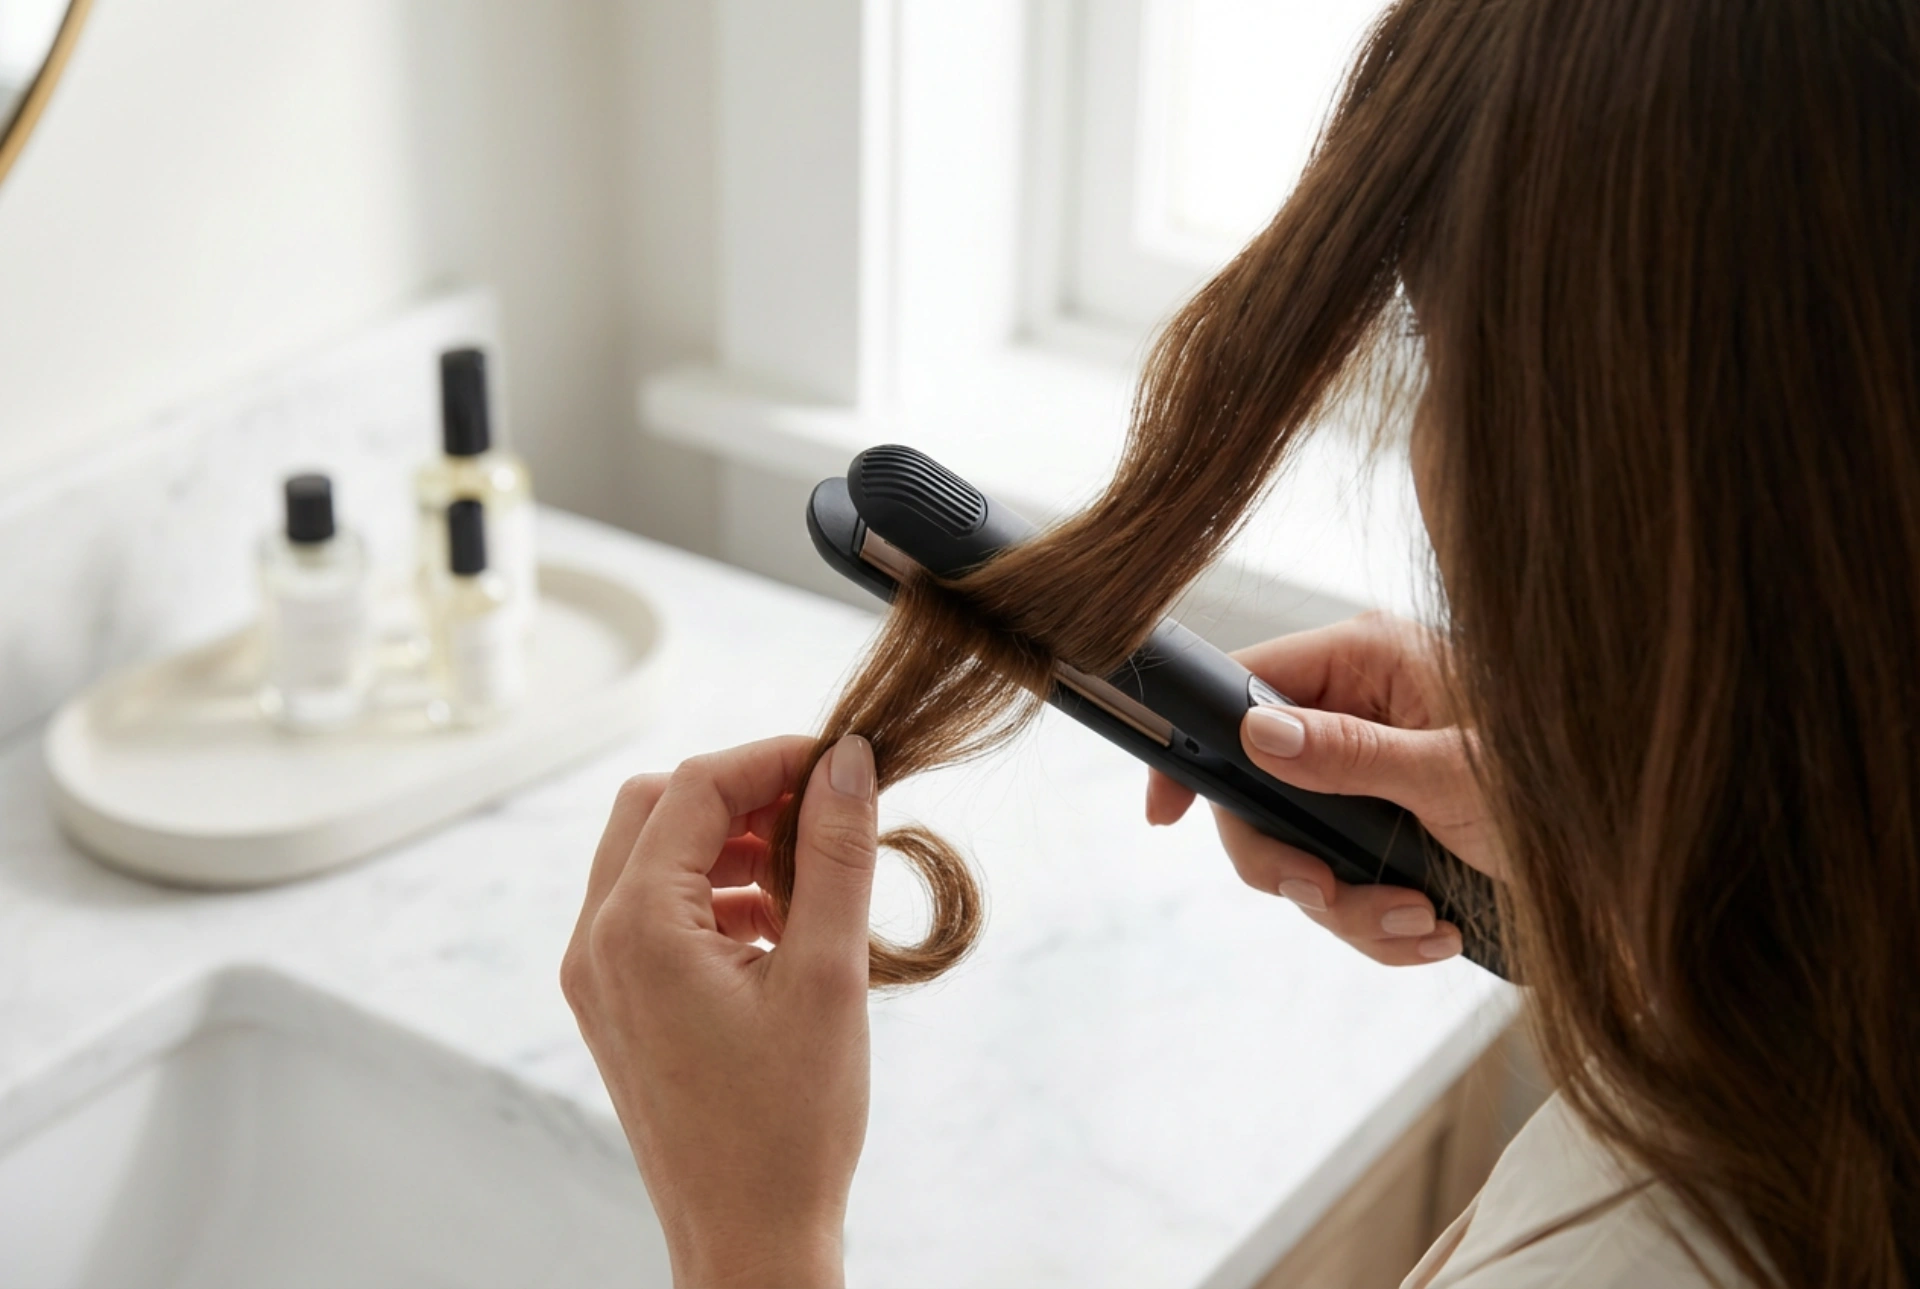


A 2-in-1 hair styler, which combines the functions of a straightener and a curling tong, is a truly versatile tool for your beauty cabinet. It allows you to create a variety of hairstyles, from poker-straight locks to bouncy waves and elegantly flicked ends, all with a single device. Mastering its use can simplify your routine and open up a world of styling possibilities. Before you begin, it's essential to prepare your hair correctly to protect it from heat and achieve the best results.
Preparing Your Hair for Styling
Proper preparation is the key to a beautiful, long-lasting style and, most importantly, healthy hair. Never use a heat styler on wet or damp hair, as this can cause significant damage. Follow these simple steps before you even plug in your tool.
- Start with Clean, Dry Hair: For the best results, wash and condition your hair. Afterwards, ensure it is completely dry. You can either air-dry it or use a hairdryer. Styling damp hair with a hot tool can boil the water within the hair shaft, leading to breakage.
- Apply a Heat Protectant: This is a non-negotiable step. A good heat protectant spray or serum creates a barrier between your hair and the high temperatures of the styler. Distribute it evenly from the roots to the ends.
- Detangle Thoroughly: Brush or comb through your hair to remove any knots or tangles. This will allow the styler to glide smoothly through your hair, preventing snagging and ensuring an even finish.
- Section Your Hair: Divide your hair into manageable sections using clips. Working with smaller sections gives you more control and ensures that every strand is styled consistently. A good starting point is to create a top and bottom section, then divide those further if you have thick hair.
Achieving Perfectly Straight Hair
The most basic function of a 2-in-1 styler is straightening. The flat plates are designed to glide over the hair, smoothing the cuticle for a sleek, shiny finish. The rounded outer casing doesn't interfere with this process.
The Straightening Technique
Start with a section of hair about 1-2 inches wide. Clamp the styler near the roots, being careful not to touch your scalp. With firm but gentle pressure, glide the tool down the length of the hair shaft to the very ends. The speed of your movement matters; moving too slowly can cause heat damage, while moving too quickly may not straighten the hair effectively in one pass. Aim for a slow, steady motion. Repeat on all sections until your hair is uniformly straight.
Creating Effortless Waves and Curls
The curved outer body of a 2-in-1 styler is what makes it excellent for creating curls and waves. This technique may require a little practice, but it's easy to master.
For Soft, Beachy Waves
Take a section of hair. Clamp it a few inches down from the root, as you would for straightening. Now, rotate the styler 180 degrees (a half-turn) away from your face, so the hair is wrapped once around the barrel. While maintaining this twist, gently pull the styler down towards the ends, just as you did when straightening. The combination of the twist and the downward motion creates a loose, elongated curl. For a more natural look, alternate the direction of the rotation with each section.
For Bouncier Curls
The technique for creating more defined curls is similar to waving but with a full rotation. Clamp a section of hair and immediately turn the styler a full 360 degrees. Hold this position and slowly glide the tool down to the ends. The slower you glide, the tighter the curl will be. Once you release the hair, you can let it cool in its spiral shape or gently wrap it around your finger to reinforce the curl.
Styling Details: Curled Ends and Fringes
A 2-in-1 styler is also perfect for adding subtle, finishing touches that complete your look. You can easily create a polished style by shaping the ends of your hair or taming a fringe.
Creating a Soft Under-Curl
For a classic, polished look, you can curl the ends of your hair inwards. Straighten a section of hair as normal, but as you approach the last two or three inches, start to turn the styler inwards towards your neck. This simple flick of the wrist will create a soft, rounded finish. You can also flick the ends outwards for a more retro, flipped-out style.
Styling a Fringe
When styling a fringe, use a lower temperature to avoid creating a stiff, unnatural shape. Clamp the fringe at the roots and gently pull the styler downwards, following the natural curve of your forehead. A slight bevel at the ends will help it sit perfectly without looking flat.
Finishing and Maintaining Your Style
Once you've finished styling, let your hair cool down completely. This helps the style to set and last longer. You can gently run your fingers through your hair to loosen waves or curls for a more relaxed effect. To hold your style in place, consider using a light-hold hairspray. For added shine and to tame any flyaways, apply a small amount of finishing serum or oil to the mid-lengths and ends.





