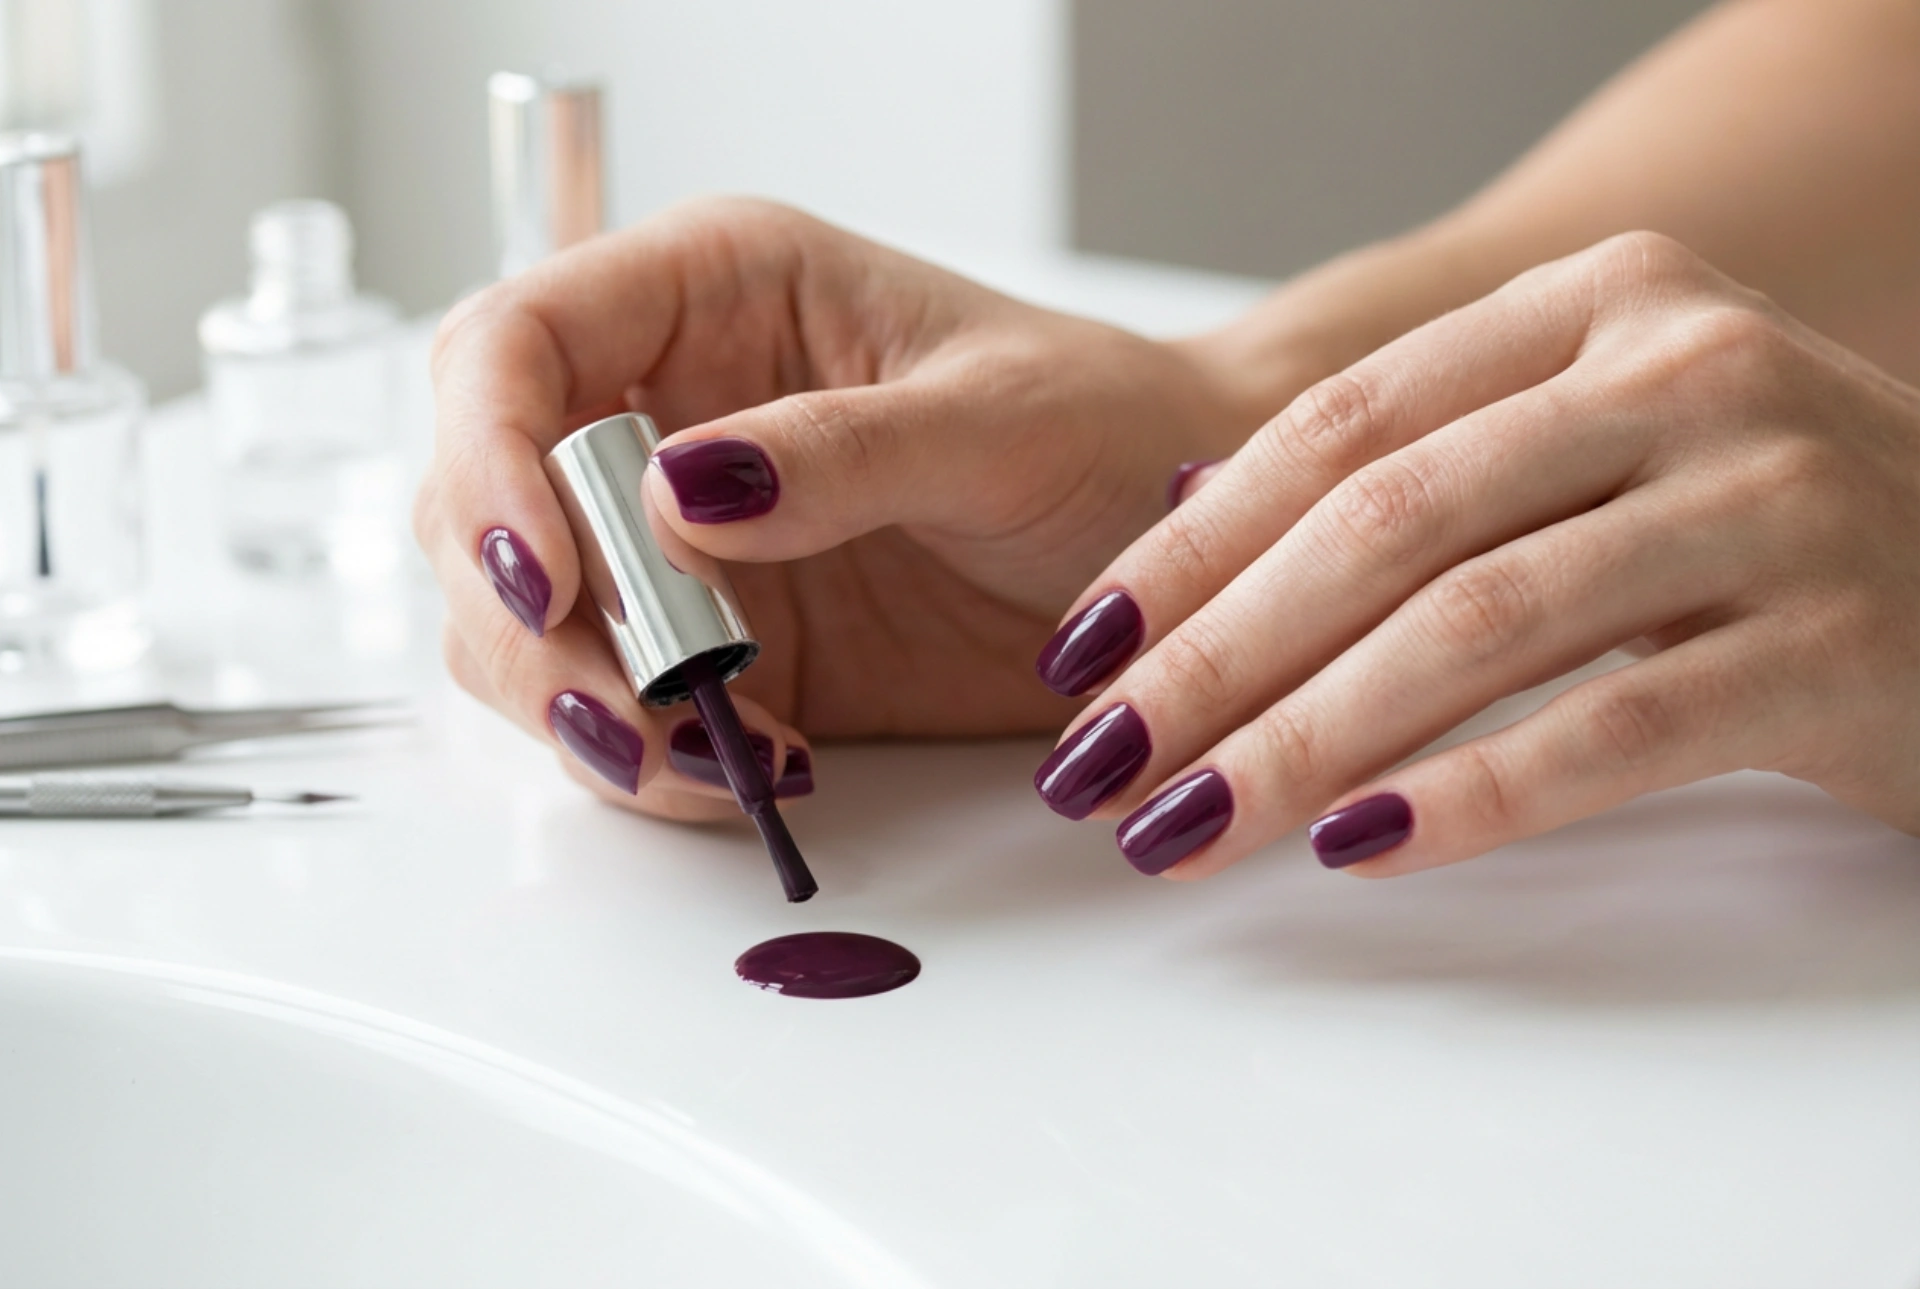


Deep, rich nail colours exude a unique elegance and sophistication. Among them, plum stands out as a versatile shade that is perfect for any season, adding a touch of class to any look. Achieving a perfect, long-lasting plum manicure at home is entirely possible with hybrid polishes. Proper preparation and a careful application technique are the keys to enjoying flawless, glossy nails for weeks. This guide will walk you through the entire process, from preparing the nail plate to creative decoration ideas.
Preparing the Nail Plate for a Lasting Manicure
The durability of your hybrid manicure depends heavily on how well you prepare your nails. A properly prepared nail plate ensures better adhesion of the products and prevents the polish from lifting or chipping prematurely. Take your time with this crucial first step.
Key Preparation Steps:
- Shaping and Cleaning: Start by giving your nails the desired shape using a file with an appropriate grit. Gently file in one direction to avoid splitting the nail. Then, thoroughly wash and dry your hands to remove any dust or oils.
- Cuticle Care: Gently push back your cuticles using a wooden stick or a cuticle pusher. Avoid cutting them, as this can lead to irritation and damage to the delicate skin. You can use a special cuticle remover liquid to soften them first.
- Matting the Nail Plate: Using a gentle buffer block, lightly buff the entire surface of each nail. The goal is not to thin the nail, but simply to remove the natural shine and create a slightly textured surface for the base coat to grip onto.
- Degreasing: This is a non-negotiable step. Soak a lint-free wipe in a specialised nail cleaner or isopropyl alcohol and wipe each nail thoroughly. This removes all remaining dust, moisture, and natural oils, ensuring maximum adhesion.
The Step-by-Step Application of Plum Hybrid Polish
Once your nails are perfectly prepared, you can move on to the application. Work on one hand at a time, applying and curing each layer meticulously. Remember that thin, even coats are the secret to a professional-looking and durable manicure.
- Step 1: Apply the Base Coat. Brush a thin layer of hybrid base coat onto the nail, making sure to cover the entire surface, including capping the free edge (the tip of the nail). Be careful not to flood the cuticles. Cure the base coat under a UV/LED lamp according to the manufacturer's instructions.
- Step 2: Apply the First Colour Coat. Apply a very thin layer of your chosen plum hybrid polish. A thin coat may look slightly transparent, but this is normal. It is better to build up the colour with multiple layers than to apply one thick one, which may not cure properly. Cure this layer under the lamp.
- Step 3: Apply the Second Colour Coat. Apply a second thin layer of the plum polish to achieve full coverage and depth of colour. Again, remember to cap the free edge and avoid contact with the skin. Cure this layer fully under the lamp. If the colour is still not opaque enough, you can apply a third thin coat.
- Step 4: Apply the Top Coat. To seal your manicure and give it a brilliant shine, apply a thin layer of hybrid top coat. This layer protects the colour from chipping and fading. Cap the free edge one last time to fully encase the manicure. Cure it under the lamp for the recommended time.
- Step 5: Remove the Dispersion Layer. Many top coats leave a sticky (dispersion) layer after curing. If you are not using a 'no-wipe' top coat, soak a lint-free wipe in nail cleaner and firmly wipe the surface of each nail to reveal a hard, glossy finish.
Creative Ideas for Decorating Plum Nails
Plum is a fantastic base colour for various simple yet effective nail art designs. You don't need to be a professional artist to add a personal touch to your manicure.
Subtle Shimmer and Glitter
An accent nail is the easiest way to elevate your manicure. Instead of painting one nail (typically the ring finger) with the second coat of plum, apply a glitter hybrid polish in a complementary shade like gold, silver, or rose gold. Alternatively, you can use a top coat with embedded glitter particles over the cured plum colour on all or some nails for a delicate, shimmering effect.
Minimalist Geometric Patterns
For a modern and chic look, use a very fine nail art brush and a contrasting polish colour (white, black, or metallic gold) to draw simple geometric shapes. Think thin vertical or horizontal lines, small dots near the cuticle, or a delicate V-shape at the tip of the nail. These minimalist designs look incredibly stylish against the deep plum background.
The Modern Matte Finish
Transform the look of your manicure entirely by swapping your glossy top coat for a matte one. A matte finish gives the deep plum colour a velvety, sophisticated appearance that is both trendy and understated. You can even play with textures by making some nails matte and keeping one or two glossy as an accent.
Maintaining Your Plum Manicure
To keep your hybrid nails looking fresh for as long as possible, a little aftercare goes a long way. Apply cuticle oil daily to nourish the skin around your nails and keep them hydrated. When doing household chores, especially those involving water or cleaning agents, wear protective gloves to prevent the manicure from dulling or lifting. Finally, resist the urge to use your nails as tools to pick or scrape at things. With proper care, your beautiful plum manicure can last for two to three weeks.




