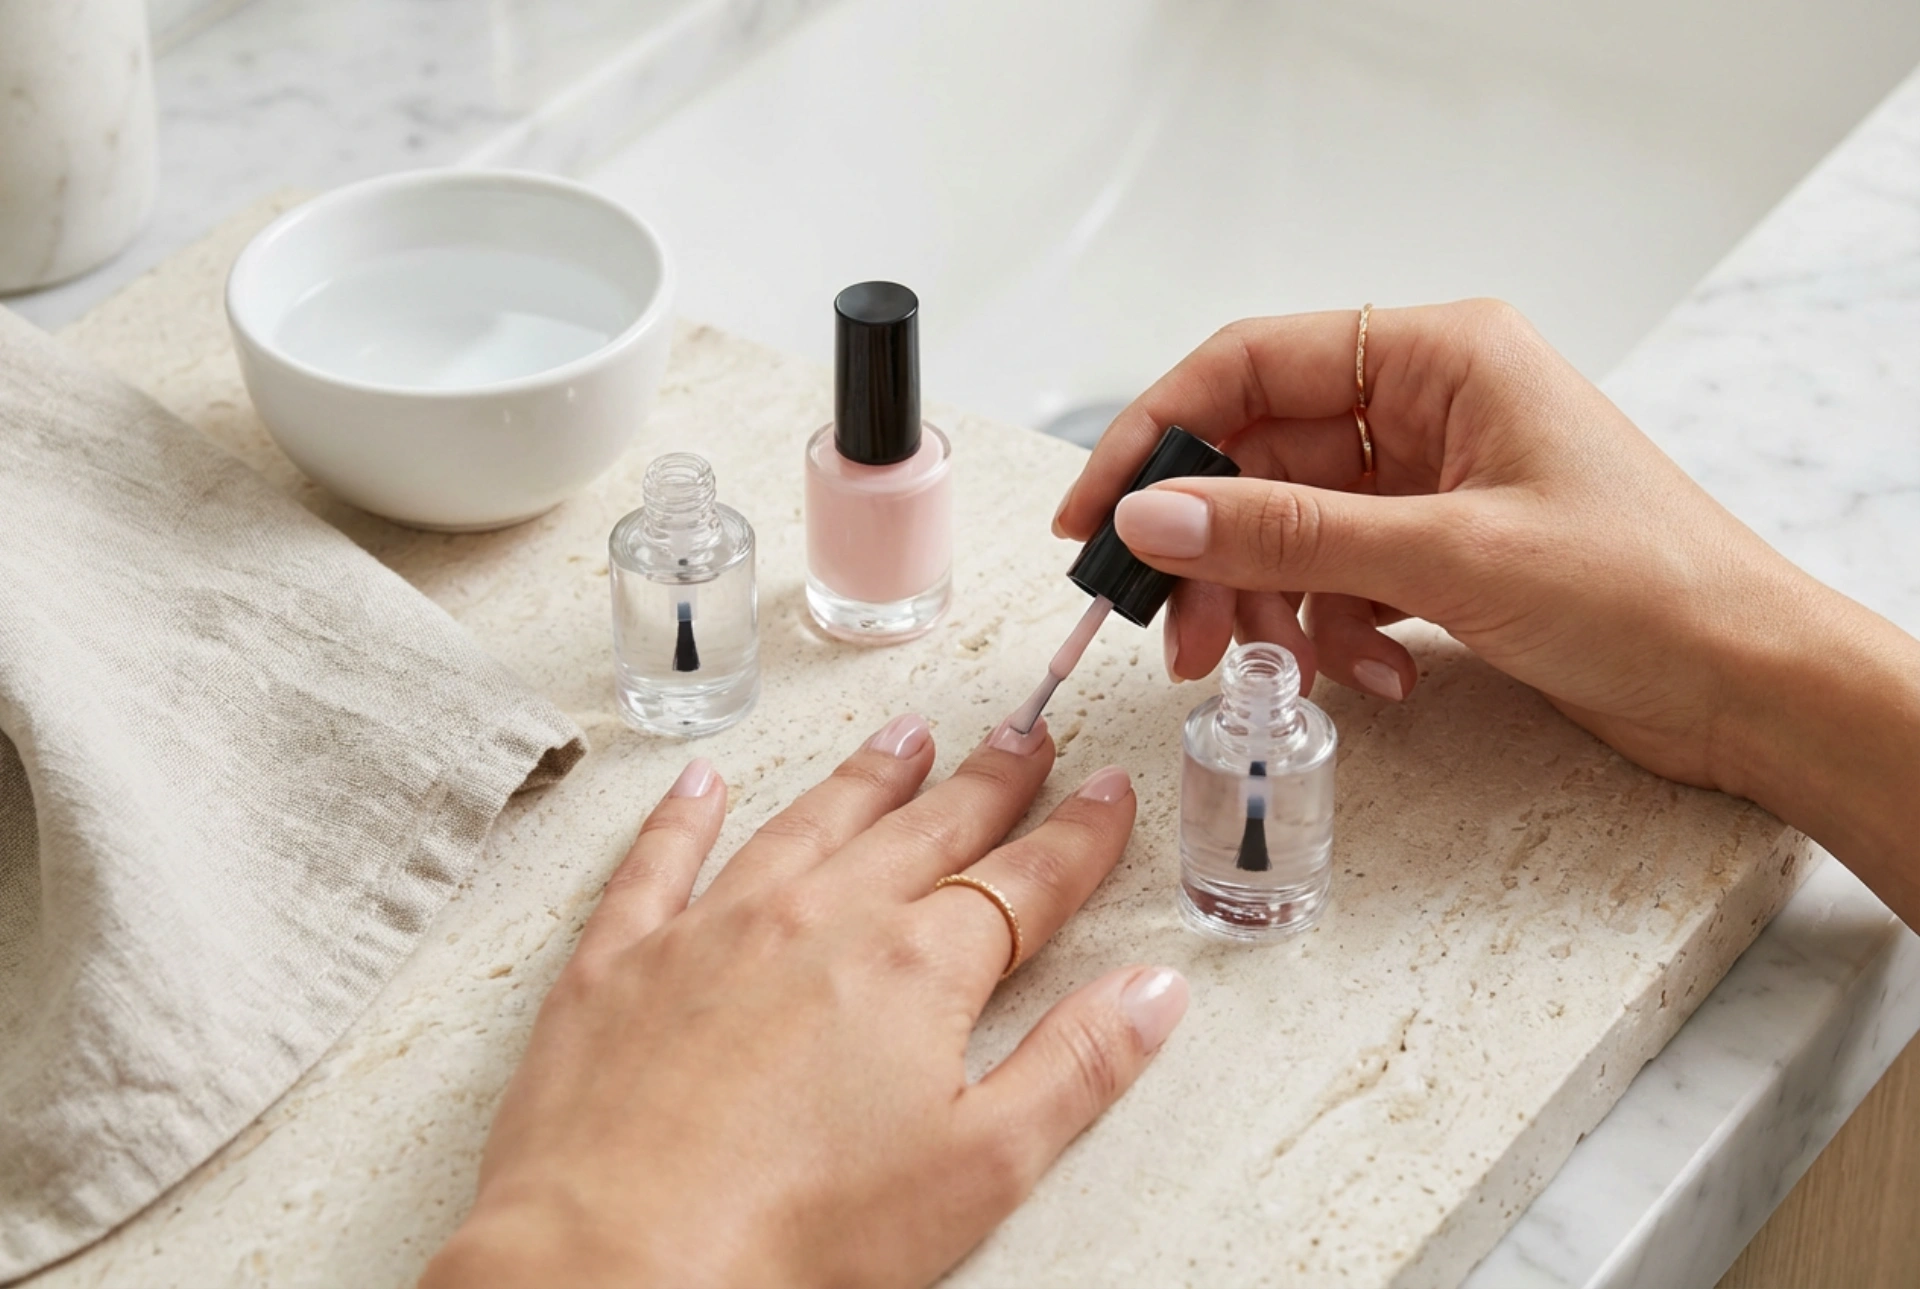


Achieving a salon-quality manicure at home is a satisfying ritual that adds a touch of elegance to your look. The secret to a flawless and long-lasting finish lies not just in a steady hand, but in the correct sequence of application. Using a base coat, colour, and top coat in the right order is fundamental to protecting your nails and ensuring your manicure stays vibrant and chip-free for as long as possible. This guide will walk you through each essential step, transforming your home manicure process.
Preparing Your Nails for Perfection
Before you even think about opening a bottle of polish, proper nail preparation is crucial. A clean and smooth canvas is the foundation of any great manicure. Skipping this stage can lead to a lumpy finish and a shorter lifespan for your nail colour.
Key Preparation Steps:
- Cleanse the Nails: Start by removing any old polish thoroughly. Then, wash your hands and nails to remove any oils or dirt. Pat them completely dry. For best results, wipe each nail with a nail polish remover or rubbing alcohol on a cotton pad to dehydrate the nail plate, which helps the polish adhere better.
- Shape and File: File your nails to your desired shape. Always file in one direction, from the side to the centre, rather than sawing back and forth. This prevents splitting and weakening the nail. Gently buff the surface of your nails to smooth out any ridges, but be careful not to overdo it.
- Cuticle Care: Gently push back your cuticles using a cuticle pusher or an orangewood stick. Avoid cutting your cuticles, as they act as a barrier to protect your nail bed from impurities. If necessary, you can carefully trim any hangnails.
Step 1: The Essential Base Coat
The first layer you should always apply is a base coat. This step is often overlooked, but it is one of the most important for nail health and manicure longevity. A base coat is a clear or slightly milky polish that is specifically formulated to bond with your natural nail on one side and the colour polish on the other.
Why is a Base Coat Necessary?
- Prevents Staining: Highly pigmented polishes, especially dark reds, blues, and blacks, can stain your natural nails, leaving them with a yellow tint. A base coat creates a protective barrier to prevent this.
- Increases Longevity: It provides a sticky surface for the colour polish to grip onto, which helps your manicure last longer and resist chipping.
- Strengthens Nails: Many base coats are enriched with nourishing ingredients like proteins or vitamins that can help strengthen and protect weak or brittle nails.
Apply one thin, even layer of base coat to each nail and allow it to dry completely. This usually takes one to two minutes.
Step 2: Applying the Colour Coat
Once your base coat is dry, it's time for the colour. The key to a professional-looking application is to use thin coats. Thick layers of polish take much longer to dry, are more prone to smudging, and can result in bubbles or a gloopy texture.
The Three-Stroke Method:
For an even application, try the classic three-stroke method. Load your brush with a small bead of polish. Wipe one side of the brush on the neck of the bottle to remove excess. Place the brush in the centre of your nail, slightly away from the cuticle. Push the brush gently towards the cuticle, leaving a tiny gap, and then pull it straight up to the tip of the nail. Return to the base of the nail and sweep the brush along the left curve, and then again along the right curve. This should cover the entire nail. Apply a second coat for full opacity and a richer colour, but only after the first coat is completely dry to the touch.
Step 3: Sealing with a Top Coat
The final layer is the top coat. This is the shield that protects your beautiful colour from the outside world. It provides a high-gloss shine, prevents chipping, and can significantly extend the life of your manicure.
The Importance of a Top Coat:
- Adds Shine: A good top coat gives your nails a glossy, wet-look finish that makes the colour pop.
- Provides Protection: It creates a hard, durable layer that protects the colour from scratches, dents, and everyday wear and tear.
- Prevents Fading: A top coat with UV inhibitors can help prevent your nail colour from fading due to sun exposure.
Apply one layer of top coat over your completely dry colour polish. For extra protection, be sure to 'cap' the free edge of your nail by running the brush along the very tip. This seals the polish and is highly effective at preventing chips. Allow your manicure to dry for at least 15-20 minutes, or even longer for a truly durable finish.




