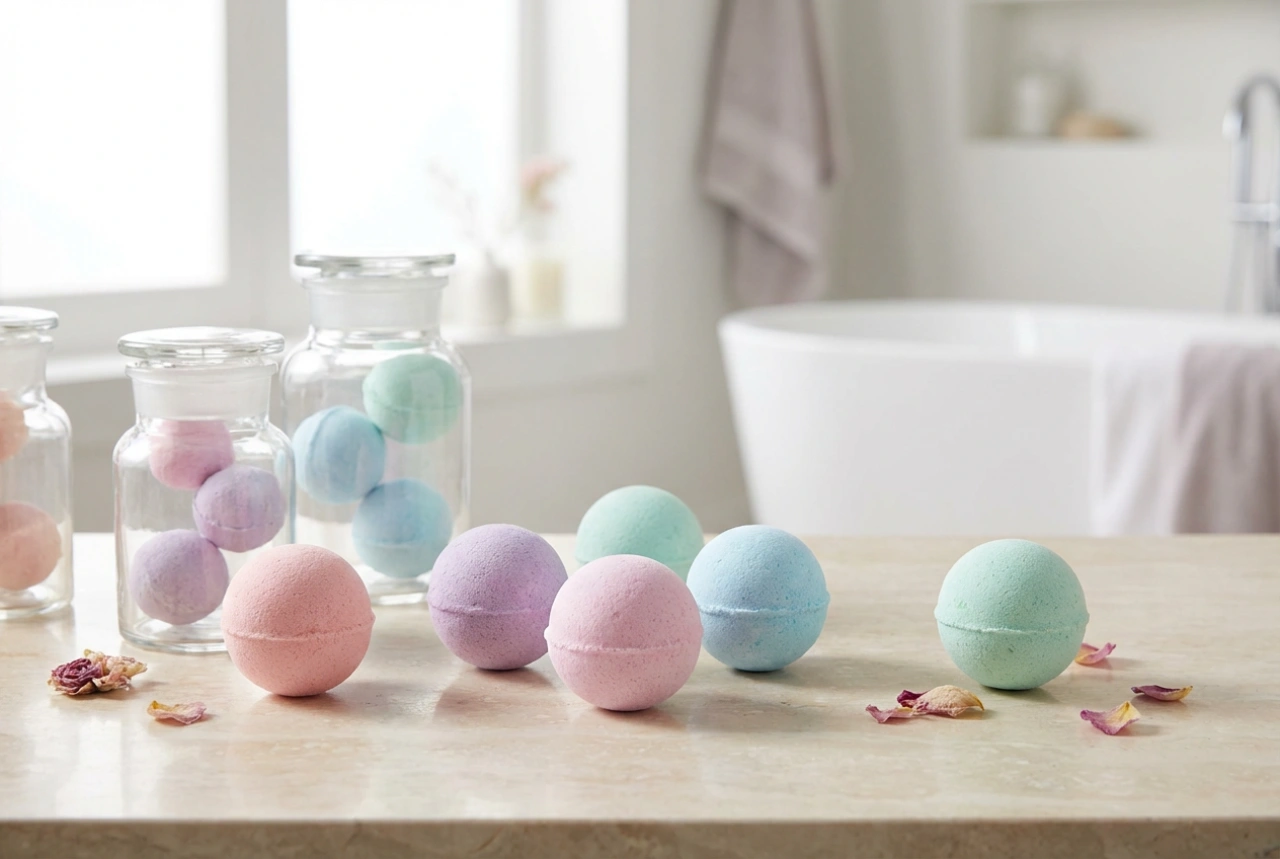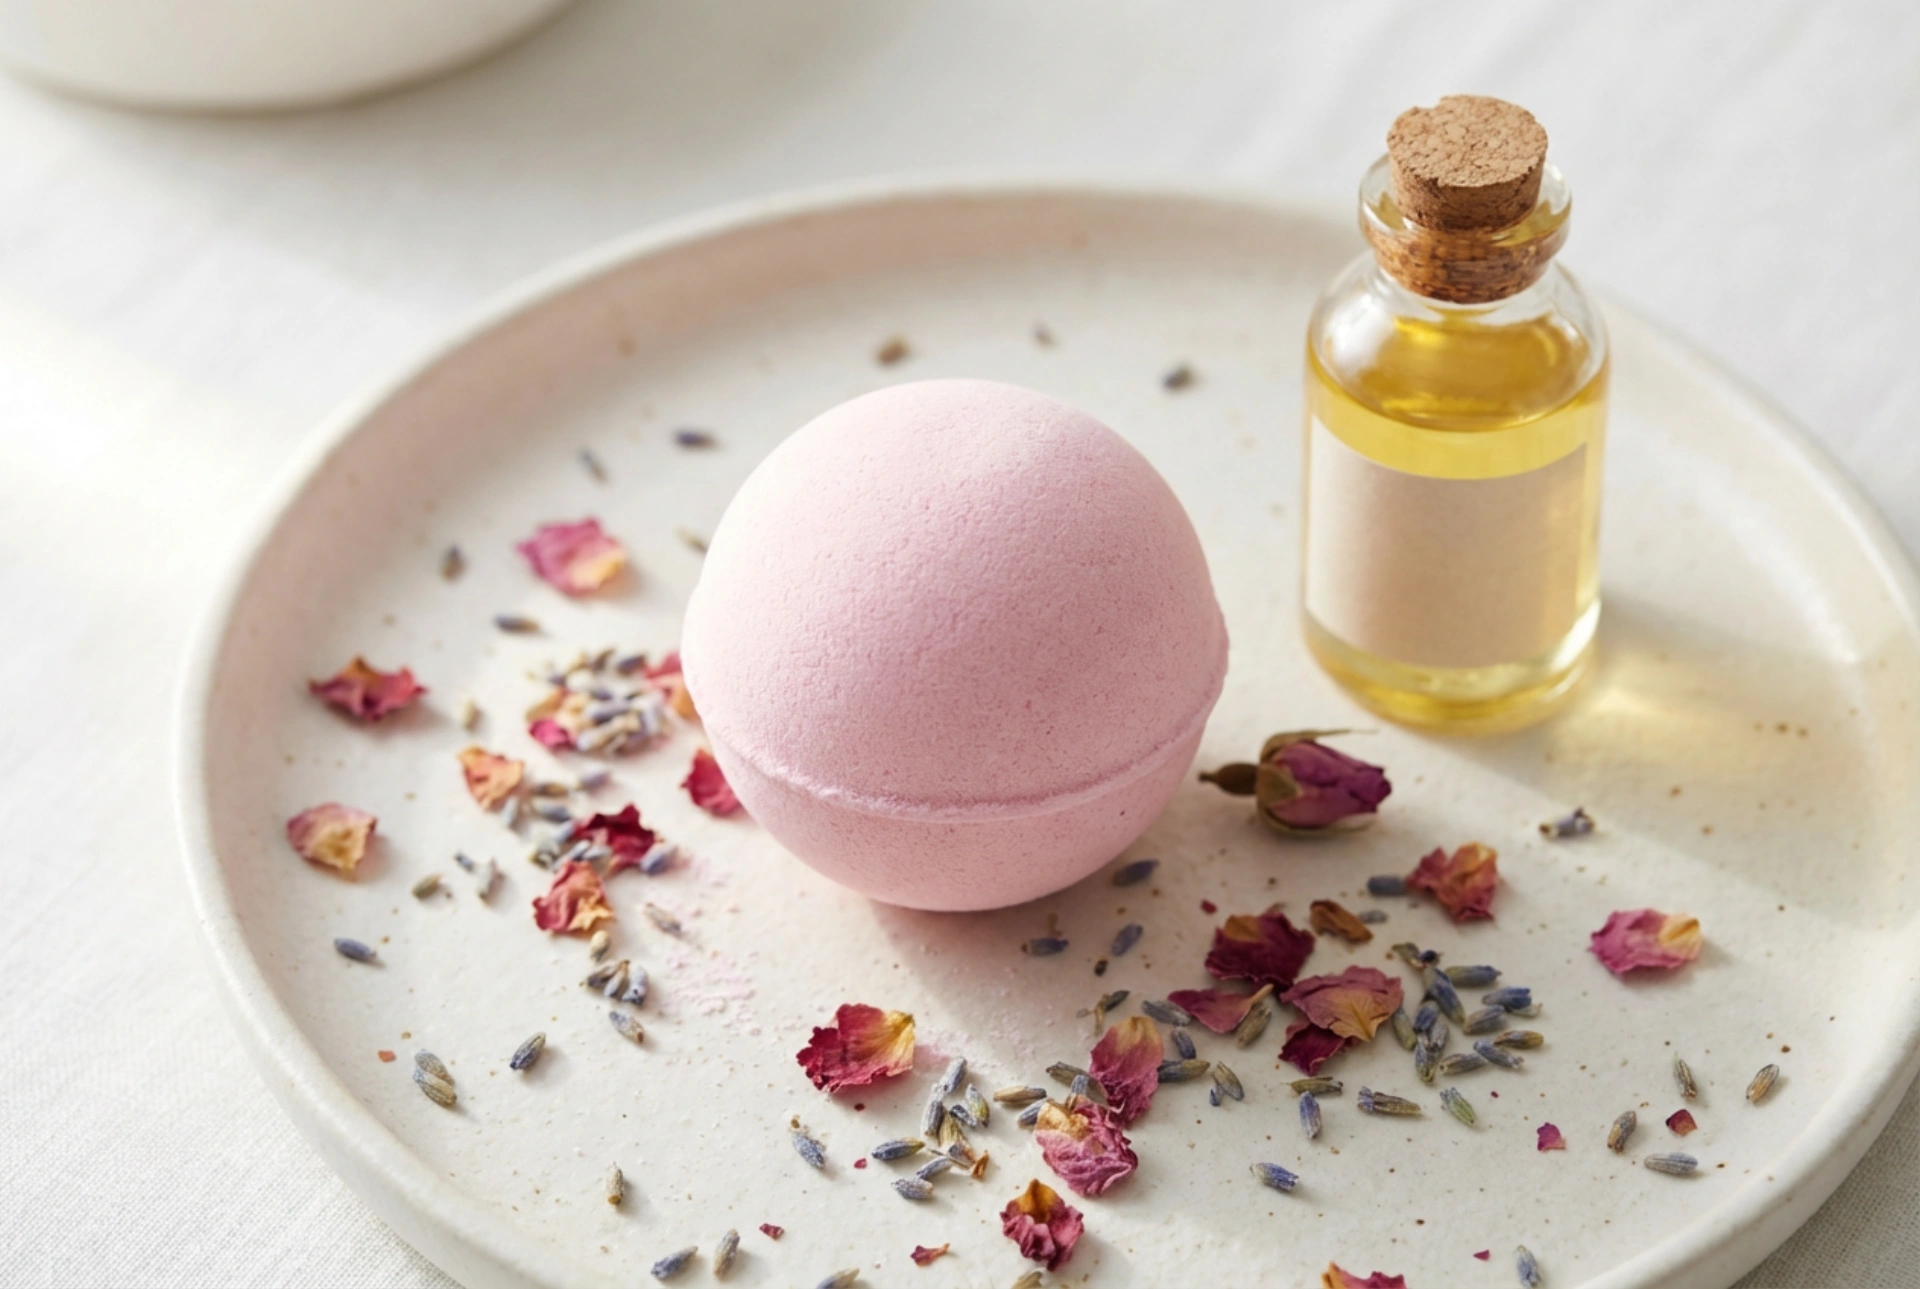


A warm bath is a wonderful way to unwind, and creating your own bath bombs can elevate this ritual into a truly personal and pampering experience. Crafting these fizzy delights at home allows you to control the ingredients, focusing on gentle, nourishing additions that leave your skin feeling wonderfully soft and cared for. Imagine dropping a handcrafted sphere into your tub, watching it fizz away while releasing beautiful scents and skin-loving oils.
The Foundation: Essential Ingredients
The classic fizzing reaction of a bath bomb comes from a simple pairing of a weak acid and a bicarbonate base. To get started, you will need a few key items that form the foundation of almost every recipe. Getting the ratio right is key to a successful creation.
- Bicarbonate of Soda: This is the primary base ingredient, often making up about half of your mixture.
- Citric Acid: This is the acid that reacts with the bicarbonate of soda to create the fizzing effect. The typical ratio is two parts bicarbonate of soda to one part citric acid.
- Cornflour or Epsom Salts: You can add a filler like cornflour, which helps to bind the ingredients and slow down the fizzing reaction. Alternatively, Epsom salts can be included for their reputed benefits in soothing tired muscles.
Choosing Nourishing Oils and Butters
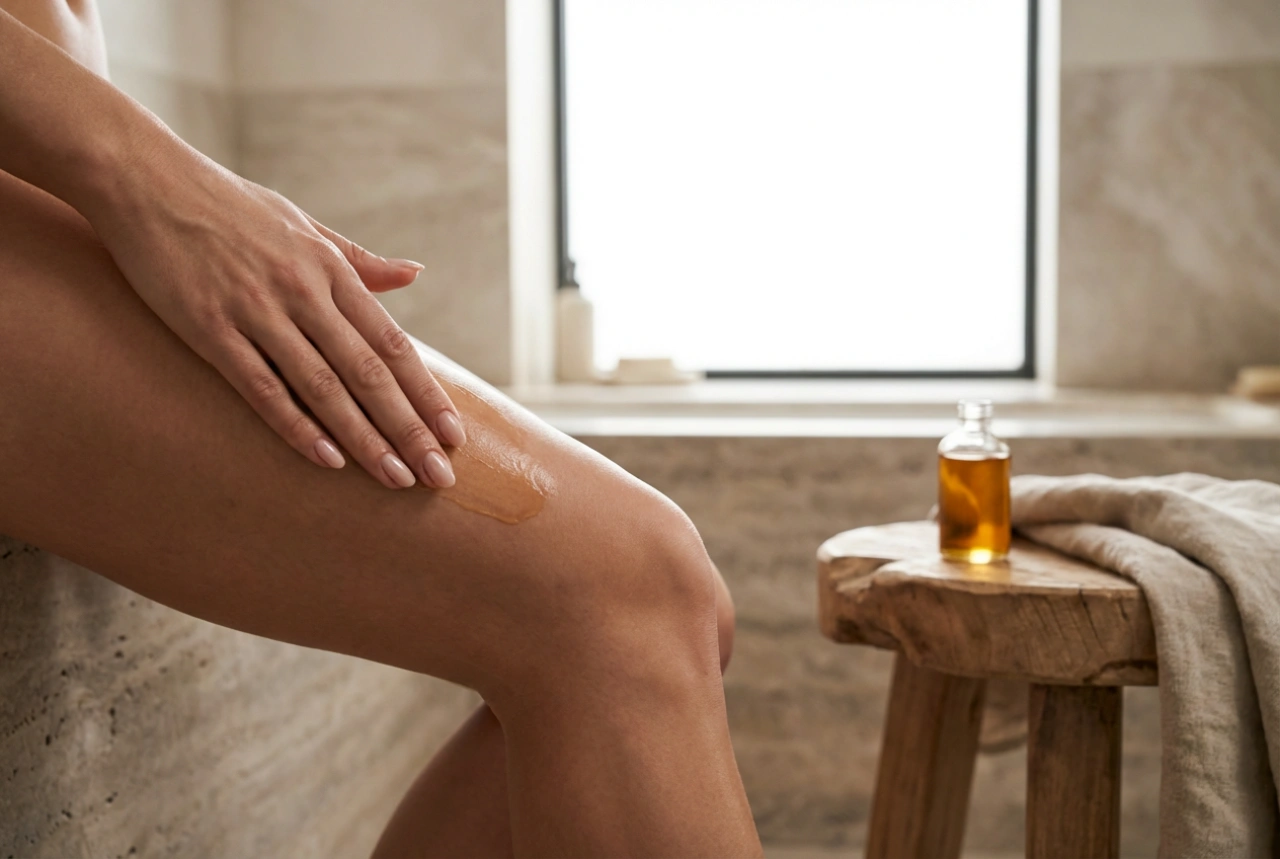
This is where you can truly customise your bath bomb to suit your skin's needs. Adding oils and butters will provide a deeply moisturising treat, leaving your skin feeling supple and hydrated after your bath. Remember that a little goes a long way; too much oil can make the bath bomb heavy and less fizzy.
Liquid Carrier Oils
These oils are easy to incorporate and are packed with skin-loving properties. They help to bind the mixture together and carry the essential oils. Good options include:
- Sweet Almond Oil: A light, easily absorbed oil that is suitable for most skin types.
- Coconut Oil: Known for its moisturising properties. Use fractionated coconut oil if you want it to remain liquid, or gently melt solid coconut oil before mixing.
- Olive Oil: A richer oil that is excellent for providing intense moisture to dry skin.
- Jojoba Oil: This oil's structure is very similar to the skin's natural sebum, making it a wonderful, balancing moisturiser.
Rich Butters
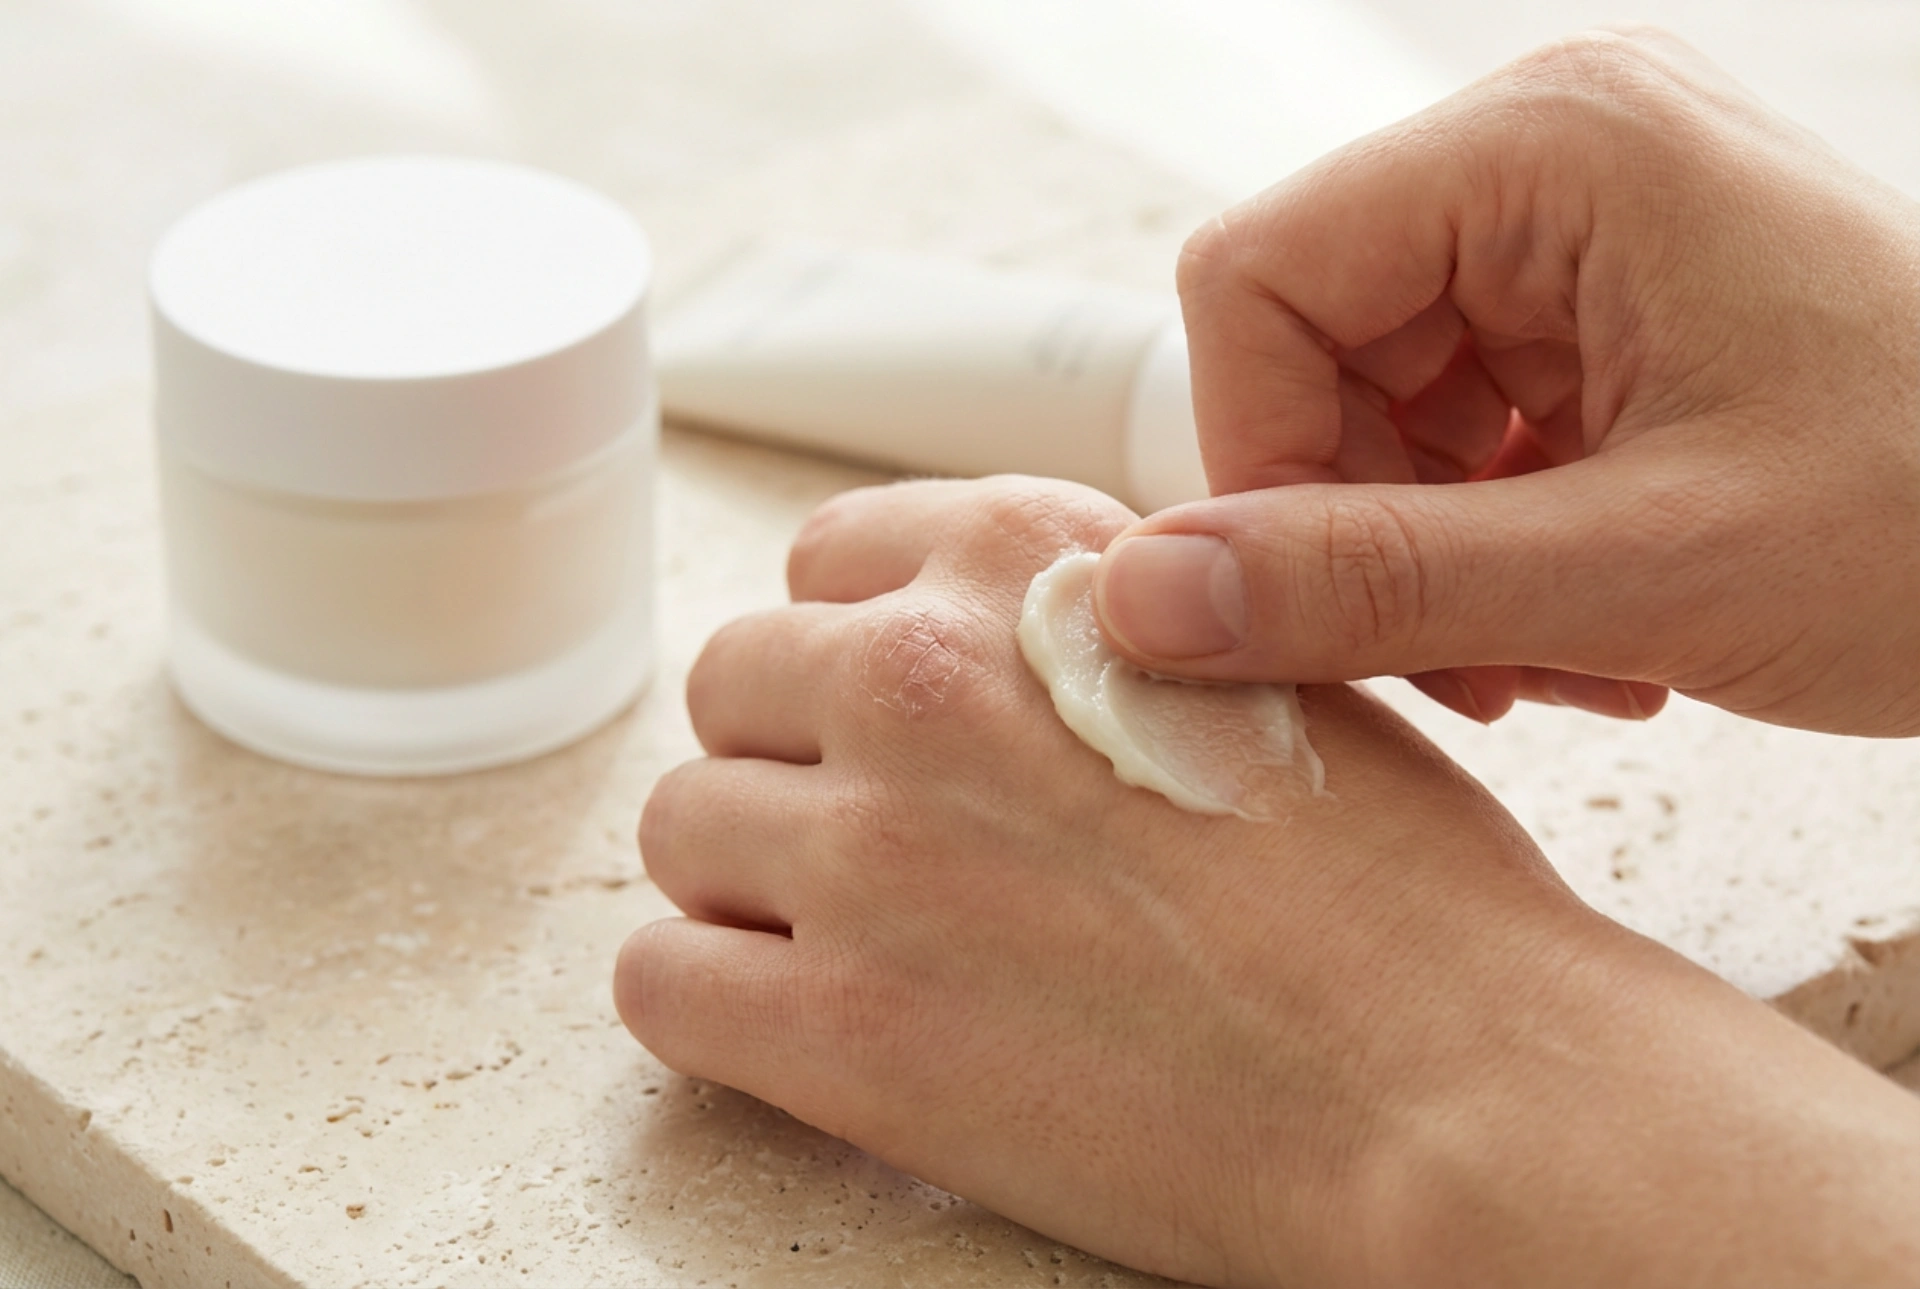
For an extra-luxurious and creamy bath, consider adding a melted butter. They are wonderful for nourishing very dry skin. Be sure to melt them gently over low heat or in a microwave before adding to your other wet ingredients. Popular choices are:
- Shea Butter: Prized for its intense moisturising and soothing qualities.
- Cocoa Butter: Gives the bathwater a rich, velvety feel and has a lovely natural chocolatey scent.
Adding a Personal Touch: Colour and Fragrance
Personalising your bath bombs with colour and scent is part of the fun. However, it's important to choose ingredients that are safe for use in the bath to avoid any potential skin irritation or staining your tub.
Skin-Safe Colourants
Always opt for colourants specifically designed for cosmetic use. Great options include cosmetic-grade micas for a shimmery effect, or natural clays like pink or green clay, which also add a silky feel to the water. A small amount of water-based food colouring can also be used, but mix it in thoroughly to prevent speckling.
Aromatic Essential Oils
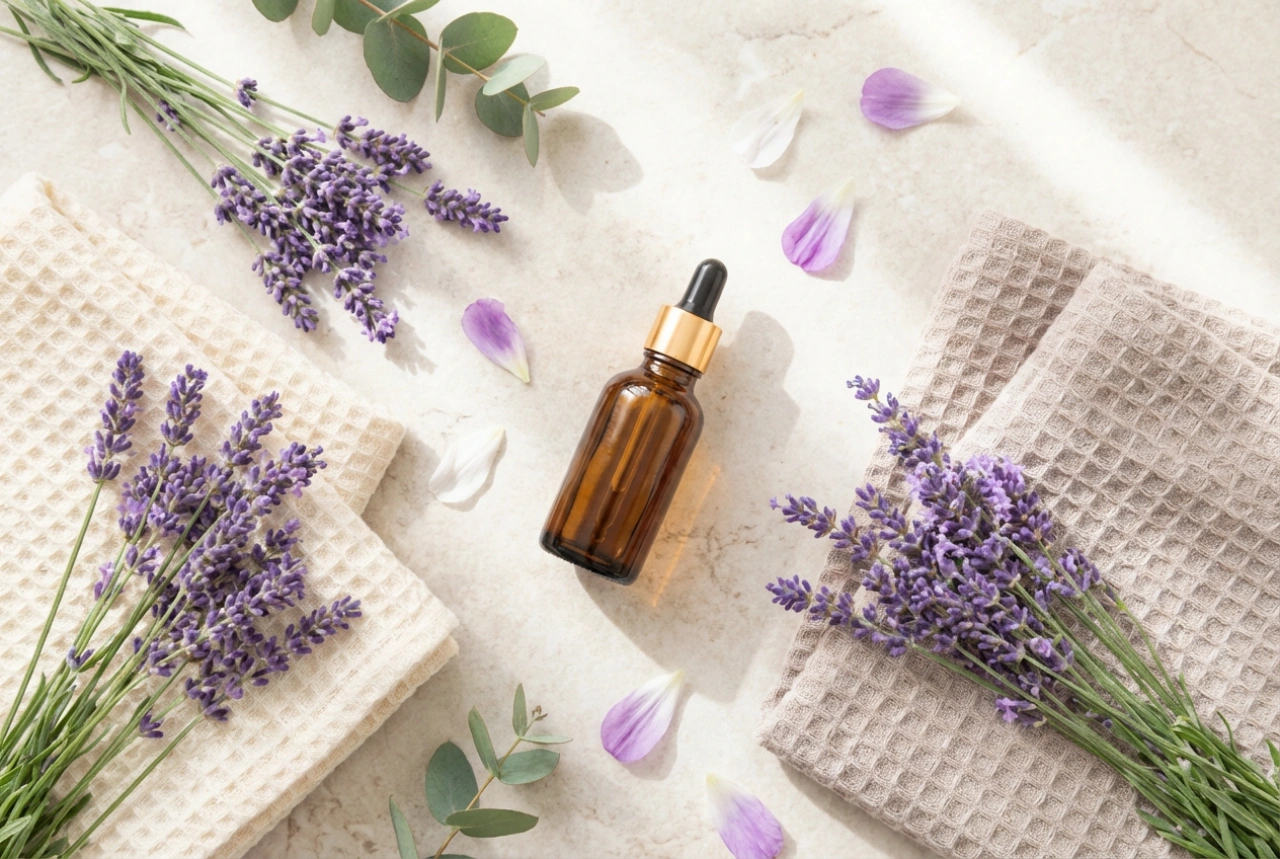
Essential oils provide natural fragrance and can enhance the bath's atmosphere. Always use them sparingly, as they are highly concentrated. For a relaxing experience, try lavender, chamomile, or ylang-ylang. For a more uplifting soak, consider sweet orange, lemon, or peppermint. It is best practice to mix the essential oils with your liquid carrier oil before adding them to the dry mixture to ensure they are well dispersed.
The Method: A Step-by-Step Guide
Creating the perfect bath bomb is a simple science, and a few tips can make the process much smoother.
- Mix Dry First: In a large bowl, whisk together all your dry ingredients (bicarbonate of soda, citric acid, cornflour, and any powdered colourants or clays) until they are completely combined and free of clumps.
- Combine Wet Ingredients: In a separate, smaller bowl, mix your liquid carrier oil, any melted butter, and your chosen essential oils.
- Combine Slowly: This is the most critical step. Very slowly, add the liquid mixture to the dry mixture, whisking continuously. You want to add it drop by drop to avoid starting the fizzing reaction prematurely.
- Achieve the Right Texture: The final mixture should have the consistency of damp sand. It should clump together when you squeeze it in your hand. If it is too dry, use a small spray bottle to add a tiny spritz of witch hazel or water until you reach the right consistency.
- Mould and Dry: Firmly pack the mixture into your moulds. Overfill each half slightly, then press them together firmly to create a sphere. Let the bombs dry in the moulds for a few hours before carefully removing them. Allow them to air-dry in a cool, dry place for at least 24 hours to harden completely before use.