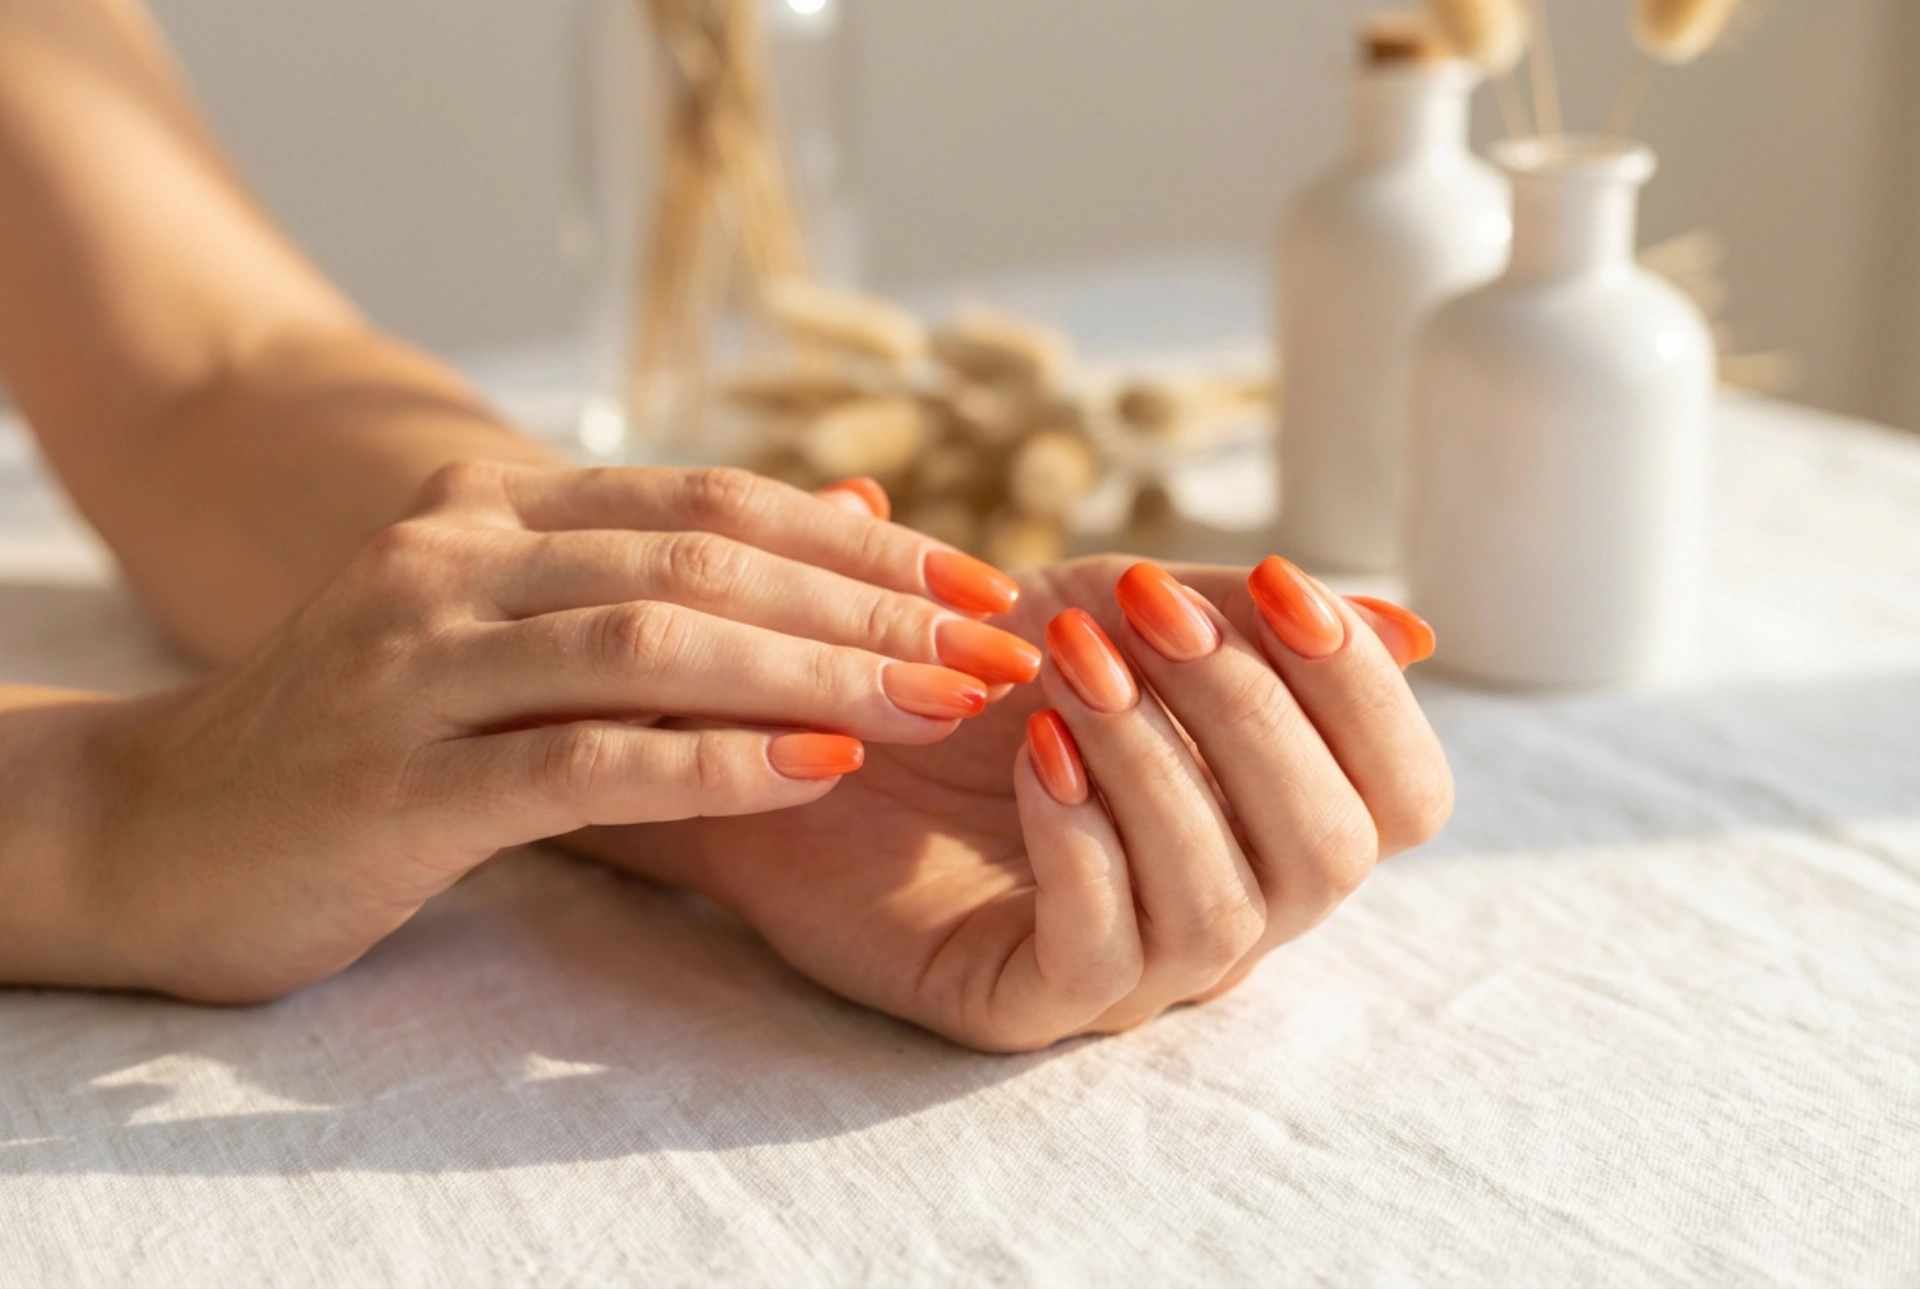


When the sun shines brighter and the days grow longer, our style often follows suit, craving vibrant colours and playful designs. A manicure is a fantastic way to express this seasonal shift, and what colour captures the essence of summer better than orange? From the soft glow of a sunrise to the zesty appeal of citrus fruits, orange is pure energy. An orange ombre manicure, with its beautiful gradient effect, is the perfect way to wear this shade, offering a sophisticated yet fun look that's reminiscent of a tropical sunset. Creating this eye-catching design at home is easier than you might think.
Choosing Your Perfect Orange Hues
The key to a successful ombre effect lies in the selection of your colours. For a smooth and natural-looking transition, you should choose at least two shades of orange that complement each other well. Think about creating a gradient from light to dark. You could pair a soft, pastel peach with a vibrant tangerine, or a zesty coral with a deep, rich terracotta. Don't be afraid to experiment with different combinations to find what you love. Consider your skin tone as well; warmer, deeper oranges often flatter darker skin tones, while lighter, peachy shades can look stunning on fairer skin. The goal is to create a seamless flow of colour that delights the eye.
Essential Tools for Your Home Manicure
Before you begin, it's helpful to gather all the necessary supplies. Having everything within reach will make the process much smoother and more enjoyable. You don’t need professional equipment, just a few basic manicure tools.
- A clear base coat to protect your nails.
- A light orange nail polish to serve as your base colour.
- A darker orange nail polish for the gradient effect.
- A high-gloss top coat to seal the design and add shine.
- A small piece of a disposable makeup sponge (a triangle wedge works well).
- Nail polish remover and a small, flat brush or cotton bud for cleaning up any mistakes.
- Optional: Petroleum jelly or liquid peel-off tape to protect the skin around your nails.
Step-by-Step Guide to Creating Orange Ombre Nails
With your colours chosen and your tools ready, it's time to create your beautiful orange ombre manicure. Follow these steps for a salon-quality result at home.
Step 1: Preparation is Key
Start with clean, dry nails. File them into your desired shape and gently buff the surface to create a smooth canvas. Push back your cuticles, but avoid cutting them to maintain nail health. Wipe your nails with a bit of nail polish remover to get rid of any natural oils, which helps the polish adhere better.
Step 2: Apply Your Base
Apply a thin layer of your base coat to all nails. This prevents the polish from staining your natural nails. Once it's dry, apply one or two coats of your lightest orange polish. This will be the foundation of your ombre. Ensure this layer is completely dry before moving on to the next step; patience is crucial here.
Step 3: Create the Gradient on the Sponge
Take your makeup sponge and paint two horizontal stripes of your chosen nail polishes directly onto it. The lighter shade should be at the bottom and the darker shade at the top. Make sure the stripes slightly overlap in the middle to help with the blending process.
Step 4: Transfer the Colour
Working one nail at a time, gently dab or roll the sponge onto your nail. Press lightly and use a slight rolling motion from side to side to transfer the polish and blend the colours together. The colour will look a bit textured from the sponge, but the top coat will smooth it out. You can repeat this step to build up the colour intensity, but let the first layer dry a little before applying the second.
Step 5: Clean Up and Finish
Your fingers will likely have some polish on them from the sponge. This is normal. Dip your small brush or a cotton bud in nail polish remover and carefully clean up the skin around your nail. If you used petroleum jelly or a peel-off barrier, remove it now. Once your nails are completely dry, apply a generous layer of a glossy top coat. This will smooth out the texture, blend the colours even more, and give your orange ombre a brilliant, long-lasting shine.
Tips for a Flawless Finish
To elevate your DIY ombre nails, keep these professional tips in mind. First, slightly dampening the sponge with water before applying the polish can help create a more seamless blend. Also, work quickly once the polish is on the sponge, as it starts to dry fast. For an extra vibrant look, you can apply a coat of white polish as your base before the light orange. This will make the colours pop even more. Enjoy your beautiful, sun-kissed manicure!




