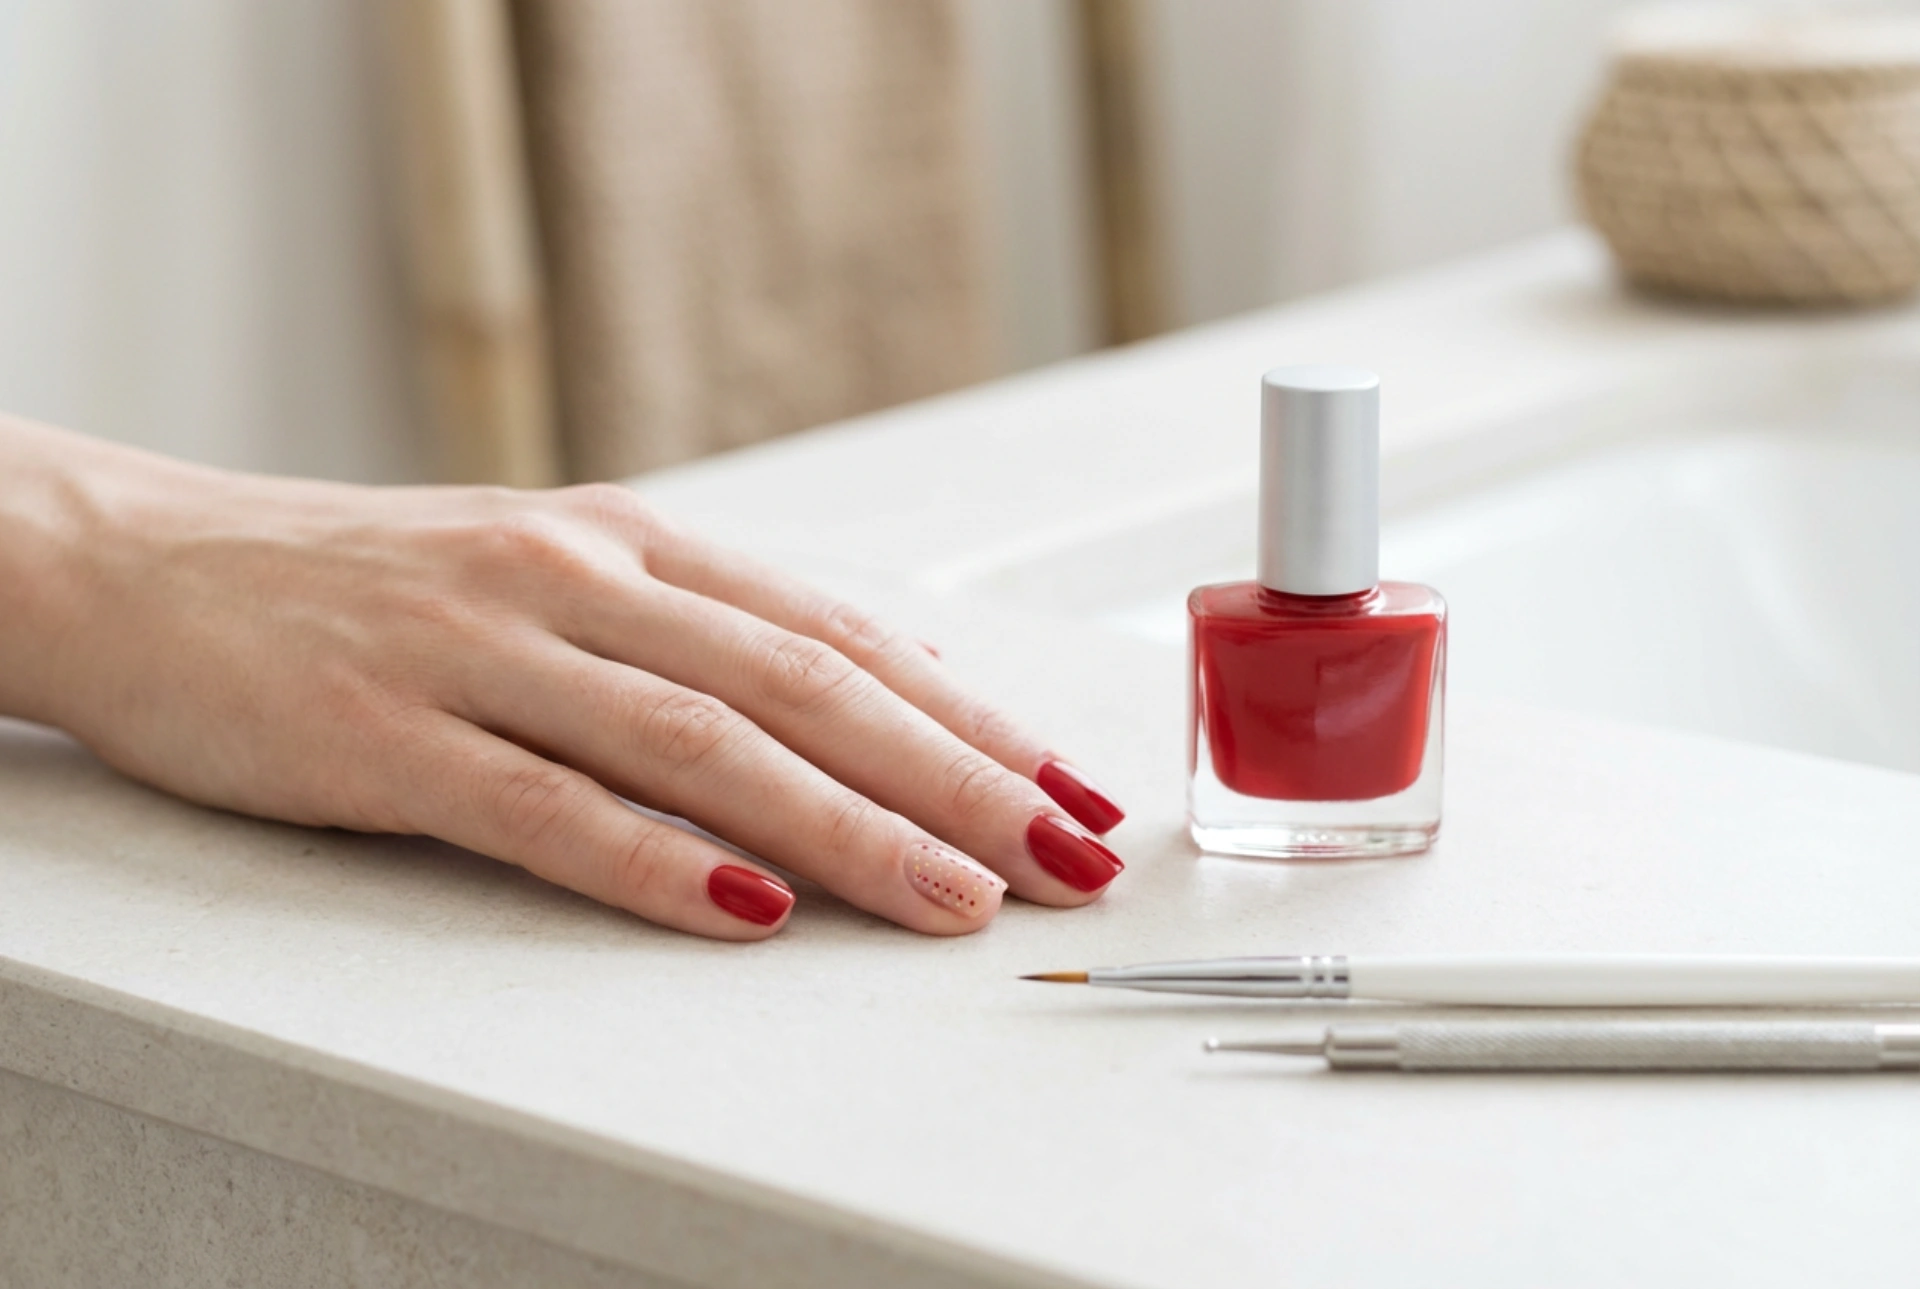


Red nails are a timeless classic, exuding elegance and confidence. But a classic red manicure can be elevated with a touch of creativity. Adding simple patterns and designs can transform your nails into a personal style statement. With just a few basic tools, like the fine brushes and dotting tools often seen in minimalist beauty setups, you can easily create stunning designs at home. This guide will walk you through simple techniques, the necessary equipment, and how to avoid common pitfalls for a flawless finish.
Essential Tools for Simple Nail Art
To begin your journey into DIY nail art, you do not need a professional kit. A few key items will suffice for most simple designs, allowing you to achieve a polished and creative look without a significant investment.
- Fine Liner Brush: This is essential for drawing thin, precise lines, curves, and other intricate details. It gives you the control needed for delicate work.
- Dotting Tool: This tool typically has a small rounded metal tip, perfect for creating uniform dots of various sizes. Often, they are double-ended with different sizes. A toothpick or the end of a bobby pin can be a good substitute in a pinch.
- Striping Tape: Very thin adhesive tape used to create perfectly straight lines and geometric patterns. You apply it to the nail, paint over it, and peel it off before the polish dries completely to reveal a crisp line.
- Makeup Sponge: A small piece of a cosmetic sponge is ideal for creating soft gradient or ombré effects. The texture of the sponge helps to blend colours seamlessly on the nail.
- Clean-up Brush: A small, flat or angled brush dipped in nail polish remover is invaluable for tidying up the cuticles and correcting any mistakes. This is the secret to a professional-looking manicure.
- Base and Top Coat: A quality base coat protects your nails from staining by the rich red pigment and helps the manicure last longer. A good top coat seals in your design, adds impressive shine, and prevents chipping.
Simple Techniques for Stunning Red Nail Designs
Once you have your tools, you can experiment with various easy-to-master techniques that will make your red nails stand out. Start with these simple ideas.
Classic Polka Dots
This is one of the simplest and most charming designs. After applying your red base colour and letting it dry, simply dip your dotting tool into a contrasting polish colour (like white, black, or gold) and gently press it onto the nail. You can create a full pattern, an accent nail, or just a few scattered dots near the cuticle for a minimalist touch.
Minimalist Stripes
Stripes offer a chic and modern look. For perfectly straight lines, apply striping tape to your dry red nails in your desired pattern. Paint over the tape with a different colour. Carefully remove the tape while the second polish is still wet. Alternatively, use a fine liner brush for freehand stripes, which can look more organic and artistic.
Subtle Gradient Effect
A gradient, or ombré, adds depth and interest to your manicure. Apply a stripe of your red polish and another contrasting colour side-by-side onto a makeup sponge. Dab the sponge repeatedly onto your nail, slightly moving it up and down to blend the colours. It can be a messy technique, so it is wise to protect the skin around your nail with liquid latex or tape before you start.
Step-by-Step Guide to an Accent Nail Design
Creating an accent nail is a great way to start with nail art without committing to a full set of ten decorated nails. Here is how to create a simple yet elegant design.
- 1. Preparation: Start with clean, dry nails. Shape them with a file and gently push back your cuticles. Wipe the nail plate with a remover to ensure there are no oils.
- 2. Base Coat: Apply one thin layer of base coat to all nails to protect them and create a smooth canvas for the colour. Let it dry completely.
- 3. Apply Red Polish: Paint two thin coats of your chosen red polish on all nails, allowing each coat to dry thoroughly between applications. This ensures an even, rich colour.
- 4. Create the Design: Choose one nail on each hand to be the accent nail (often the ring finger). Pour a small drop of a contrasting polish colour onto a piece of foil. Dip your chosen tool, such as a dotting tool or fine brush, into the polish and create your design on the accent nail.
- 5. Clean Up: Use your clean-up brush dipped in nail polish remover to carefully wipe away any polish from the skin around your nails for a neat outline.
- 6. Top Coat: Once the design is dry to the touch, apply a generous layer of top coat to all nails. Be sure to 'cap' the free edge of the nail by running the brush along the tip. This seals the design, adds a high-gloss shine, and extends the life of your manicure.
Common Mistakes and How to Avoid Them
A few common errors can stand between you and a flawless finish. Being aware of them is the first step to achieving better results.
Applying Polish Too Thickly
Thick coats take a very long time to dry and are prone to smudging, bubbling, and peeling. The key is to apply multiple thin, even layers. This builds up colour opacity without the bulk and results in a more durable finish.
Skipping the Base and Top Coats
This is a crucial mistake. A base coat not only prevents the potent red pigment from staining your natural nails but also provides a sticky surface for the polish to adhere to. A top coat is non-negotiable for protecting your design from wear and tear.
Not Allowing Enough Drying Time
Nail art requires patience. Rushing the process is the primary cause of smudges. Wait until each layer is completely dry before moving on to the next step, especially before applying a top coat over your design. A quick-dry top coat can help, but it cannot fix wet polish underneath.




