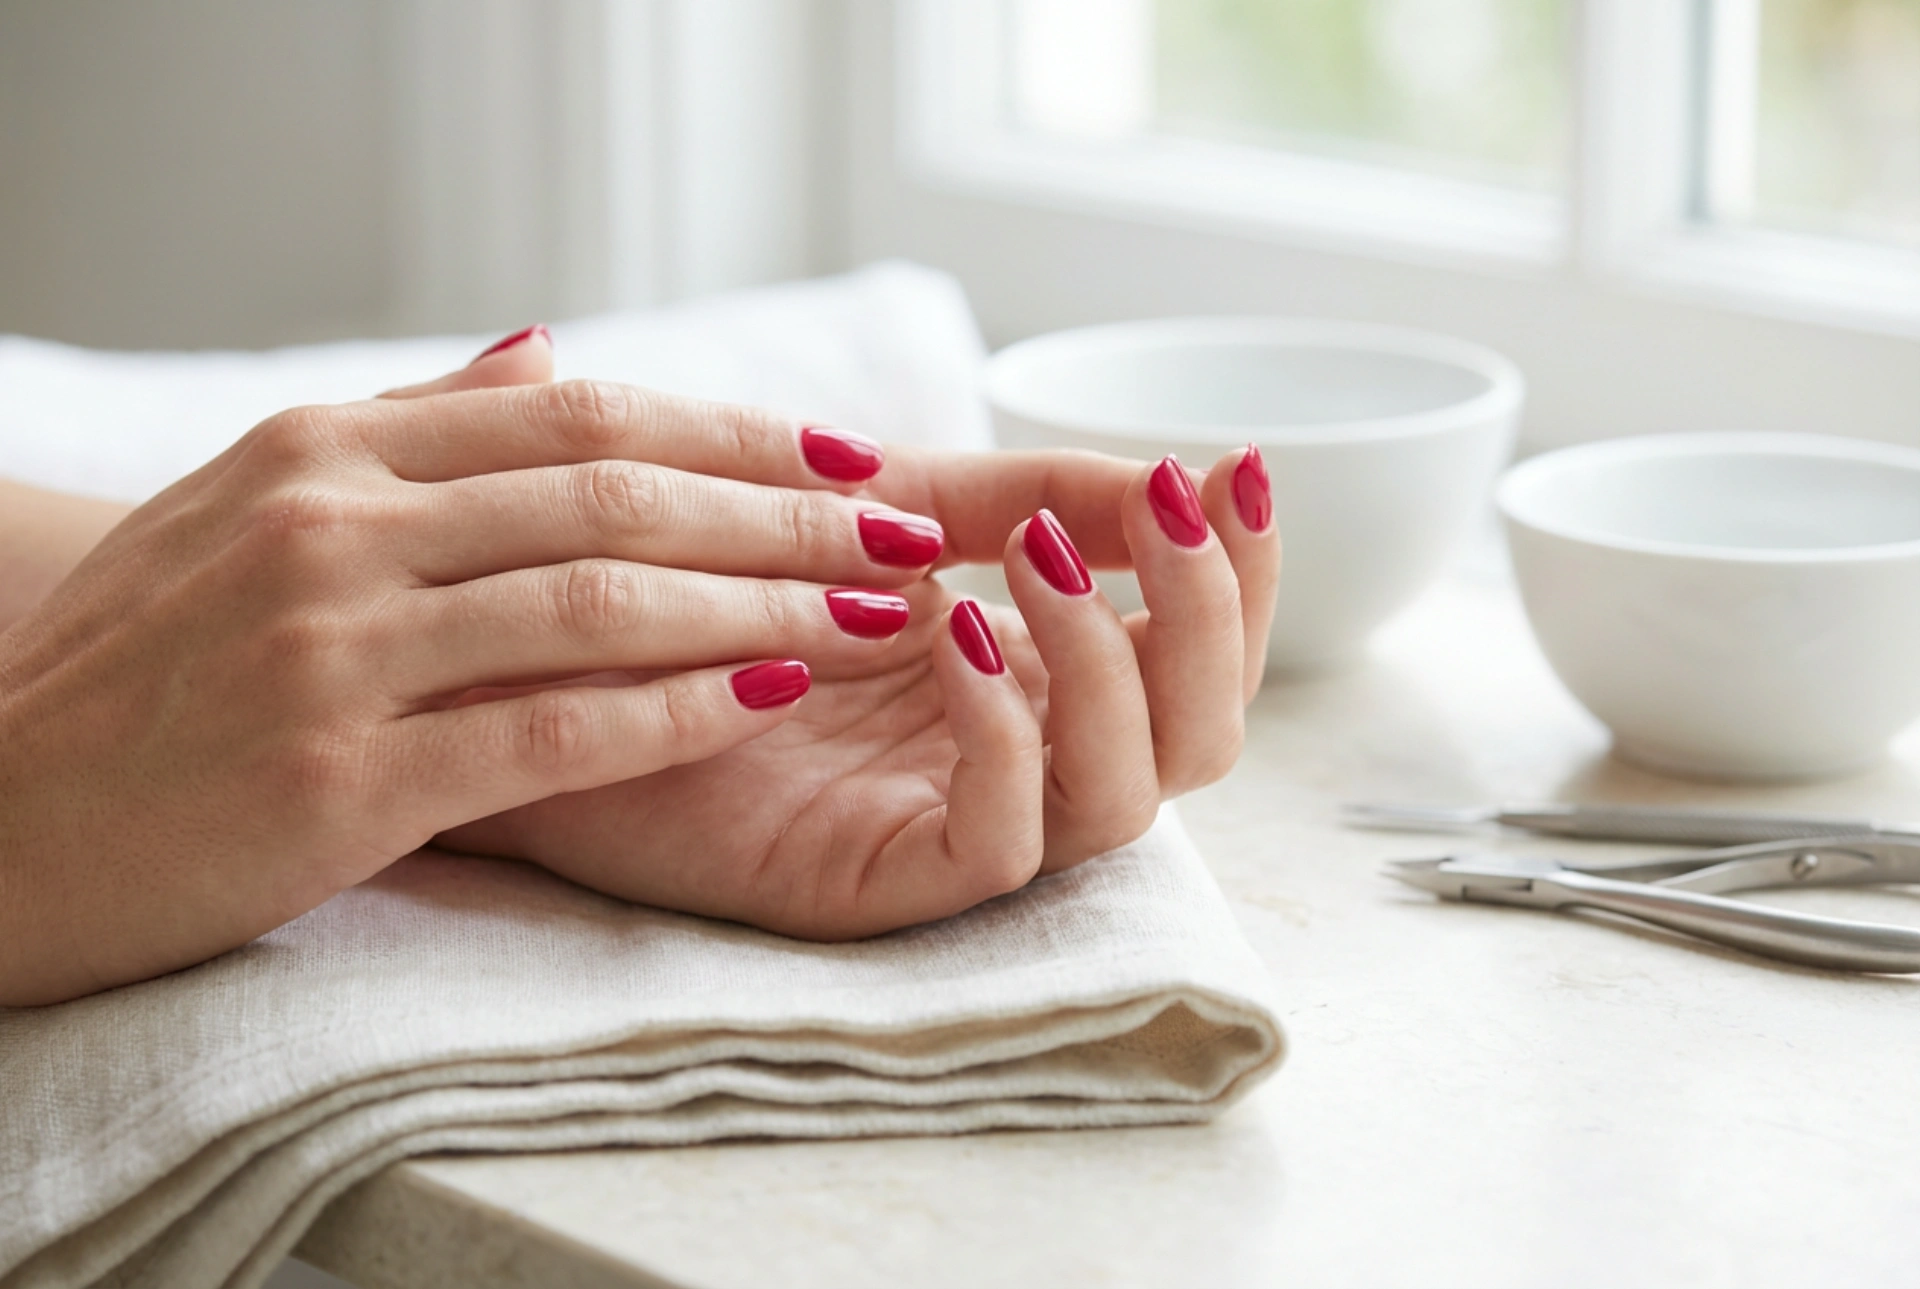


A vibrant raspberry gel manicure can be a stunning accessory, adding a touch of elegance and colour to any look. Achieving that flawless, high-shine, and even coverage seen in professional salons is entirely possible at home with the right technique and a bit of patience. The key lies in meticulous preparation and precise application. This guide will walk you through the essential steps to ensure your raspberry nails are perfectly polished every time.
Preparing the Nail Plate: The Foundation of a Perfect Manicure
Before you even think about opening the polish bottle, proper nail preparation is crucial. This initial stage ensures the polish adheres correctly and lasts longer without chipping or lifting. Start by gently pushing back your cuticles with a wooden or rubber cuticle pusher. Never cut them, as this can lead to issues. Next, shape your nails to your desired form using a fine-grit nail file. Once shaped, lightly buff the entire surface of the nail plate with a buffing block. This removes the natural shine and creates a slightly rough surface for the gel to grip onto. Finally, cleanse each nail thoroughly with a lint-free wipe soaked in a nail cleaner or isopropyl alcohol to remove any oils, dust, and debris.
The Art of Application: Base, Colour, and Top Coat
A successful gel manicure is built in layers. Each layer has a specific purpose and must be applied thinly and cured correctly. Rushing this process or applying thick coats is the most common cause of an uneven or bubbly finish.
Step 1: The Essential Base Coat
The base coat acts as a protective barrier between your natural nail and the coloured polish. It also provides a sticky foundation for the colour to adhere to, improving longevity. Apply a very thin, even layer of base coat, making sure to cover the entire nail surface from the cuticle line to the free edge. Be careful not to let it touch the surrounding skin. Remember to 'cap' the free edge by running the brush along the tip of the nail. Cure the base coat under your UV/LED lamp according to the manufacturer's instructions.
Step 2: Applying the Raspberry Colour
Now for the vibrant raspberry shade. The secret to even coverage is applying two to three very thin coats rather than one thick one. Shake the bottle well to ensure the pigment is evenly distributed. Apply the first thin coat of colour, again avoiding the cuticles and capping the free edge. Cure it under the lamp. The first coat may look patchy or sheer, which is completely normal. Apply a second thin coat, which will deepen the colour and improve coverage. Cure again. If needed, a third coat can be applied for full opacity.
Step 3: Sealing with a Top Coat
The top coat is what provides that signature high-gloss shine and durable, protective layer. Apply a slightly thicker layer than the colour coats, but still ensure it is even. Make sure to cover the entire nail and cap the free edge thoroughly. This step seals in the colour and protects it from chipping and dulling. Cure for the final time, often for a longer duration as specified for the top coat product.
Curing and Finishing Touches
Proper curing is non-negotiable for a gel manicure. Each layer must be fully cured under a UV or LED lamp for the time recommended by the polish manufacturer. Under-curing can lead to a soft, easily damaged finish, while over-curing is generally less of an issue but can sometimes affect the final shade. After the final cure of the top coat, most gel systems leave a sticky or tacky inhibition layer. This needs to be removed. Use a lint-free wipe saturated with a special cleanser or isopropyl alcohol to gently wipe over each nail. This will reveal the hard, smooth, and brilliantly shiny surface beneath. To finish, apply a drop of cuticle oil to the skin around your nails and massage it in to rehydrate the area.
Common Mistakes to Avoid
To achieve a professional result, be mindful of these common pitfalls:
- Applying thick layers: This is the number one cause of wrinkling, bubbling, and improper curing. Thin coats are always better.
- Flooding the cuticles: Allowing polish to touch the skin or cuticles will cause lifting and peeling. Clean any mistakes with a small brush dipped in alcohol before curing.
- Skipping the base or top coat: These layers are essential for adhesion, protection, and shine. Omitting them will compromise the quality and longevity of your manicure.
- Inadequate nail prep: Oily or dusty nail surfaces will prevent the gel from adhering properly. A thorough prep is the foundation of a lasting manicure.
- Forgetting to cap the free edge: Sealing the tip of the nail with each layer helps prevent chips and enhances durability.




