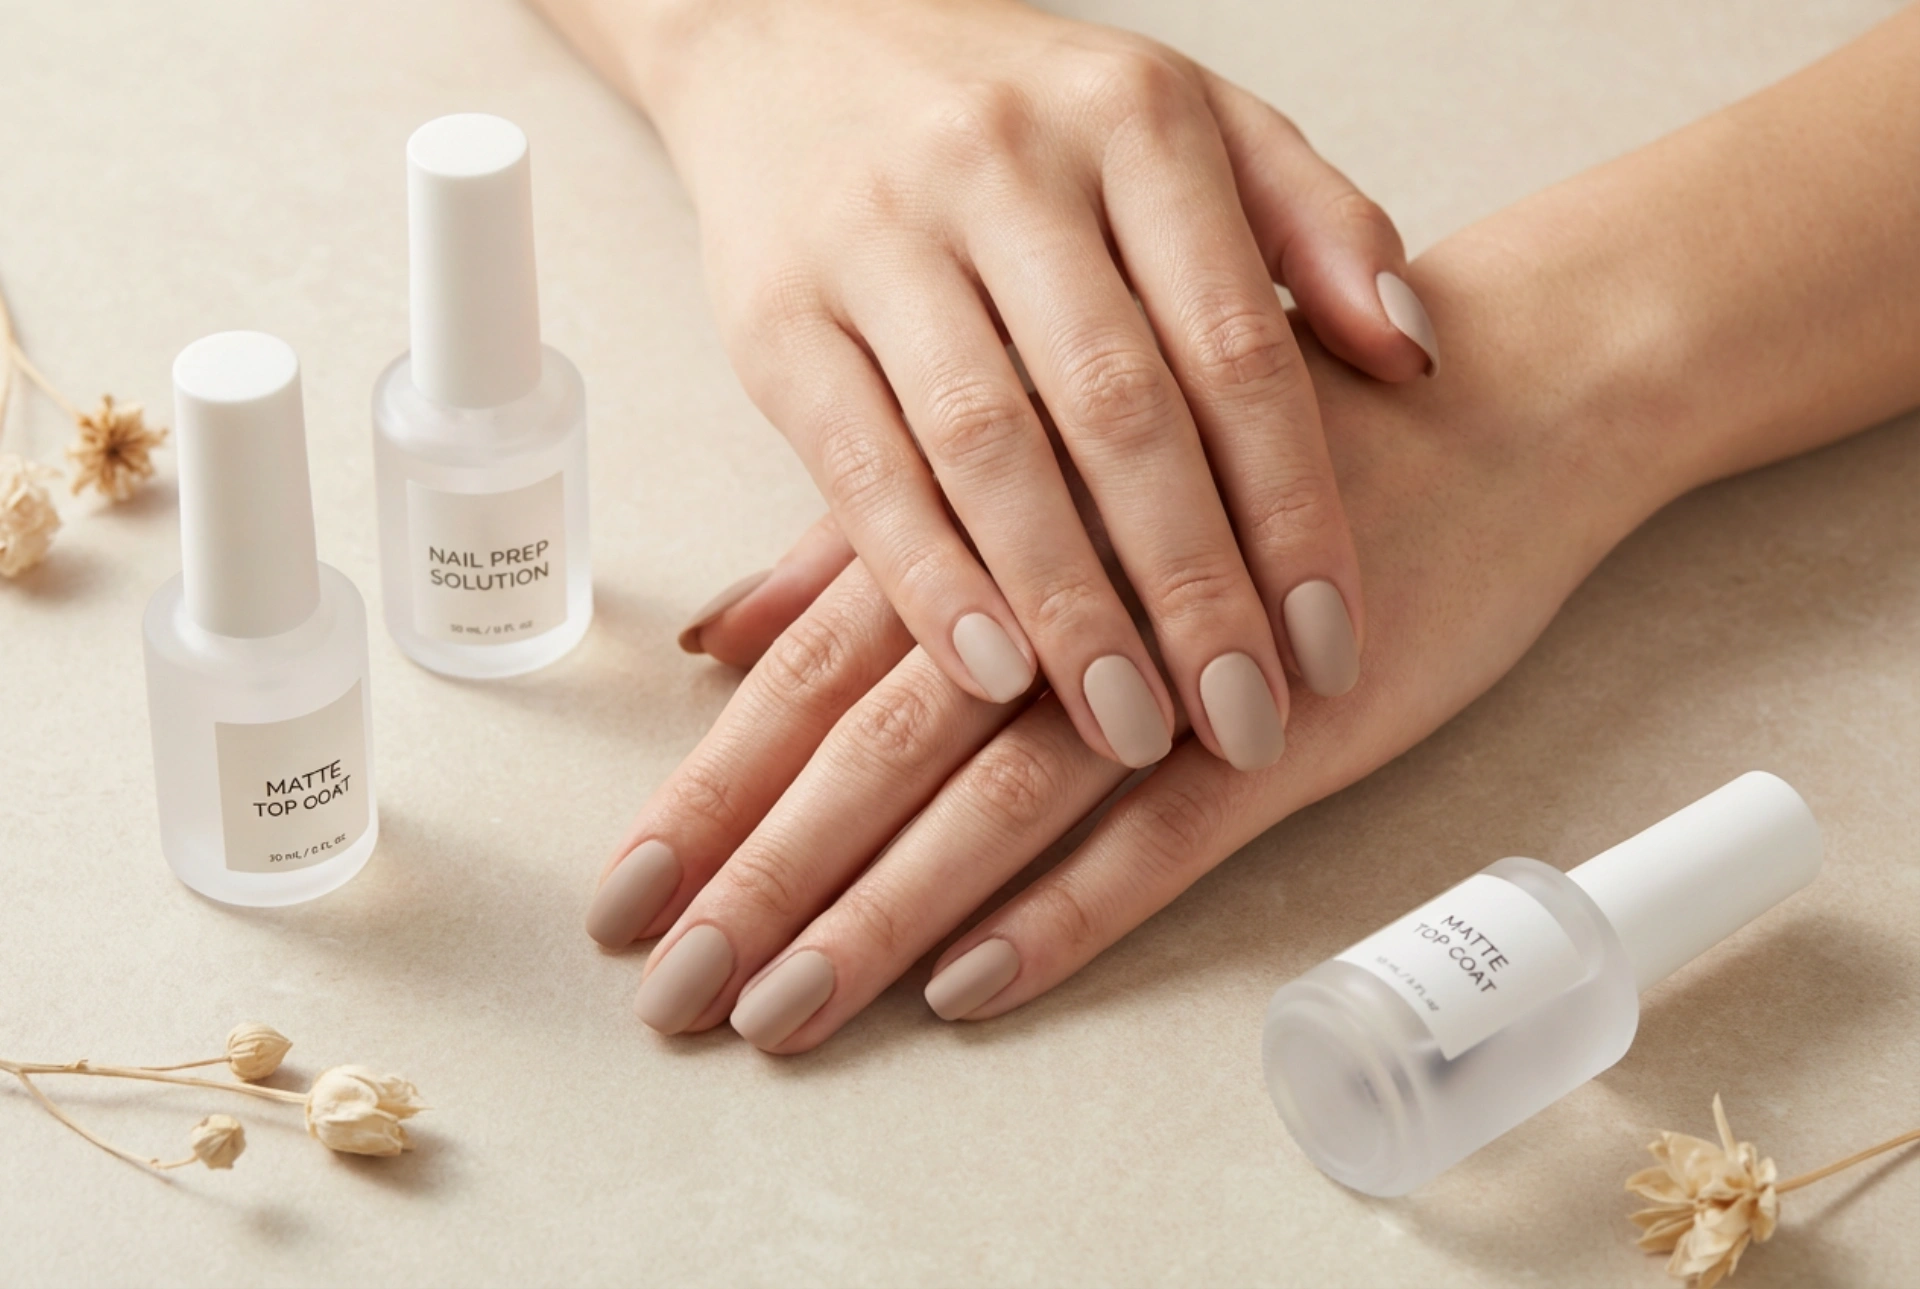


The matte nail finish has become a symbol of modern elegance and sophistication. Unlike its glossy counterpart, a matte manicure offers a velvety, non-reflective surface that looks chic and contemporary. However, achieving a perfectly smooth, streak-free matte look can be challenging. The key to success lies not just in the top coat itself, but in meticulous preparation and proper application. This guide will walk you through the essential steps to master the art of the perfect matte manicure at home.
Nail Preparation: The Foundation for a Flawless Finish
Before you even think about polish, preparing the nail plate is the most critical step. A smooth canvas is essential for any manicure, but it is especially important for a matte finish, which can highlight any imperfections. Start by cleaning your hands and nails thoroughly. Shape your nails to your desired length and form using a gentle file. Afterwards, lightly buff the surface of your nails with a fine-grit buffer. This will smooth out any ridges and create a slightly textured surface for the polish to adhere to, which is crucial for longevity and an even appearance.
Key Preparation Steps:
- Cleanse nails to remove any oils or dirt.
- File and shape the nails uniformly.
- Gently buff the nail surface to create a smooth base.
- Push back or carefully trim your cuticles for a neat and tidy look.
The Crucial Role of Degreasing
One of the most frequently overlooked steps, yet one of the most important for a streak-free matte manicure, is degreasing the nail plate. Natural oils, lotions, or residue from buffing can create a barrier between your nail and the polish, leading to streaks, bubbles, and poor adhesion of the matte top coat. A dedicated nail prep solution or a simple wipe with isopropyl alcohol on a lint-free pad will effectively remove these residues. Ensure each nail is completely dry before proceeding to the next step. This simple action significantly improves how the matte top coat settles and dries, giving you that coveted even, velvety texture.
Applying Colour and the Matte Top Coat
Once your nails are prepped and degreased, it's time for colour. Apply your chosen nail polish in thin, even coats, allowing each layer to dry completely. Rushing this stage is a common cause of smudges and unevenness later on. When your colour is fully dry, you can apply the matte top coat. The technique here is vital to avoid streaks.
Application Technique for a Streak-Free Matte Top Coat:
- Ensure your base colour is completely dry to the touch. Waiting at least 5-10 minutes is recommended.
- Load your brush with enough top coat to cover the nail in one or two strokes, but not so much that it floods the cuticle.
- Apply the matte top coat in a thin, even layer. Start from the base of the nail and sweep towards the tip. Try to cover the nail in as few strokes as possible.
- Cap the free edge of the nail by running the brush along the tip. This helps to seal the manicure and prevent chipping.
- Let the top coat dry completely without disturbance. Matte finishes often dry faster than glossy ones, but patience is still key.
Common Mistakes and How to Avoid Them
Even with the best intentions, a few common mistakes can ruin a matte manicure. Being aware of them can help you achieve a professional-looking result every time. Avoid applying the matte top coat too thickly, as this is the primary cause of streaks and an uneven, patchy finish. Another pitfall is applying the top coat over semi-dry colour polish, which can cause the underlying colour to drag and mix with the top coat. Lastly, don't skip the preparation and degreasing steps; they are the foundation of a durable and flawless matte look. By paying attention to these details, you'll ensure your matte nails look impeccably smooth and sophisticated.




