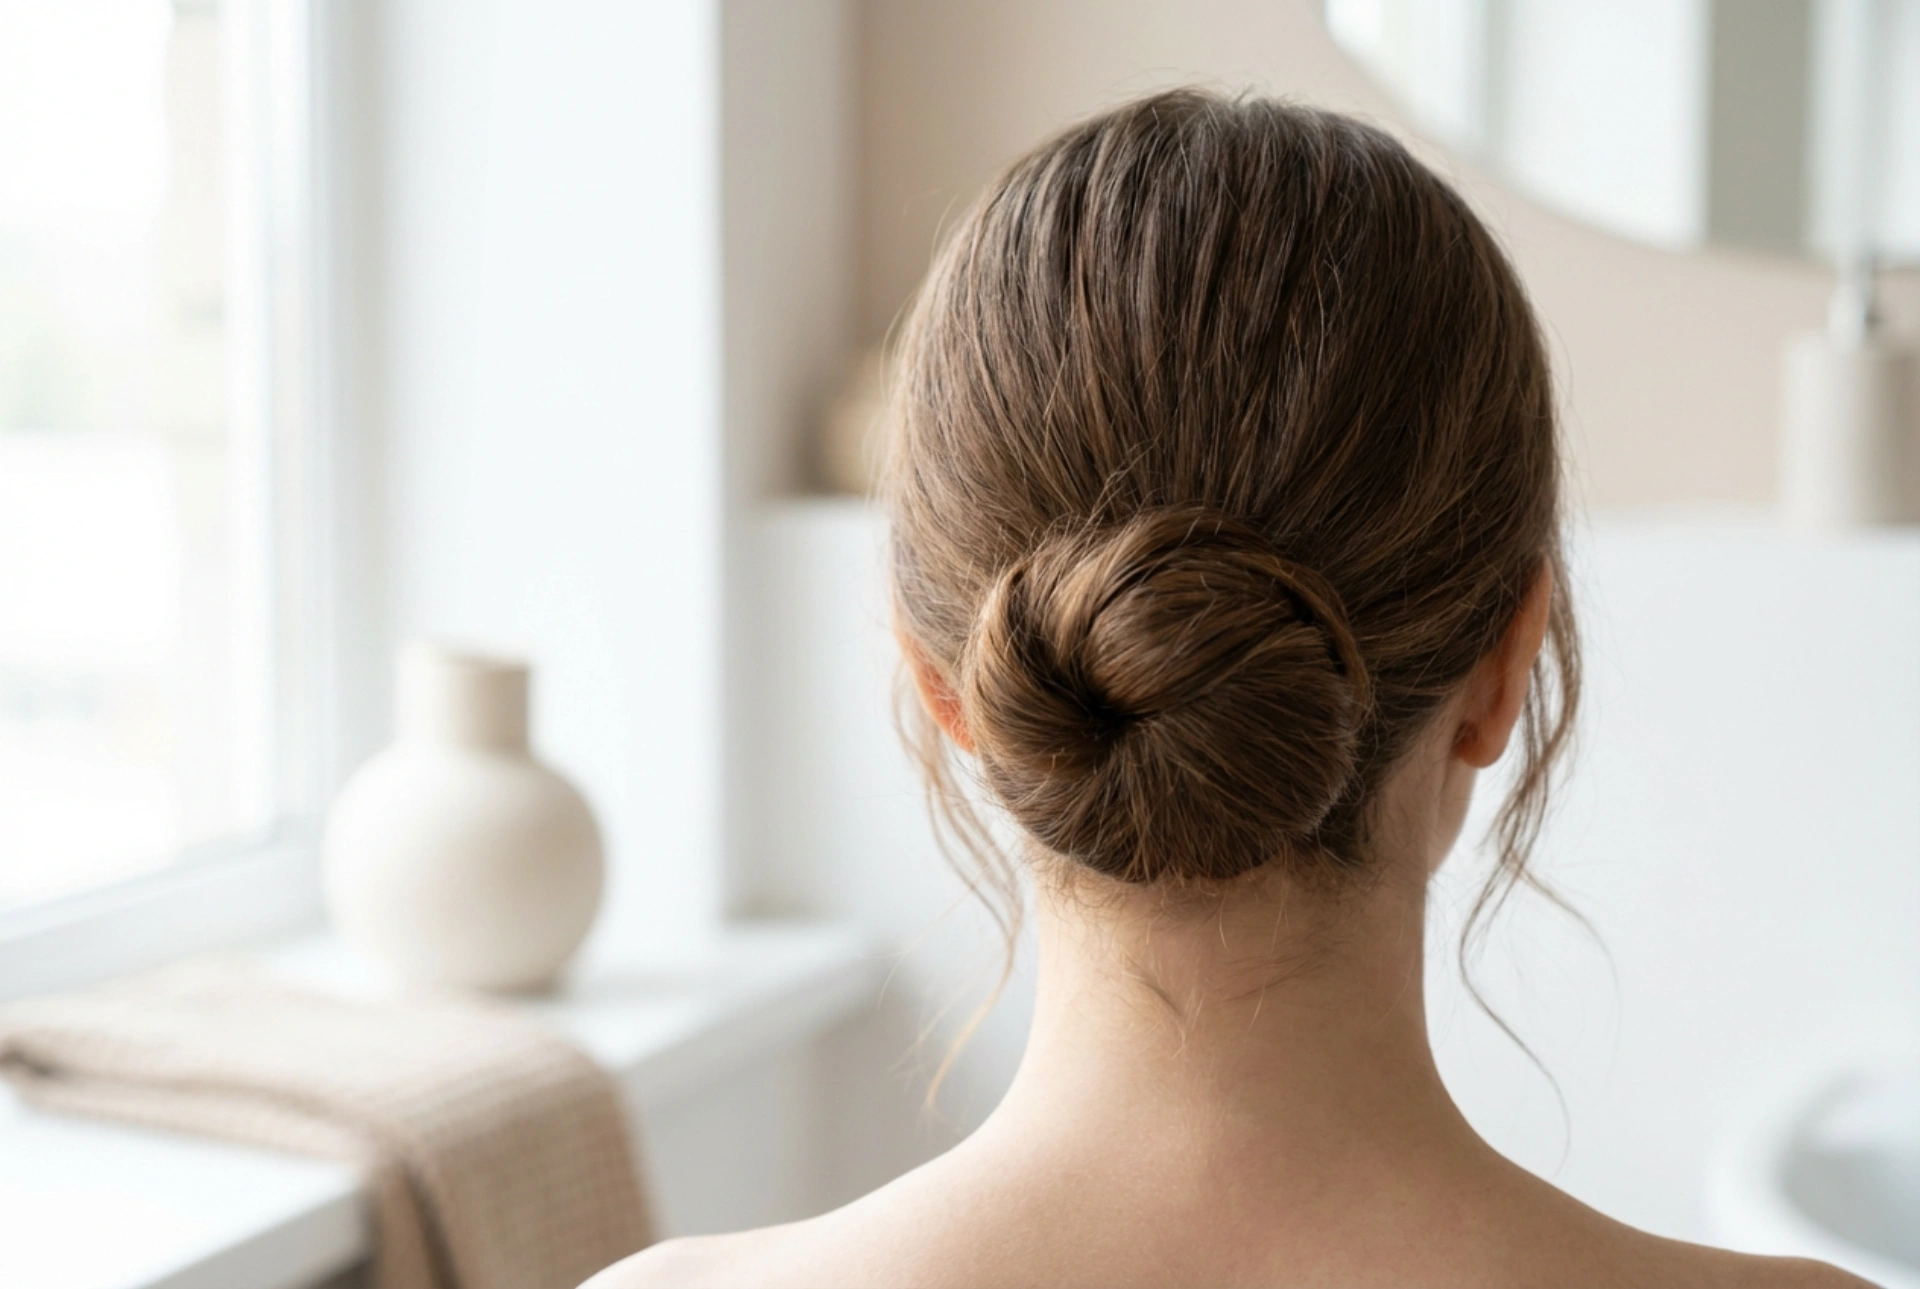


The bun is a truly timeless hairstyle, celebrated for its elegance, versatility, and practicality. From a sophisticated low bun gracing the nape of the neck to a playful messy topknot, there is a bun for every occasion, hair type, and mood. This hairstyle can be as polished or as relaxed as you wish, making it a reliable choice for work, formal events, or simply a casual day out. This guide will walk you through creating three classic bun styles at home, helping you master this beautiful and functional updo.
Preparing Your Hair for the Perfect Bun
Before you begin styling, a little preparation can make all the difference in how your bun looks and how long it lasts. The goal is to create a good foundation, whether you're aiming for a sleek finish or a textured, messy look.
Key Preparation Steps
- Start with Dry Hair: For most bun styles, it's best to work with completely dry hair. Second-day hair often has more texture and grip than freshly washed hair, making it easier to style. If your hair is too soft or slippery, a light spritz of a texturising spray or dry shampoo can add the necessary hold.
- Brush Thoroughly: Remove all knots and tangles by brushing your hair from the ends up to the roots. For a smooth bun, this step is crucial for achieving a sleek finish. For a messy bun, it ensures the 'messiness' is intentional and not just a result of tangled hair.
- Gather Your Tools: Having everything you need on hand will make the process smoother. You will typically need a hairbrush or comb, hair elastics (both thick ones for the base and smaller, clear ones for details), and hairpins (bobby pins) that match your hair colour.
The Classic Smooth Bun: A Guide to Sleek Sophistication
The smooth bun is the epitome of elegance. It’s perfect for professional settings, weddings, or any time you want a polished and put-together appearance. The key is to eliminate flyaways and create a perfectly sculpted shape.
The Method
- Create a High Ponytail: Brush your hair back neatly and gather it into a high ponytail on the crown of your head, or wherever you wish the bun to sit. For an extra sleek look, use a fine-toothed comb and a little hair gel or smoothing cream to tame any stray hairs around your hairline. Secure the ponytail tightly with a hair elastic.
- Twist the Hair: Take the length of your ponytail and twist it firmly from the base to the ends. The tighter you twist, the more compact your bun will be.
- Coil the Bun: Begin wrapping the twisted hair around the base of the ponytail. Keep the coil tight against your head, tucking the ends underneath the bun as you finish wrapping.
- Secure the Style: Use hairpins to secure the bun in place. Insert the pins around the edges of the bun, pushing them into the base of the ponytail to anchor it. Use as many as you need to make it feel completely secure. For a flawless finish, you can lightly mist the style with a shine-enhancing hairspray.
The Effortless Messy Bun: Perfectly Imperfect
The messy bun is a go-to for a relaxed, chic look. It’s meant to look undone and effortless, but there's a technique to getting it just right. It's all about creating texture and volume without looking sloppy.
The Method
- Gather Your Hair Loosely: Use your fingers instead of a brush to gather your hair into a high ponytail. This preserves your hair's natural texture and creates a softer, more casual base. Don't worry about making it perfect; a few bumps are part of the look.
- Create the Bun Shape: Secure the ponytail with an elastic. On the final pull-through, don't pull the hair all the way through. Instead, create a loop, leaving the ends sticking out. Alternatively, you can create a full ponytail and then loosely wrap it around the base, securing it with another elastic.
- Loosen and Texturise: This is the most important step. Gently tug at the looped bun to make it larger and more voluminous. Pull out a few small strands of hair around your face and at the nape of your neck to frame your face and enhance the 'undone' effect.
- Pin and Adjust: Use a few hairpins to secure any overly loose sections or to shape the bun. The goal is to make it stable without making it look too neat. You can wrap the loose ends from your ponytail around the base of the bun and pin them in place.
The Elegant Low Bun: A Refined and Graceful Style
A low bun, positioned at the nape of the neck, offers a soft, romantic, and sophisticated alternative to its higher counterparts. It’s an incredibly versatile style that works beautifully for both everyday elegance and special occasions.
The Method
- Create a Low Ponytail: Part your hair as you normally would (centre or side part both work well) and brush it smoothly back into a low ponytail at the nape of your neck. Secure it with a hair elastic.
- Form the Bun: There are a few ways to create the shape. For a simple twisted bun, twist the ponytail and coil it around the elastic, just like the smooth bun, then secure with pins. For a more intricate look, try a 'topsy-tail' bun. Create a gap in the hair just above the elastic and flip the ponytail up and through the gap. You can then either tuck the ends into the twisted base or wrap them around it, securing everything with pins.
- Personalise Your Look: The low bun is perfect for customisation. You can braid the ponytail before coiling it for a braided bun, or leave a few front sections of hair out and gently curl them to frame your face for a softer finish.
- Final Touches: Ensure the bun is secure but not uncomfortably tight. A light mist of a flexible-hold hairspray will help keep everything in place while allowing for natural movement.





