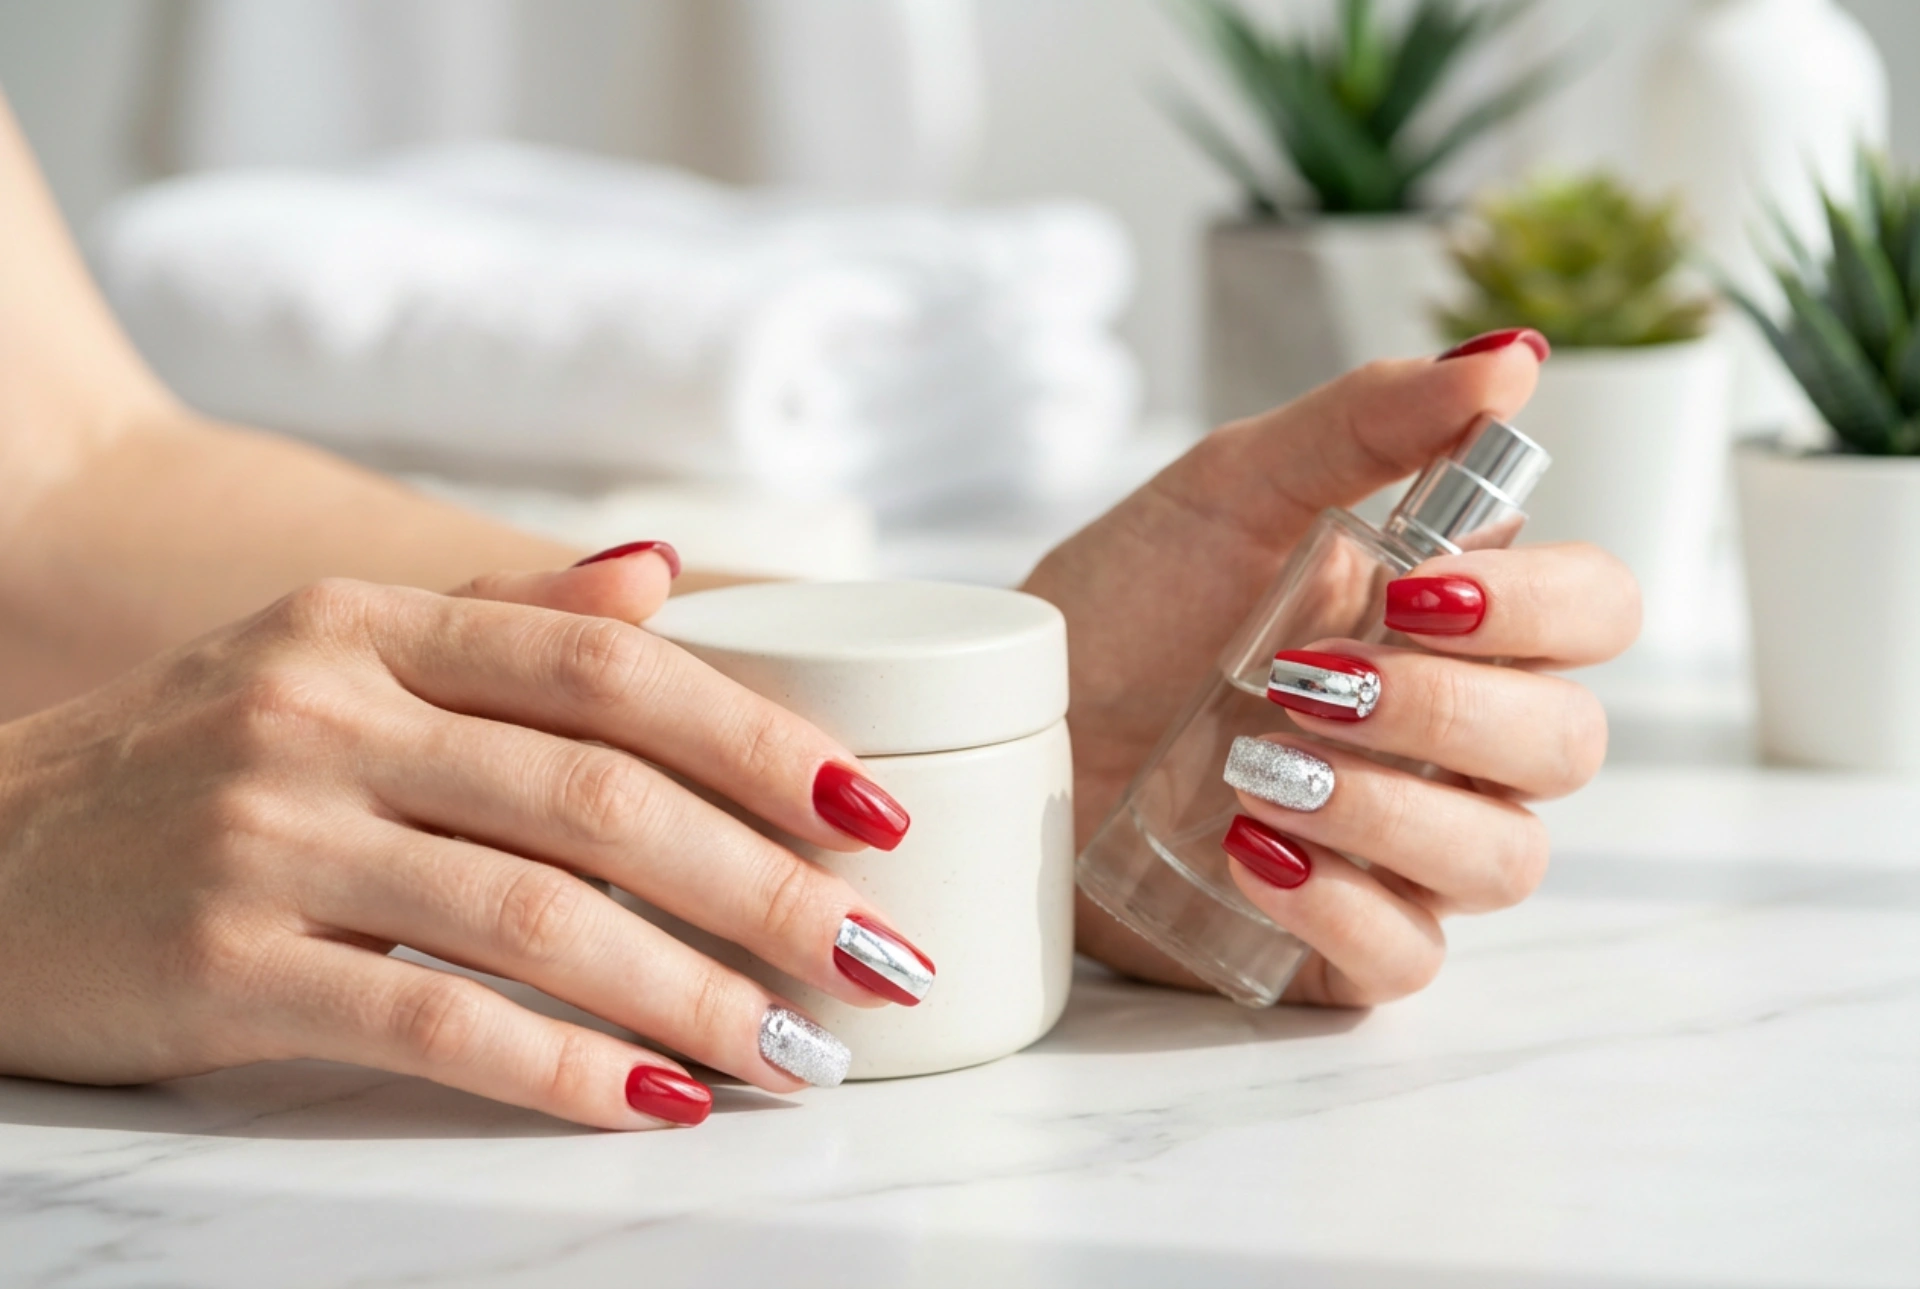


Red nails are a timeless classic, exuding confidence and elegance. This universal colour suits almost any occasion and skin tone. While a simple red manicure is stunning on its own, adding silver accents can elevate it to a new level of sophistication. Elements like fine glitter, reflective foil, and sparkling rhinestones introduce a modern twist, creating a look that is both eye-catching and refined. Whether you prefer a subtle shimmer or a bold statement, learning to combine these elements will allow you to personalise your manicure and express your unique style. This guide will explore various techniques for harmoniously blending red and silver for a flawless, home-made nail design.
Classic Red with a Touch of Silver Glitter
Glitter is one of the easiest ways to introduce a silver element to your red manicure. It offers versatility, allowing for both delicate and dramatic effects. For a subtle look, consider a glitter gradient. After applying your red base colour, use a small sponge to dab silver glitter polish starting from the tip of the nail and fading towards the cuticle. This creates a beautiful ombré effect. Another popular option is the accent nail. Paint one nail on each hand, typically the ring finger, entirely in silver glitter, leaving the rest a solid, glossy red. This draws attention without overwhelming the entire manicure. For an all-over shimmer, you can mix a small amount of fine silver cosmetic glitter with a clear top coat and apply it over your dried red polish. This technique provides a delicate, uniform sparkle across all nails.
Tips for Applying Glitter
- Always apply a base coat to protect your natural nails.
- Allow your red base colour to dry completely before adding glitter to avoid smudging.
- Use a small, flat brush dipped in nail polish remover to clean up any excess glitter around your cuticles for a professional finish.
- Seal your design with one or two layers of a high-gloss top coat to smooth out the glitter's texture and ensure longevity.
Modern Elegance: Incorporating Silver Foil
Nail transfer foil is a fantastic tool for creating abstract, metallic designs. Silver foil on a red base offers a chic, contemporary look that resembles shattered glass or precious metal flakes. The key to applying foil is to work with a slightly tacky surface. You can achieve this by applying a specialised foil adhesive or by waiting for your nail polish to be almost, but not completely, dry. Once the surface is ready, press a piece of silver foil onto the nail, shiny side up. Rub it gently with a cotton bud or your fingertip, then peel it off quickly. The foil will transfer onto the tacky areas in a random, artistic pattern.
Creating Different Foil Effects
- For a minimalist design, apply small, sporadic pieces of foil near the cuticle or along one side of the nail.
- To create a more concentrated effect, apply the foil over a larger area on an accent nail.
- You can cut the foil into small, specific shapes before application, but the beauty of this technique often lies in its random, imperfect finish.
- Always finish with a top coat to protect the delicate foil from chipping and to give it a smooth, glossy appearance.
Sparkling Accents: Using Rhinestones and Studs
For a touch of glamour, nothing beats the sparkle of rhinestones. Silver rhinestones or small metallic studs can be used to create intricate and luxurious designs on a red background. A simple yet elegant approach is to place a single small rhinestone at the base of each nail, right above the cuticle. You can also create a delicate line of tiny rhinestones along the 'smile line' of a French manicure or vertically down the centre of the nail. To apply them, place a small dot of nail art glue or a thick, clear top coat where you want the rhinestone to sit. Use a wax pencil or a pair of tweezers to carefully pick up the rhinestone and place it onto the dot. Gently press it down to secure it in place.
Best Practices for Rhinestone Application
- Plan your design before you start applying the rhinestones.
- Work on one nail at a time to prevent the glue or top coat from drying too quickly.
- For larger or heavier rhinestones, a dedicated nail art glue is recommended for a stronger hold.
- Apply your final top coat carefully around the rhinestones rather than directly over them, as this can dull their sparkle. Use a fine brush to seal the edges of the rhinestones to the nail for added security.




