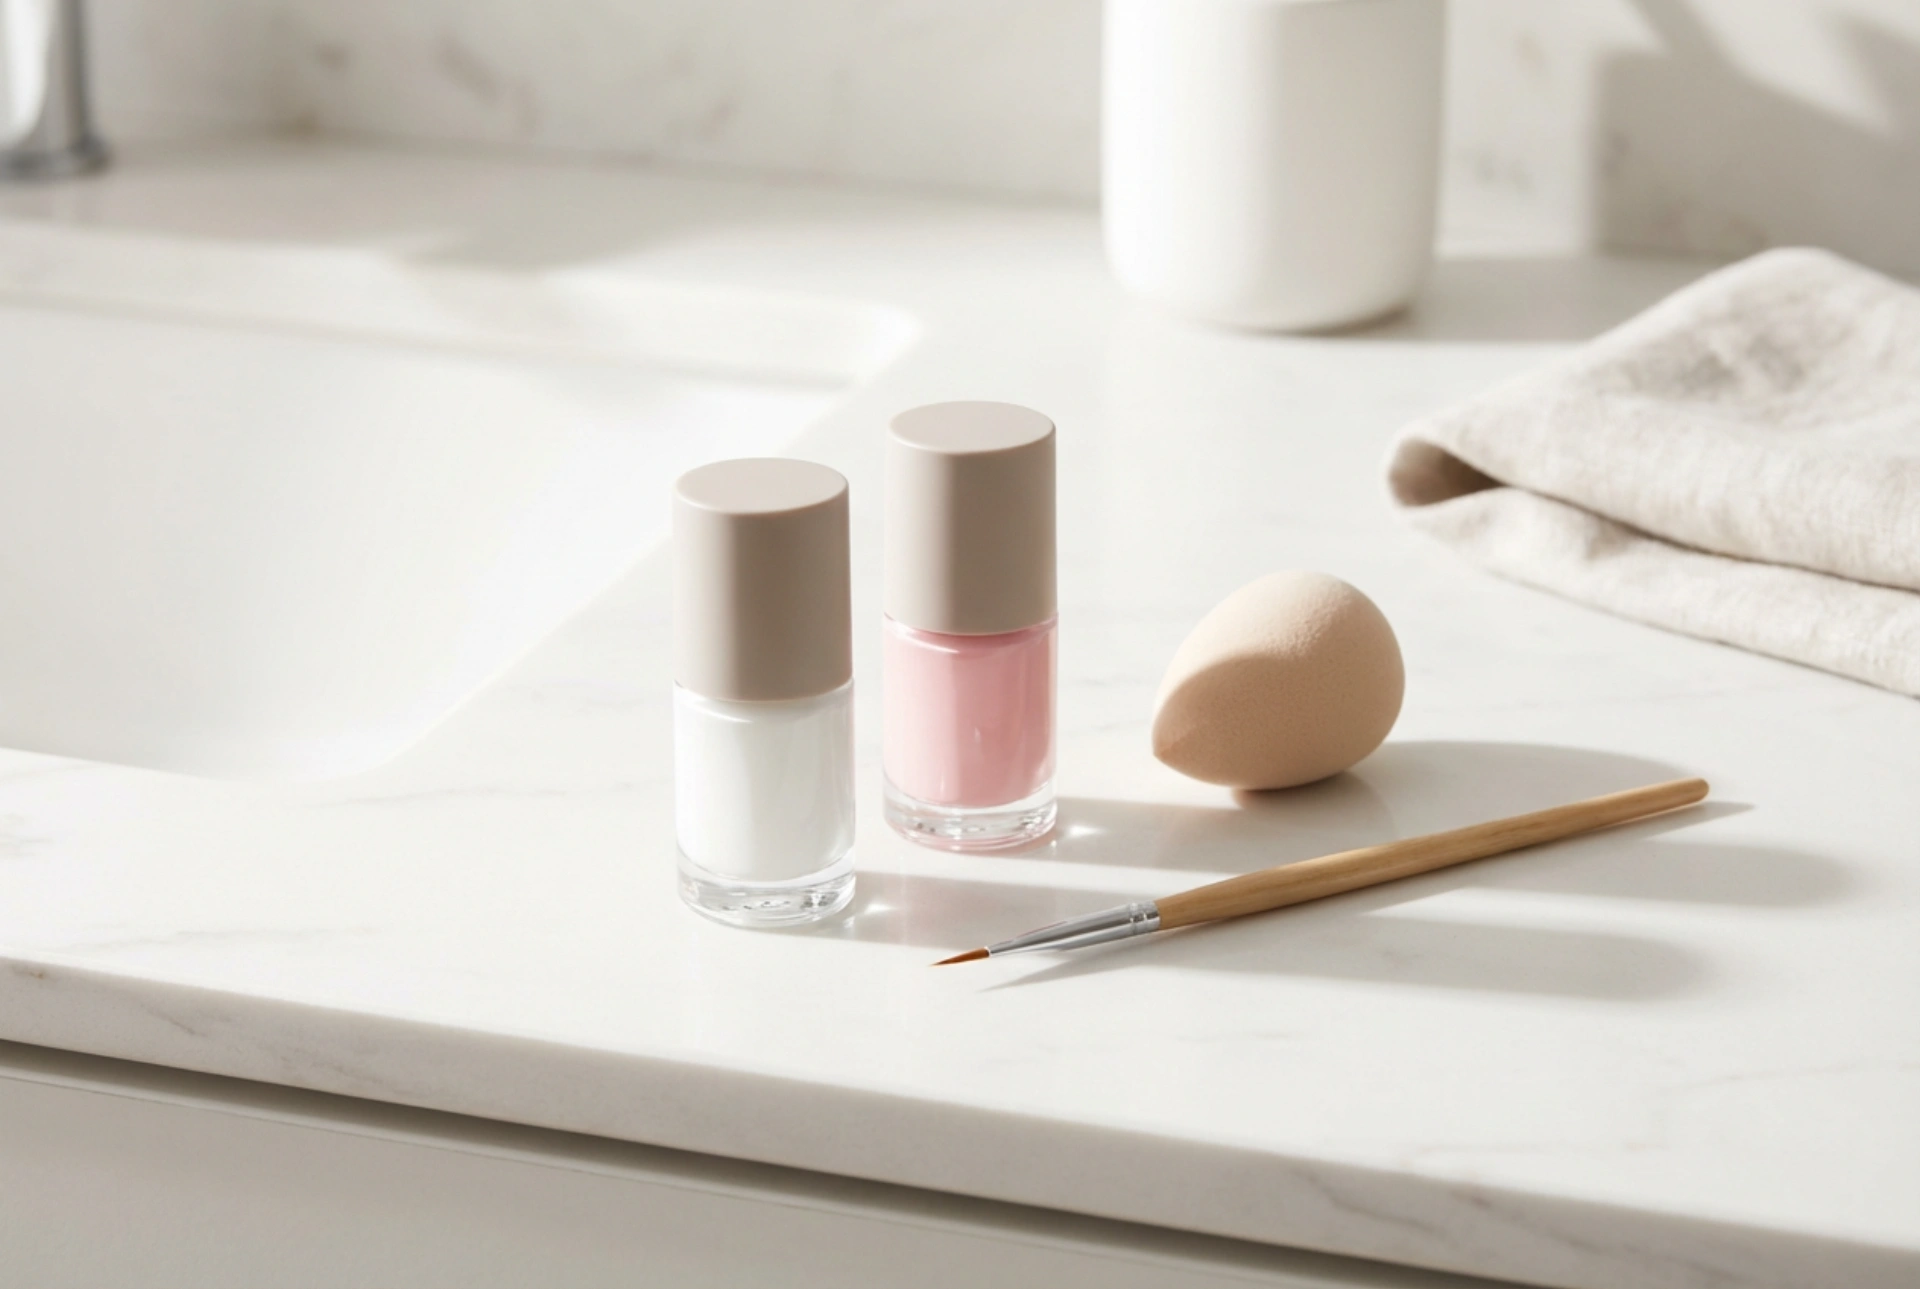


The gradient effect on nails, known as ombre, remains one of the most elegant and timeless manicure styles. The classic combination of soft pink and clean white creates a subtle, sophisticated look that is perfect for any occasion. While it may seem like a complex design reserved for salon visits, achieving this beautiful transition at home is entirely possible with a few simple tools. This guide will walk you through creating flawless white and pink ombre nails using both a makeup sponge and a dedicated nail art brush.
Preparation: The Foundation for a Flawless Manicure
Before you begin creating the gradient, proper nail preparation is essential for a smooth application and a long-lasting result. Start by removing any old polish. Shape your nails with a file to your desired length and form, whether it's square, oval, or almond. Gently push back your cuticles, but avoid cutting them to maintain the health of your nail bed. Next, lightly buff the surface of your nails to create a subtle texture that helps the polish adhere better. Finally, wipe each nail with a nail polish remover or alcohol to remove any oils and apply a thin layer of a quality base coat. This not only protects your natural nails from staining but also provides a perfect canvas for the colours to come.
Technique 1: The Sponge Method for an Easy Gradient
The sponge method is the most popular and beginner-friendly way to create an ombre effect. It’s quick, effective, and doesn't require advanced artistic skills.
Step-by-Step Guide:
- Apply a Base Colour: Start by applying one or two coats of your chosen light pink or nude polish over your entire nail. Allow it to dry completely. This will be the foundation of your gradient.
- Protect Your Skin: Applying polish with a sponge can be messy. Protect the skin around your nails using liquid latex, peel-off base coat, or even regular sticky tape. This will make cleanup significantly easier.
- Prepare the Sponge: Take a small piece of a makeup sponge. On its flat surface, paint two horizontal stripes of polish – one white and one pink, making sure they slightly overlap in the middle. Be generous with the polish as the sponge will absorb some of it.
- Create the Gradient: Gently press and dab the sponge onto your nail. You can roll it slightly from side to side and move it up and down a tiny bit to help blend the colours. The first layer might look sheer, which is normal.
- Build the Intensity: Re-apply the polishes to the sponge and repeat the dabbing process on the nail until you are happy with the opacity and the blend. Let the polish dry for a few minutes between layers.
- Clean Up and Seal: Once you're satisfied with the gradient, carefully remove the protective barrier from your skin. Use a small brush dipped in acetone or nail polish remover to clean up any remaining polish on your skin. Finish with a generous layer of a glossy top coat. The top coat is crucial as it will smooth out any texture left by the sponge and meld the colours together seamlessly.
Technique 2: The Brush Method for a Softer Blend
For those who prefer more control or want an even softer, airbrushed-like transition, using a flat or ombre-specific nail art brush is an excellent alternative. This technique requires a bit more practice but can yield stunningly smooth results.
Step-by-Step Guide:
- Apply Colours Directly: After your base colour has dried, apply the pink polish to the top two-thirds of your nail and the white polish to the bottom third (the tip). Don't worry about making the meeting point perfect just yet.
- Blend with a Brush: Take a clean, flat nail art brush and dip it lightly into a bit of acetone or nail polish remover, then dab it on a paper towel so it's damp, not wet. Gently tap the brush along the line where the two colours meet. Use light, horizontal strokes to blur the line and blend the pink and white together.
- Refine the Blend: Clean the brush on the paper towel after a few taps to avoid muddying the colours. Continue this process until you have a smooth gradient. You may need to apply a second thin layer of colour and blend again for a more opaque look.
- Finish with a Top Coat: As with the sponge method, let the design dry completely before applying a high-shine top coat to protect your work and give it a professional, glossy finish.
Whichever method you choose, remember that practice is key. Your first attempt may not be perfect, but with a little patience, you can master the art of the white and pink ombre manicure. It's a versatile and chic style that adds a touch of grace to your fingertips, proving that beautiful nail art is achievable in the comfort of your own home.




