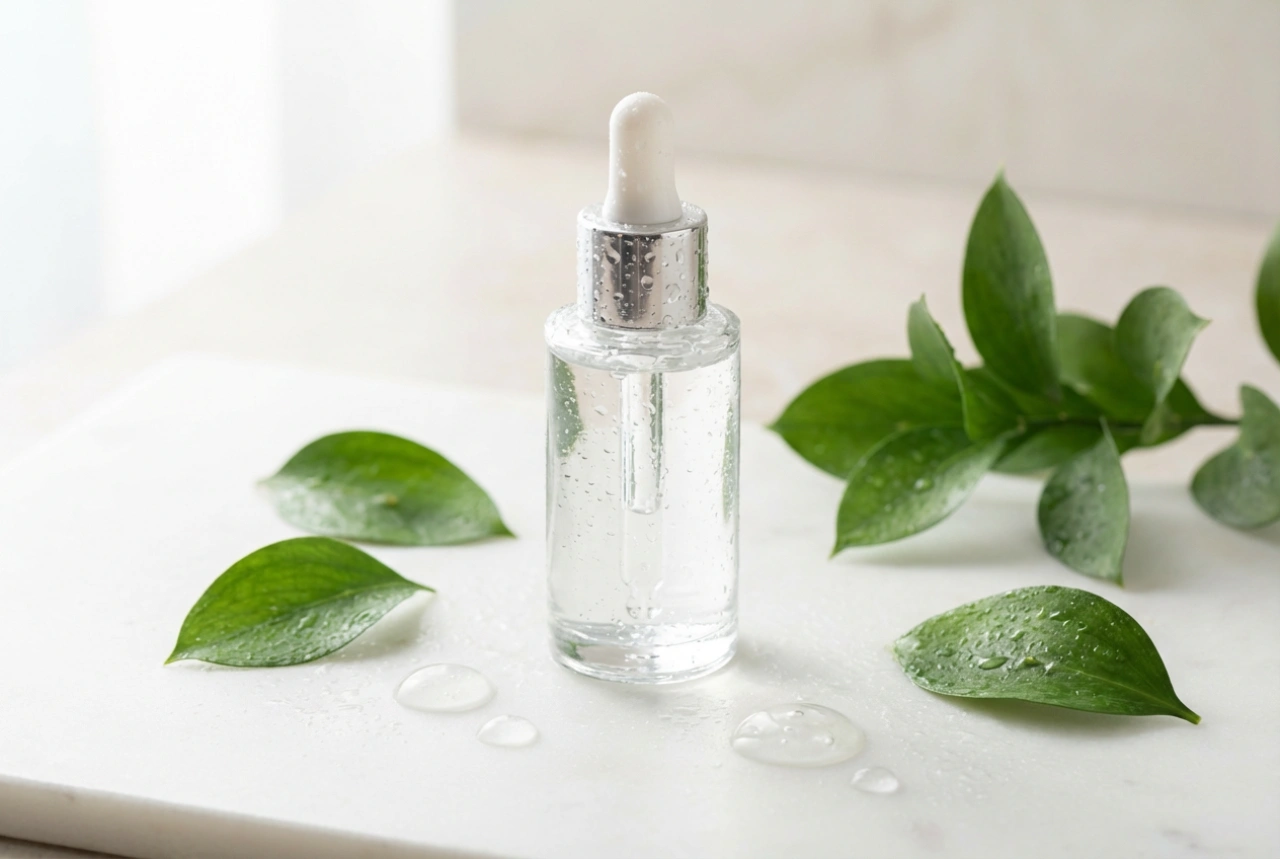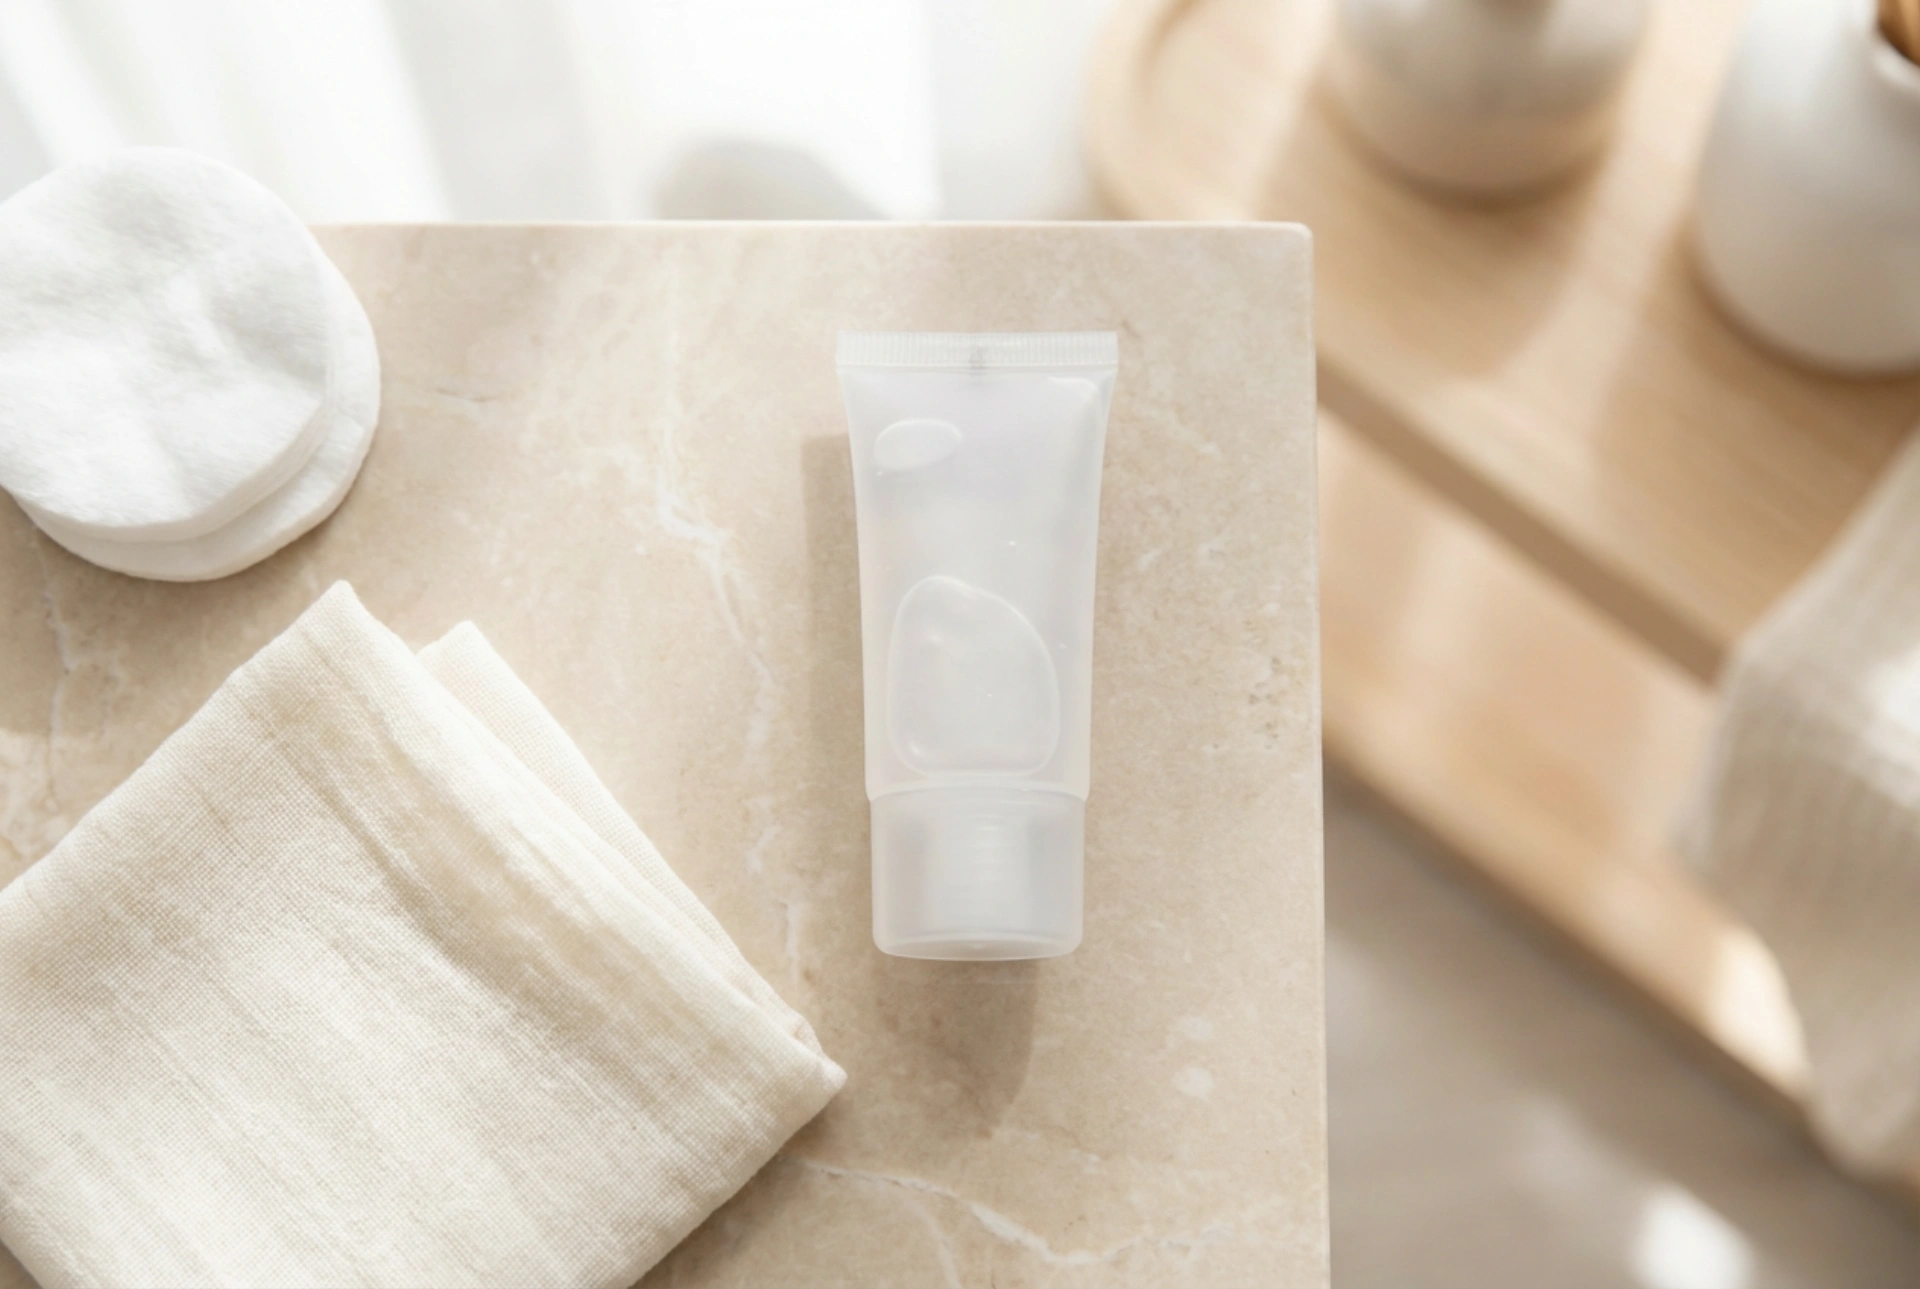


A silicone-based primer is a popular tool in many makeup kits, valued for its ability to create an exceptionally smooth surface for foundation and other products. Often appearing as a clear or translucent gel, as seen in the accompanying image, its primary function is to prepare the skin, helping makeup to apply more evenly and last longer. Understanding when to use this type of primer and, just as importantly, how to remove it effectively is key to achieving a flawless look while maintaining skin health.
What is a Silicone-Based Primer?
Silicone primers create a breathable barrier between your skin and your makeup. The key ingredients are a group of polymers, such as dimethicone or cyclopentasiloxane. These ingredients have large molecules that don't penetrate the skin but instead sit on top of it. This action provides several cosmetic benefits. It temporarily fills in fine lines, wrinkles, and enlarged pores, resulting in a visibly smoother and more even skin texture. This velvety canvas prevents foundation from settling into creases and helps control shine by forming a mattifying layer.
When to Use a Silicone Primer
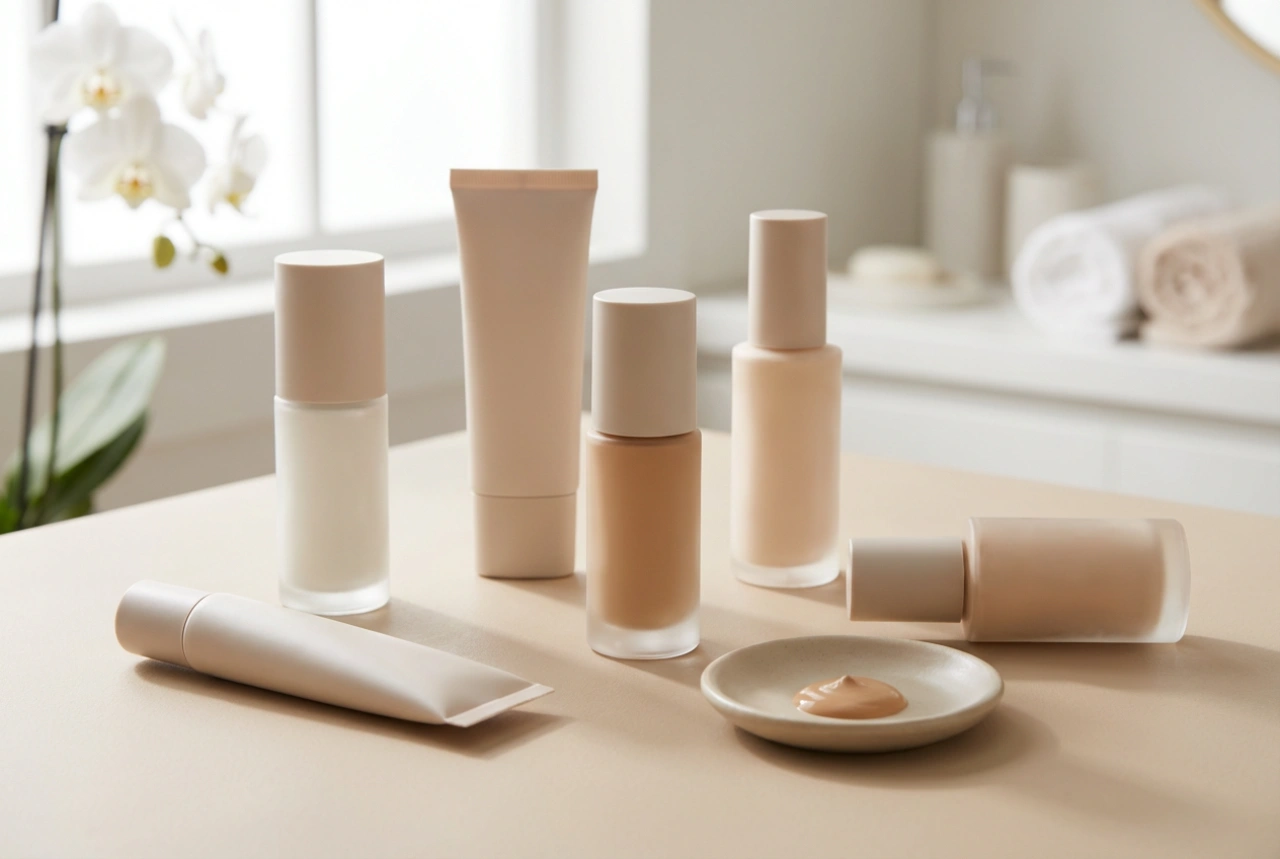
While not an everyday necessity for everyone, a silicone primer is particularly useful in specific situations. Consider reaching for one when you want to achieve a highly polished, professional finish, for example, for a special event or for photography. It is also an excellent choice if you have uneven skin texture, visible pores, or fine lines that you wish to minimise the appearance of. Furthermore, if you need your makeup to last for many hours without fading, creasing, or becoming oily, the barrier created by a silicone primer can significantly extend its wear time. It is generally best to pair a silicone-based primer with a silicone-based foundation to ensure compatibility and prevent pilling or separation of the products.
How to Apply Silicone Primer Correctly
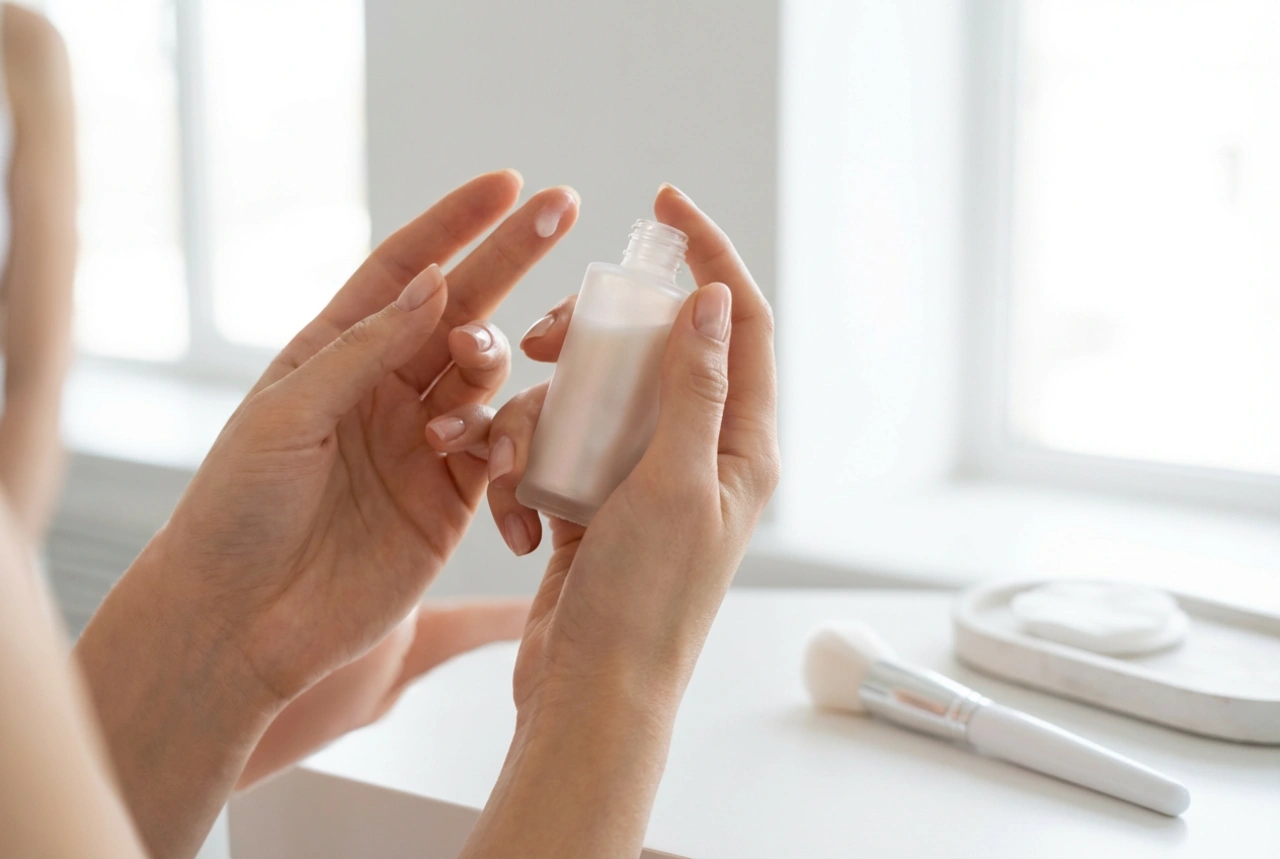
Proper application is crucial for getting the best results from your primer. A little goes a long way, and using too much can cause your makeup to slide off rather than adhere to it. Follow these simple steps for a perfect application:
- Start with a clean and moisturised face. Allow your moisturiser to fully absorb for a few minutes before moving on to the primer.
- Squeeze a pea-sized amount of primer onto the back of your hand.
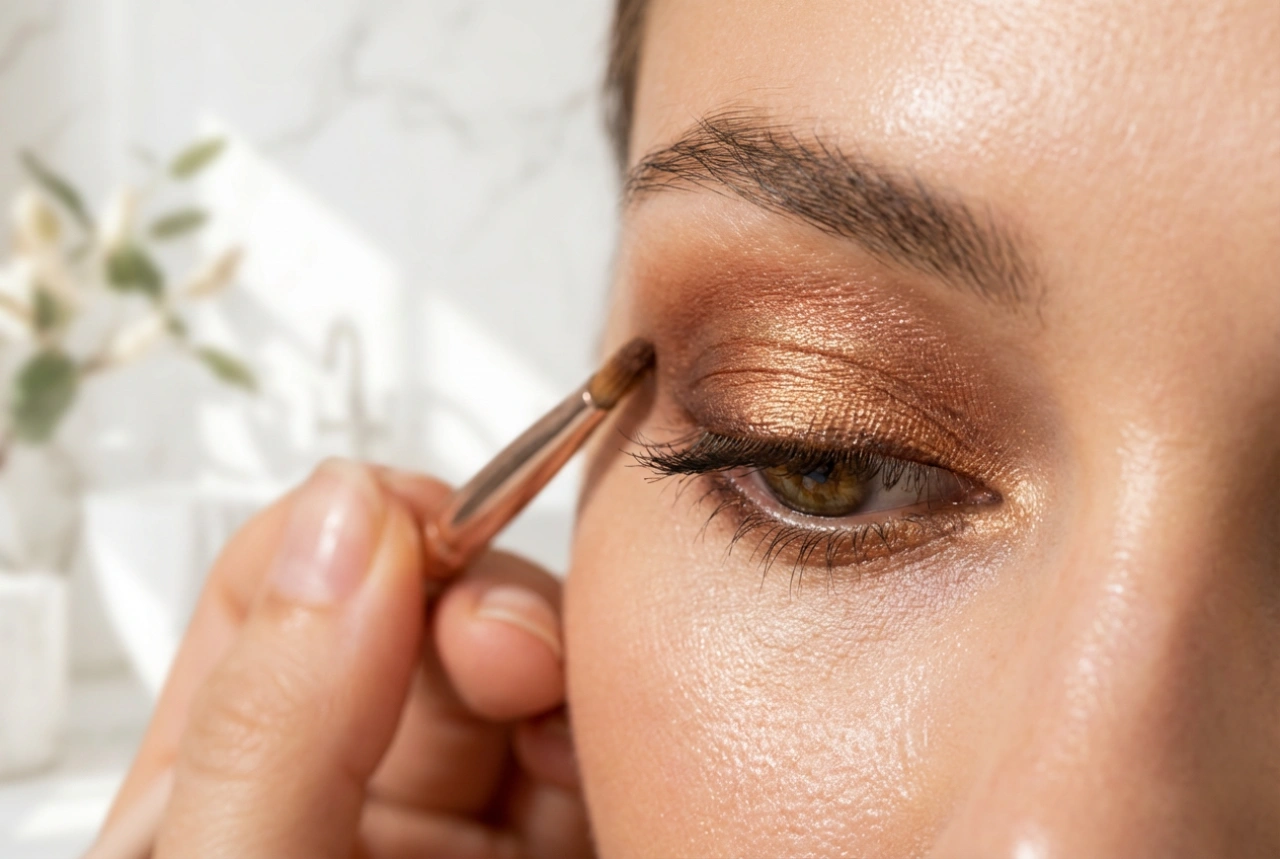
- Using your fingertips, gently pat and press the primer into your skin. Focus on areas where you have larger pores or fine lines, such as the T-zone (forehead, nose, and chin).
- Avoid rubbing the primer, as this can cause it to pill. The patting motion helps to press the product into the texture of your skin for a seamless fill.
- Wait for about a minute for the primer to set and create a smooth film before applying your foundation.
The Importance of Thorough Removal
Because silicone primers are designed to be durable and adhere to the skin, removing them properly at the end of the day is essential. The same properties that make them great for long-lasting makeup mean they can trap sweat, oil, and bacteria if not completely cleansed. Incomplete removal can lead to clogged pores and potential breakouts over time. A single pass with a simple face wash is often not enough to break down the resilient film created by silicones.
Effective Cleansing Methods
The most effective way to remove a silicone-based primer and all the makeup on top of it is to adopt a two-step cleansing routine, often called 'double cleansing'. This method ensures that both oil-based and water-based impurities are fully removed.
Step 1: Oil-Based Cleanser
Start your routine with an oil-based cleanser, such as a cleansing oil or a cleansing balm. Oil-based products are highly effective at dissolving other oils, including those in makeup and the silicones in your primer. Massage the cleanser onto your dry face for about a minute, allowing it to break down all the products on your skin. Then, add a little water to emulsify the oil (it will turn milky) before rinsing it off thoroughly with lukewarm water.
Step 2: Water-Based Cleanser
Follow up with your regular water-based cleanser, which could be a gentle gel, foam, or cream formula. This second step removes any remaining oily residue from the first cleanse and washes away water-based impurities like sweat and dirt. This ensures your skin is completely clean and ready for your nighttime skincare routine, allowing your serums and moisturisers to be absorbed effectively.