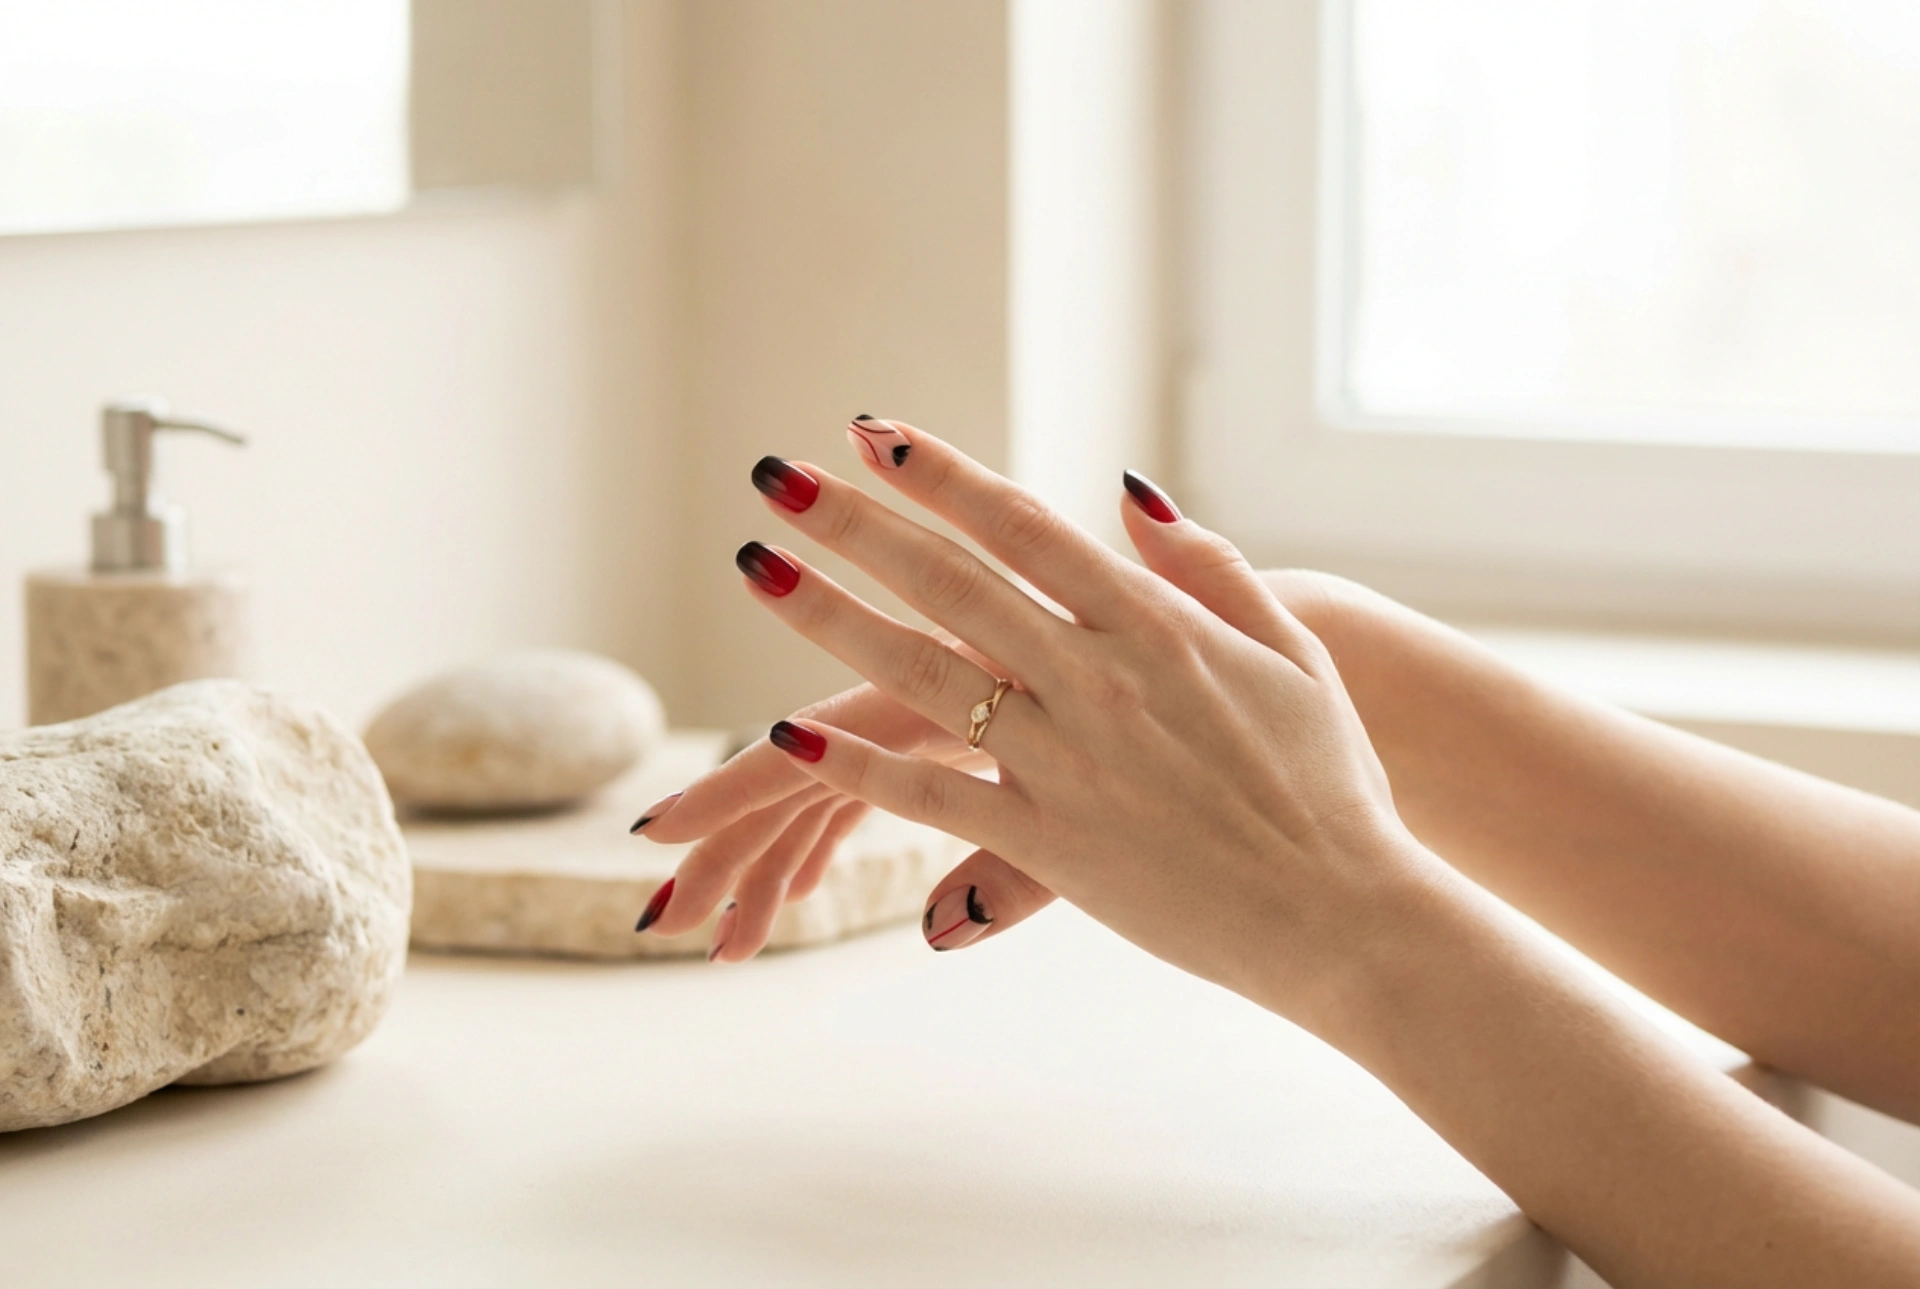


The combination of red and black is a true classic, evoking a sense of drama, sophistication, and timeless style. When applied to nail art, these two powerful colours create a look that is both bold and elegant, suitable for any occasion where you want your hands to make a statement. Whether you prefer minimalist designs or more intricate patterns, the contrast between fiery red and deep black offers endless creative possibilities for a stunning manicure.
The Enduring Appeal of Red and Black
For centuries, red and black have been paired together in fashion, art, and design to create a powerful visual impact. Red symbolises passion, energy, and confidence, while black represents elegance, mystery, and strength. Together, they form a dynamic duo that is perpetually in vogue. In nail art, this combination allows for a high-contrast finish that catches the eye and complements a wide range of personal styles, from edgy and modern to classic and refined.
Classic Designs with a Modern Twist
Some of the most effective red and black nail designs are based on timeless patterns. By reimagining these classics, you can create a look that feels both familiar and fresh.
The Alternative French Manicure
Swap the traditional white tip for something more daring. A classic red base with a sharp, glossy black tip offers a sophisticated update to the French manicure. Alternatively, a black base with a vibrant red tip can create an even more dramatic and unexpected look. For a subtle variation, consider a 'deep French' or V-shaped tip instead of a classic curve.
Geometric Lines and Patterns
The sharp contrast between red and black is perfect for geometric designs. Simple vertical or horizontal stripes, chevrons, or a single diagonal line splitting the nail into two colour blocks can look incredibly chic. For a more intricate style, you could try a checkerboard pattern on an accent nail or create delicate abstract line work with a thin nail art brush.
Advanced Techniques: Ombre and Negative Space
For those looking to explore more contemporary nail art styles, ombre and negative space techniques provide a perfect canvas for the red and black colour palette.
Seamless Red and Black Ombre
An ombre, or gradient, effect where red smoothly transitions into black is visually stunning. This design can be oriented vertically from the cuticle to the tip, or horizontally across the nail. Achieving this look at home is possible with a small makeup sponge. Simply paint stripes of red and black polish next to each other on the sponge and then dab it gently onto the nail. Repeating the process deepens the colour and perfects the blend. The result is a smouldering, seamless transition that looks incredibly professional.
The Art of Negative Space
Negative space designs incorporate the natural, unpolished nail as part of the overall look. This minimalist approach can have a major impact. Imagine a red nail with a sharp, black crescent moon shape near the cuticle, leaving a sliver of your natural nail showing through. Other ideas include using thin black lines to frame sections of red polish while leaving other areas bare, or creating small geometric cut-outs that reveal the nail underneath. This technique adds an element of modern sophistication to your manicure.
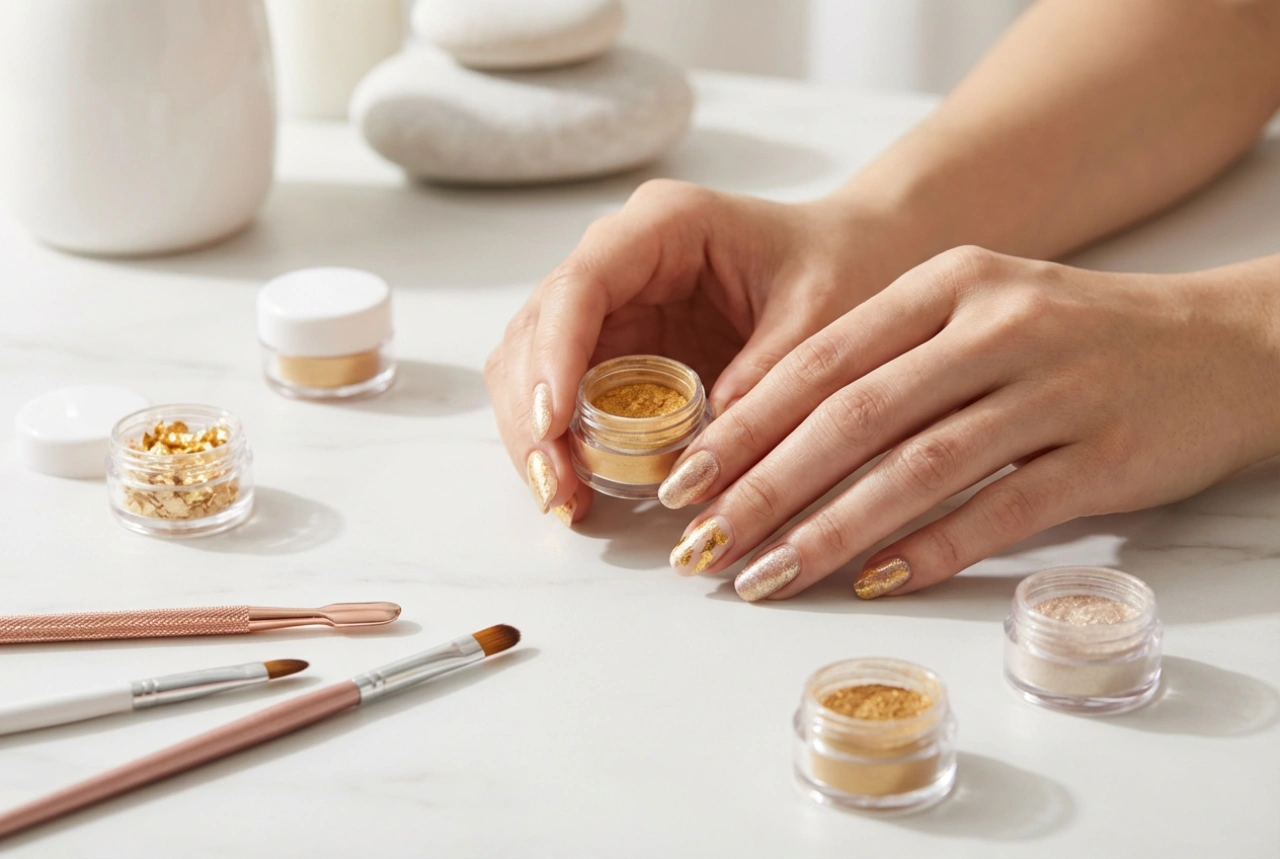
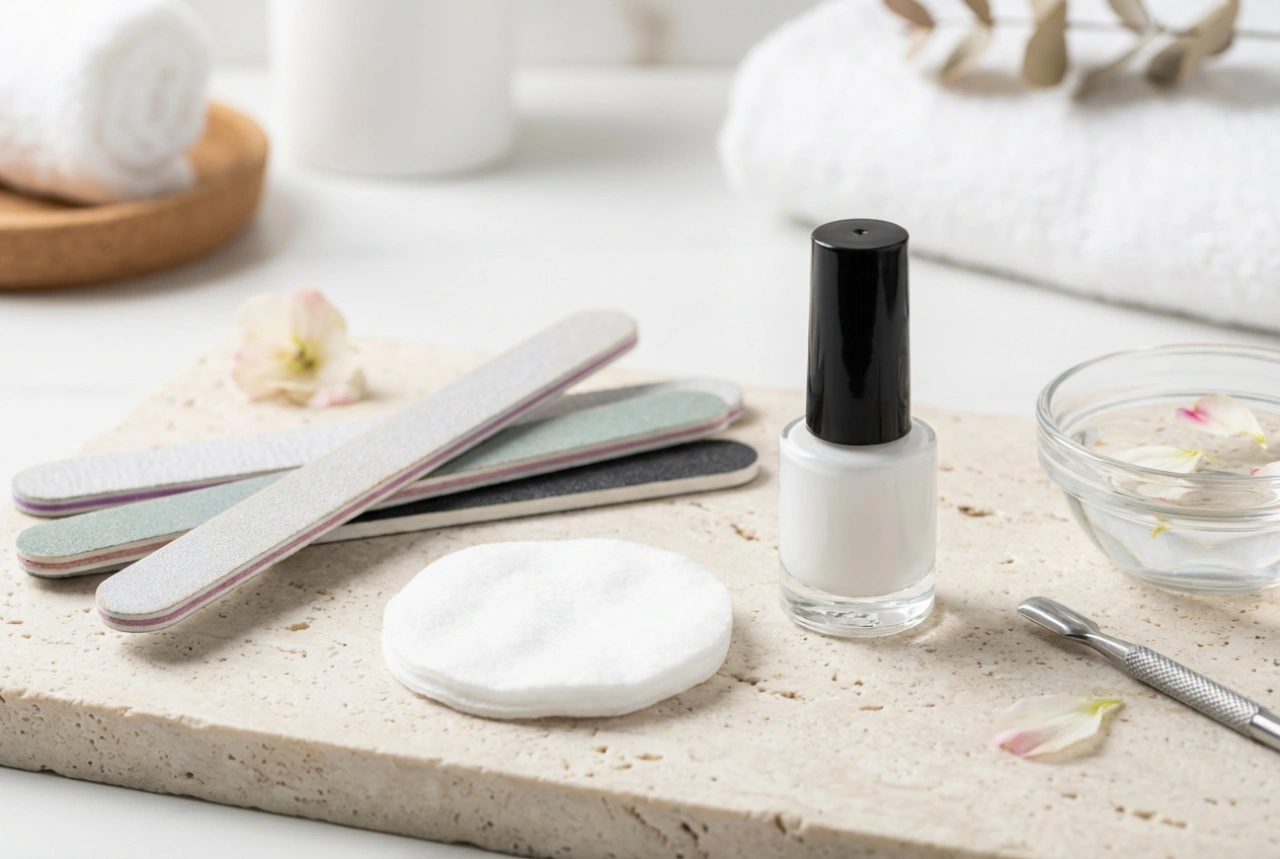
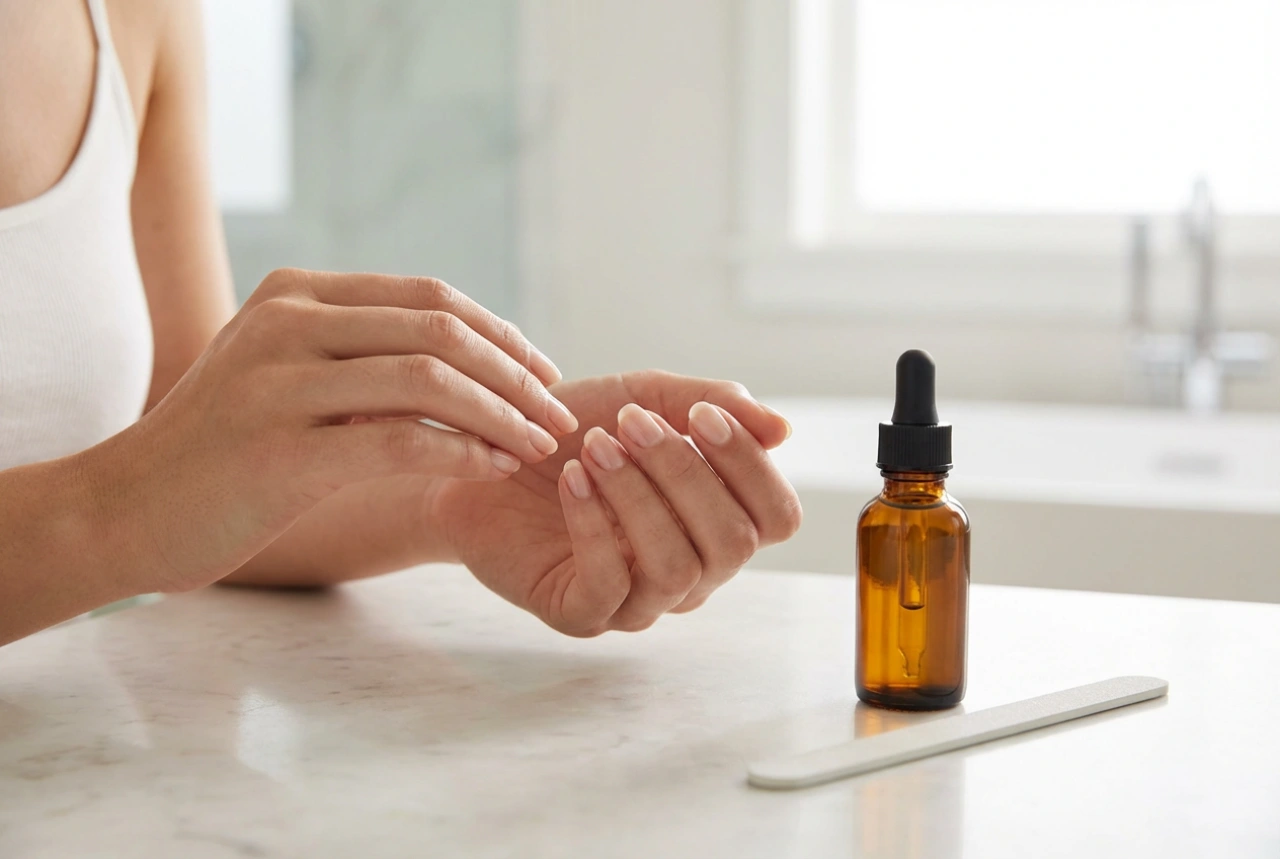
Tips for a Perfect At-Home Manicure
To ensure your red and black nail art looks its best and lasts as long as possible, follow these simple steps:
- Start with a good base: Always apply a clear base coat. This protects your nails from staining, which is particularly important with highly pigmented colours like red and black.
- Work in thin layers: Apply two or three thin coats of your chosen polish rather than one thick coat. This helps the polish dry faster, prevents bubbles, and results in a smoother finish.
- Keep it clean: Have a small brush and some nail polish remover on hand to clean up any mistakes around the cuticles. This is key to achieving sharp, professional-looking lines.
- Patience is key: Allow each layer of polish and any detailed art to dry completely before applying the next. Rushing the process can lead to smudges and smears.
- Seal the deal with a top coat: A high-quality top coat is essential. It will protect your design from chipping, add brilliant shine, and help your manicure last for days.