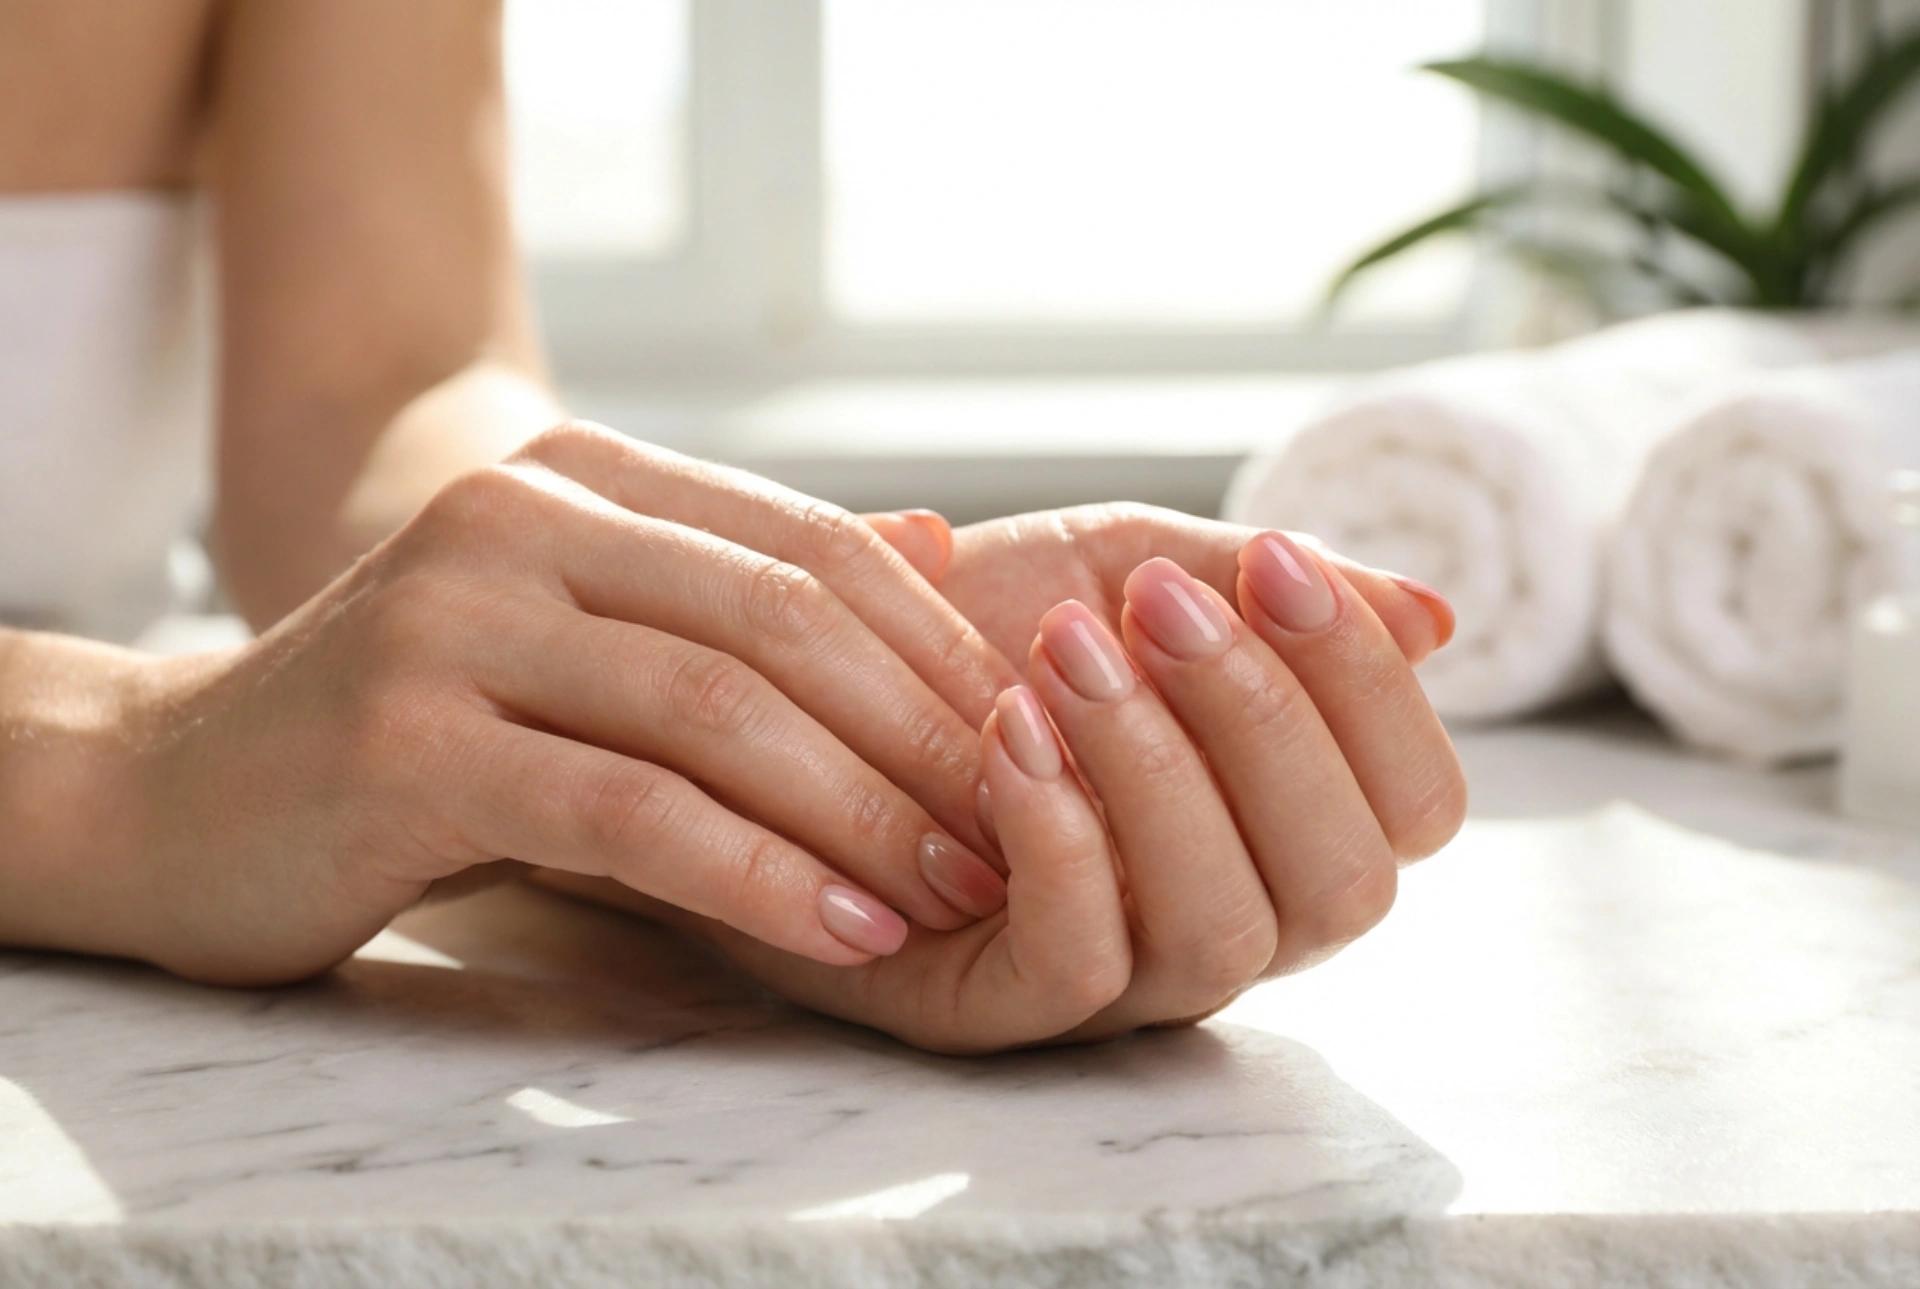


Ombre nails are the epitome of elegance and modern style, offering a sophisticated gradient effect that seamlessly transitions between colours. This versatile look, often seen with a soft nude blending into a gentle pink, can be adapted to any colour palette, making it a timeless choice for any occasion. Creating this beautiful effect at home is entirely possible with the right techniques and a little practice. This guide will walk you through the process, from preparation to simple yet stunning design ideas.
Preparing Your Nails for the Ombre Effect
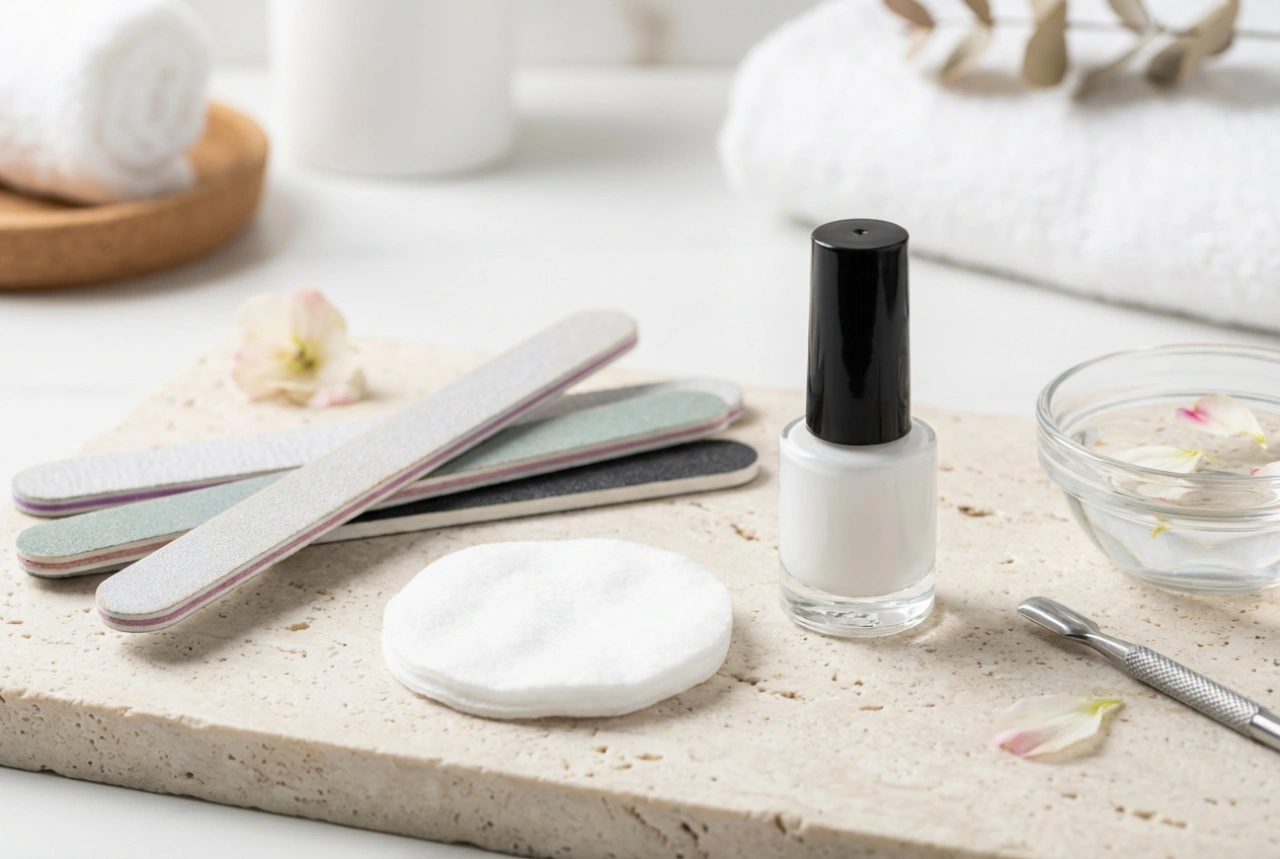
A flawless manicure begins with proper preparation. Before you even think about colours, ensuring your nails are a clean and smooth canvas is essential. Start by removing any old polish and cleaning your nails thoroughly. Shape them with a file to your desired length and form, whether it’s square, oval, or almond. Gently push back your cuticles, but avoid cutting them to prevent irritation. Next, lightly buff the surface of your nail plate. This step removes the natural shine and creates a slightly textured surface that helps the gel adhere better. Finally, wipe each nail with a lint-free cloth and a nail cleanser to remove any dust and oils. Apply a thin layer of a quality gel base coat and cure it under a UV/LED lamp according to the product's instructions. This creates the perfect foundation for your ombre masterpiece.
Key Techniques for a Smooth Gradient
Achieving a seamless blend is the main goal of ombre nails. There are several methods to create this effect, each with its own advantages. Experiment with them to find which one works best for you.
The Sponge Technique
This is one of the most popular and beginner-friendly methods. You will need a small piece of a cosmetic sponge (a makeup wedge works perfectly). Apply your two chosen gel colours in horizontal stripes directly onto the sponge, making sure they slightly overlap in the middle. Gently dab the sponge onto your prepared nail, moving it slightly up and down to blend the colours. Don't worry if it looks a bit textured at first; the top coat will smooth it out. Clean up any excess polish from the skin around your nail with a brush dipped in nail cleanser before curing. Repeat with a second layer for a more opaque finish, curing each layer separately.
The Brush Technique
For more precision and control, an ombre brush or a clean, flat gel brush can be used. Apply your lighter colour to the top half of your nail and the darker colour to the bottom half. Then, using your clean, dry brush, gently tap and blend the area where the two colours meet. Use light, feathery strokes to drag one colour into the other, creating a soft transition. Clean your brush frequently on a lint-free wipe to avoid muddying the colours. This method requires a bit more patience but allows for a very smooth and professional-looking gradient. Cure the nail once you are happy with the blend, and apply a second coat if needed for more intensity.
Simple Designs to Enhance Your Ombre Nails
While a classic ombre manicure is beautiful on its own, you can easily elevate the look with simple decorative elements. These additions can complement the gradient without overwhelming it.
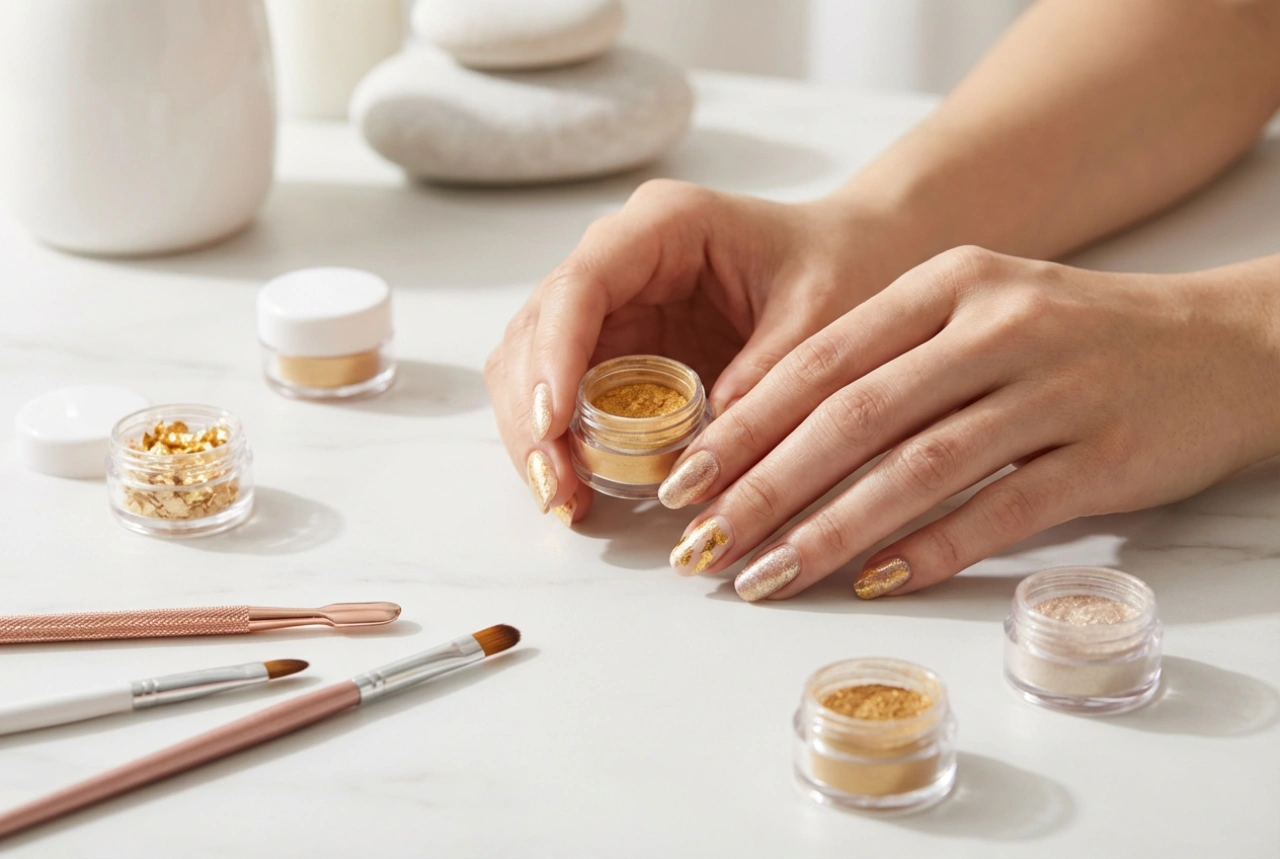
- Glitter Accent: Apply a thin layer of a fine glitter polish over the finished ombre, concentrating it either at the tip or near the cuticle for a sparkling gradient effect.
- Delicate Lines: Use a very thin nail art brush to draw simple vertical or horizontal lines in a contrasting colour like white, silver, or gold. A single line across each nail can add a touch of modern sophistication.
- Minimalist Dots: A small dotting tool can be used to place a neat row of tiny dots along the cuticle line or following the curve of the nail tip. This adds a subtle, playful detail.
- Subtle Stamping: If you have a nail stamping kit, choose a small, delicate pattern like a tiny leaf or a geometric shape and apply it to one or two accent nails. This is a quick way to add a complex-looking design with minimal effort.
Aftercare for Long-Lasting Ombre Gel Nails
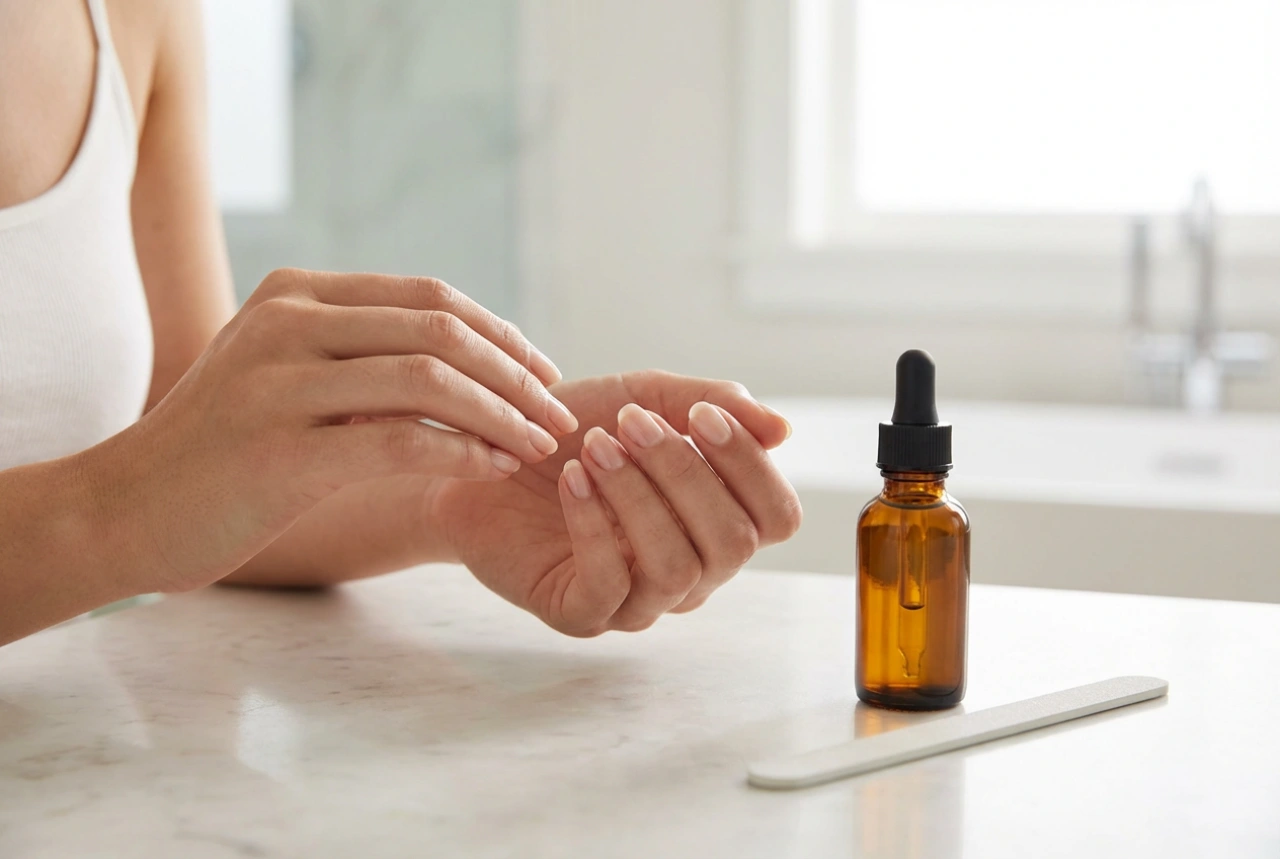
To keep your beautiful ombre gel nails looking fresh and vibrant for as long as possible, proper aftercare is crucial. Always finish your manicure with a high-quality gel top coat to seal in the design, add shine, and provide a protective layer against chips and scratches. Remember to 'cap' the free edge of the nail with the top coat to prevent lifting. Moisturise your hands and cuticles daily with cuticle oil and hand cream to keep the skin hydrated and healthy. When doing household chores, especially those involving water or cleaning products, wear gloves to protect your manicure from harsh chemicals and prolonged water exposure. Finally, be mindful of your nails and avoid using them as tools to open cans or scrape things, as this can lead to breakage and chipping.