


A durable and aesthetically pleasing acrylgel manicure begins long before the colour is applied. The secret to its longevity and flawless appearance lies in a properly prepared nail plate and a perfectly matched base coat. A high-quality base acts as a crucial link between the natural nail and the styling product, ensuring adhesion and protecting the nail from potential damage. Understanding its role and application technique is fundamental for anyone wanting to master the art of polygel or acrylgel nails at home.
The Role of a Base Coat in Acrylgel Manicures
Why is a dedicated base coat so important? Its primary function is to significantly increase the adhesion of the acrylgel product to the natural nail plate. Think of it as a double-sided tape specifically designed for nails. It securely bonds to the keratin of the nail on one side and creates a receptive surface for the thick acrylgel on the other. This prevents lifting and chipping, extending the life of your manicure. Furthermore, a good base creates a protective barrier, preventing the pigments and chemicals in styling products from directly contacting the nail plate. It also helps to even out minor irregularities on the nail surface, creating a smoother canvas for the subsequent layers.
How to Choose the Right Base for Acrylgel
Not all base coats are created equal, and the choice can impact the final result. When selecting a base for a dense product like acrylgel, it is essential to consider several factors to ensure compatibility and performance.
Key Properties to Look For
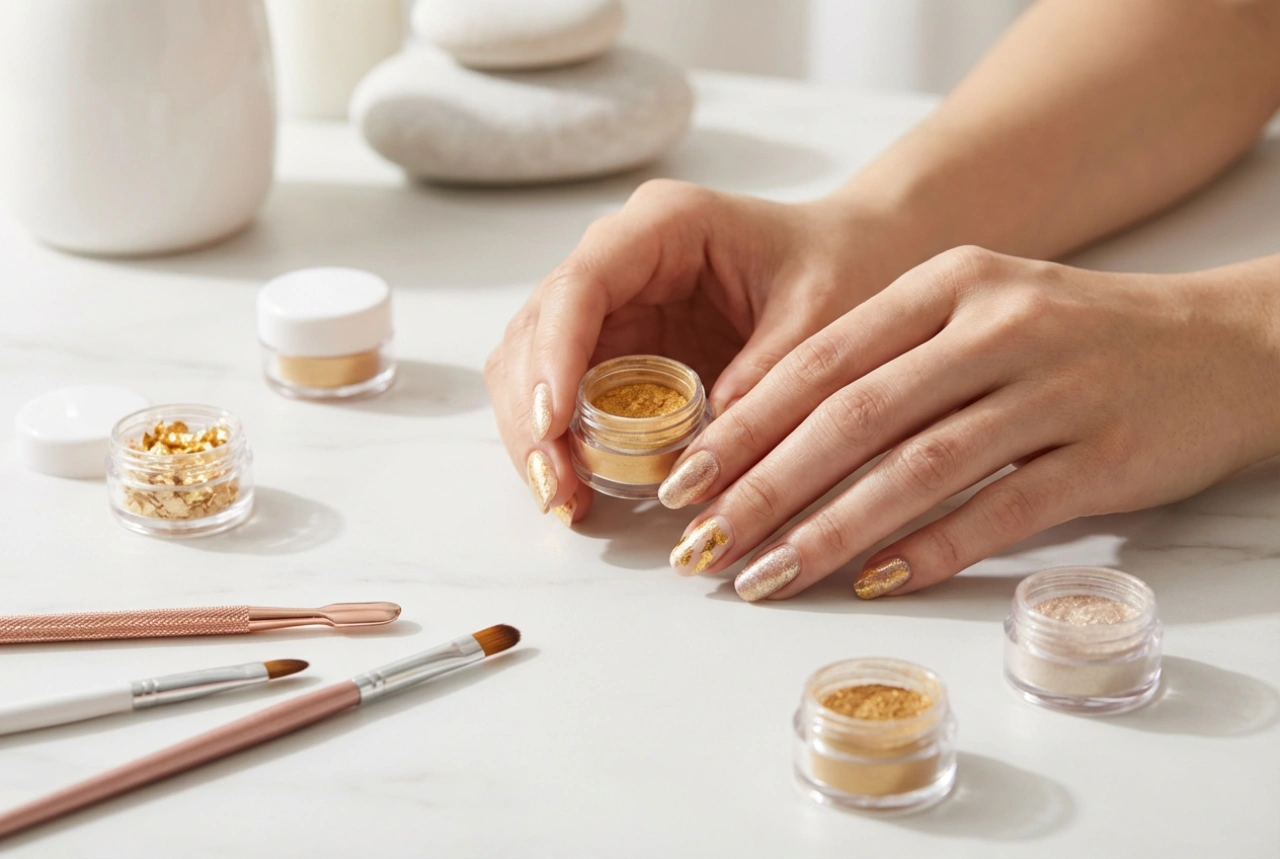
When choosing your base, pay attention to its intended use. Look for products specifically described as being suitable for gel, polygel, or acrylgel systems. Key characteristics include:
- Viscosity: Bases for acrylgel are often slightly thicker than standard bases for classic gel polish. A medium viscosity helps to build a subtle, reinforcing layer on the nail plate without flowing into the cuticles too quickly.
- Adhesion: The primary purpose is to bond. Look for descriptions that highlight 'strong adhesion' or 'increased grip', as these are formulated to work with heavier, denser products like acrylgel.
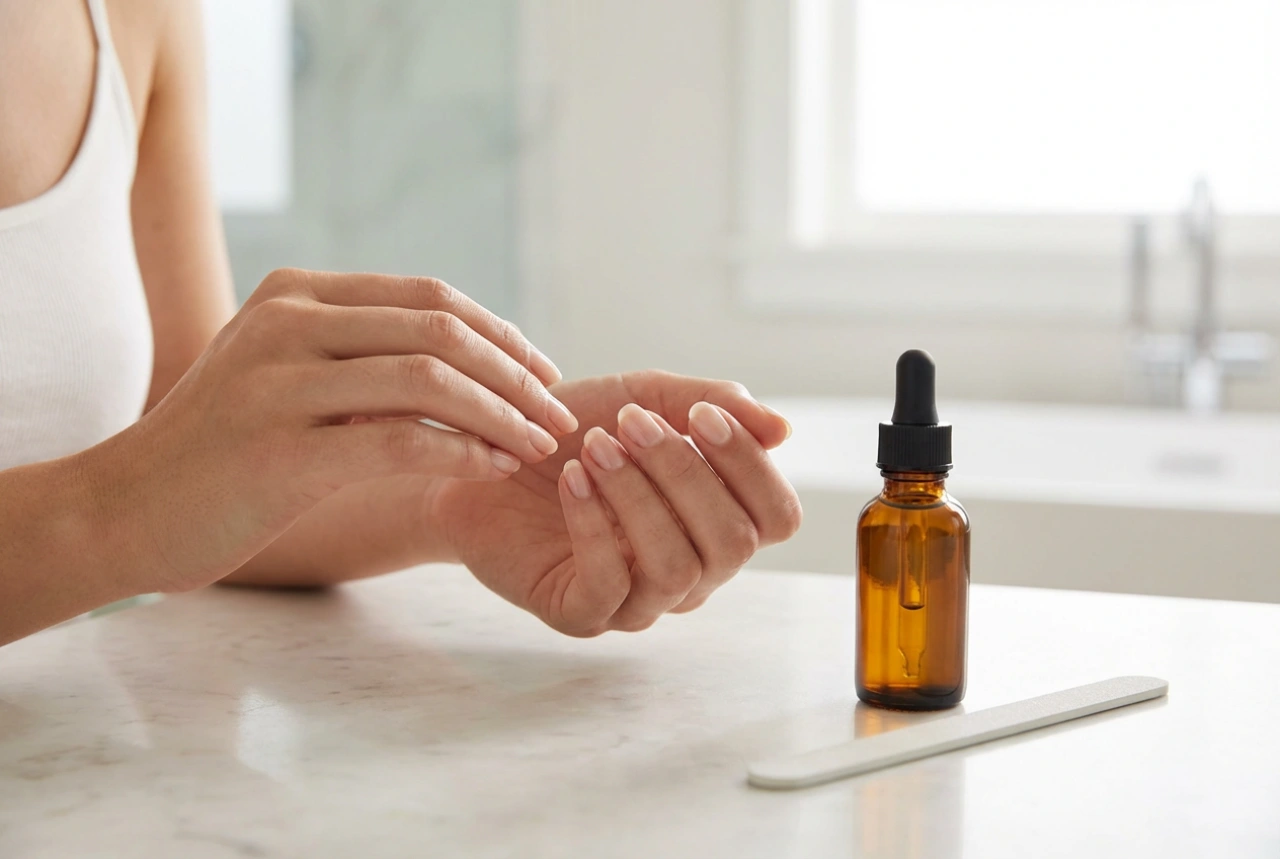
- Flexibility: Some bases offer more flexibility than others. A flexible 'rubber' type base can be an excellent choice for weaker, thinner, or more brittle nails, as it can move with the natural nail, reducing stress and the risk of breakage. For strong, healthy nails, a standard, more rigid base is often sufficient.
Considering Your Nail Type
The condition of your natural nails should guide your choice. For nails that are prone to bending or are generally weak, a reinforcing base, perhaps one enriched with vitamins or proteins, can provide extra support. If your nails are healthy and strong, your main focus should be on a base that offers maximum adhesion. It's always best to choose a product from the same system as your acrylgel, as they are designed to work together synergistically, but a high-quality universal base for gel systems will also perform well.
Step-by-Step Guide to Applying the Base Coat
Correct application is just as important as choosing the right product. Rushing this stage can lead to lifting and a shorter-lasting manicure. Follow these steps for a professional result.
Step 1: Meticulous Nail Preparation
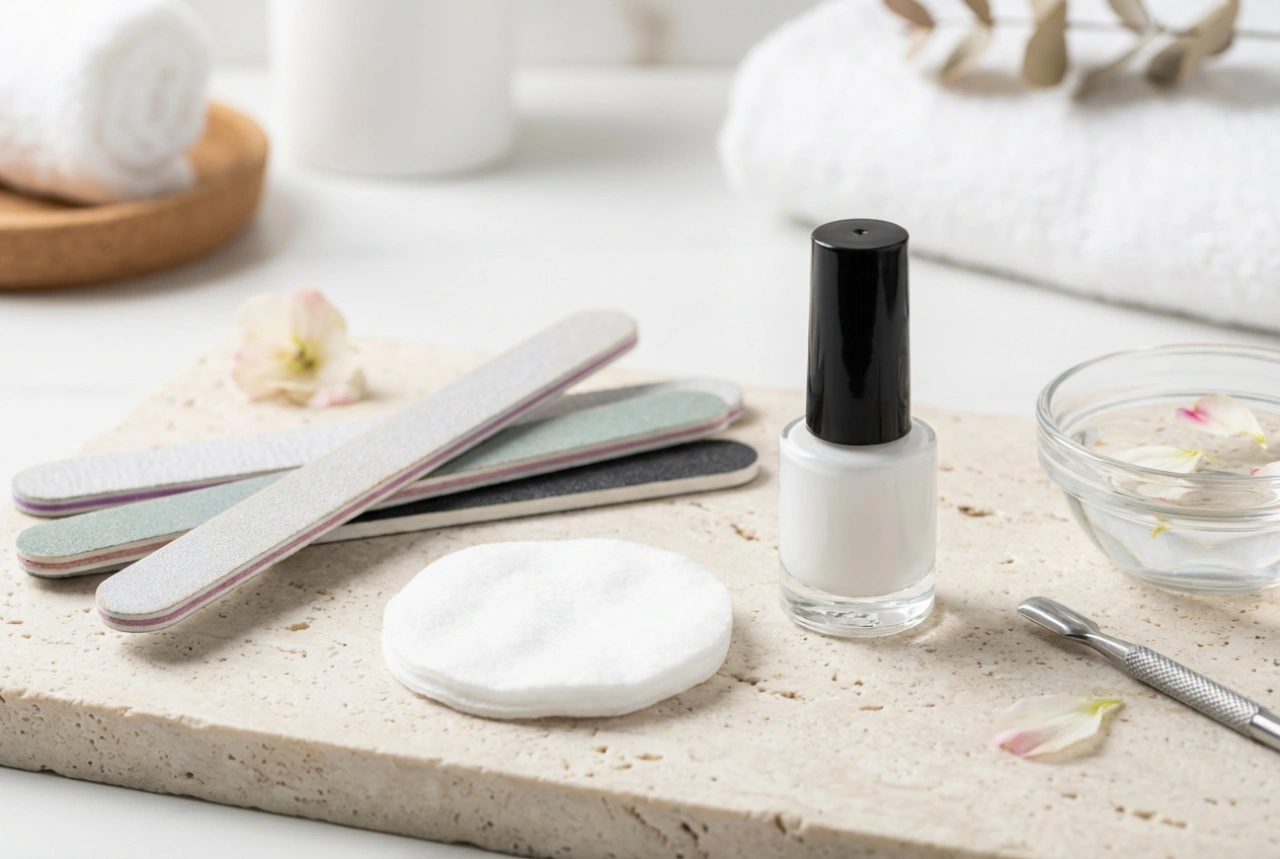
Start with clean, dry hands. Gently push back the cuticles using a wooden stick or a pusher. If necessary, carefully remove any excess non-living tissue. Shape the nails with a file to your desired length and form. Using a fine-grit buffer (180/240), gently and lightly buff the entire surface of the nail plate. The goal is to remove the natural shine, not to thin the nail. Finally, use a lint-free wipe soaked in a nail cleaner or dehydrator solution to remove all dust and oils from the nail surface. This step is critical for good adhesion.
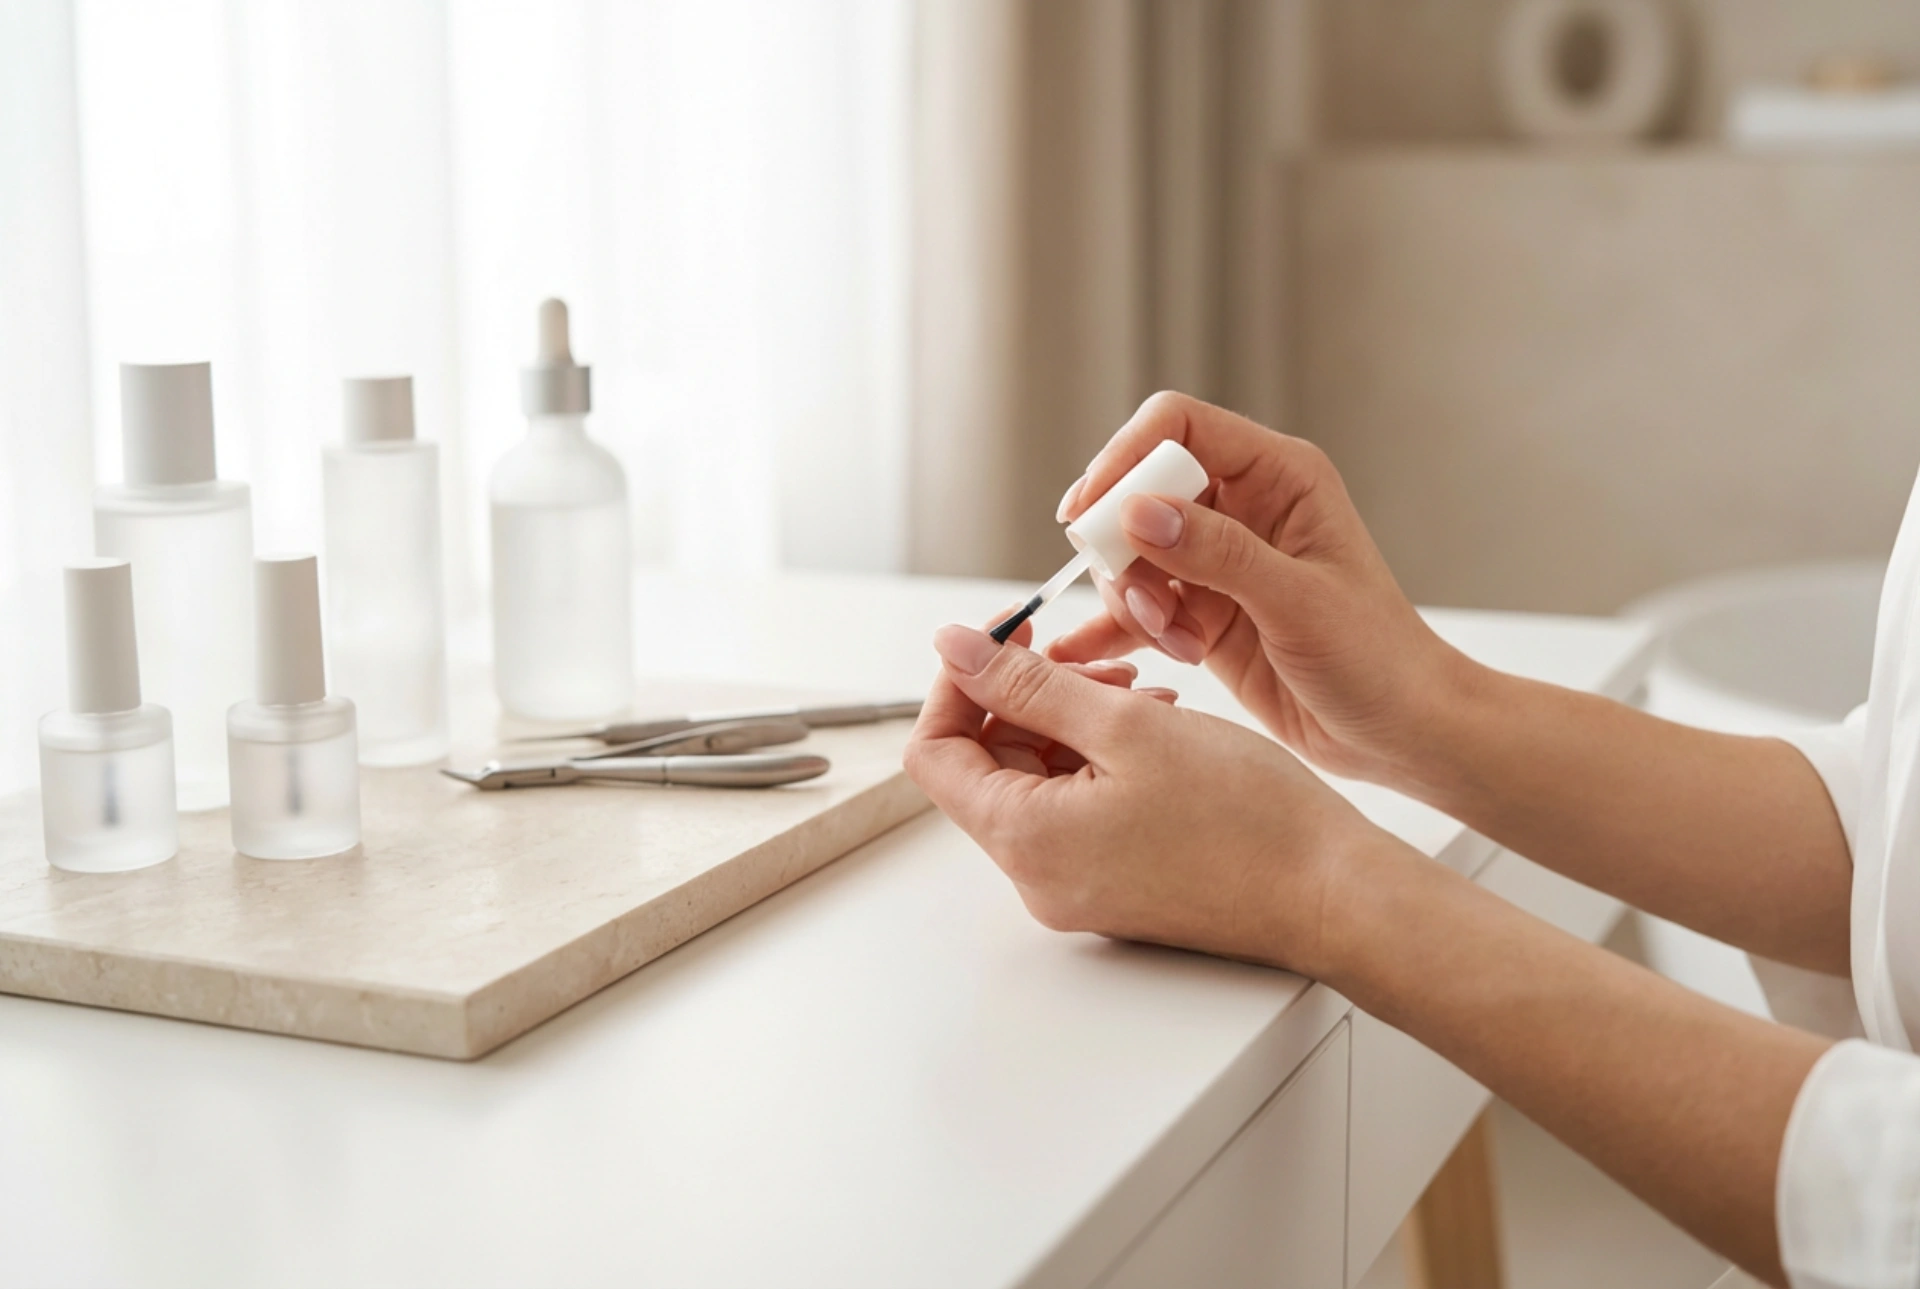
Step 2: Applying a Thin, Even Layer
Dip the brush into your chosen base coat and wipe off the excess on the inside of the bottle's neck. You only need a small amount. Apply a very thin layer to the nail, as if you were 'scrubbing' it into the nail plate. Start near the cuticle but do not touch it, and brush towards the free edge. Make sure the entire nail is covered, including capping the free edge by running the brush along the tip. This seals the nail and prevents chipping.
Step 3: Curing Under the Lamp
Immediately after applying the base to one hand, place it under a UV/LED lamp. Cure for the time recommended by the product manufacturer, which is typically between 30 and 60 seconds for LED lamps and 2 minutes for traditional UV lamps. Curing transforms the liquid base into a solid, sticky layer, which is exactly what you want. This 'inhibition' or sticky layer is what the acrylgel will grip onto. Do not wipe it off before applying the acrylgel.
Common Mistakes to Avoid
A few common errors can compromise your manicure. Being aware of them will help you achieve better results.
- Flooding the Cuticles: Applying the base too thickly or too close to the skin can cause it to flood the cuticle area. This will inevitably lead to lifting. Always leave a tiny, hair's-width gap between the product and the skin.
- Inadequate Nail Prep: Skipping the buffing or cleaning stage will leave natural oils on the nail plate, which are the number one enemy of adhesion. Be thorough but gentle.
- Applying Too Much Product: A thick layer of base coat can cure improperly and may lead to a bulky appearance. A thin, even layer is all that is required for a strong bond.
- Under-curing: Not curing the base for the recommended time will result in a weak foundation that can cause the entire manicure to fail. Always follow the manufacturer's instructions for your specific lamp and product.
By investing time in selecting the right base and perfecting your application technique, you are setting the stage for a beautiful, strong, and long-lasting acrylgel manicure that looks professional and withstands daily wear.