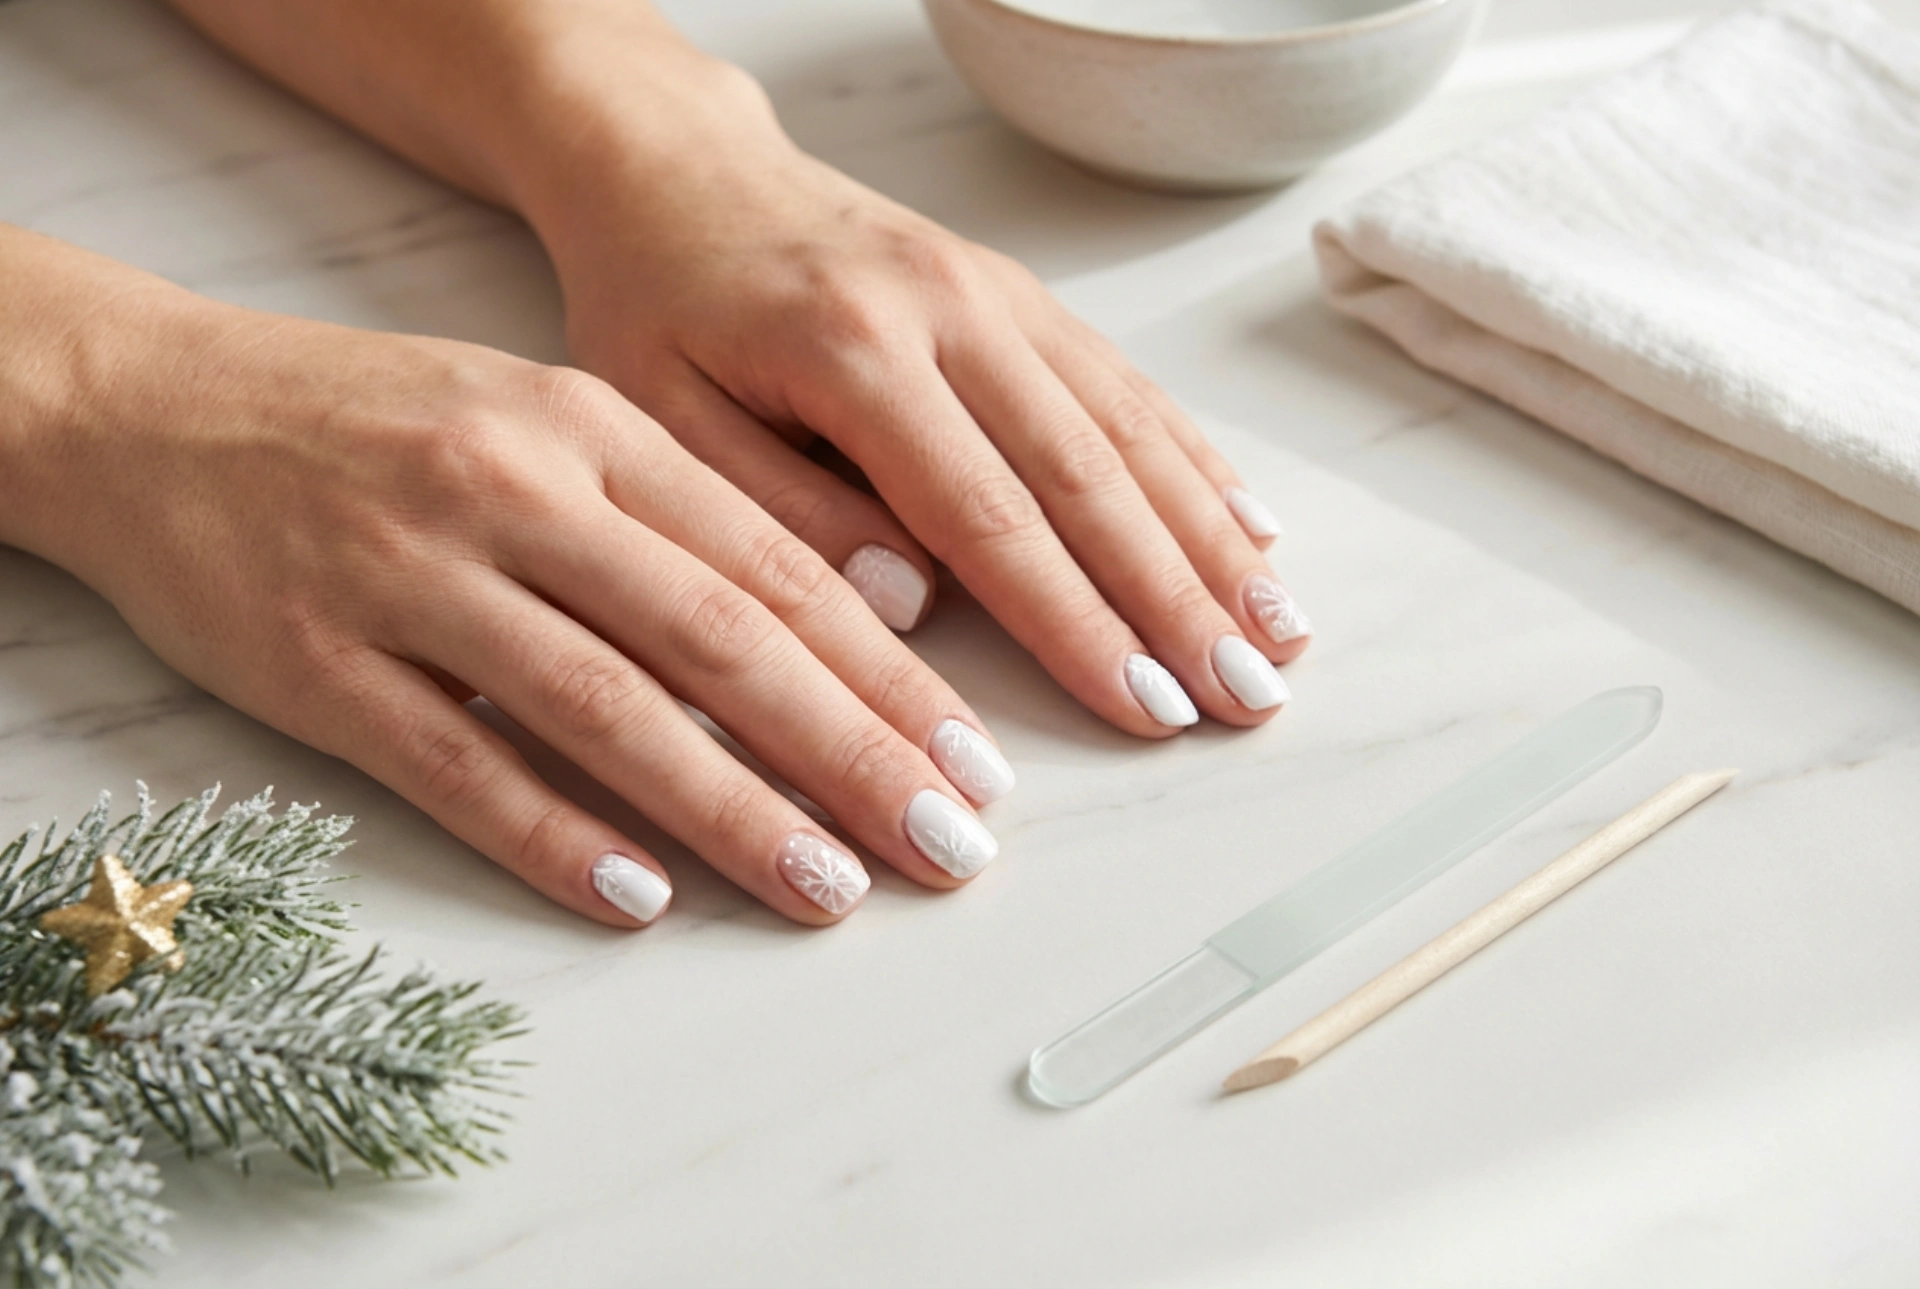


A pristine white manicure offers a touch of timeless elegance, making it a perfect choice for the winter season. It provides a clean, crisp canvas that beautifully complements the festive atmosphere, allowing for subtle yet striking creative expression. Whether you prefer a minimalist look or a delicate design, white nails can be adapted to suit any style. This guide will walk you through preparing your nails, creating simple winter motifs, and ensuring your beautiful manicure remains flawless throughout the celebrations.
Preparing Your Nails for a White Manicure
The key to a perfect white manicure lies in the preparation. White polish is less forgiving than other colours and can highlight any imperfections on the nail surface. A smooth and well-prepared base is therefore essential.
Begin by removing any old polish thoroughly. Next, gently file your nails to your desired shape, whether it's square, oval, or almond. Aim for uniformity across all nails. Afterwards, use a soft buffing block to lightly smooth the surface of the nail plate. This step removes ridges and creates an even base for the polish to adhere to. Be gentle to avoid thinning the nail.
Once your nails are shaped and buffed, push back your cuticles using a wooden or rubber-tipped cuticle pusher. Avoid cutting them, as they serve as a protective barrier. Finally, cleanse each nail with a nail polish remover or rubbing alcohol on a cotton pad to remove any oils or dust. This ensures maximum adhesion. The last step before colour is applying a quality base coat. A base coat not only protects your nails from potential staining but also provides a tacky surface for the white polish to grip onto, improving its longevity.
Creating Simple Winter Motifs at Home
You don't need to be a professional artist to add a festive touch to your white nails. Simple tools and a steady hand are all it takes to create beautiful winter-themed designs.
Delicate Snowflakes
A classic snowflake is easier to create than it looks. Using a fine-tipped nail art brush or even the end of a bobby pin, place a few small dots on the nail to form the centre and arms of the snowflake. Then, draw fine lines outward from the centre. You can add smaller lines or dots at the end of each arm for more detail. Create a single accent snowflake on your ring finger or a flurry across all nails.
Subtle Glitter Gradient
A glitter gradient adds a touch of sparkle without being overwhelming. Choose a fine silver, gold, or iridescent glitter polish. Apply a small amount to a disposable makeup sponge and gently dab it onto the tip of your nail, concentrating the glitter at the very edge and fading it down towards the middle of the nail. This creates a beautiful, shimmering effect reminiscent of freshly fallen snow.
Minimalist Lines and Dots
For an ultra-modern and chic look, minimalist designs are perfect. Use a thin striping brush to draw a single, clean vertical or horizontal line in a contrasting metallic colour like silver or gold. Alternatively, use a dotting tool to place a simple pattern of dots near the cuticle or along the side of the nail. The contrast against the crisp white background is incredibly effective and sophisticated.
Achieving a Flawless, Streak-Free White Finish
White polish is notoriously tricky to apply evenly. The secret to avoiding a streaky, uneven finish is patience and the application of thin layers.
After your base coat has dried completely, apply your first coat of white polish. It should be very thin; don't worry if it looks patchy or transparent. The goal is to build up the colour gradually. Allow this first layer to dry for a few minutes. Then, apply a second thin coat, which should provide more coverage. For most white polishes, a third thin coat may be necessary to achieve full, even opacity. Allowing adequate drying time between each layer is crucial to prevent dragging the polish and creating streaks. A steady hand and smooth, deliberate strokes from the base to the tip of the nail will yield the best results.
How to Ensure Your Festive Manicure Lasts
After putting in the effort to create a beautiful design, you want it to last. The final step in your manicure process is the most important for durability: the top coat. Apply a generous layer of a high-quality, chip-resistant top coat over your entire nail, making sure to 'cap' the free edge by swiping the brush along the tip. This seals in the colour and design, adds a high-gloss shine, and provides a protective shield against daily wear and tear. To extend the life of your manicure even further, you can reapply a thin layer of top coat every two to three days. Additionally, remember to moisturise your hands and cuticles daily and wear gloves when doing household chores to protect your nails from harsh chemicals and water.




