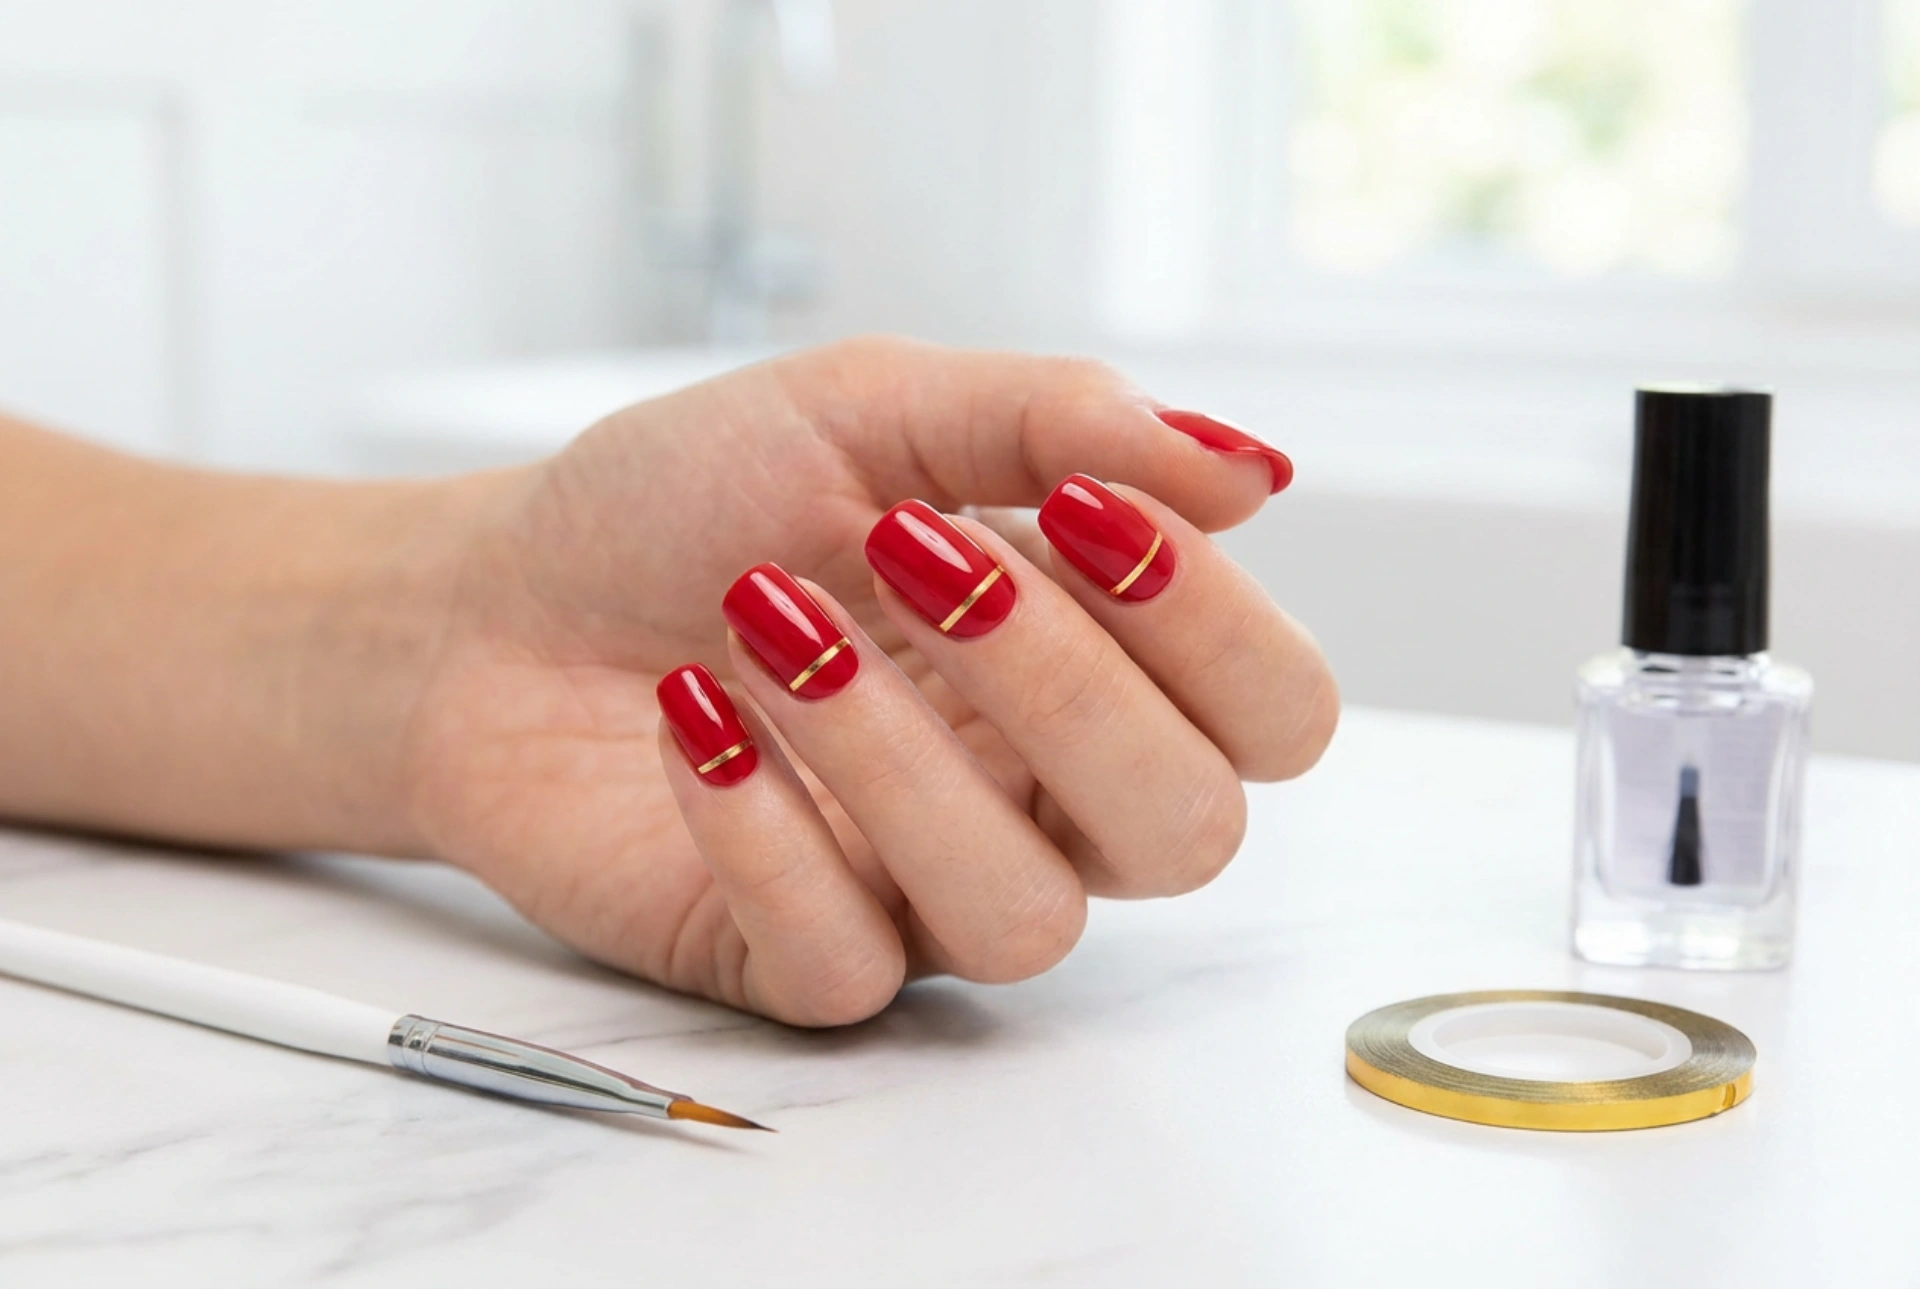


A classic red manicure is a timeless symbol of elegance, but adding a simple, delicate detail can elevate it to a new level of sophistication. A thin golden stripe is a perfect example of how a small touch can make a big impact, creating a look that is both modern and chic. Achieving this precise design at home might seem challenging, but with the right tools and techniques, it's entirely possible. This guide will walk you through creating a flawless golden stripe on your vibrant red nails using either adhesive tape for crisp lines or a fine brush for a freehand approach.
Essential Preparations for Your Manicure
Before you begin painting, gathering your tools and preparing your nails is a crucial first step for a professional-looking result. A well-prepared canvas ensures your nail polish applies smoothly and lasts longer. Here's what you'll need:
- A high-quality base coat.
- A vibrant red nail polish.
- A metallic gold nail polish or a gold nail art paint.
- A glossy top coat for sealing the design.
- Very thin nail art striping tape or regular clear adhesive tape.
- A fine-tipped nail art brush.
- Nail polish remover and a small, clean brush (like an old lip or eyeliner brush) for clean-up.
Start by ensuring your nails are clean, dry, and shaped to your liking. Gently push back your cuticles. Wipe each nail with a bit of nail polish remover to get rid of any natural oils, which can prevent the polish from adhering properly.
Applying the Perfect Red Base
The foundation of this design is a flawless red base. Rushing this step can lead to a messy final look. First, apply a single layer of base coat to all your nails. This not only protects your natural nails from staining but also creates a smooth surface for the colour to glide onto. Allow it to dry completely. Next, apply your chosen red polish. For an opaque and even colour, it's best to apply two thin coats rather than one thick one. Let the first coat dry for a few minutes before applying the second. Patience is key here; ensure the red polish is absolutely, completely dry before moving on to the golden stripe. If the polish is even slightly tacky, the adhesive tape will lift it and ruin your base.
Creating the Golden Stripe: Two Methods
Now for the main event: adding the golden stripe. There are two primary methods to achieve this, one using tape for guaranteed straight lines and the other using a brush for a more freehand approach. Choose the one that best suits your skill level and confidence.
Method 1: Using Adhesive Tape for Precision
This method is perfect for beginners as it helps create incredibly sharp, clean lines. Start by cutting a piece of nail striping tape. If you're using regular tape, cut a very thin strip. A good tip is to stick the tape to the back of your hand once or twice to reduce its stickiness slightly, preventing it from pulling up the red polish. Carefully place the tape on your nail to mark out where you want the stripe to be. You can place a single piece to define one edge of the stripe, or use two pieces to create a channel. Press the tape down firmly along the edges to prevent the gold polish from bleeding underneath. Now, paint the gold polish within the taped-off area. While the gold polish is still wet, carefully and slowly peel off the tape. Pulling the tape off while the polish is wet is the secret to a crisp line. Allow the stripe to dry.
Method 2: The Freehand Technique with a Fine Brush
If you have a steady hand, the freehand method offers more creative freedom and is quicker once mastered. Pour a small drop of the gold polish onto a palette (a piece of foil or plastic will do). Dip the very tip of your fine nail art brush into the polish. To avoid a thick, blobby line, wipe any excess off on the side of the palette. Rest your painting hand on a stable surface to minimise shaking. Starting from the base of your nail or the tip, gently drag the brush in a single, smooth motion to create the line. Don't press too hard. If the line isn't perfect on the first try, you can go over it carefully to straighten it, but try to do it while the first layer is still wet to avoid lumpiness.
Finishing Touches for a Lasting Design
Regardless of the method you used, the final step is to seal your beautiful design. Wait until the golden stripe is completely dry to the touch. Applying a top coat too soon can cause the gold to smudge and ruin your hard work. Once you are sure it's dry, apply a generous layer of a high-shine top coat over the entire nail. This will not only protect your manicure from chipping and extend its life but also smooth out any slight textural difference between the red base and the golden stripe, giving it a seamless, professional finish. For a truly pristine look, dip a small, clean brush in nail polish remover and carefully trace around your cuticle line to clean up any polish that may have gotten onto your skin.




