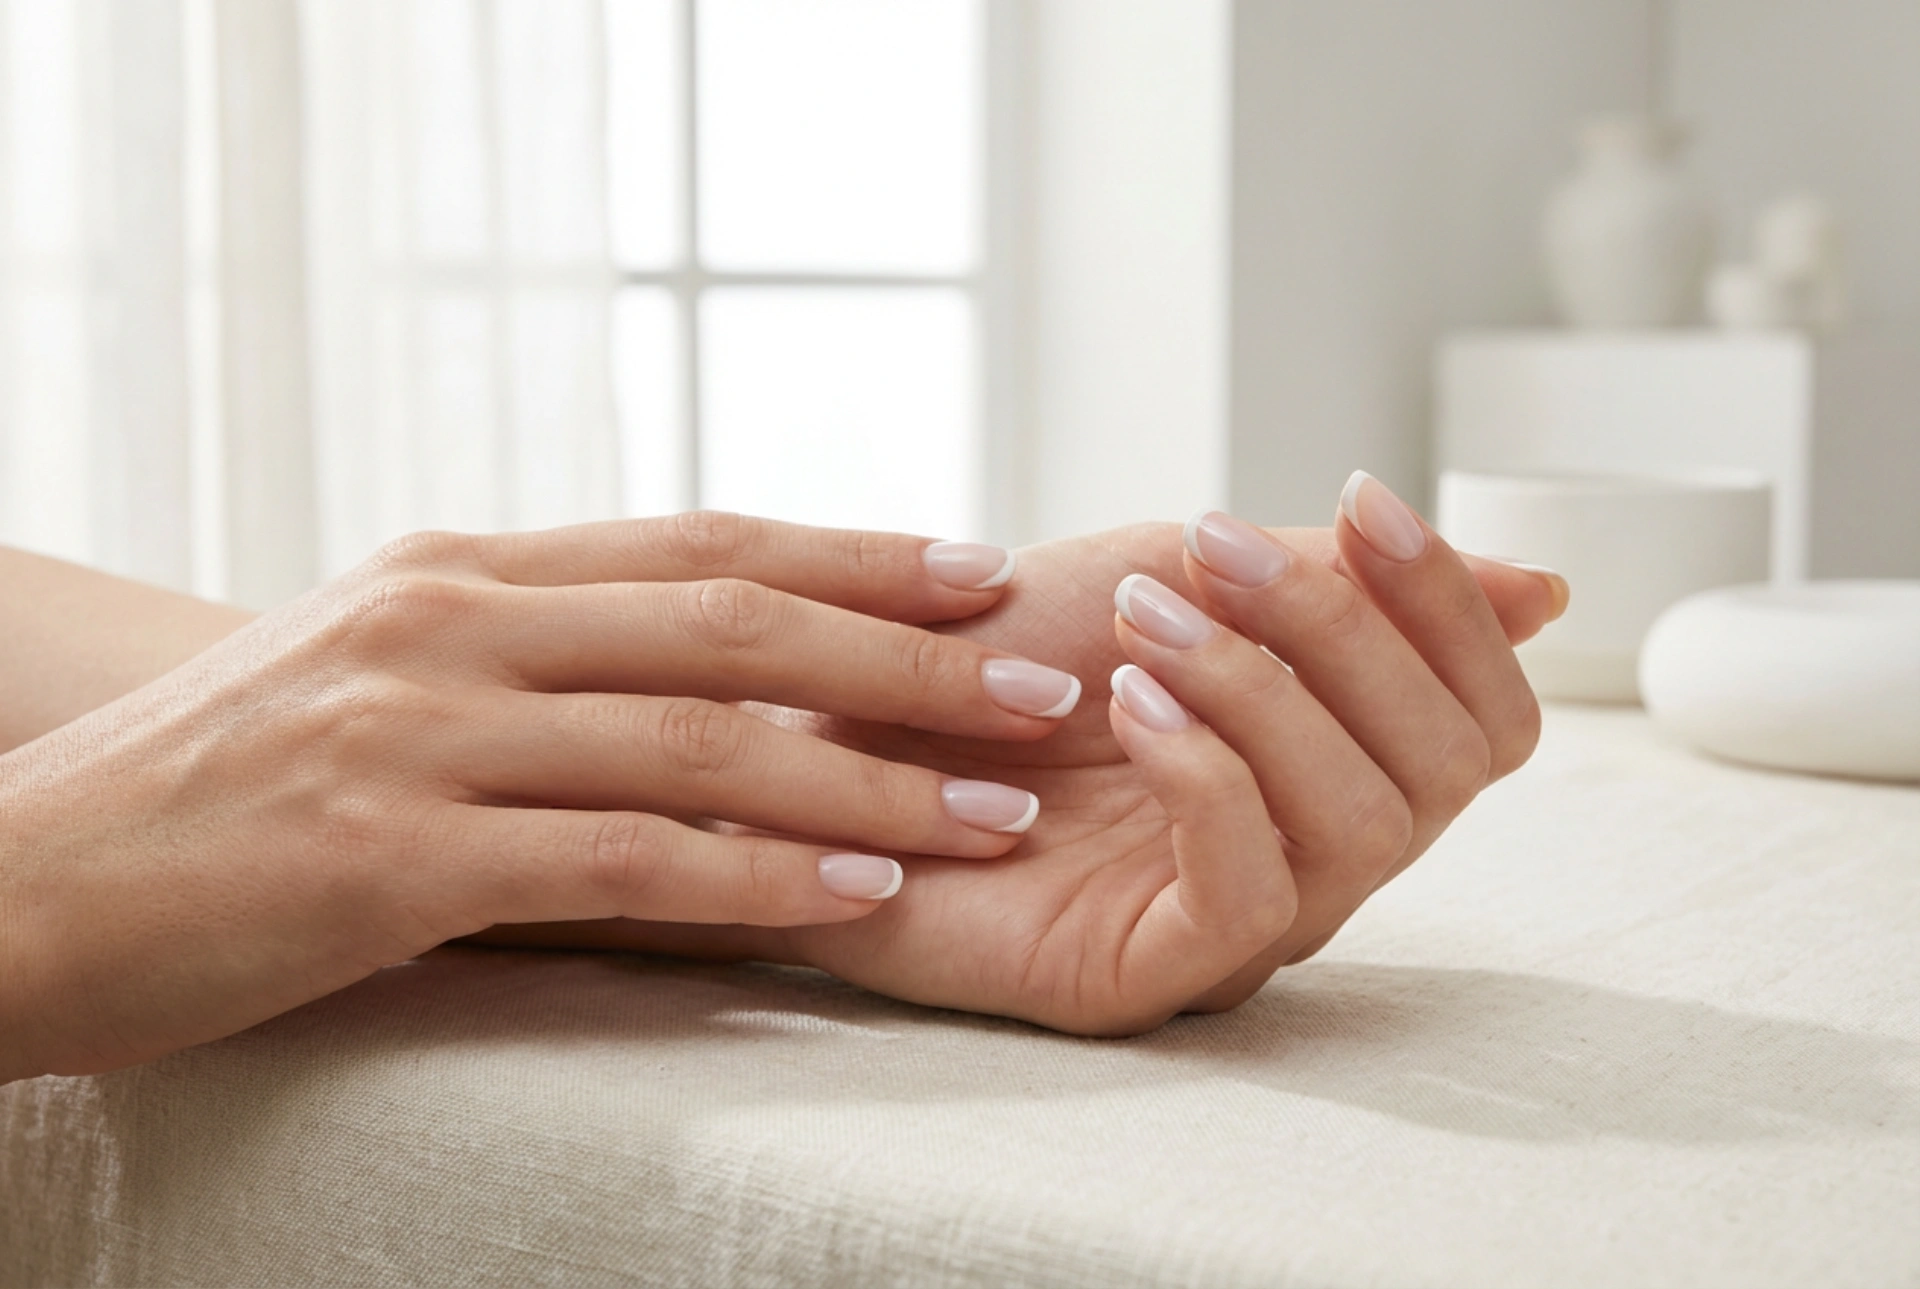


The French manicure is a symbol of timeless elegance, a look that never goes out of style. In recent years, this classic has been reimagined with a modern twist: the milky French. This version offers a softer, more subtle aesthetic, perfect for those who appreciate understated sophistication. It swaps the traditional sheer pink or clear base for a semi-translucent milky or nude shade, creating a beautifully blended and delicate finish. If you want to achieve this chic look at home using hybrid polishes, this comprehensive guide will walk you through every step of the process.
The Allure of the Milky French Manicure
What sets the milky French apart from its classic predecessor is the base colour. Instead of a stark contrast between a clear base and a bright white tip, the milky manicure uses a semi-opaque, off-white or light nude colour. This base creates a 'milky' effect that softly diffuses the line between your natural nail and the white tip, resulting in a more seamless and modern appearance. The look is incredibly versatile, complementing any outfit or occasion, from everyday wear to special events. It exudes a clean, fresh, and polished vibe that has made it a favourite among nail enthusiasts.
Essential Preparation for a Flawless Manicure
Proper preparation is the foundation of any long-lasting hybrid manicure. Neglecting this stage can lead to lifting, chipping, and a shorter lifespan for your beautiful design. Taking the time to prep your nails correctly ensures better product adhesion and a more professional-looking result.
Nail Shaping and Cuticle Care
Begin by gently pushing back your cuticles with a wooden stick or a cuticle pusher. If you have excess cuticle growth, you can carefully trim it with a pair of nippers, but be cautious not to cut the living skin. Next, file your nails into your desired shape, whether it's almond, square, oval, or squoval. Use a nail file to smooth the edges and create a uniform shape across all your nails. This provides a clean canvas for your manicure.
Preparing the Nail Plate
Once your nails are shaped and your cuticles are tidy, you need to prepare the nail plate itself. Use a gentle buffer block to lightly remove the shine from the entire surface of your nails. This creates a slightly rough texture that helps the hybrid products adhere better. After buffing, it's crucial to cleanse the nail plate to remove any dust and natural oils. Use a lint-free wipe saturated with a specialised nail cleaner or dehydrator solution, wiping each nail thoroughly. From this point on, avoid touching your nails with your fingers to prevent transferring oils back onto the surface.
Creating Your Milky French Manicure: A Detailed Guide
With your nails perfectly prepped, you're ready to start the application process. Work on one hand at a time, following each step carefully for the best results.
Step 1: Applying the Base Coats
First, apply a thin layer of a standard hybrid base coat. This initial layer protects your natural nail and provides a strong foundation. Be sure to 'cap' the free edge of the nail by running the brush along the tip. Cure this layer under your UV/LED lamp according to the product's instructions. Next, apply your chosen milky or semi-translucent nude colour. For a subtle look, one thin coat may be enough. For more opacity, apply a second coat. Remember to keep the layers thin to avoid a bulky appearance and ensure proper curing. Cure each coat of milky polish completely before moving on.
Step 2: Painting the Perfect 'Smile Line'
Creating the crisp white tip, or 'smile line', is often the most challenging part. For this step, you'll need an opaque white hybrid polish and a very thin nail art brush. Pour a small amount of the white polish onto a palette. Dip your brush in, getting a small, controlled amount of product. Rest your hand on a stable surface and slowly paint a thin, curved line across the tip of your nail. You can build up the thickness and perfect the curve gradually. If you make a mistake, you can easily wipe it away with a clean brush dipped in a cleaner solution before curing. Once you are happy with the smile line, cure it under the lamp.
Step 3: Sealing with a Top Coat
The final step is to seal your design with a high-gloss, no-wipe top coat. Apply a generous but even layer over the entire nail, making sure to cover the white tip and the milky base. Capping the free edge with the top coat is especially important as it protects the nail from chipping. Cure this final layer for the time recommended by the manufacturer. After curing, your nails should be perfectly dry, hard, and shiny. To complete the experience, apply a nourishing cuticle oil to the skin around your nails to rehydrate it.
Pro Tips for Durability and Perfection
To ensure your milky French manicure looks its best and lasts as long as possible, keep these professional tips in mind:
- Always apply products in thin, even layers. This prevents flooding the cuticles and ensures the polish cures all the way through, which is key to its longevity.
- Capping the free edge of the nail with every single coat (base, colour, and top) provides a seal that dramatically reduces the risk of chipping.
- Ensure your UV/LED lamp is in good condition and that the bulbs are not past their lifespan. An underpowered lamp will lead to improper curing and a weak manicure.
- Patience is crucial, especially when creating the smile line. Rushing this step can lead to uneven or messy results. Take your time to get it right.
- After your manicure is complete, avoid prolonged exposure to hot water for the first 24 hours and wear gloves when doing household chores to protect your nails.
Creating a beautiful milky French hybrid manicure at home is entirely achievable with the right techniques and a little practice. This elegant and modern design offers a sophisticated look that is perfect for any occasion. By following these steps for preparation, application, and finishing, you can enjoy a flawless, salon-quality manicure that lasts for weeks.




