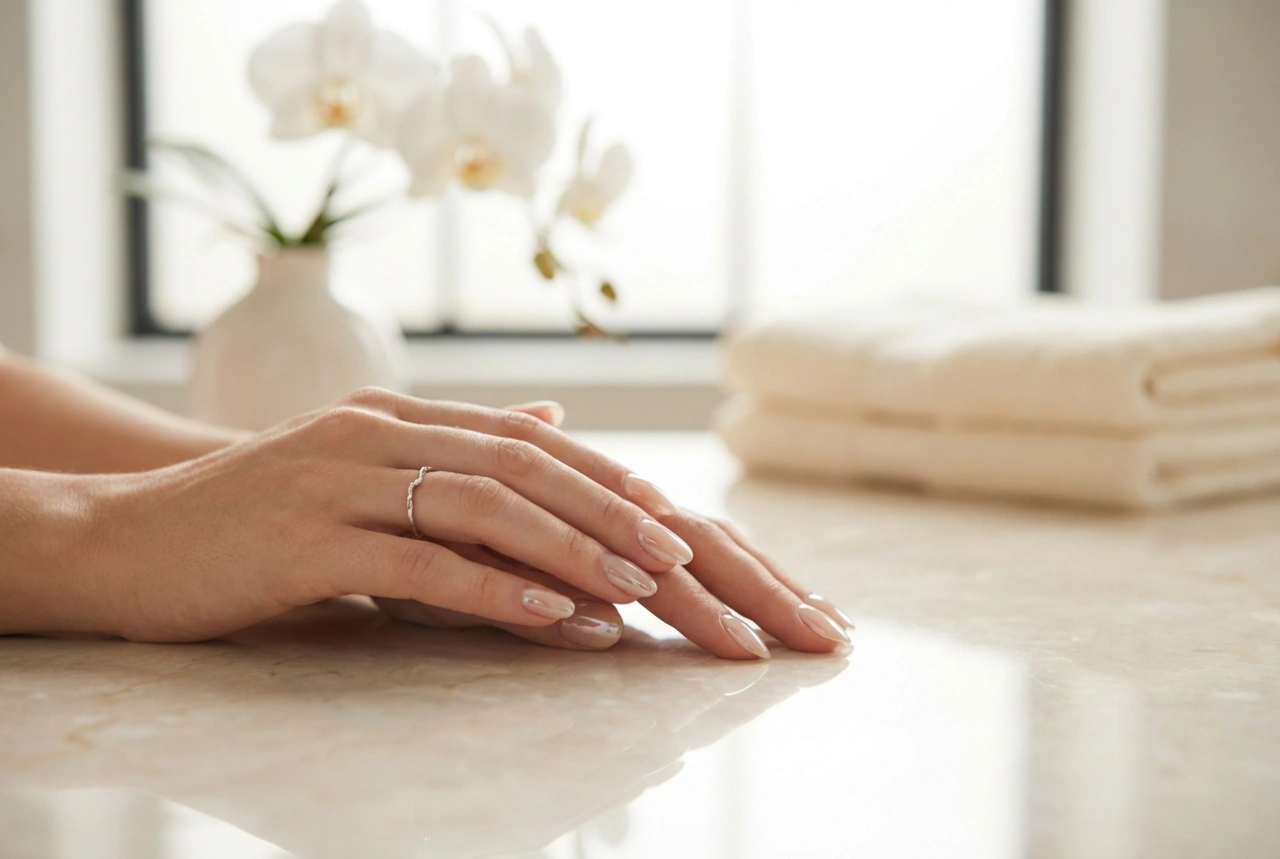


The trend for milky white nails continues to capture attention with its elegant, clean, and sophisticated look. This subtle manicure, reminiscent of a delicate 'jelly' finish, is surprisingly achievable without a trip to the salon. It's all about mastering the right technique, from preparing your nails to applying the polish in careful layers. This guide will walk you through the steps to create a flawless, translucent milky manicure in the comfort of your own home, giving your hands a polished and refined appearance.
Step 1: The Foundation of a Perfect Manicure
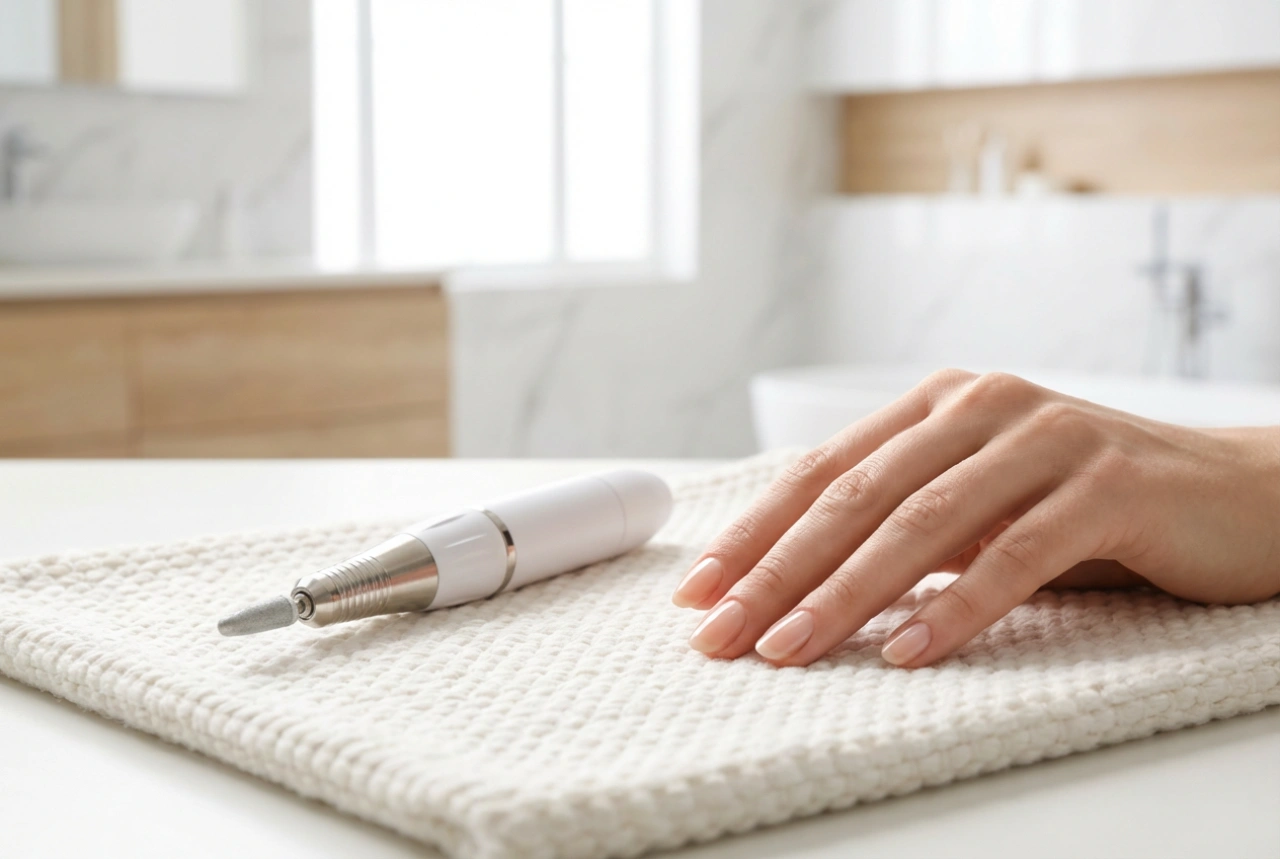
Before you even reach for the polish, proper nail preparation is essential. A great manicure starts with a clean canvas. Rushing this step can lead to a less durable and less professional-looking result. Take your time to create the perfect base for your milky nails.
- Clean and Shape: Start by removing any old polish completely. Gently file your nails to your desired shape, whether it's square, oval, or almond. Always file in one direction to prevent splitting. Afterwards, buff the nail surface lightly to smooth out any ridges.
- Cuticle Care: Soften your cuticles by soaking your fingertips in warm, soapy water for a few minutes or by using a cuticle remover solution. Gently push back the cuticles with a wooden orange stick or a cuticle pusher. Avoid cutting your cuticles, as this can lead to irritation and damage.
- Dehydrate the Nail Plate: Wipe each nail with a cotton pad soaked in rubbing alcohol or a specialised nail cleanser. This step removes any natural oils or residues, ensuring the base coat and polish adhere properly for a longer-lasting manicure.
- Apply a Base Coat: Never skip the base coat. It protects your natural nails from staining and provides a smooth, even surface for the polish to grip onto. Apply one thin layer and let it dry completely.
Step 2: Choosing Your Polish and Mastering Layering
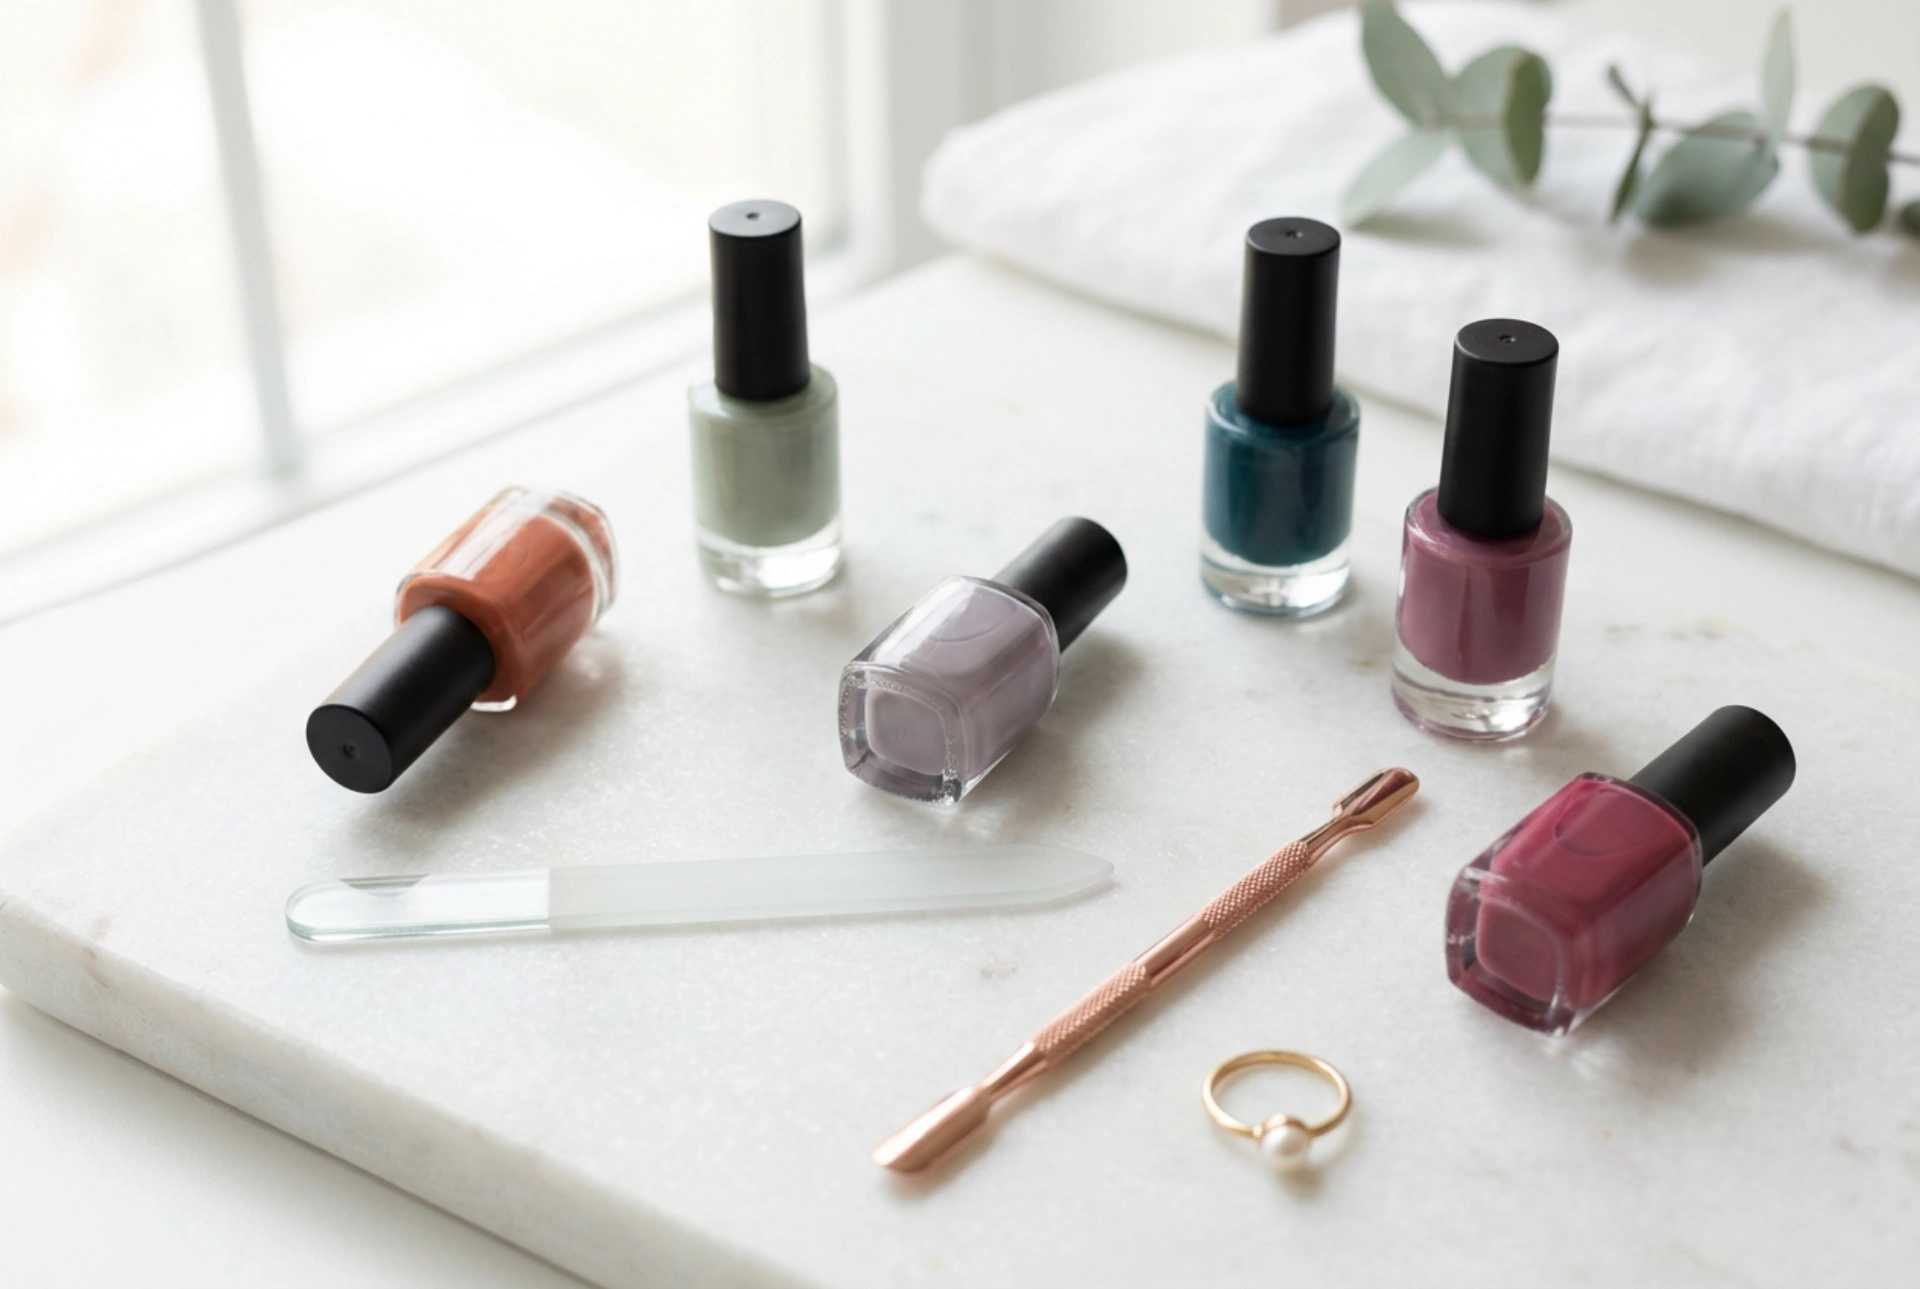
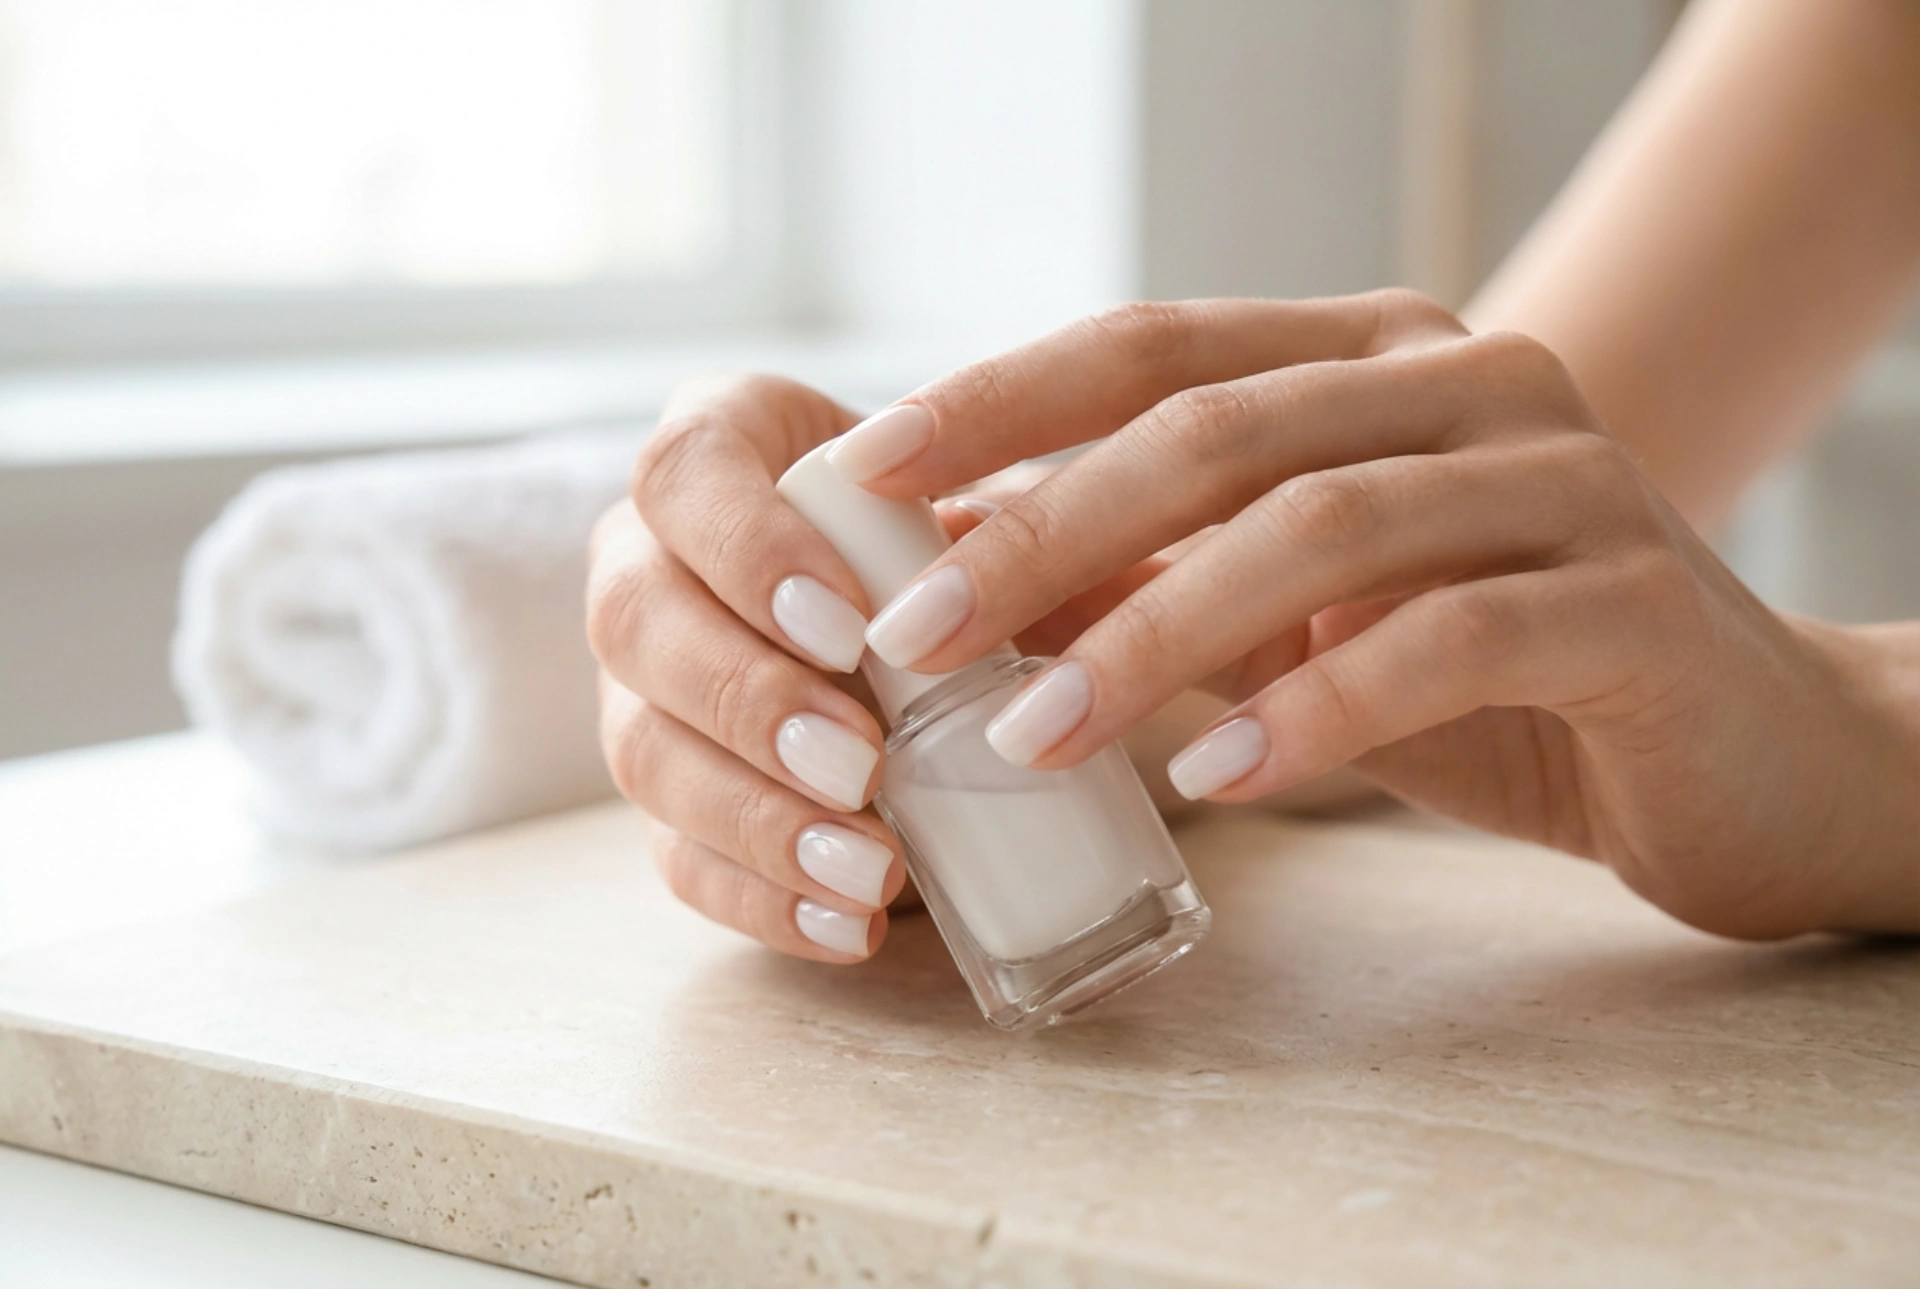
The key to the milky nail effect is using the right type of polish. You are not looking for a stark, opaque white. Instead, opt for a sheer, semi-transparent white or a very pale, milky pink. Some polishes are specifically marketed as 'milky' or 'jelly'. If you can't find one, you can create your own by mixing one or two drops of an opaque white polish into a bottle of clear top coat. Shake it well to combine.
The Layering Technique
Patience is your best friend when it comes to layering. The goal is to build up the colour gradually for a translucent, dimensional finish, not to achieve full coverage in one go.
- First Coat: Apply a very thin, even layer of your milky polish. Don't worry if it looks extremely sheer and streaky; this is normal. The first coat acts as the foundation for the colour. Let it dry completely for at least two to three minutes.
- Second Coat: Apply a second thin layer. You will start to see the milky effect building. Focus on applying the polish smoothly from the cuticle to the tip. Again, allow it to dry thoroughly. Rushing between coats is the most common cause of bubbles and smudges.
- Third Coat (Optional): Depending on the sheerness of your polish and the desired level of milkiness, you might need a third coat. Assess the look after the second coat has dried. If you want a slightly more opaque but still translucent finish, go ahead with a third thin layer.
Step 3: Achieving the Signature 'Jelly' Finish
The coveted 'jelly' or 'lip gloss' nail look is defined by its plush, high-shine, and semi-transparent quality. The layering technique is the foundation, but the finishing touches are what truly create this effect. The built-up sheer layers create a sense of depth, making the nails look healthy and luminous. The trick is to ensure each layer is thin and even, which allows light to pass through and create that signature squishy, jelly-like appearance. It’s the opposite of a flat, opaque colour. The slight visibility of the nail tip through the polish is a hallmark of this style.
Step 4: Sealing and Maintaining Your Manicure
Once you are happy with the colour and translucency, it's time to seal your work. A high-quality top coat is non-negotiable. It not only provides a glossy, glass-like shine that enhances the jelly effect but also protects your manicure from chipping and extends its life.
- Apply a Top Coat: Apply one generous layer of a glossy top coat. Be sure to 'cap' the free edge of your nail by running the brush along the tip. This creates a seal that helps prevent chips.
- Drying and Aftercare: Allow your nails to dry completely. You can use quick-dry drops or a spray to speed up the process. For the next hour, be mindful of your hands to avoid any smudges.
- Daily Maintenance: To keep your manicure looking fresh and your hands elegant, apply cuticle oil daily. This nourishes the skin around your nails and can help prevent hangnails. When doing household chores, wear gloves to protect your nails from harsh chemicals and prolonged water exposure.
By following these steps, you can easily replicate the chic and understated milky nail trend at home. It’s a timeless look that complements any style and occasion, proving that sometimes the simplest manicures are the most beautiful.