


The desire for impeccably manicured nails with a flawless, reflective shine is a hallmark of sophisticated beauty. Achieving that coveted 'glass effect'—an intensely glossy, smooth finish that looks like polished glass—is possible at home with the right techniques and a little patience. This look elevates any manicure, making hands appear elegant and well-cared for. The secret lies not in a single product, but in a meticulous process from preparation to final top coat. This guide will walk you through the essential steps to create a durable, streak-free, and brilliantly shiny manicure.
Preparing the Nail Plate: The Foundation for Flawless Shine
A perfect manicure begins long before you open a bottle of colour. Proper preparation of the nail plate is the most critical step for achieving a smooth, glass-like surface. Any ridges, bumps, or leftover oils on the nail will prevent the polish from adhering smoothly and can ruin the final effect. Start by thoroughly cleaning your hands and nails. Remove any old polish using a gentle, acetone-free remover, which is less drying on the nails and surrounding skin.
Shaping and Cuticle Care
Next, shape your nails. Use a fine-grit nail file to gently shape the nails into your desired form, whether square, oval, or almond. Always file in one direction, from the side to the centre, to avoid weakening the nail and causing it to peel. Avoid sawing back and forth. Once shaped, focus on the cuticles. Instead of cutting them, which can lead to damage and irritation, soften them with a specialised cuticle remover or by soaking your fingertips in warm, soapy water for a few minutes. Then, gently push them back using an orangewood stick or a soft cuticle pusher. This creates a clean, even canvas for your polish.
Creating a Smooth Surface
To get that ultra-smooth base essential for the glass effect, you need to address any unevenness on the nail surface. A gentle buffing block is your best tool for this. Lightly and carefully buff the surface of each nail to smooth out ridges and create a subtle texture that helps the polish grip. Be very gentle; the goal is to smooth, not to thin the nail. After buffing, wipe each nail with a lint-free cloth or pad soaked in rubbing alcohol to remove all dust, oils, and residue. This final cleaning step ensures maximum adhesion and a streak-free application.
The Art of Application for a Streak-Free Finish
With a perfectly prepared base, you are ready to apply the polish. The technique you use is just as important as the preparation. Rushing the process or applying thick coats will lead to bubbles, smudges, and an uneven finish.
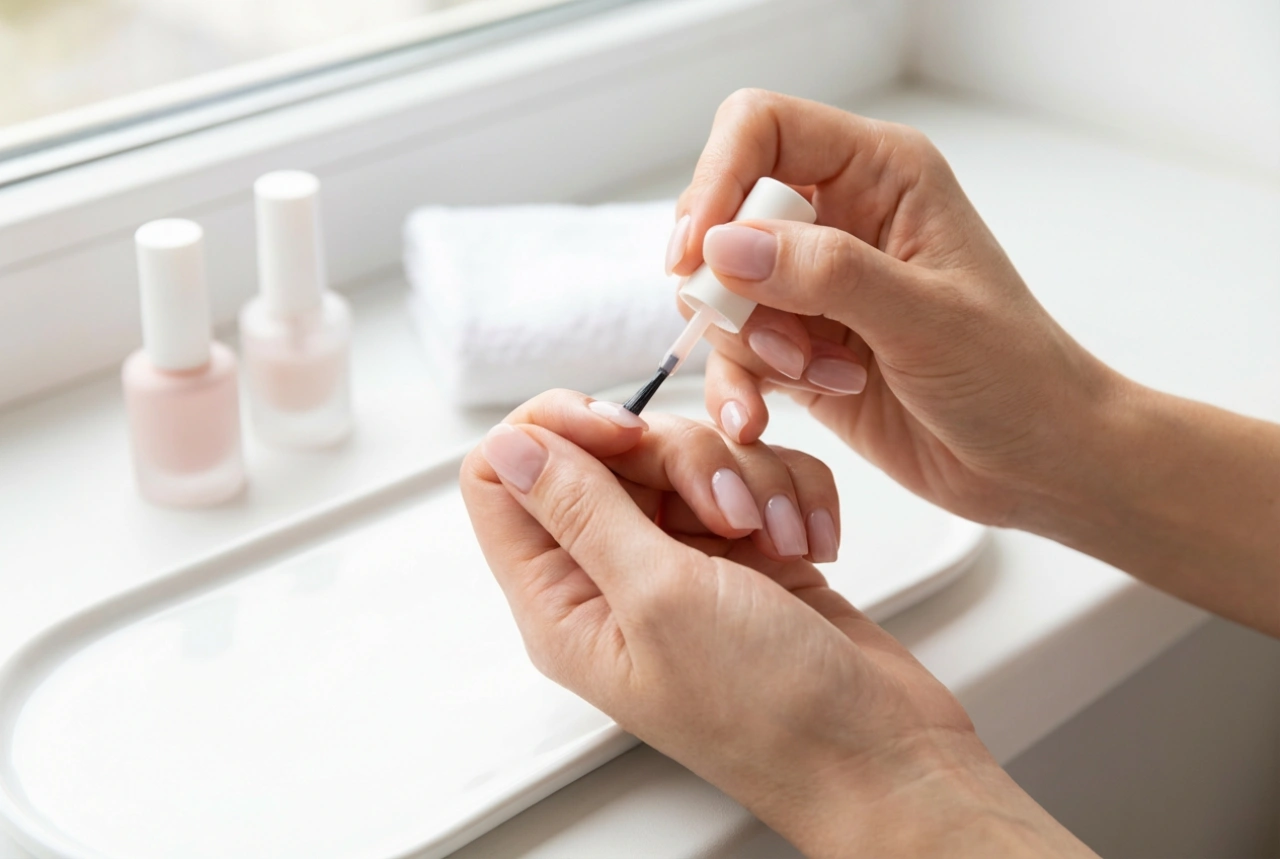
- Start with a Base Coat: Never skip the base coat. It not only protects your natural nails from staining but also fills in minor imperfections and provides a tacky surface for the colour to adhere to. Apply one thin, even layer and let it dry completely.
- Apply Thin Coats of Colour: The key to a vibrant, even colour without streaks is applying multiple thin coats rather than one or two thick ones. Load your brush with a small amount of polish and wipe off the excess on the inner rim of the bottle. Use the three-stroke method: one stroke down the centre of the nail, followed by one on each side. Allow each coat to dry for at least two to three minutes before applying the next. Two coats are usually sufficient for full opacity.
- Patience is Key: Drying time is crucial. If you apply a new layer before the previous one is sufficiently dry, you risk dragging the polish and creating streaks. A good test is to lightly touch your little fingernails together; if they don't feel tacky, you're ready for the next step.
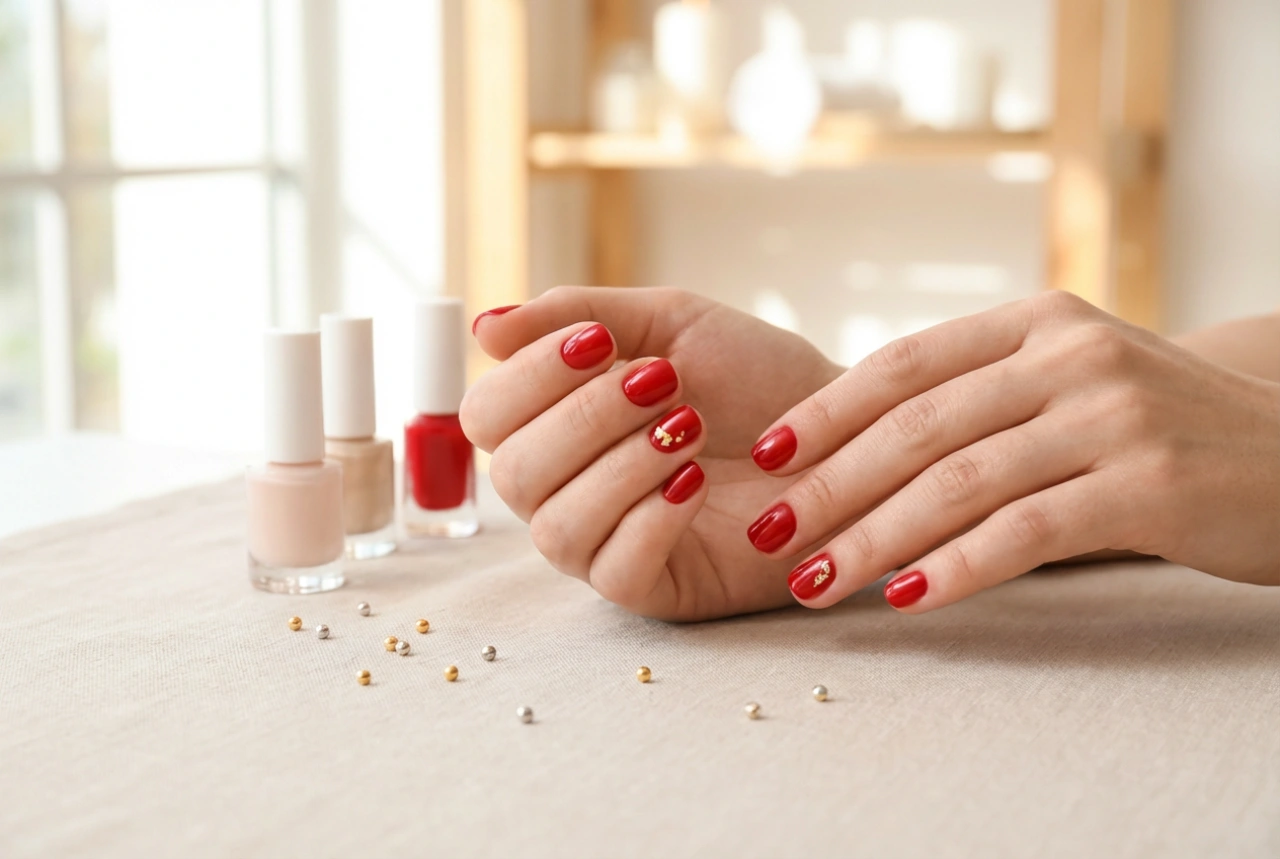
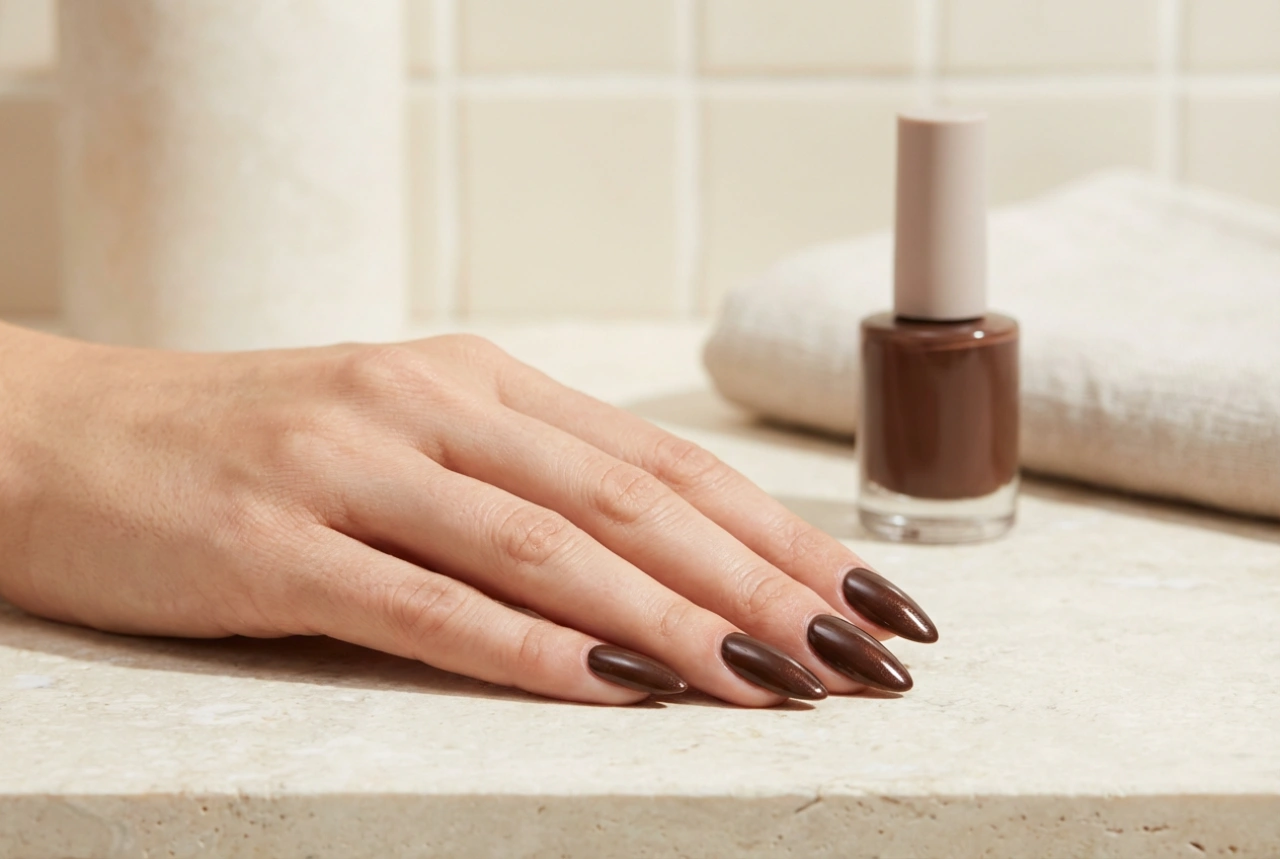
Achieving the High-Gloss 'Glass' Look with a Top Coat
The final, and most magical, step is the top coat. This is what transforms a standard manicure into one with a stunning, glass-like lustre. Choose a high-quality, high-shine top coat specifically designed for a glossy, durable finish. Don’t be shy with the application. A slightly thicker layer of top coat than your colour coats helps to level out any minor imperfections and creates a thick, clear lens over the colour, enhancing its depth and shine. Be sure to 'cap' the free edge of your nail by running the brush along the tip. This seals the manicure and helps prevent chipping.
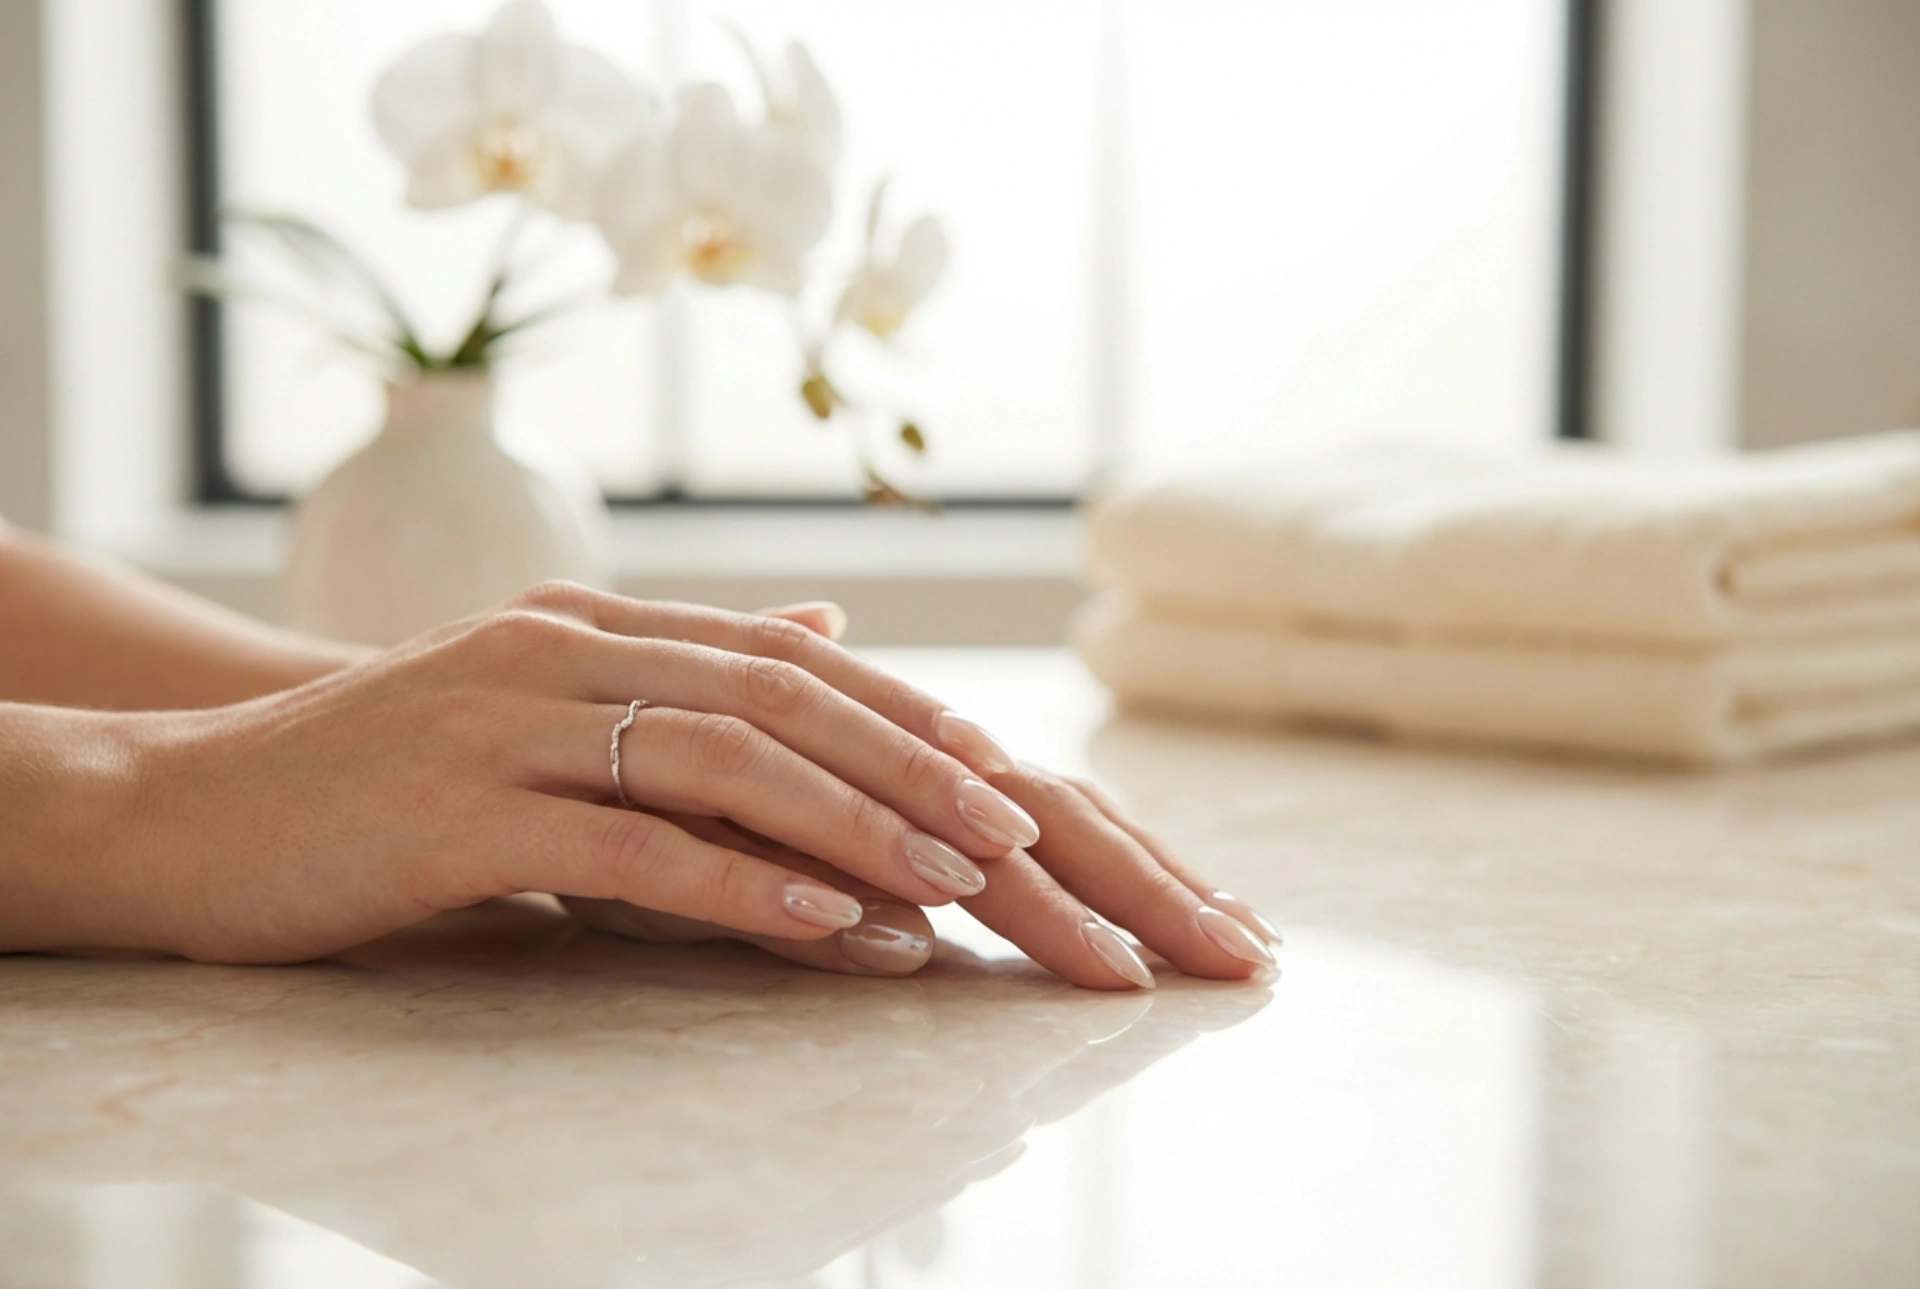
Maintaining Your Glossy Manicure
Your work isn't over once the top coat is dry. With proper care, you can preserve that brilliant shine for a week or more. Daily hydration is essential. Apply cuticle oil or a rich hand cream every day to keep your nails and the surrounding skin nourished, which helps prevent brittleness and chipping. When doing household chores, especially those involving water or cleaning agents, always wear protective gloves. To refresh the shine after a few days, you can apply another thin layer of your glossy top coat. This will instantly revive the lustre and add an extra layer of protection. By following these steps, you can consistently achieve a professional-looking, glass-effect manicure that is both beautiful and long-lasting.