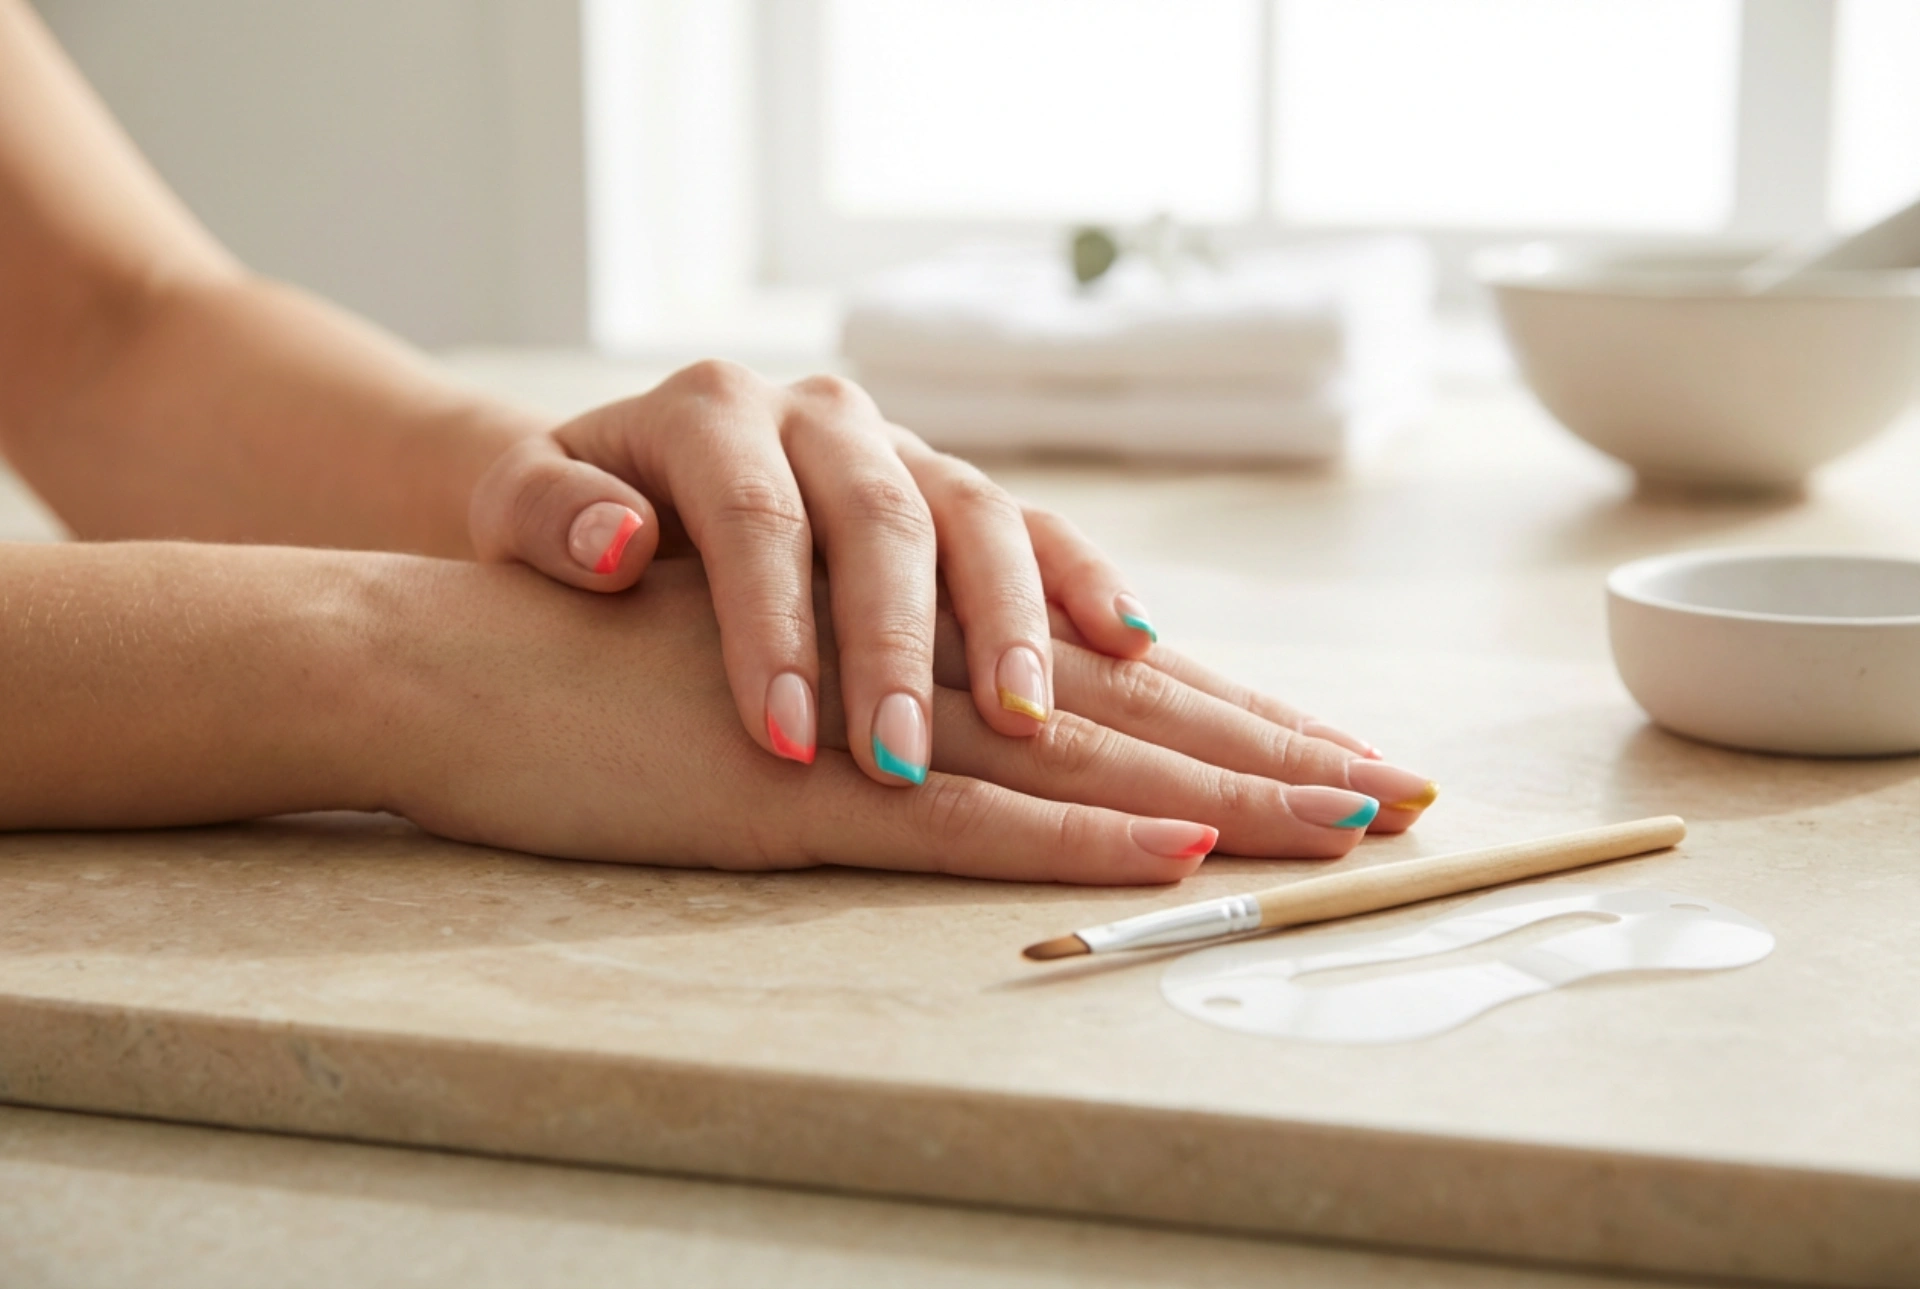


The colourful French manicure is a modern and vibrant twist on a timeless classic, allowing for endless creativity. Achieving those sharp, perfectly even coloured tips can seem challenging, but with the right techniques and tools, a professional-looking result is entirely possible at home. Whether you prefer the precision of a stencil or the artistry of a freehand brush, this guide will walk you through the steps to create a flawless and eye-catching colourful French manicure, including how to fix any small mistakes along the way.
Preparing Your Nails for a Flawless Finish
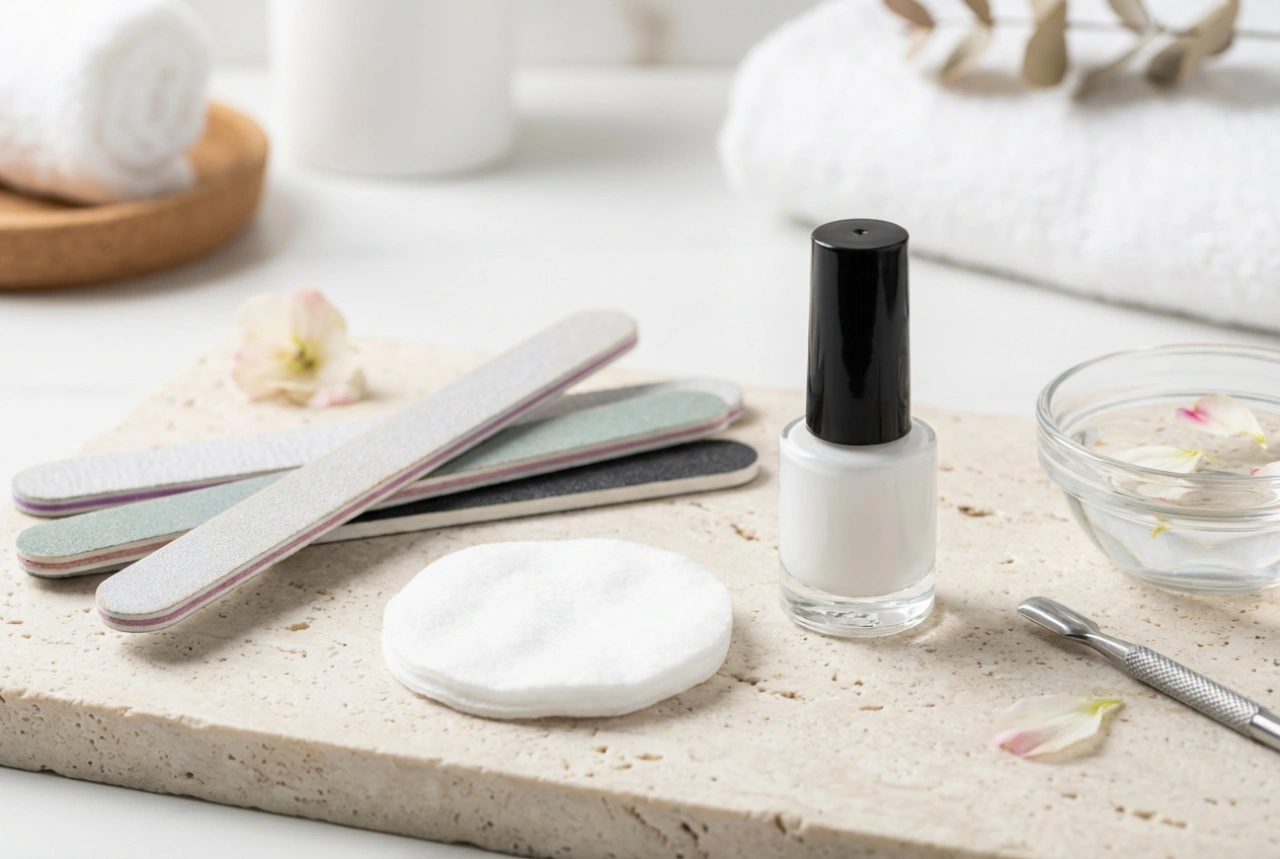
Proper preparation is the foundation of any long-lasting and beautiful manicure. Neglecting this stage can lead to a less polished look and reduce the wear time of your nail art. Before you even think about colours, focus on creating a perfect canvas.
- Cleaning and Shaping: Start by removing any old polish thoroughly. Wash your hands and gently clean under your nails. File your nails to your desired shape – square, oval, or almond shapes all work wonderfully with a French tip. Ensure all nails are of a uniform length and shape for a cohesive look. Gently push back your cuticles, but avoid cutting them to maintain the health of your nail bed.
- Buffing the Surface: Lightly buff the surface of your nails with a soft nail buffer. This step removes natural oils and creates a slightly textured surface, which helps the polish adhere better. Be gentle to avoid thinning your nails.
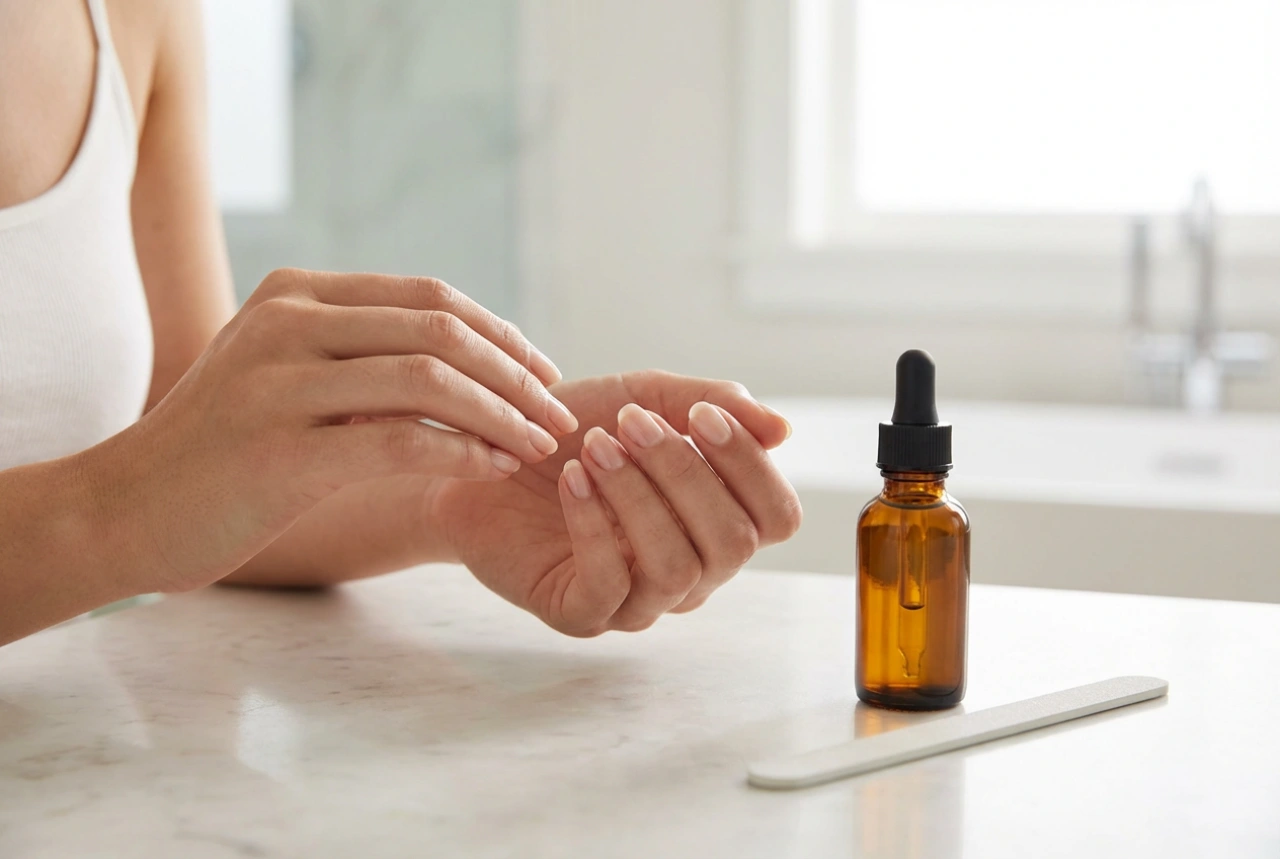
- Applying a Base Coat: Never skip the base coat. It serves multiple purposes: it protects your natural nails from staining (especially important with vibrant colours), creates a smooth surface for polish application, and helps your manicure last longer. Apply one thin, even layer and let it dry completely before proceeding.
Mastering the Tip: Techniques for a Perfect Line
The defining feature of a French manicure is the crisp tip. Here are two popular methods for achieving that perfect line with vibrant colours.
The Stencil Method for Guaranteed Precision
Nail stencils or guides are a beginner-friendly way to get a clean, consistent curve on every nail. They are typically small adhesive strips with a curved or straight edge.
- Ensure the Base is Dry: Your base colour (whether it's a sheer nude or clear coat) must be 100% dry. If it's even slightly tacky, the stencil may lift the polish when you remove it.
- Position the Stencil: Peel a stencil and carefully place it on your nail, leaving the tip exposed. The space you leave will determine the thickness of your French tip. Press it down firmly, especially along the edge where you'll be painting, to prevent any colour from bleeding underneath.
- Apply the Colour: Paint your chosen colour onto the exposed tip of the nail. You can apply one or two thin coats for full opacity. Try to paint away from the stencil edge rather than towards it to minimise the risk of bleeding.
- Remove Promptly: Do not wait for the polish to dry. While the coloured tip is still wet, gently and slowly peel off the stencil. Pulling it off a wet tip results in a much sharper line.
The Freehand Method with a Fine Brush
For those with a steadier hand or who enjoy a more artistic process, painting the tips freehand offers more control over the shape and thickness of the line. A very thin, long-bristled nail art brush is the best tool for this.
- Load Your Brush: Dip the tip of your fine brush into your chosen coloured polish. Remove any excess to avoid a blobby application. You want a small, controlled amount of product.
- Create the 'Smile Line': Rest your hand on a stable surface. Start by painting a thin horizontal line across the top edge of your nail. Then, from one side of the nail, sweep the brush in a gentle curve down to meet the horizontal line. Repeat on the other side to create the classic 'smile line'.
- Fill in the Tip: Once you have your outline, carefully fill in the rest of the tip with the same colour. Use the polish's own brush for this if it's easier, being careful to stay within the lines you created.
Quick Fixes for Common Mistakes
Even with careful application, mistakes can happen. The key is knowing how to correct them without ruining your entire manicure.
- Cleaning Up a Wobbly Line: If your line isn't as crisp as you'd like, you don't have to start over. Take a small, clean nail art brush (an angled or flat one works well) and dip it in a small amount of nail polish remover. Carefully trace along the edge of your coloured tip to sharpen the line and clean up any smudges.
- Correcting Bleeding Under Stencils: If a bit of colour has seeped under your stencil, wait for the tip to dry completely. Then, use the same technique with a brush and remover to gently erase the imperfection. You may need to touch up your base colour in that tiny spot afterwards.
- Applying the Top Coat: Once you are happy with your tips and they are fully dry, apply a high-quality top coat over the entire nail. This will seal in your design, add a beautiful shine, and protect your colourful French manicure from chipping, ensuring your work of art lasts as long as possible.