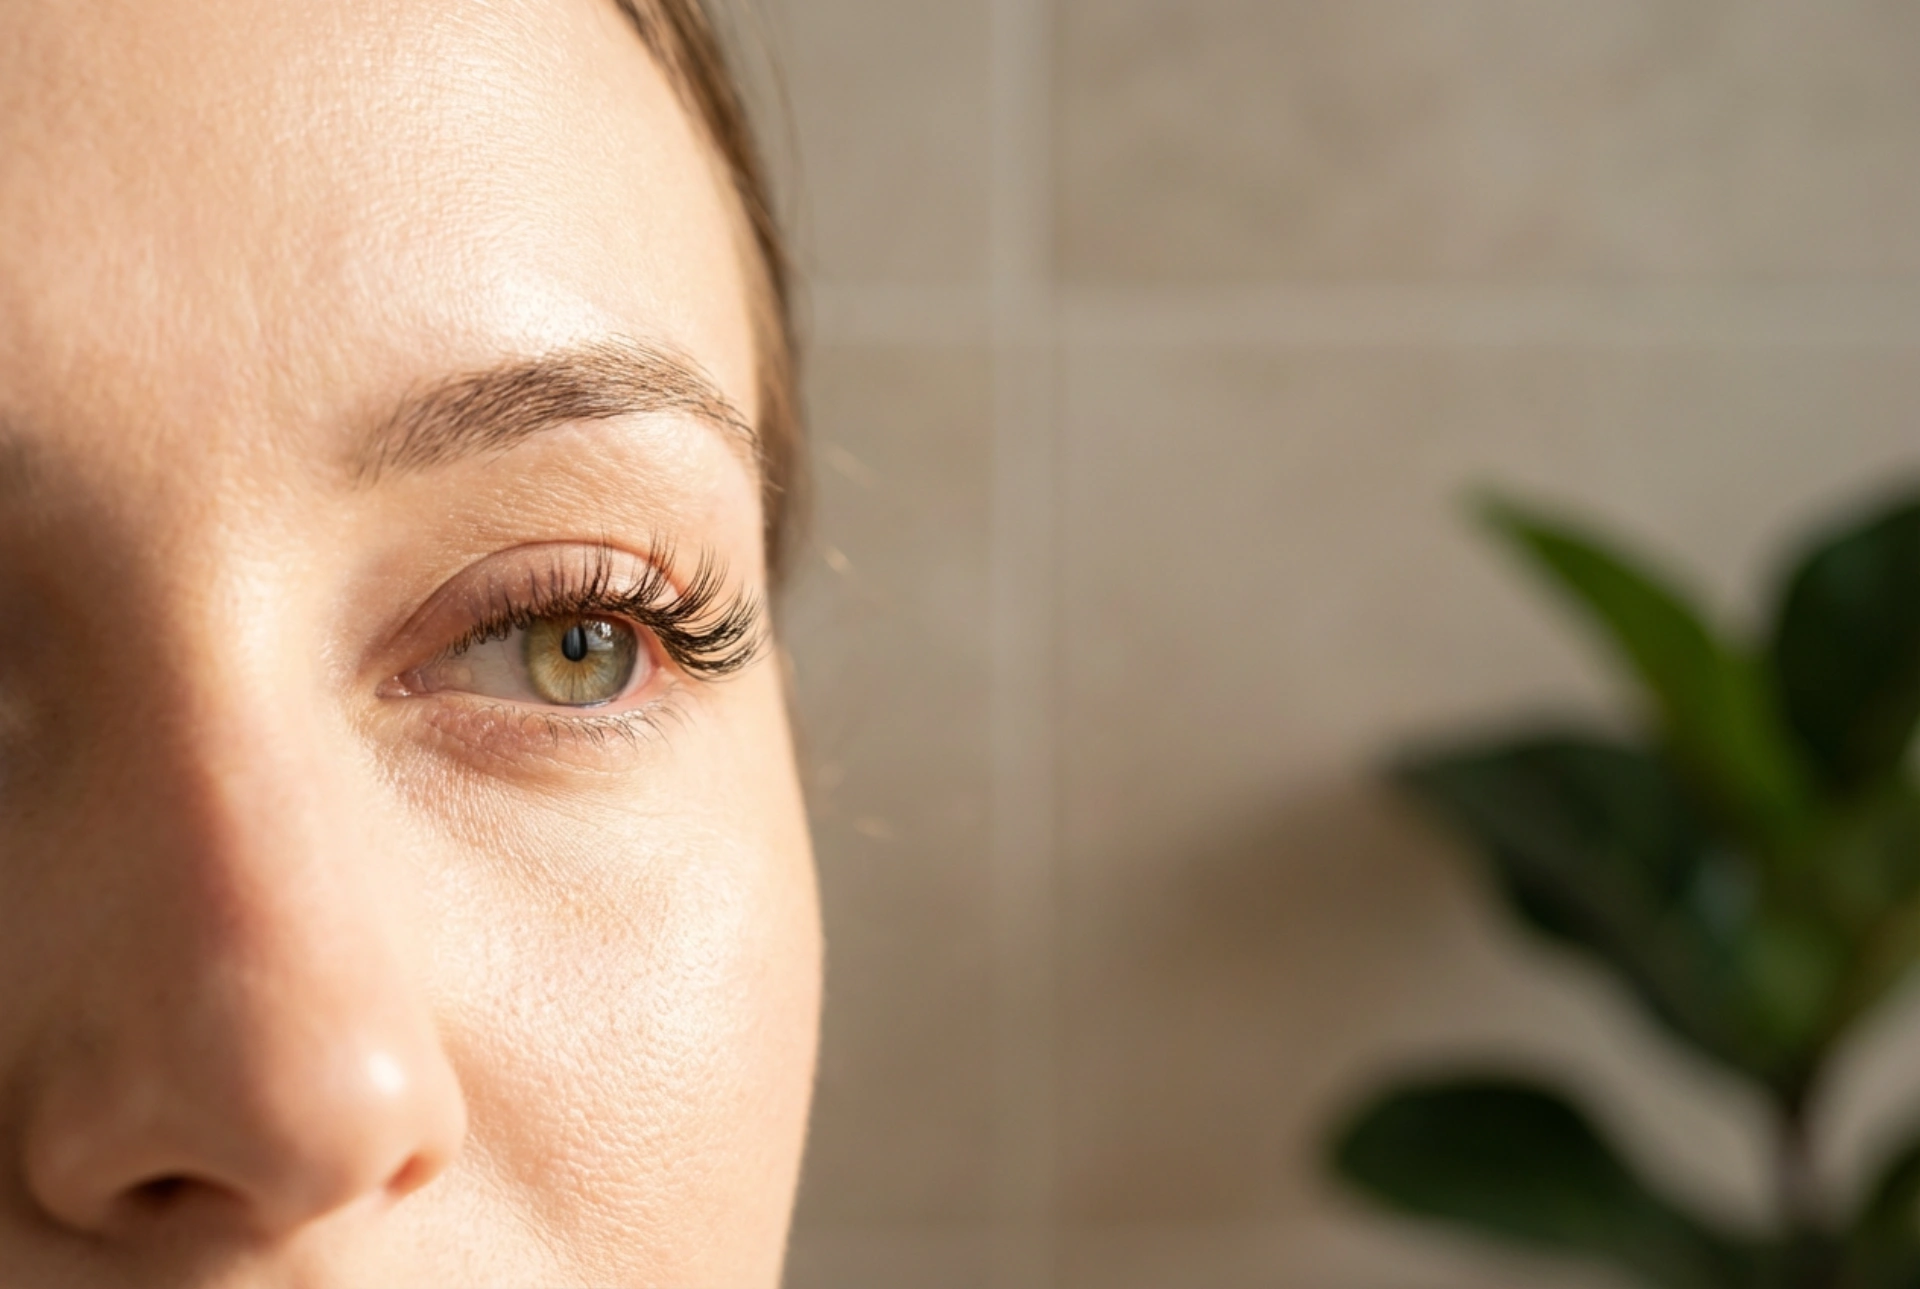


Achieving a captivating evening look doesn't always require dramatic, heavy makeup. Sometimes, a subtle enhancement is all that's needed to elevate your natural beauty. Cluster lashes are the perfect tool for this, offering a customisable and sophisticated way to add volume and length to your lash line without the uniformity of strip lashes. They allow you to define your eyes with precision, creating an effect that is both elegant and impactful. This guide will walk you through the process of applying them for a flawless finish.
Preparation: What You Will Need
Before you begin, gathering the right tools is essential for a smooth and successful application. A clean and organised workspace will help you focus on the delicate task at hand. Make sure your lighting is good, preferably natural daylight or a bright, clear vanity light, so you can see your lash line clearly.
Essential Tools and Materials
- Cluster Lashes: These come in various lengths (short, medium, long) and thicknesses. A pack with mixed lengths is ideal for creating a natural, tapered effect.
- Lash Adhesive: Choose a high-quality adhesive specifically designed for individual or cluster lashes. A dark-toned glue can blend seamlessly with eyeliner, while a clear one dries invisibly.
- Tweezers: A pair of fine-point or angled tweezers is crucial for picking up and placing the delicate clusters with precision.
- Magnifying Mirror: While not essential, a magnifying mirror can be incredibly helpful for seeing your lash line up close.
- Oil-Based Makeup Remover: This will be necessary for safe and gentle removal later.
Preparing Your Natural Lashes
Start with a clean canvas. Ensure your eyelids and lashes are completely free of any makeup, oil, or residue. You can use a gentle, oil-free cleanser. Once your lashes are clean and dry, you may want to curl them with an eyelash curler. This helps the cluster lashes blend more naturally with your own. Applying a very thin coat of mascara before you start can also give the clusters a better base to adhere to, but this step is optional.
The Step-by-Step Application Guide
Patience and a steady hand are your best friends during this process. Don't rush, and remember that practice makes perfect. It may feel tricky at first, but you'll quickly get the hang of it.
Applying the Adhesive
Dispense a small drop of lash adhesive onto a clean, non-porous surface like a small piece of foil or the plastic tray the lashes came in. Wait for about 30-60 seconds for the glue to become slightly tacky; this will help the cluster adhere instantly upon placement. Using your tweezers, gently pick up a single lash cluster from the tray, holding it by the lash tips to avoid damaging the delicate base.
Placing the Clusters
Carefully dip the knotted base of the cluster into the tacky glue, picking up a tiny amount. Avoid overloading it with adhesive, as this can lead to a messy application and make removal difficult. Looking down into your mirror, start from the outer corner of your eye. Place the cluster base directly onto your natural lashes, as close to the lash line as possible without touching the skin of your eyelid. This is key for comfort and a natural look. Hold it in place for a few seconds to allow the adhesive to bond.
Building Your Desired Look
Continue this process, working your way from the outer corner towards the inner corner of your eye. Leave a tiny bit of space between each cluster to maintain a natural appearance. You can alternate between different lengths to create a more dynamic and less uniform effect. Most people use longer clusters on the outer corners and gradually switch to shorter ones as they move inwards.
Customising Your Style
The beauty of cluster lashes lies in their versatility. You are in complete control of the final look. You can apply just a few to the outer corners for a subtle lift, or build up more for a fuller, more glamorous effect suitable for a special occasion.
- For a 'Cat-Eye' Effect: Concentrate the longest clusters on the outer third of your eye, using medium and then short clusters as you move towards the middle. Leave the inner corner bare or with just one or two very short clusters.
- For a 'Doll-Eye' or 'Open-Eye' Effect: Place the longest clusters in the centre of your lash line, directly above your pupil. Taper down to shorter lengths at both the inner and outer corners. This technique helps to make your eyes appear larger and more rounded.
- For a Subtle, Natural Enhancement: Use only short and medium-length clusters, spacing them out evenly across the entire lash line. This will add gentle volume and definition without looking like you're wearing false lashes at all.
Safe Removal and Aftercare
Never pull or tug at the cluster lashes to remove them, as this can damage your natural lashes. To remove them safely, saturate a cotton pad with an oil-based makeup remover. Gently press the pad against your closed eyelid for 30-60 seconds. This will dissolve the adhesive. Afterwards, the clusters should slide off easily with a gentle wipe. If any remain, use a cotton bud dipped in the remover to carefully work on the specific area. Once all clusters are removed, cleanse your eye area to remove any remaining adhesive or oil residue.





