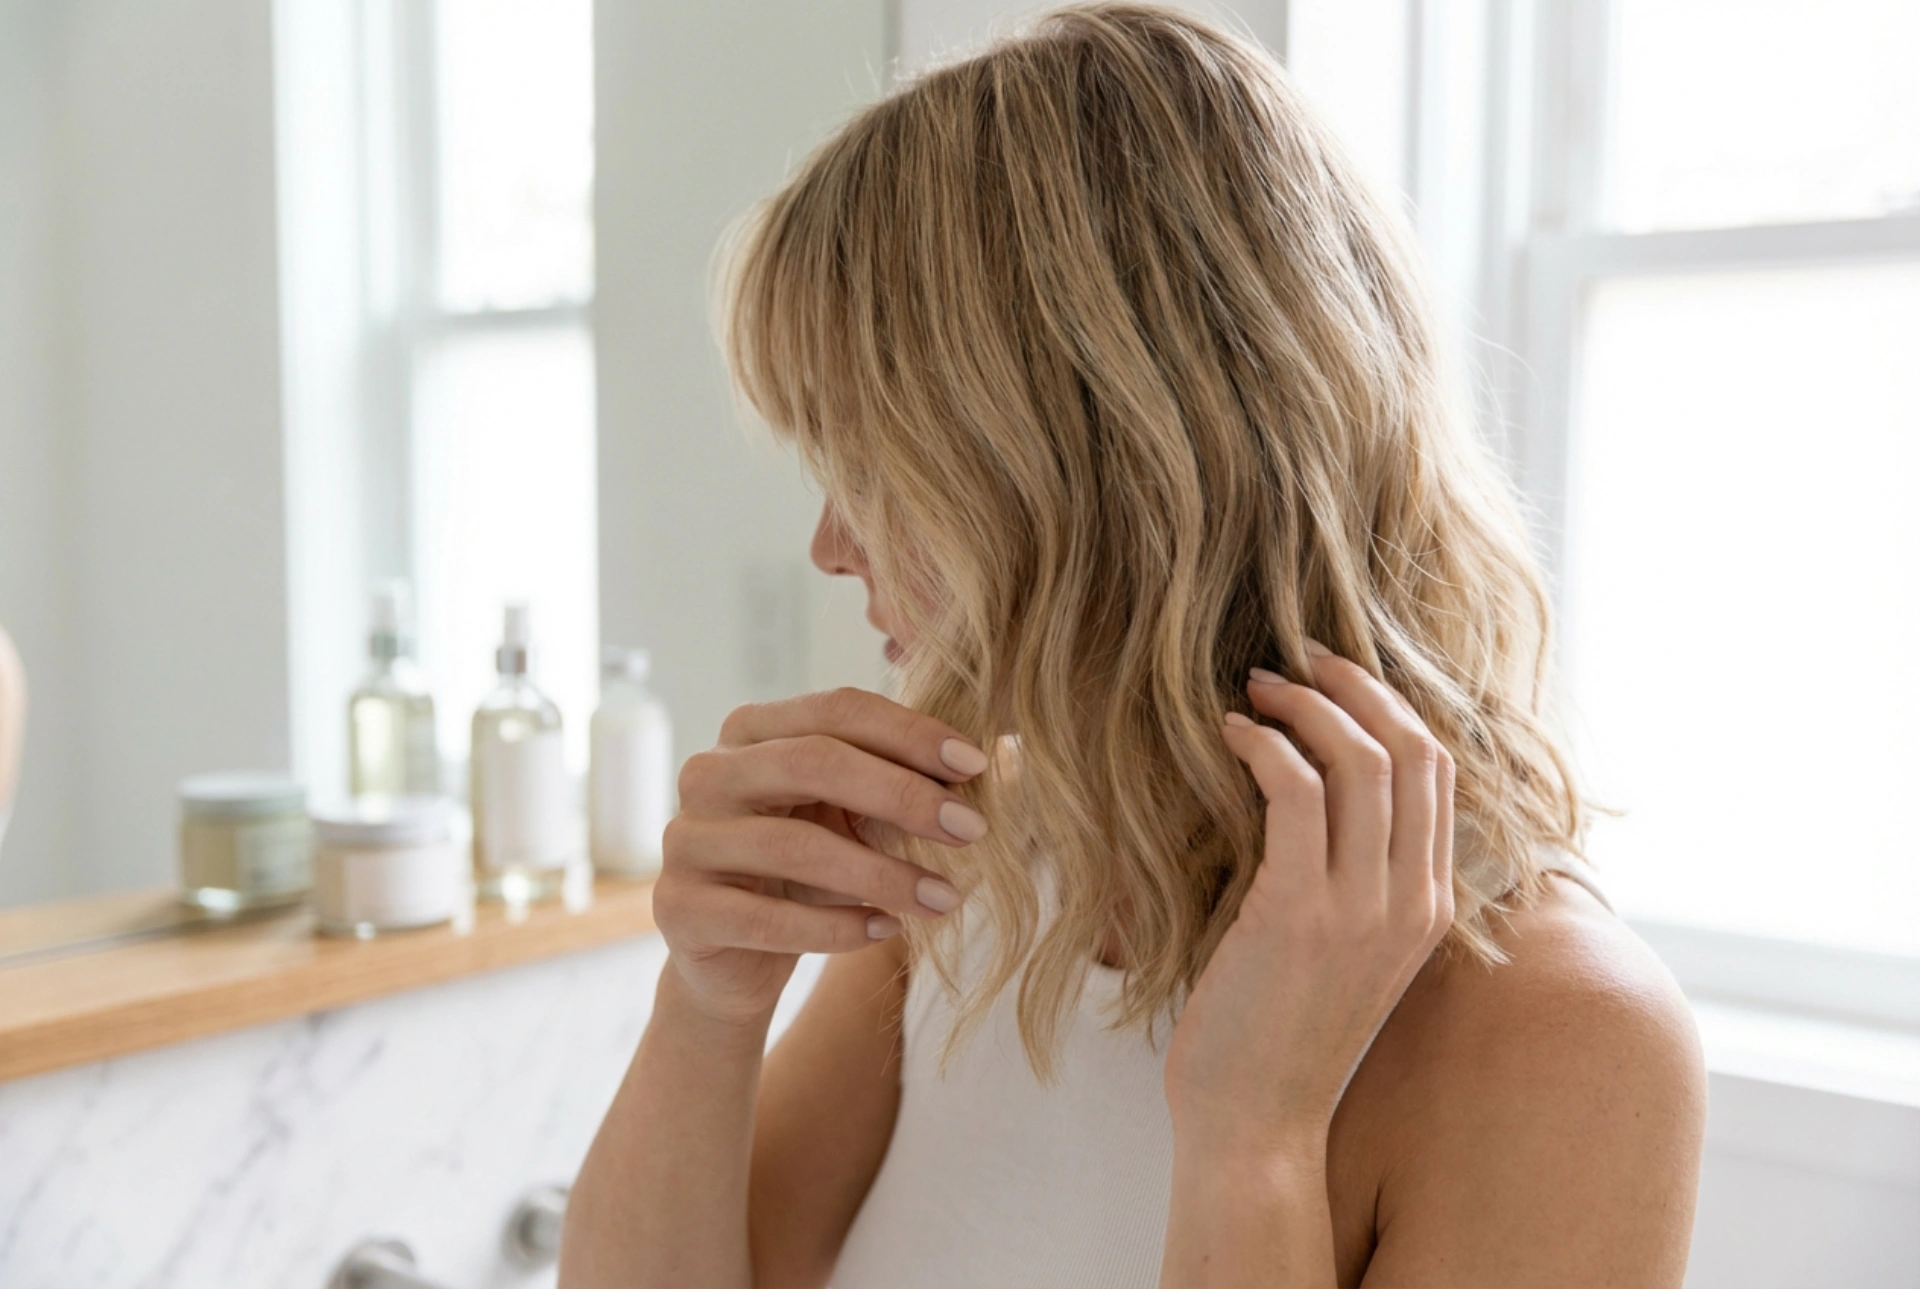


Shoulder-length hair paired with a fringe is a wonderfully versatile and timeless choice that frames the face beautifully. Achieving a polished, put-together look, as seen in a gently styled haircut with soft waves, is entirely possible at home. Whether you're aiming for a sleek, professional appearance or a more relaxed, wavy texture, mastering a few key techniques is all it takes. This guide will walk you through the process step-by-step, helping you to style both your fringe and the length of your hair with confidence.
Preparation: The Foundation of a Great Hairstyle
Before you even pick up a styling tool, properly preparing your hair is crucial for achieving the best results and ensuring your style lasts. This initial stage sets the groundwork for a smooth and manageable styling process.
Washing and Conditioning
Start with clean hair. Use a shampoo and conditioner that are suited to your hair type, whether it's fine, thick, coloured, or oily. Proper cleansing removes any product build-up and excess oils that can weigh your hair down, while a good conditioner helps to smooth the cuticle, reduce frizz, and make detangling easier. Gently towel-dry your hair to remove excess water without roughing up the cuticle, which can cause frizz.
Applying Protective Products
Heat protection is a non-negotiable step. Before using any heated tools like a hairdryer, straighteners, or curling tongs, always apply a heat protectant spray or cream. Distribute it evenly from the mid-lengths to the ends. This creates a barrier between your hair and the heat, minimising potential damage. You might also consider using a volumising mousse at the roots if you want extra lift, or a smoothing lotion if your goal is a sleek finish.
Styling the Main Length of Your Hair
Once your hair is prepped, you can decide on the look you want to create. Shoulder-length hair is incredibly adaptable, lending itself to various styles.
For a Sleek, Straight Look
For a classic, polished look, aim for straight and smooth hair. Using a hairdryer with a concentrator nozzle, begin by rough-drying your hair until it's about 80% dry. Then, section your hair and use a paddle brush to pull each section taut as you direct the hairdryer's airflow down the hair shaft. This helps to flatten the cuticle and create shine. Once dry, go over each section with a hair straightener for an ultra-sleek finish.
For Soft, Natural Waves
Soft waves add texture and movement. After applying heat protectant, use a curling wand or straighteners to create curls. For a modern, relaxed feel, wrap sections of hair around the barrel, leaving the last inch or two of the ends straight. Alternating the direction of the curls can create a more natural, less uniform look. Once all sections are curled, let them cool completely before gently running your fingers through them to loosen them into soft waves.
Mastering the Fringe
The fringe is often the focal point of the haircut, so getting it right is key. It's usually best to style your fringe first, while it's still damp, as it tends to dry quickly and can set in an awkward position.
Choosing the Right Tools
The tools you use can make a big difference. For a full, straight-across fringe, a small to medium-sized round brush is ideal for creating a slight bend at the ends, preventing it from looking too flat. For a wispier fringe or curtain bangs, a paddle brush or even just your fingers can be sufficient to guide the hair into place.
Step-by-Step Fringe Styling
Follow these steps for a perfectly styled fringe:
- Start with your fringe damp. If it has already started to dry, spritz it with a little water.
- Using your hairdryer on a medium heat and low speed setting, hold the nozzle so it points downwards towards the floor. This prevents the hair from being blown upwards, which causes frizz and flyaways.
- With a paddle brush, first brush all of your fringe to the left and dry it for a few seconds. Then, brush it all to the right and repeat. This technique helps to neutralise any cowlicks and ensures your fringe sits flat against your forehead.
- Finally, take a round brush and place it underneath your fringe. Gently roll it as you apply heat, curving the ends under slightly. Be careful not to create too much volume, which can look dated. For curtain bangs, use the round brush to sweep them out and away from your face.
Finishing Touches for a Lasting Style
A few final steps will lock in your look and ensure it stays beautiful all day long.
Setting the Style
A light mist of flexible-hold hairspray will keep everything in place without making your hair feel stiff or crunchy. Spray from a distance of about 20-30 centimetres for an even, light coating. Focus less on the fringe to ensure it retains its natural movement.
Adding Shine and Taming Flyaways
To finish, warm a tiny drop of hair serum or a lightweight oil between your palms and smooth it over the mid-lengths and ends of your hair. This will add shine, tame any remaining flyaways, and give your style a polished, healthy-looking appearance. Avoid applying it to the roots or the fringe, as this can make them look greasy.





