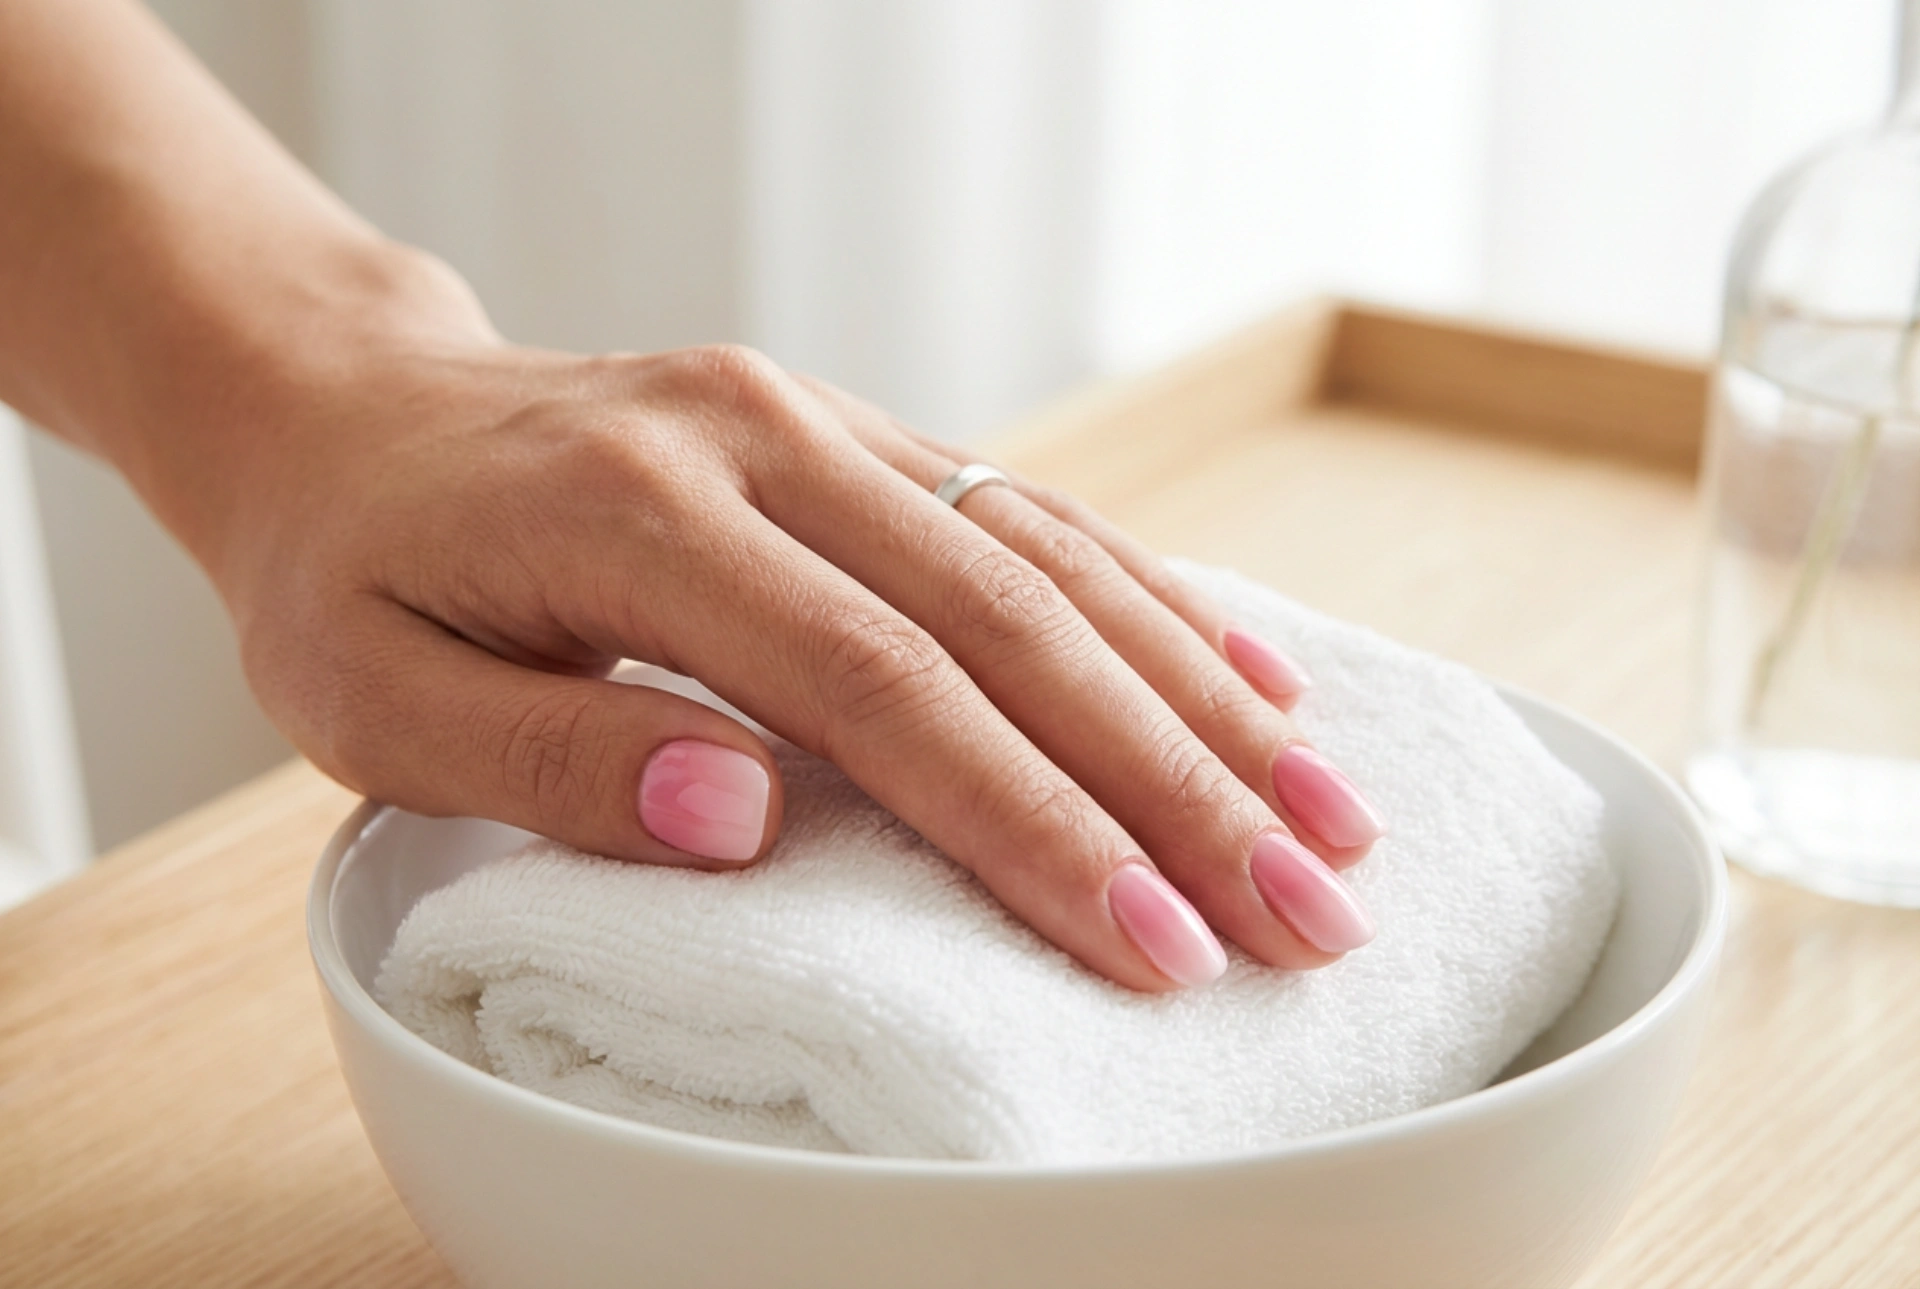


The pink ombre nail effect is a timeless and elegant choice that exudes sophistication. This design, which features a seamless blend from one shade of pink to another, is incredibly versatile, suiting everything from daily wear to special occasions. Achieving this beautiful gradient look at home is more accessible than you might think. With a few simple tools and the right technique, you can create a professional-looking manicure that highlights the beauty of your hands.
Choosing Your Perfect Pink Palette
The success of a pink ombre manicure begins with your colour selection. The key is to choose shades that will blend harmoniously. You can opt for a subtle transition or a more dramatic contrast, depending on your personal style.
Subtle and Classic Transitions
For a soft, classic look, choose two or three pinks from the same colour family but with different levels of lightness. For example, you could pair a very pale, almost white, pastel pink with a soft baby pink and a dusty rose. This creates a gentle, ethereal gradient that is understated and chic. Think about colours like blush, petal pink, and flamingo for a warm and delicate effect.
Bold and Modern Contrasts
If you prefer a more eye-catching style, don't be afraid to create a bolder contrast. Pair a light pastel pink with a vibrant fuchsia or a deep magenta. This creates a striking visual effect that makes a statement. You could also experiment with different undertones, such as pairing a cool-toned bubblegum pink with a warm-toned coral pink for a unique and modern twist.
Preparing Your Nails for the Ombre Effect
Proper preparation is the foundation of any long-lasting and flawless manicure. Before you begin applying colour, you must ensure your nails are clean, well-shaped, and smooth. This preparatory step prevents chipping and ensures the gradient applies evenly.
- Shape and Buff: Start by filing your nails into your desired shape. Whether you prefer square, oval, or almond, make sure they are all uniform. Gently buff the surface of each nail to remove any natural oils and create a slightly rough texture for the polish to adhere to.
- Cuticle Care: Push back your cuticles gently. A clean cuticle line not only looks neater but also helps the manicure last longer by preventing the polish from lifting.
- Apply a Base Coat: Never skip the base coat. It serves two important purposes: it protects your natural nails from staining and creates a smooth, even canvas for your colour application. Allow it to dry completely.
- Apply the Base Colour: Apply one or two thin coats of the lightest pink shade you have chosen. This will be the base of your gradient. Ensure it is fully dry before moving on to the blending step.
Creating the Gradient: The Sponge Technique
The most popular and effective DIY method for creating an ombre effect is using a simple makeup sponge. This technique allows you to blend the colours together seamlessly before applying them to the nail.
What You'll Need
To create your gradient, you will need your chosen pink nail polishes, a small-pored makeup sponge (a disposable wedge sponge works well), a non-porous flat surface like a piece of foil or a plastic lid, and something to protect the skin around your nails, such as liquid peel-off tape or regular sticky tape.
Step-by-Step Blending
- Protect Your Skin: Apply a protective barrier around each nail. This will make the clean-up process much easier later on.
- Apply Polish to the Sponge: Paint horizontal stripes of your chosen pink polishes directly onto the makeup sponge in the order you want them to appear on your nail. Make sure the stripes overlap slightly to help them blend.
- Dab onto the Nail: Gently press and dab the polish-coated sponge onto your nail. You may want to roll it slightly from side to side to ensure the entire nail is covered. The first layer will look sheer; this is normal.
- Reapply and Intensify: Reapply the polishes to the sponge and repeat the dabbing process on each nail. Two to three layers are usually sufficient to achieve a rich, opaque gradient. Work quickly to prevent the polish on the sponge from drying out.
- Clean Up: Once you are happy with the blend, carefully remove the protective barrier from around your nails while the polish is still slightly wet. Use a small brush dipped in nail polish remover to clean up any remaining smudges on your skin for a crisp finish.
Finishing Touches for a Polished Look
The final step is to seal your design and add a beautiful finish. A good top coat is essential for smoothing out the texture left by the sponge, adding shine, and protecting your manicure from chipping.
Apply a generous layer of a high-gloss top coat to blur the gradient even further and give your nails that salon-quality sheen. This will make the colours pop and provide a smooth, unified surface. For a more contemporary and velvety look, you could opt for a matte top coat instead. Whichever you choose, be sure to 'cap' the free edge of your nail with the top coat to help prevent chips and extend the life of your beautiful pink ombre manicure.




