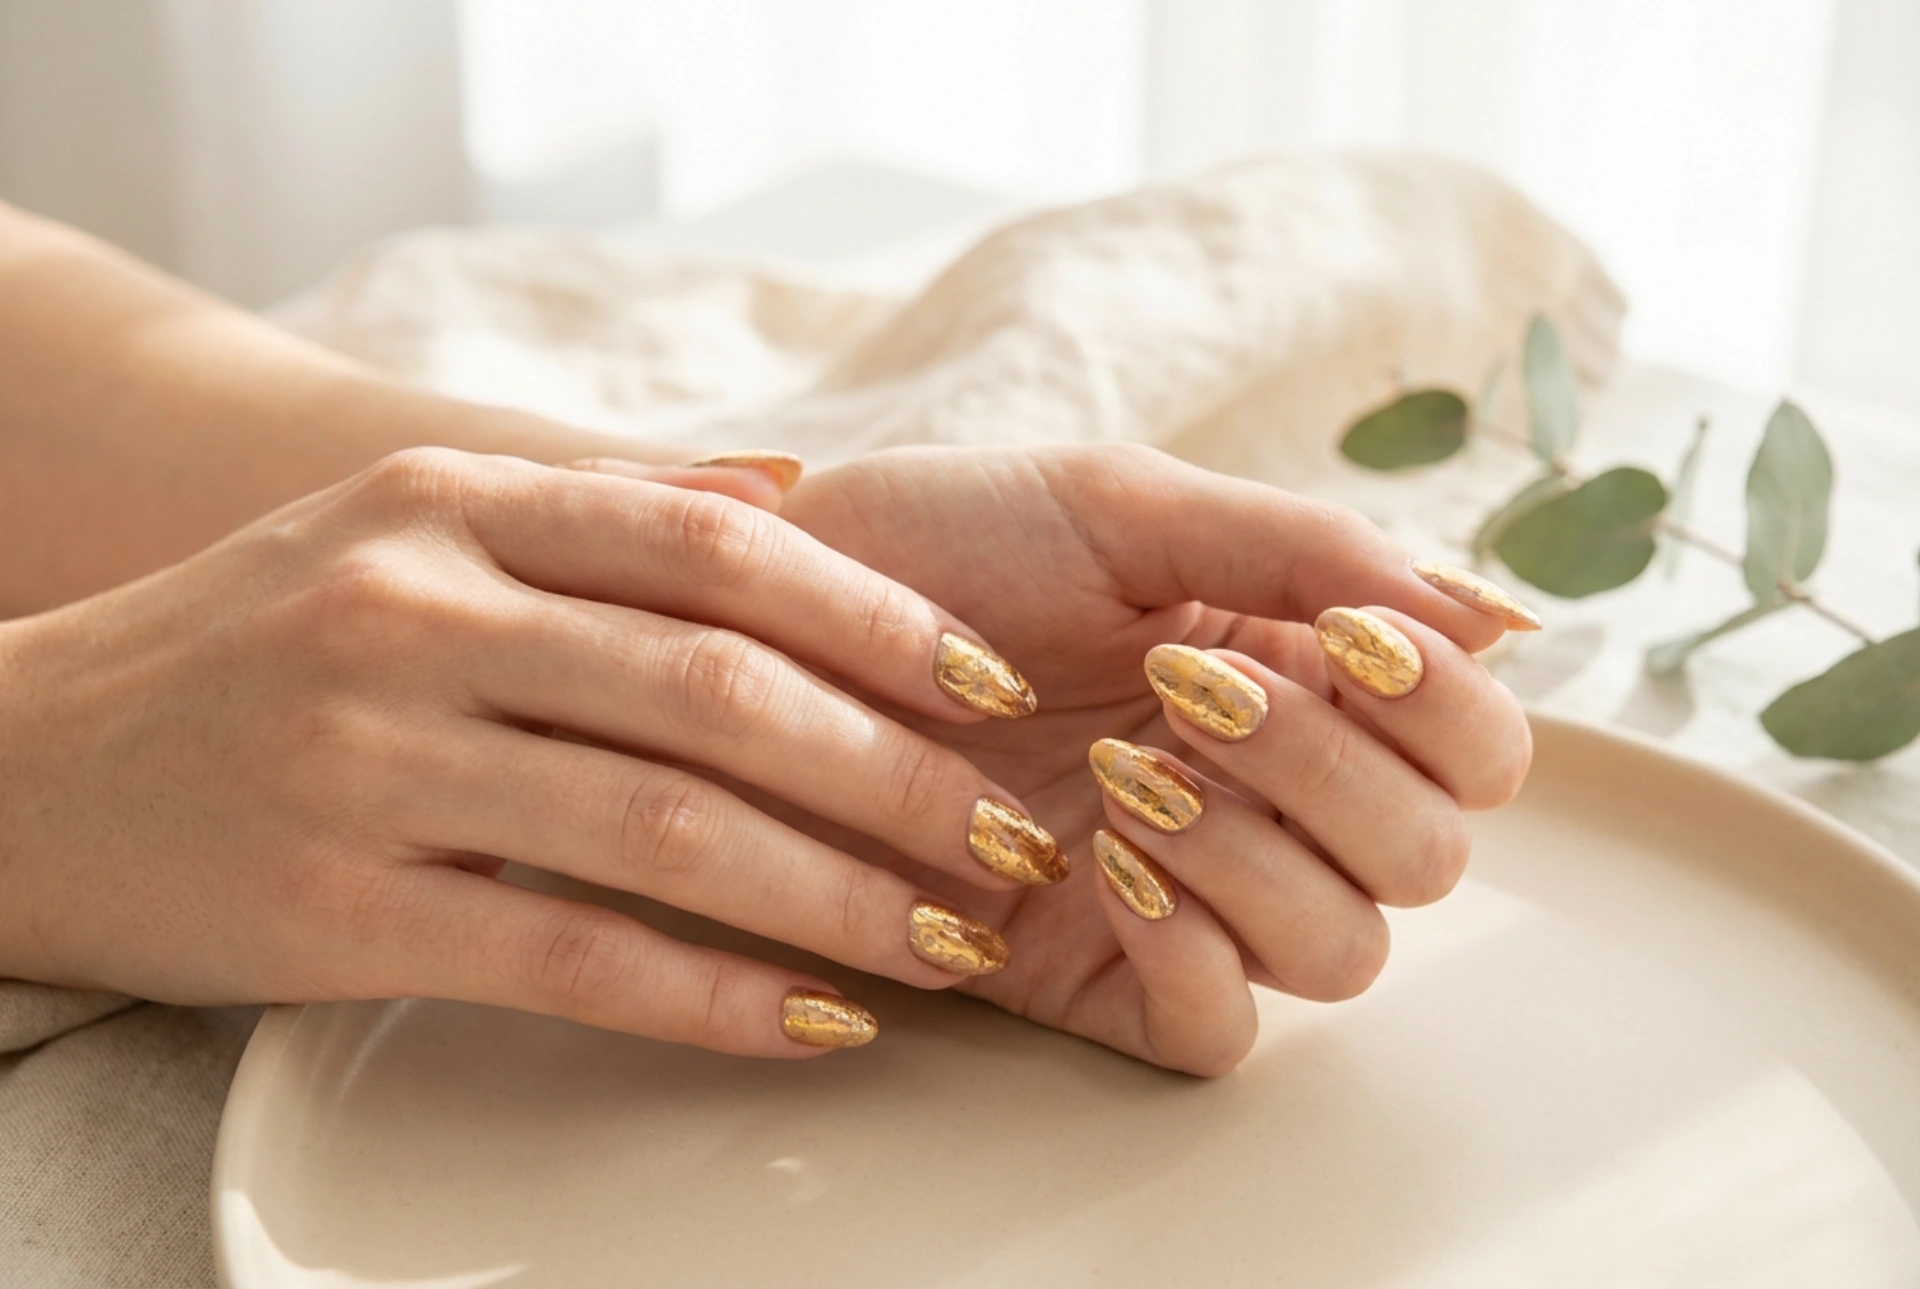


Nail art is a wonderful way to express your personal style, and for those seeking a touch of instant glamour, gold nail stickers are a perfect choice. They offer the allure of a complex, gilded manicure without the need for a steady hand or lengthy drying times. Achieving a flawless, long-lasting result at home is simple with the right technique. This guide will walk you through the process, from preparation to aftercare, ensuring your golden manicure remains impeccable and resists peeling.
Preparing Your Nails for a Perfect Base
The secret to any long-lasting manicure is proper preparation. The nail surface must be perfectly clean, dry, and free of any oils for the sticker to adhere correctly. A poorly prepared base is the primary reason for stickers lifting or peeling prematurely.
- Start with Clean Nails: Remove any old polish thoroughly. Wash your hands, then dry them completely.
- Shape and Tidy: File your nails to your desired shape. Gently push back your cuticles, but avoid cutting them, as this can lead to irritation. If necessary, you can lightly buff the surface of your nails to create a smooth canvas, but be gentle to avoid thinning the nail.
- Degrease the Nail Plate: This is the most crucial step. Wipe each nail with a lint-free pad soaked in nail polish remover or isopropyl alcohol. This removes any natural oils and residue, creating the ideal surface for adhesion. Allow your nails to air-dry completely before proceeding.
A Step-by-Step Guide to Applying Nail Stickers
With your nails prepped and ready, the application process is straightforward. Work on one nail at a time to ensure each sticker is applied with care.
- Select the Right Size: Browse your sticker sheet and choose a sticker that best fits the width of your nail. It's better to choose one that is slightly smaller than slightly larger, as an oversized sticker will overlap onto the skin and is more likely to lift.
- Peel with Care: Gently peel your chosen sticker from its backing sheet. Using tweezers can help prevent you from touching the adhesive side with your fingers, which can transfer oils and weaken the bond.
- Position and Press: Carefully align the rounded edge of the sticker with your cuticle line. Press it down firmly in the centre, then smooth it outwards towards the sides and the tip of the nail. Use a silicone tool or your finger to rub over the entire surface, ensuring there are no air bubbles or wrinkles.
- Finish the Edge: Fold the excess sticker over the tip of your nail. Use a fine-grit nail file to file off the excess material. Always file in a downward motion, perpendicular to the nail edge. Filing back and forth can tear the sticker and cause it to lift.
Tips to Ensure Longevity and Prevent Peeling
Once your stickers are applied, a few extra steps will seal the deal and significantly extend the life of your manicure.
The Power of a Top Coat
Applying a good quality top coat is not optional if you want your manicure to last. It acts as a protective shield against chipping and adds a beautiful, high-gloss finish that makes the stickers look like intricate nail art. Apply one or two thin layers of a clear top coat over the entire nail, paying special attention to 'capping' the free edge. This means running the brush along the very tip of your nail to seal the sticker completely and prevent any lifting from starting at the edge.
Daily Care and Habits
How you treat your nails after the manicure matters. For the first few hours after application, try to avoid prolonged contact with hot water, as it can weaken the adhesive. When doing household chores, such as washing dishes or cleaning, wear protective gloves to shield your nails from harsh chemicals and water. Be mindful of how you use your hands and avoid using your nails as tools to scratch or open things. A little bit of care goes a long way in preserving your elegant gold manicure.




