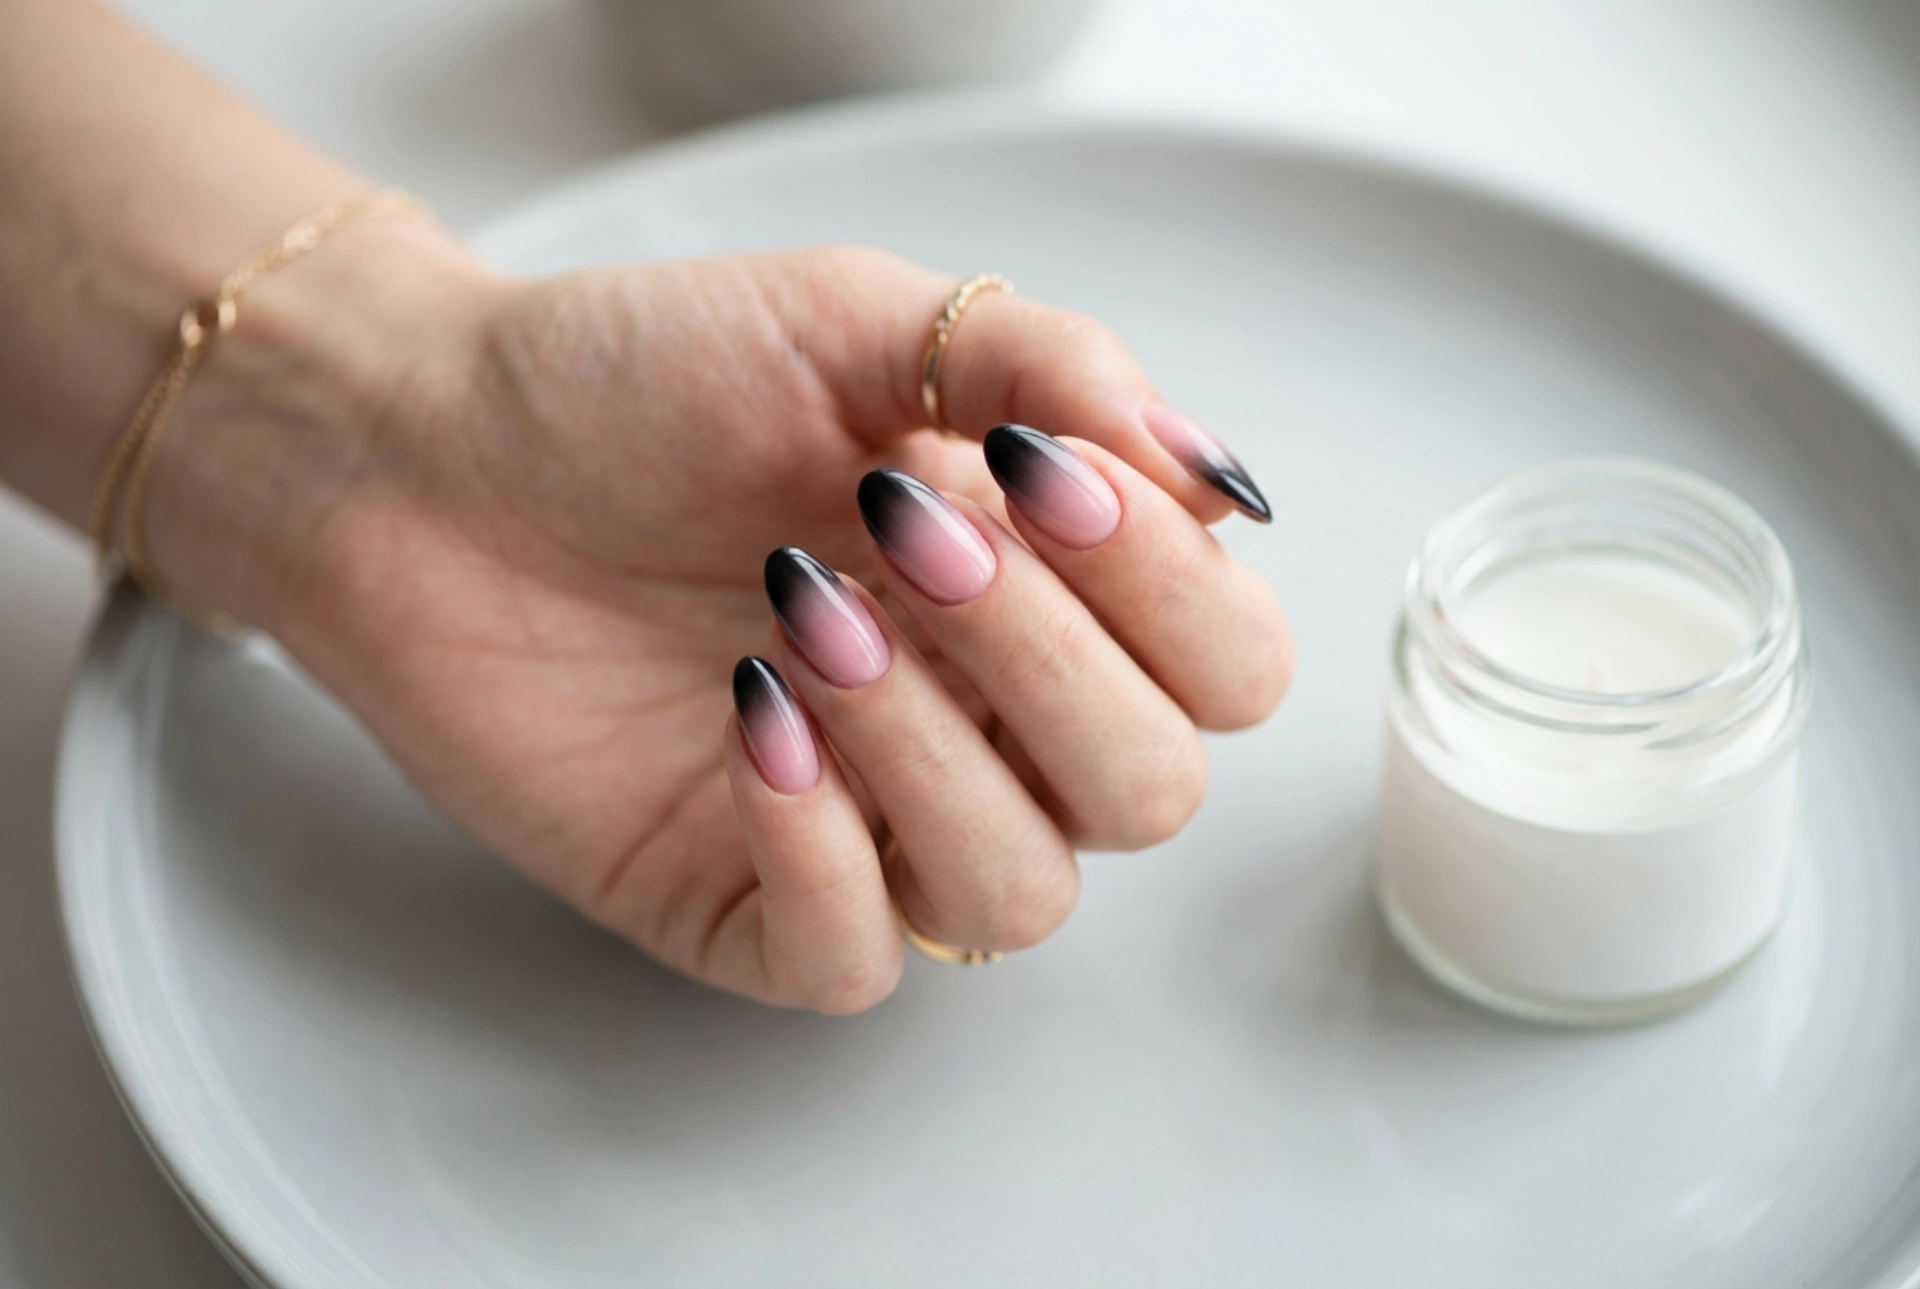


The combination of pink and black offers a striking contrast that is both elegant and bold, making it a popular choice for statement nail art. Creating a seamless ombre or gradient effect with these two colours can seem challenging, but with the right technique, you can achieve a professional-looking, streak-free finish at home. This style is perfect for anyone looking to add a touch of sophisticated drama to their manicure, blending the softness of pink with the intensity of black.
Preparing Your Nails for the Ombre Effect
A beautiful manicure starts with well-prepped nails. Before you begin applying any colour, ensure your nails are clean and shaped to your desired length and form, whether that's square, oval, or almond. Gently push back your cuticles, but avoid cutting them to maintain the health of your nail bed. Buff the surface of your nails lightly to create a smooth canvas for the polish to adhere to. The most crucial step in preparation is applying a quality base coat. This not only protects your natural nails from staining, especially from a dark colour like black, but also helps your manicure last longer.
Choosing the Right Shades and Tools
The success of your pink and black ombre depends heavily on the polishes you choose and the tools you use. You'll need your chosen pink and black nail polishes, a base coat, a glossy top coat, and a small piece of a makeup sponge. For the colours, consider the look you want to achieve. A soft, baby pink paired with a jet black creates a classic, high-contrast look. Alternatively, a vibrant fuchsia or neon pink can offer a more modern and edgy feel. You will also need some liquid latex or sticky tape to protect the skin around your nails and a small brush with some nail polish remover for clean-up.
The Sponge Technique for a Seamless Gradient
The sponge is your key tool for a flawless blend. Here is a step-by-step guide to mastering the technique:
- Step 1: Apply the Base Colour. After your base coat has dried, apply one or two coats of your lighter colour, the pink polish, to all your nails. Let this dry completely. This will serve as the foundation for your gradient.
- Step 2: Protect Your Skin. Apply liquid latex or pieces of tape to the skin surrounding your nails. This will make the clean-up process much quicker and easier.
- Step 3: Prepare the Sponge. On a flat, non-porous surface (like a piece of foil or a plastic lid), paint a stripe of your pink polish and a stripe of your black polish right next to each other, slightly overlapping them in the middle. You can also apply the polish directly onto the sponge.
- Step 4: Create the Gradient. Gently dab the polish-covered sponge onto your nail. Use a light, bouncing motion rather than a wiping one. The first layer will appear sheer; this is normal. Re-apply the polish to the sponge and repeat the dabbing motion two or three more times, slightly shifting the sponge's position on each application to enhance the blend. This builds up the opacity and ensures the colours merge seamlessly.
Finishing Touches and Aftercare
Once you are happy with the intensity of your ombre, it's time for the finishing touches. While the polish is still slightly tacky, carefully remove the liquid latex or tape. Then, apply a generous layer of a glossy top coat. This is a vital step as it not only protects your design and adds shine but also helps to further blend the colours, melting them together for an even smoother finish. Use a small, flat brush dipped in nail polish remover to clean up any polish that may have gotten onto your skin. To keep your manicure looking fresh for longer, reapply the top coat every two to three days and regularly moisturise your hands and cuticles with a nourishing oil or cream.




